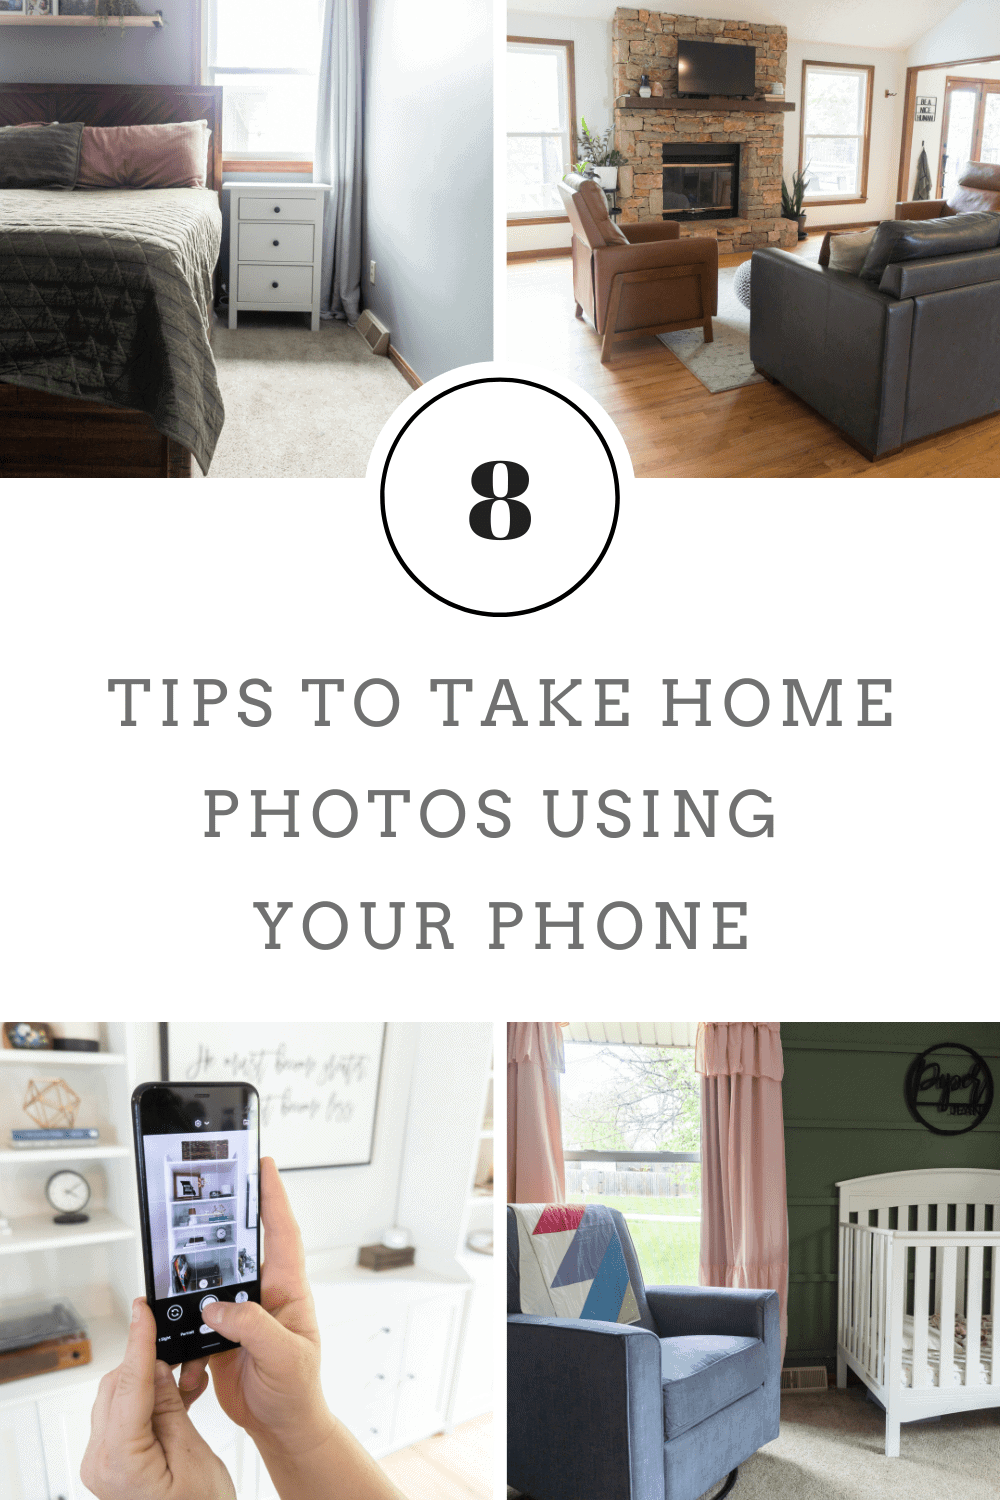
8 Tips to Take Better Photos of Your Home (Using your Phone!)
Hi, friends! Today, I have a very special treat for you. My assistant, Lindsey, is taking over the blog today to talk about a topic she is very much an expert at…photography! Fun fact: Lindsey has been working at The DIY Playbook for almost a year now but we just met, for the first time in real life, this past weekend! Isn’t that wild?!
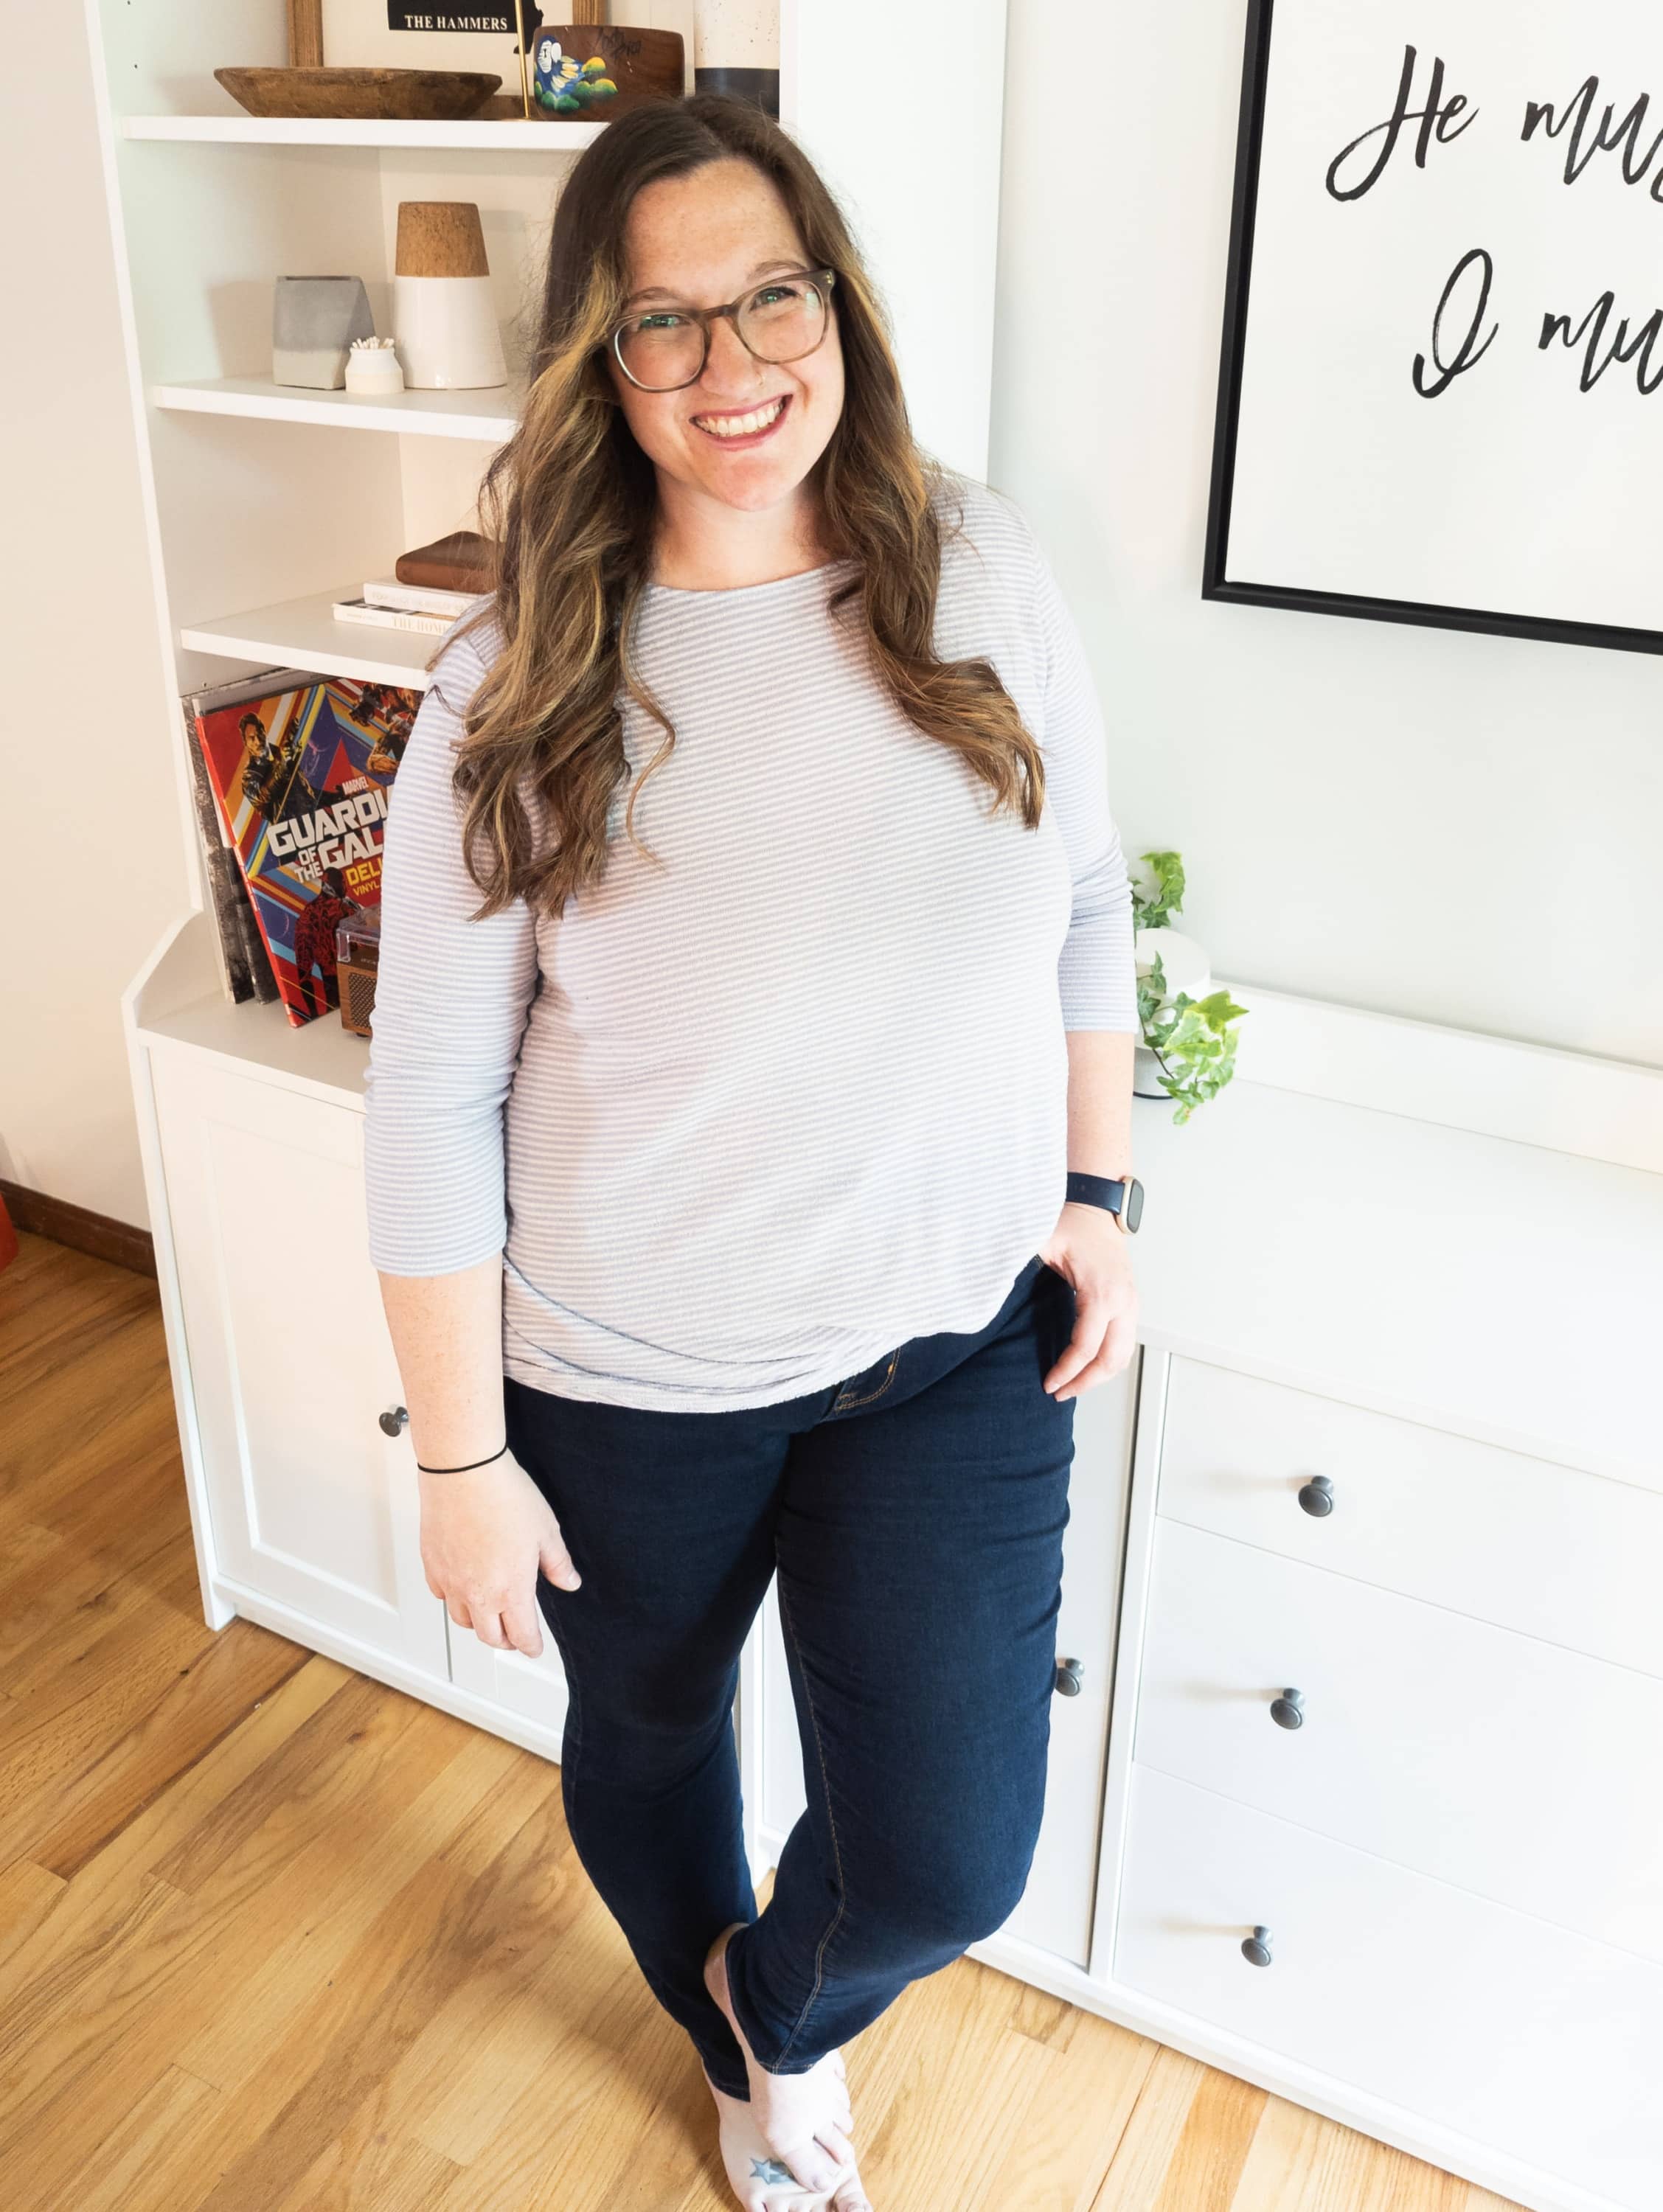
Lindsey is a professional photographer, mostly capturing family photography and weddings in Kansas City. Oh, and did I mention she is a mom to the three most adorable kids you ever did see? I don’t know how she has time to do so much!
Lindsey is in charge of our Reader OMG! home tour photoshoots and finding local photographers to shoot each home we feature. Our next feature, coming on Friday, is actually from a reader in East Africa (so amazing!) and we couldn’t find a local photographer to shoot it. Lindsey ended up giving the homeowner some tips to shoot the photos herself, using her phone. That then spurred the idea for this post…her best tips to take photos of your home on your phone! So, take it away, Lindsey!
My Best Tips to Take Photos of Your Home
I can’t count how many times I have been asked by someone to borrow my DSLR camera. And while I am always happy to let someone borrow it, I tell them they won’t like what comes out on the other end. Just because you use a professional camera, doesn’t mean you’re going to get professional photos. While I use my DSLR for my photoshoots, I tend to use my phone for just about everything else. I always have it accessible and it is so much more convenient, while I am chasing my three young children around.
Phone cameras have come such a long way from the blurry selfies I used to take on my Razor flip phone, back in the day. I thought it would be helpful to give a couple of tips to take photos of your home on your phone. Maybe you want to show off a new DIY project on social, or perhaps you want to save some money and take your own real estate photos. Whatever the reason, it’s good to have these tips in your back pocket!
For reference, I am using a Pixel 6 Andriod phone. I know, I know, iPhones are way better (so I am told), but I am a creature of habit. Either way, you will be able to use these tips on pretty much any smartphone.
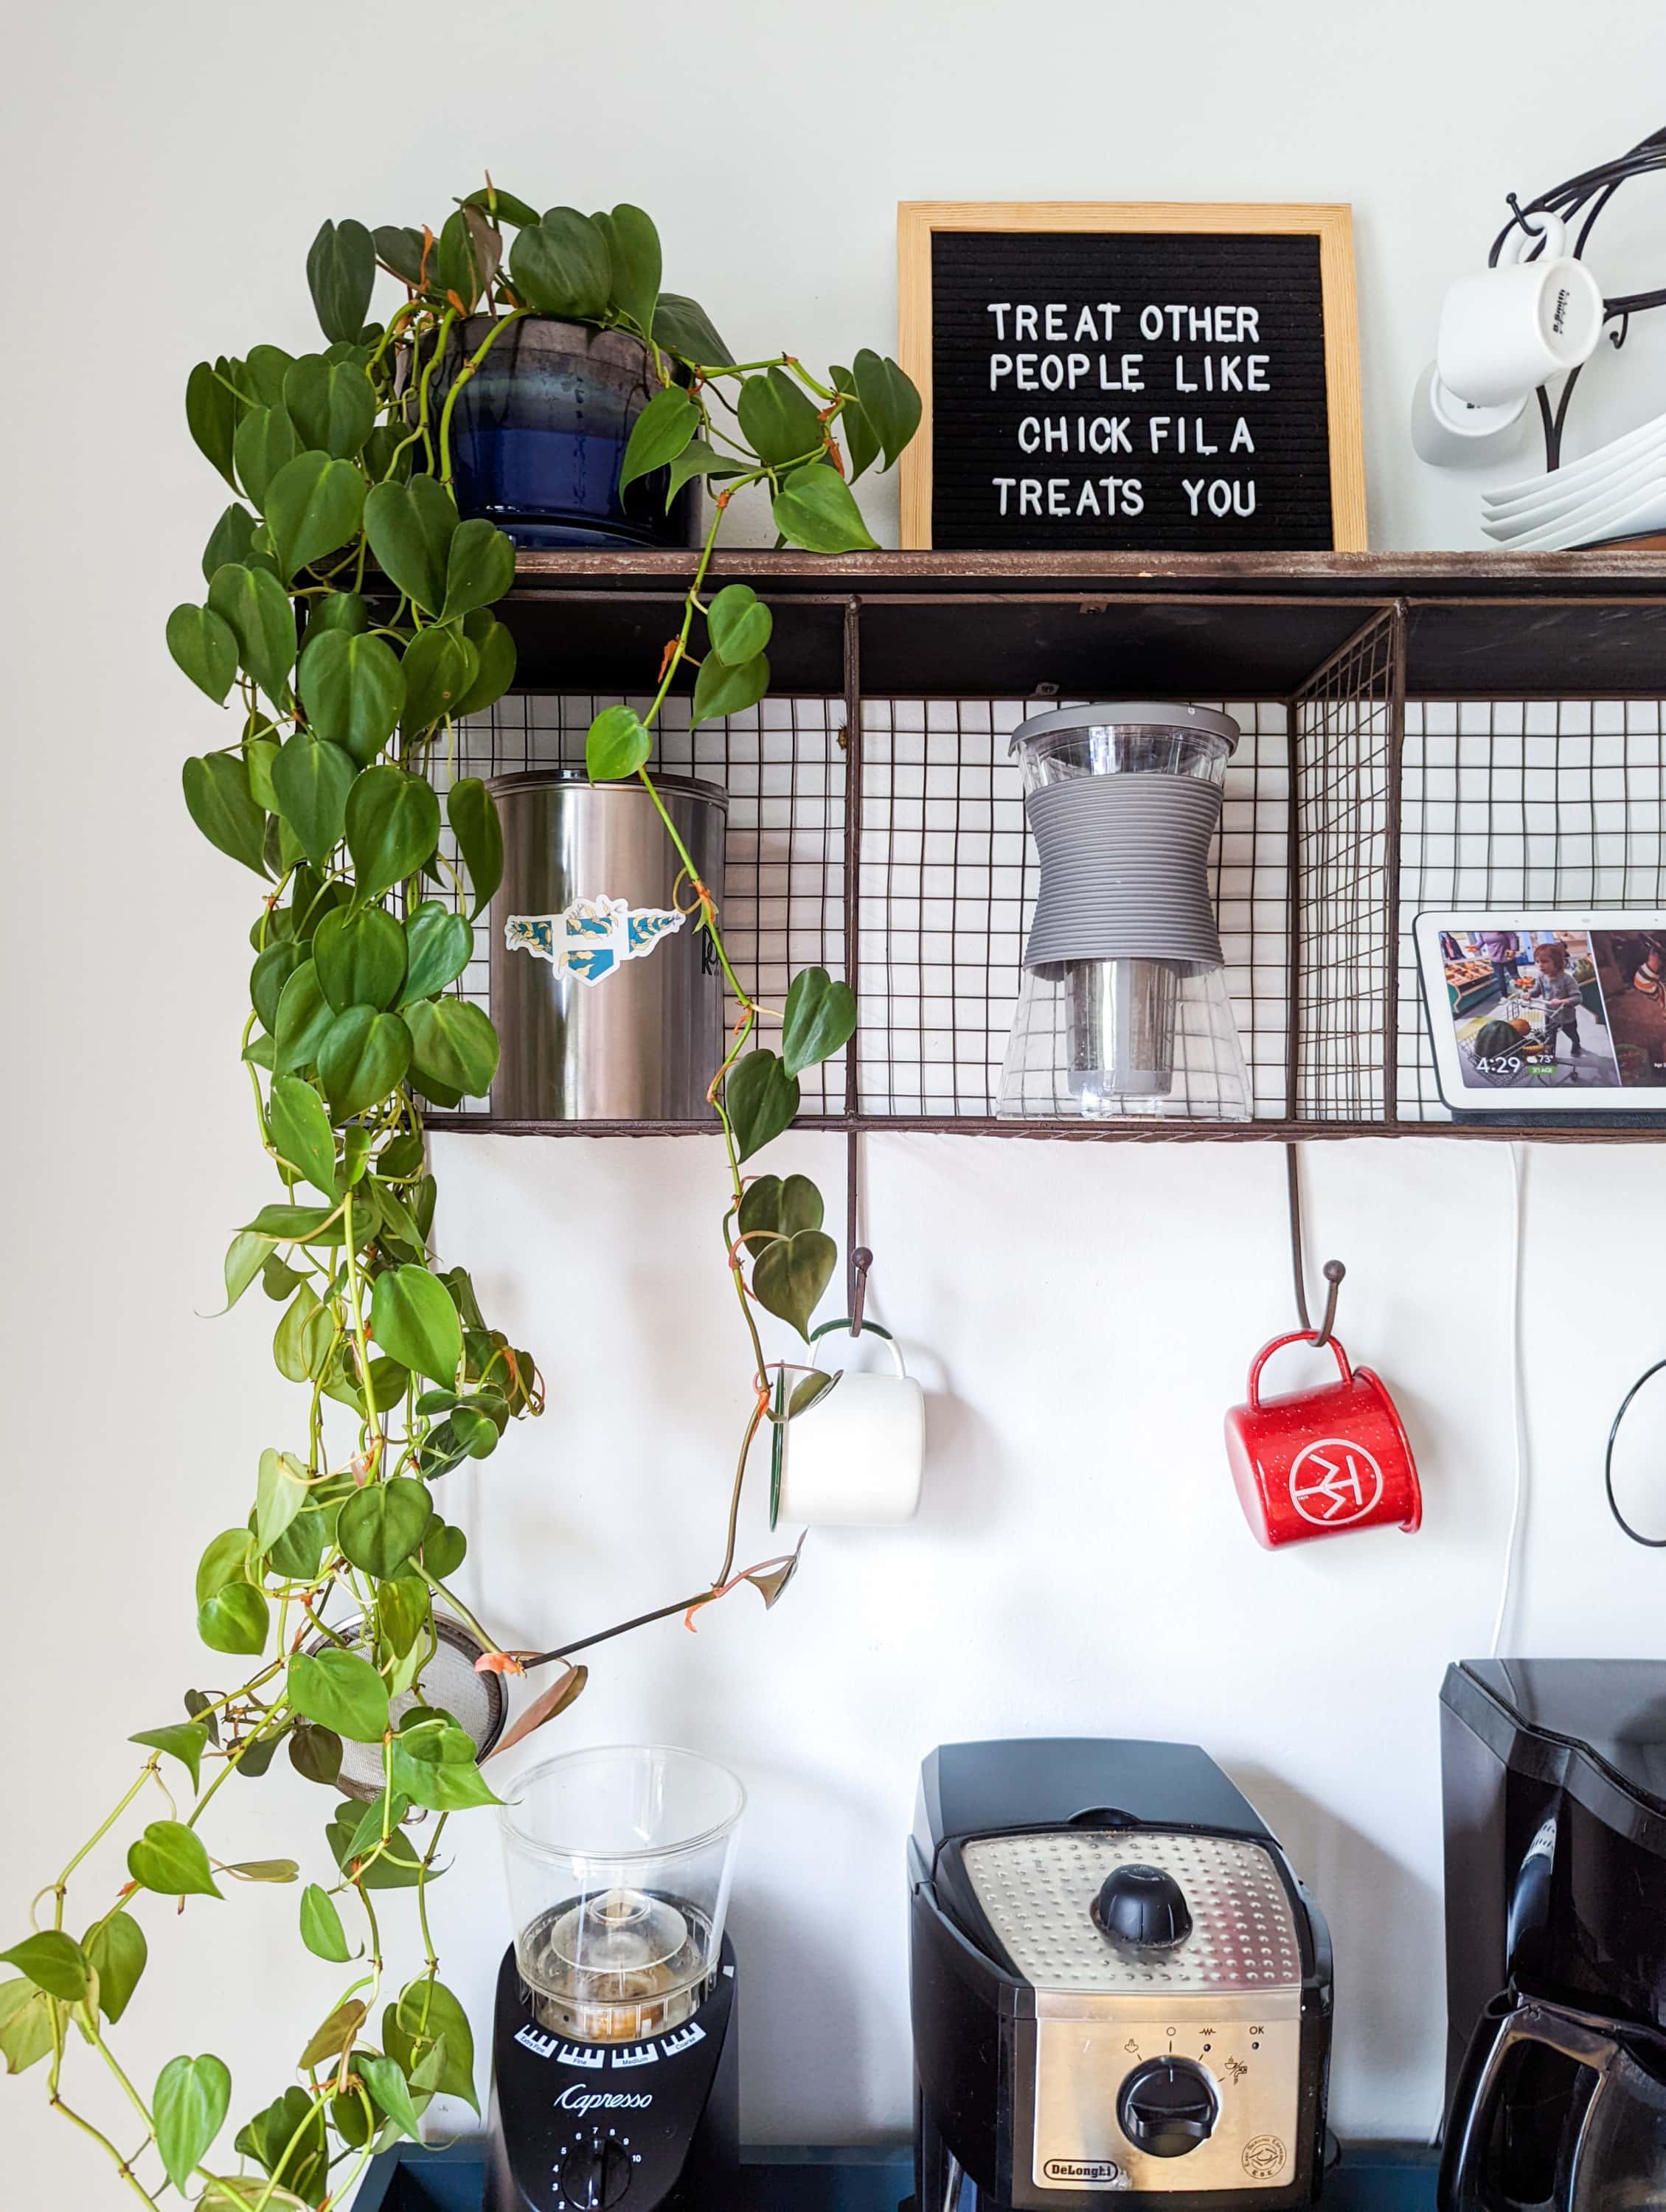
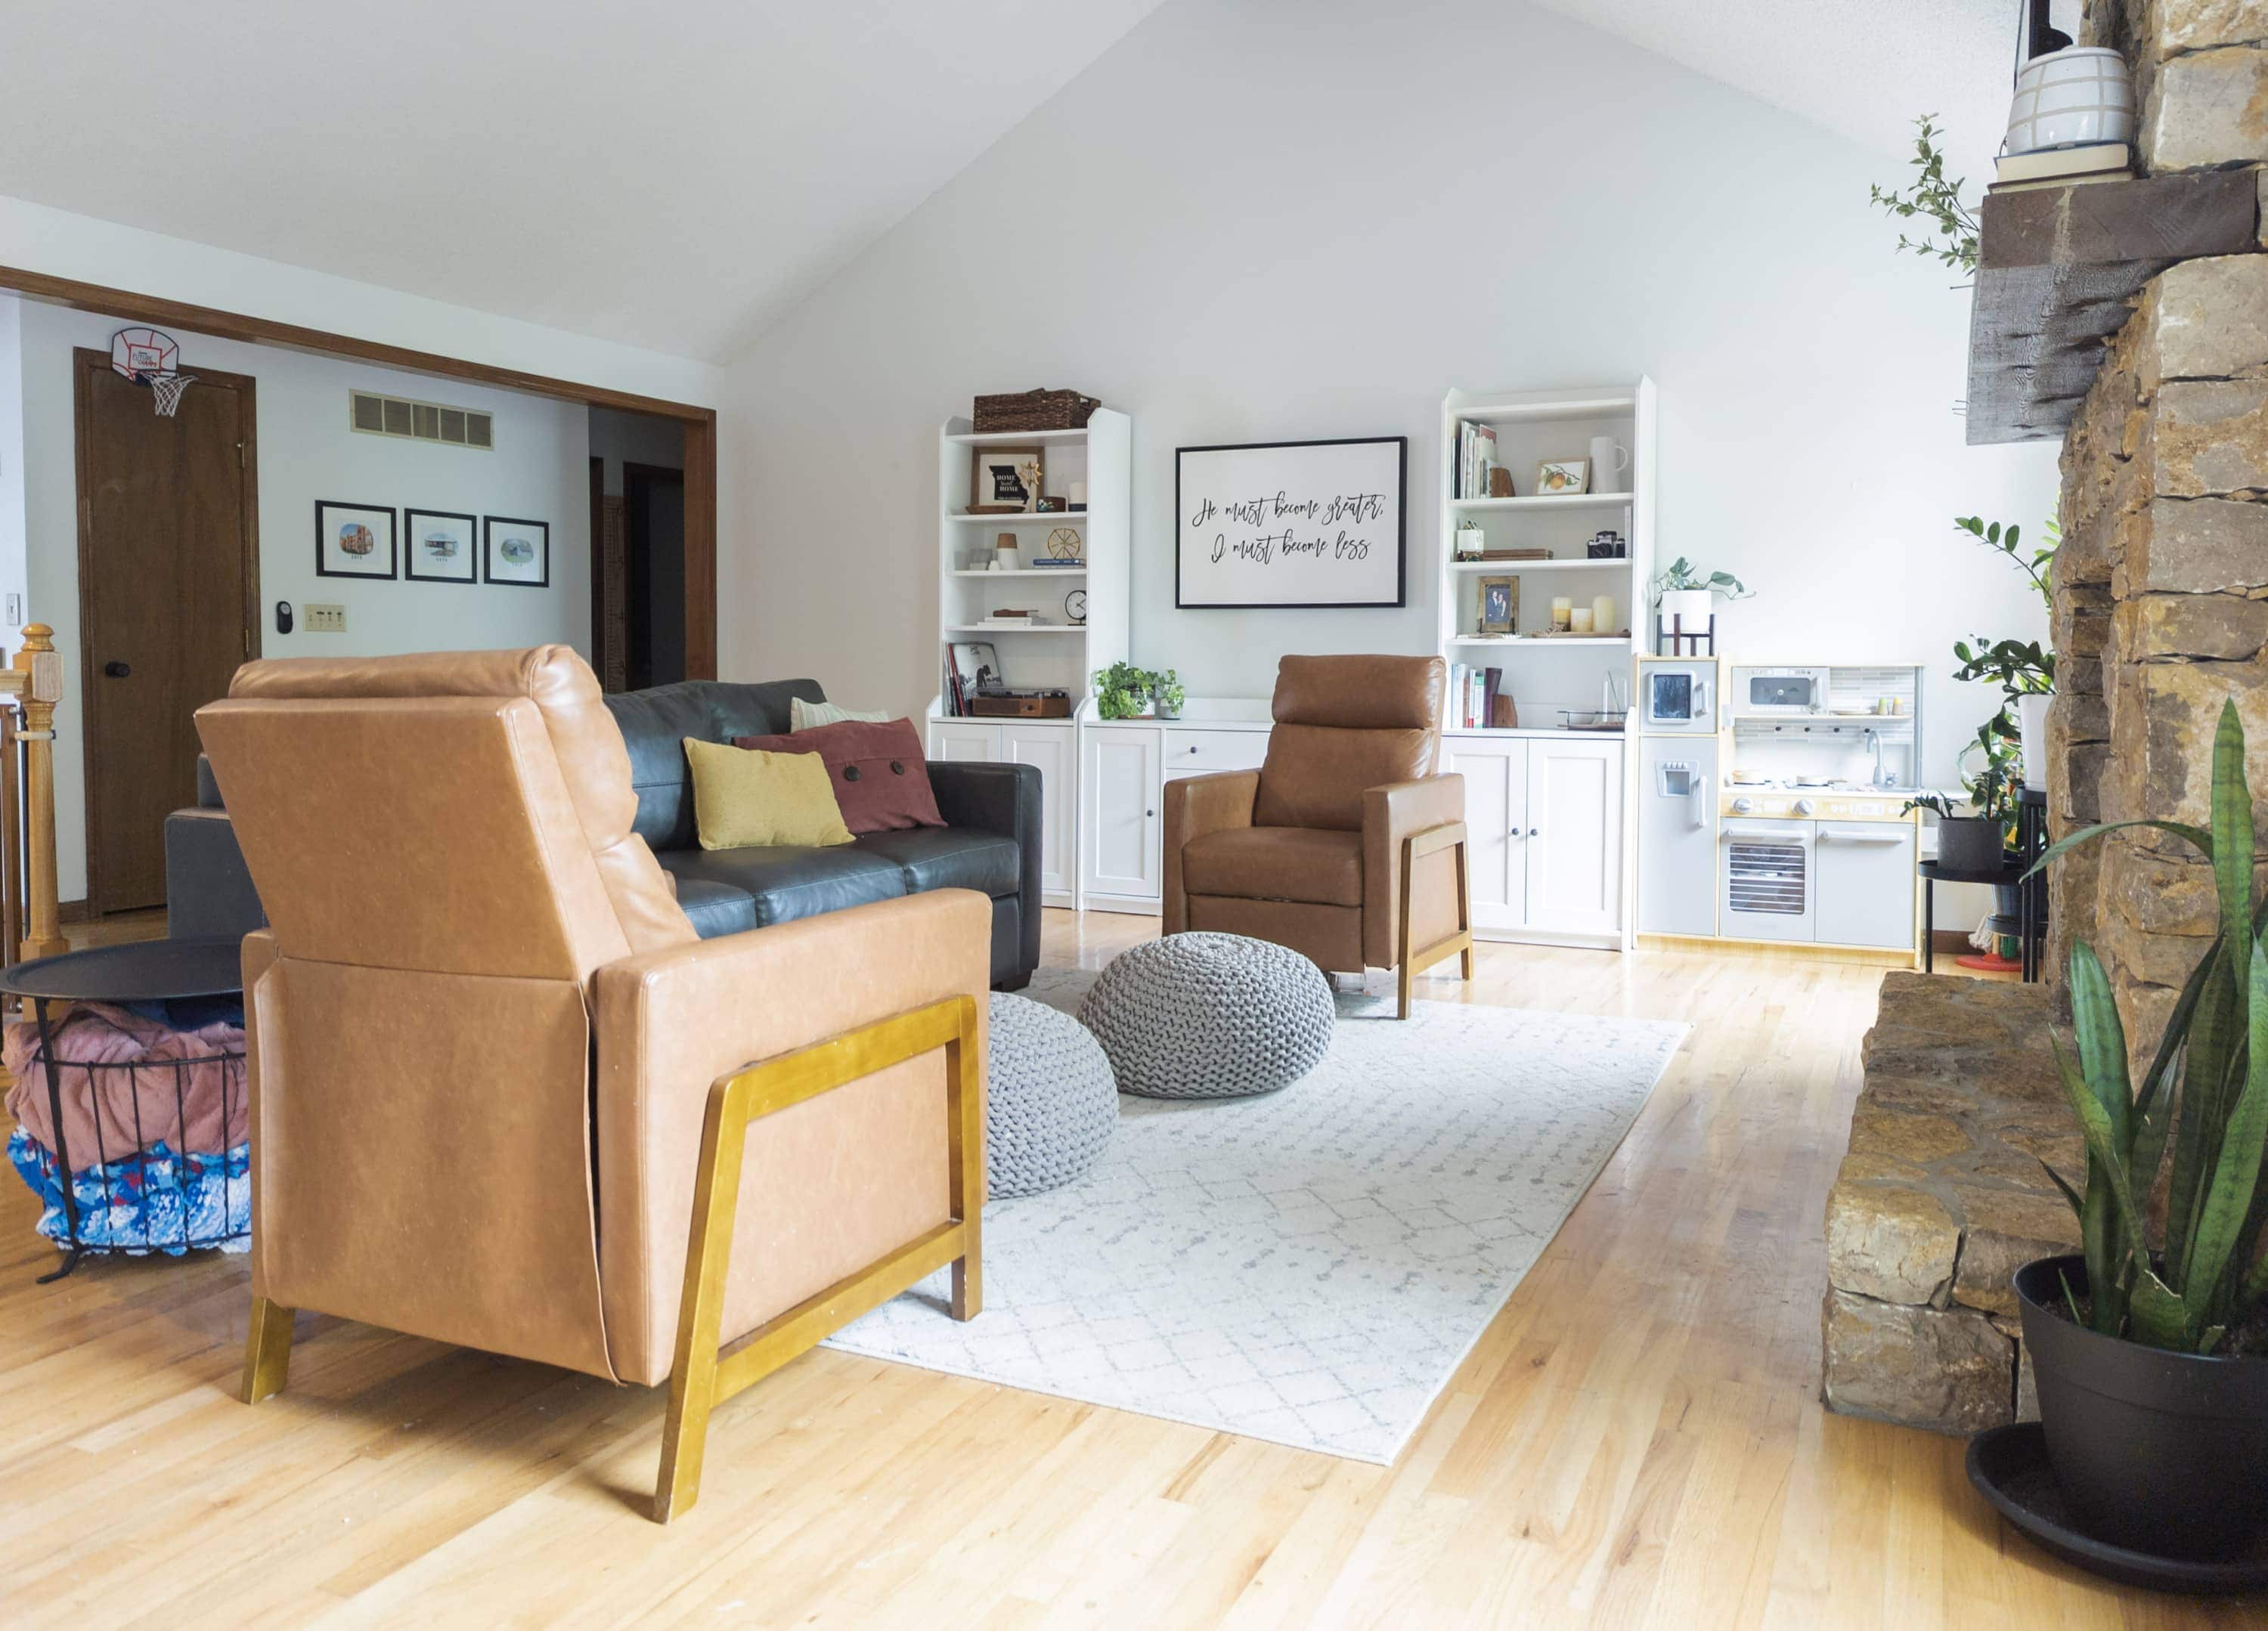
Remove Extra Clutter
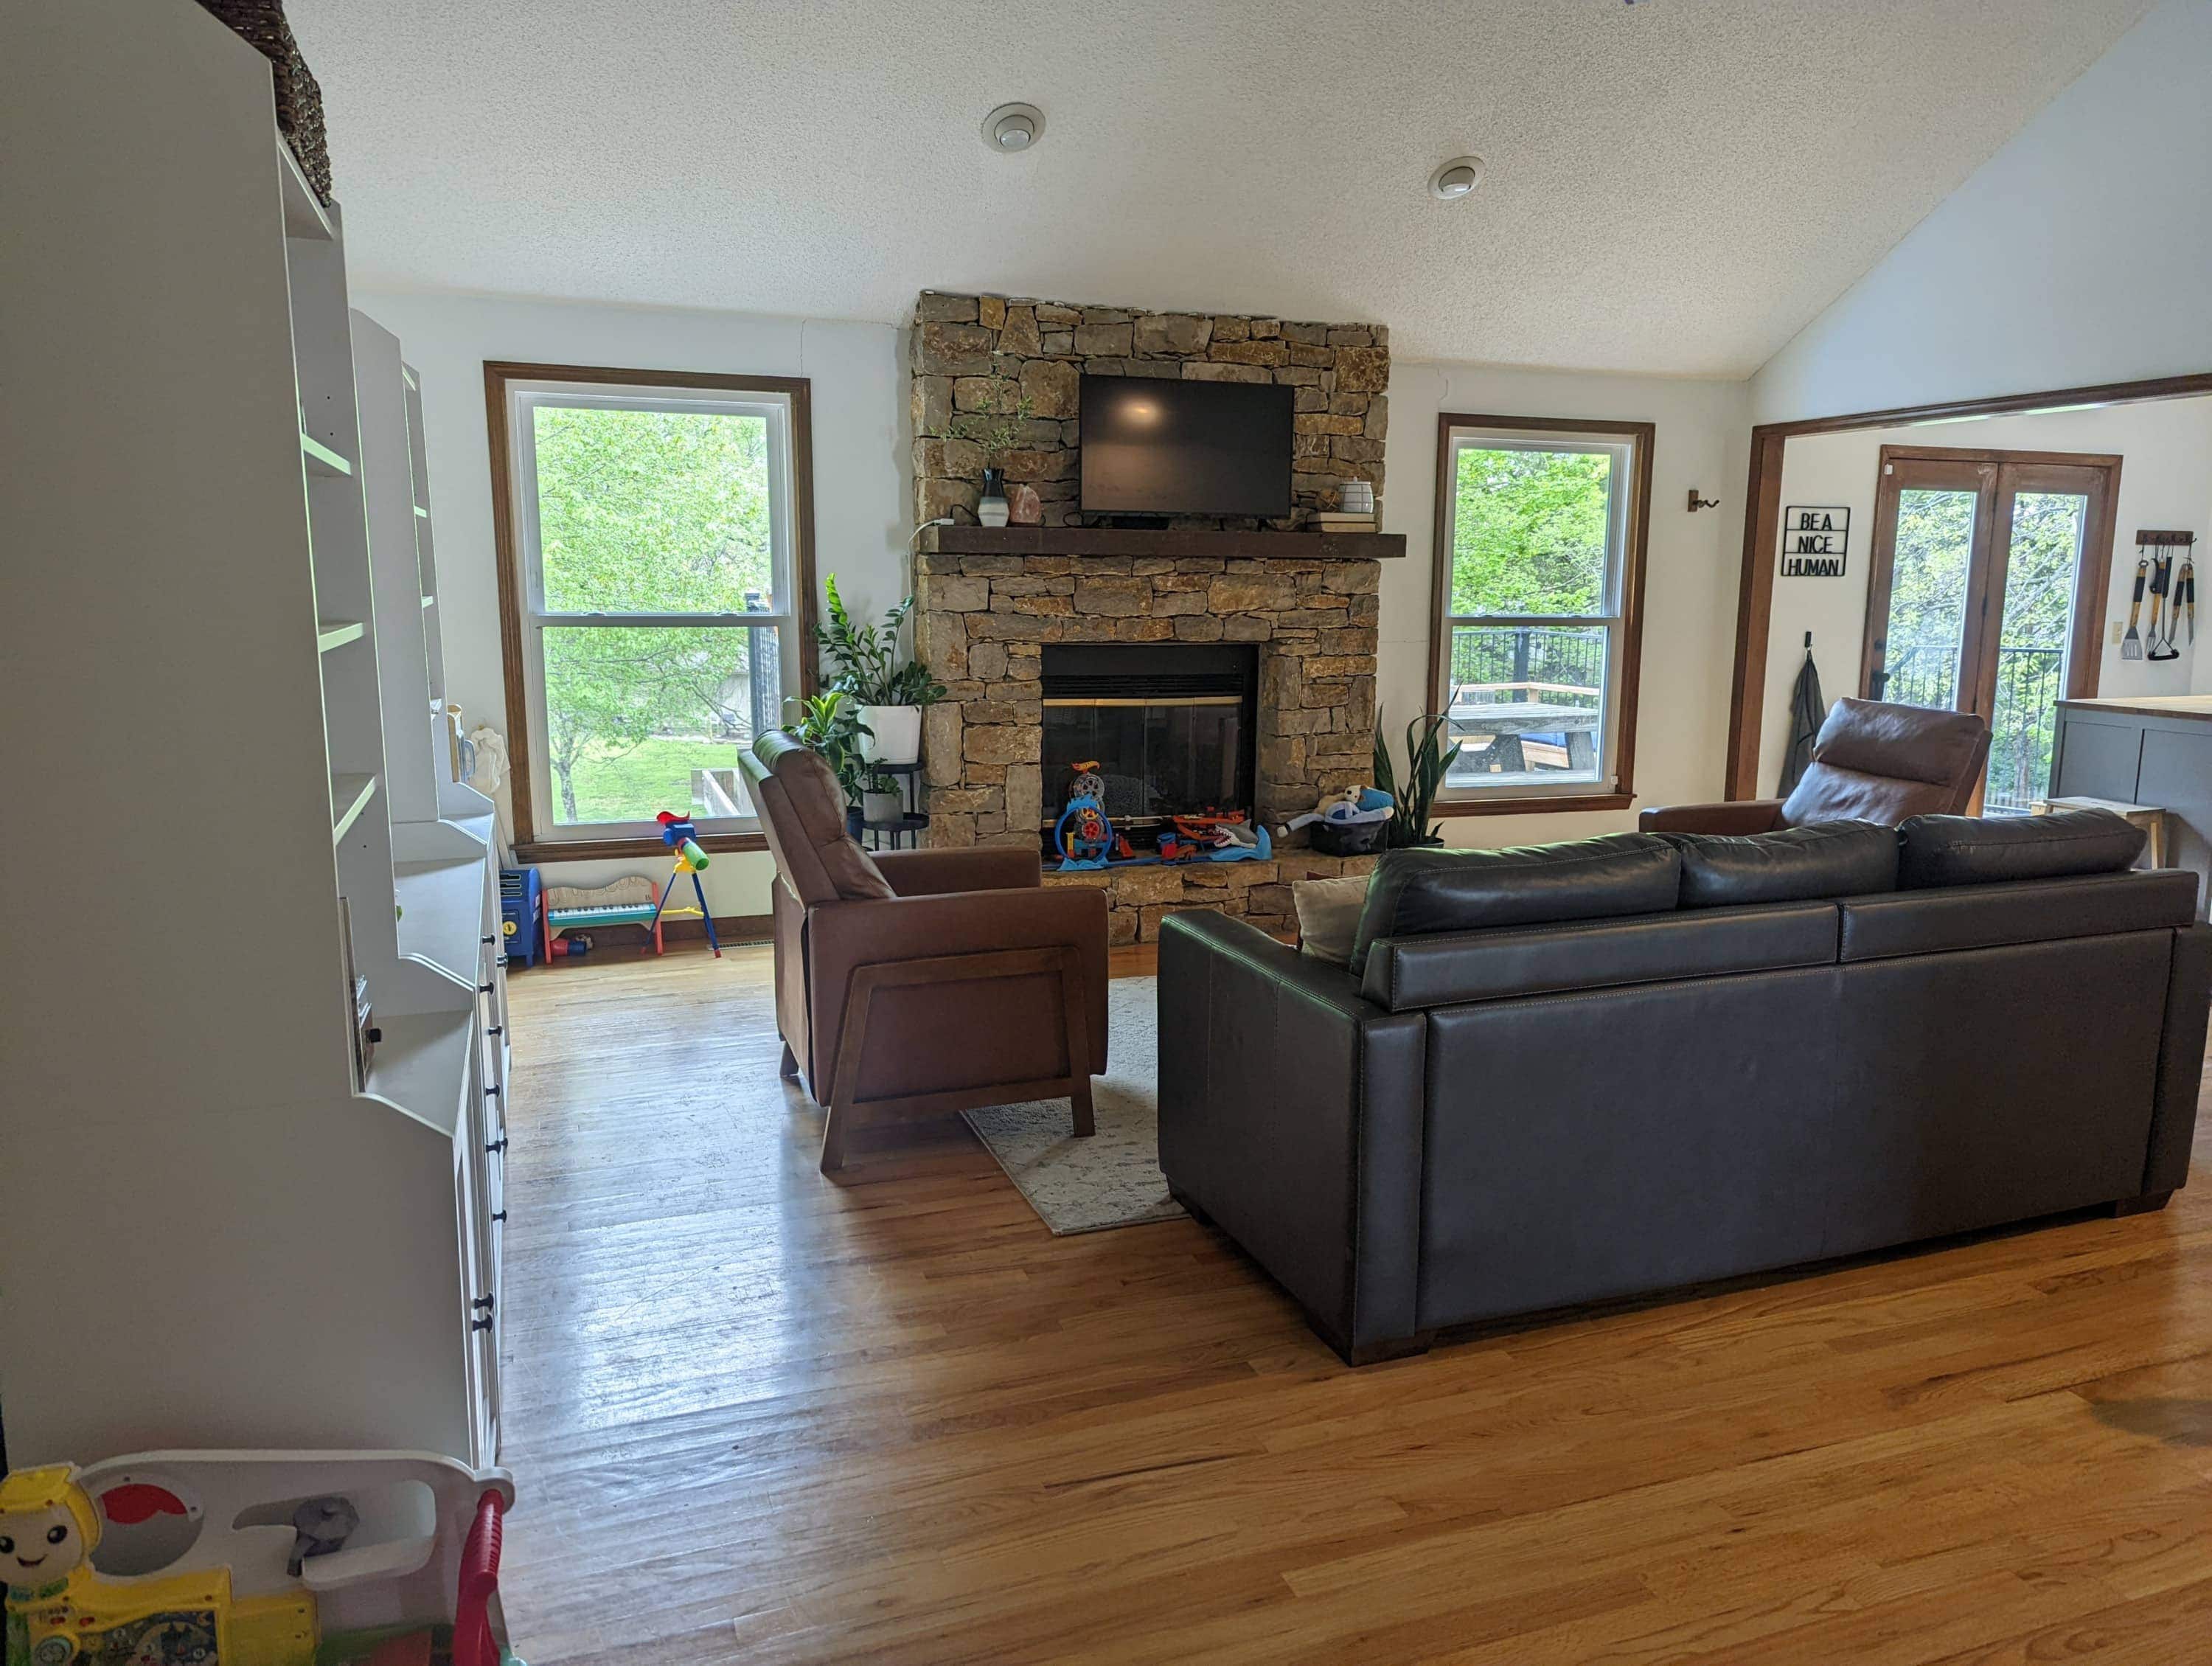

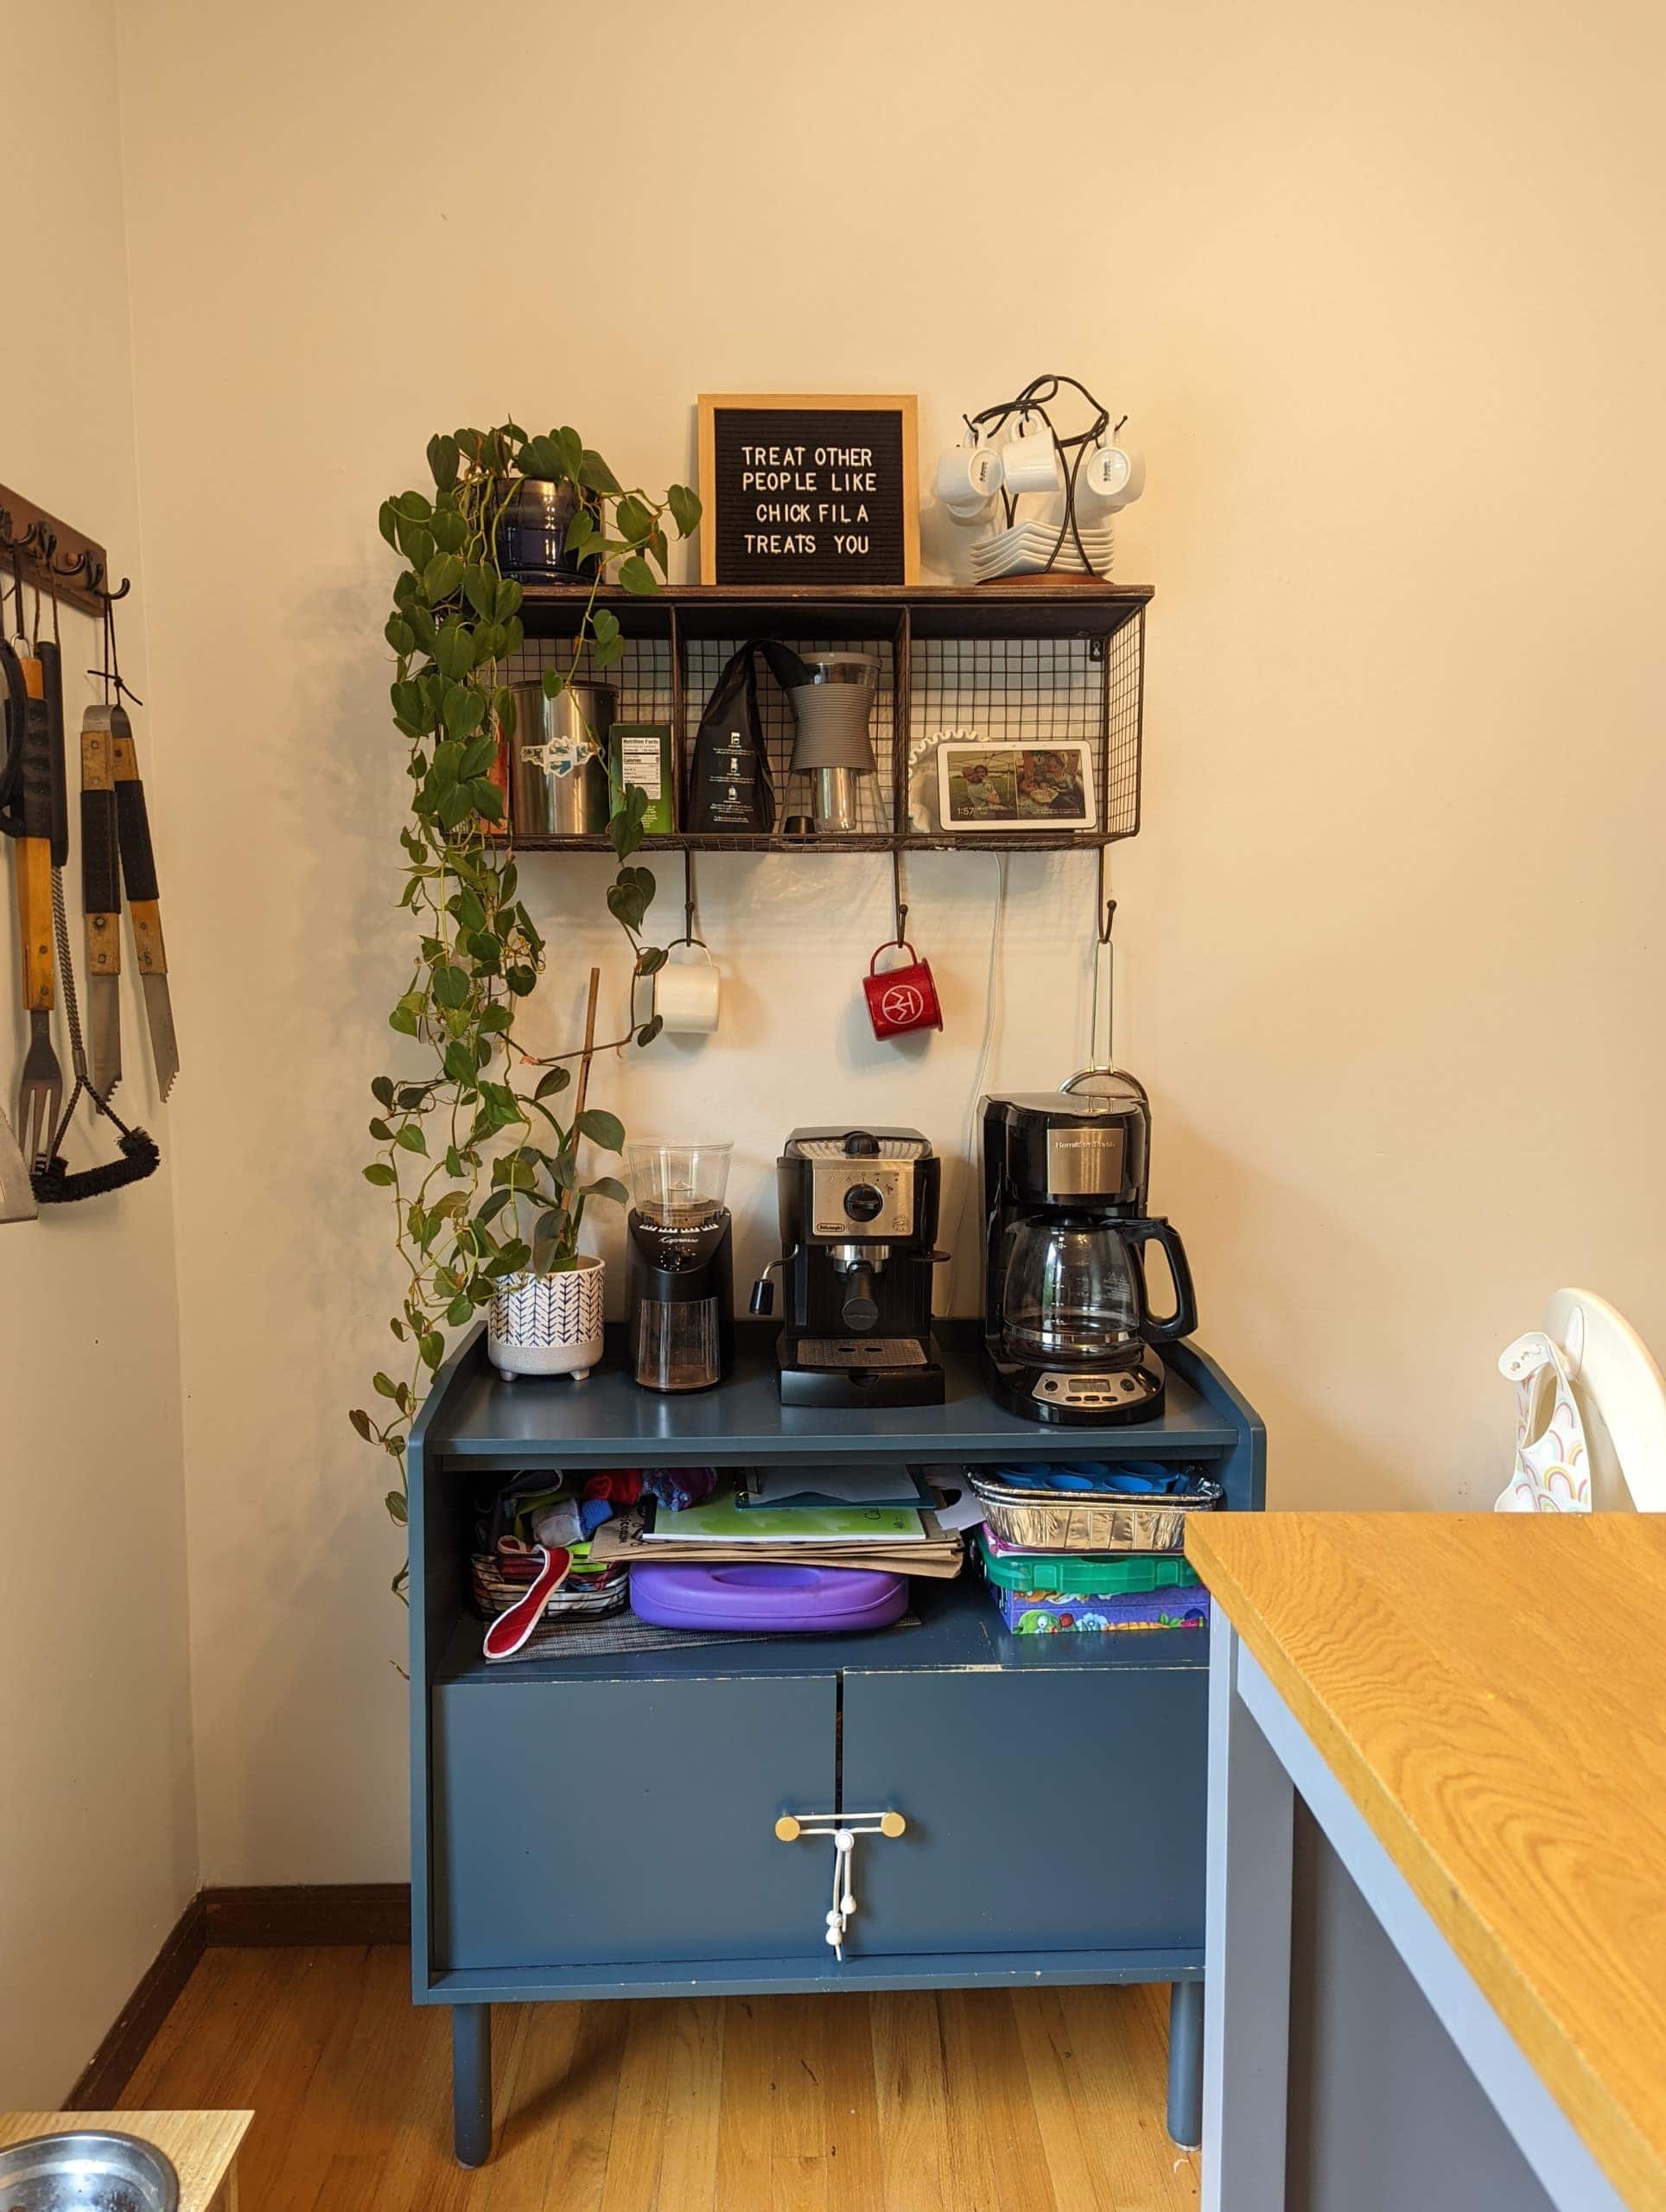
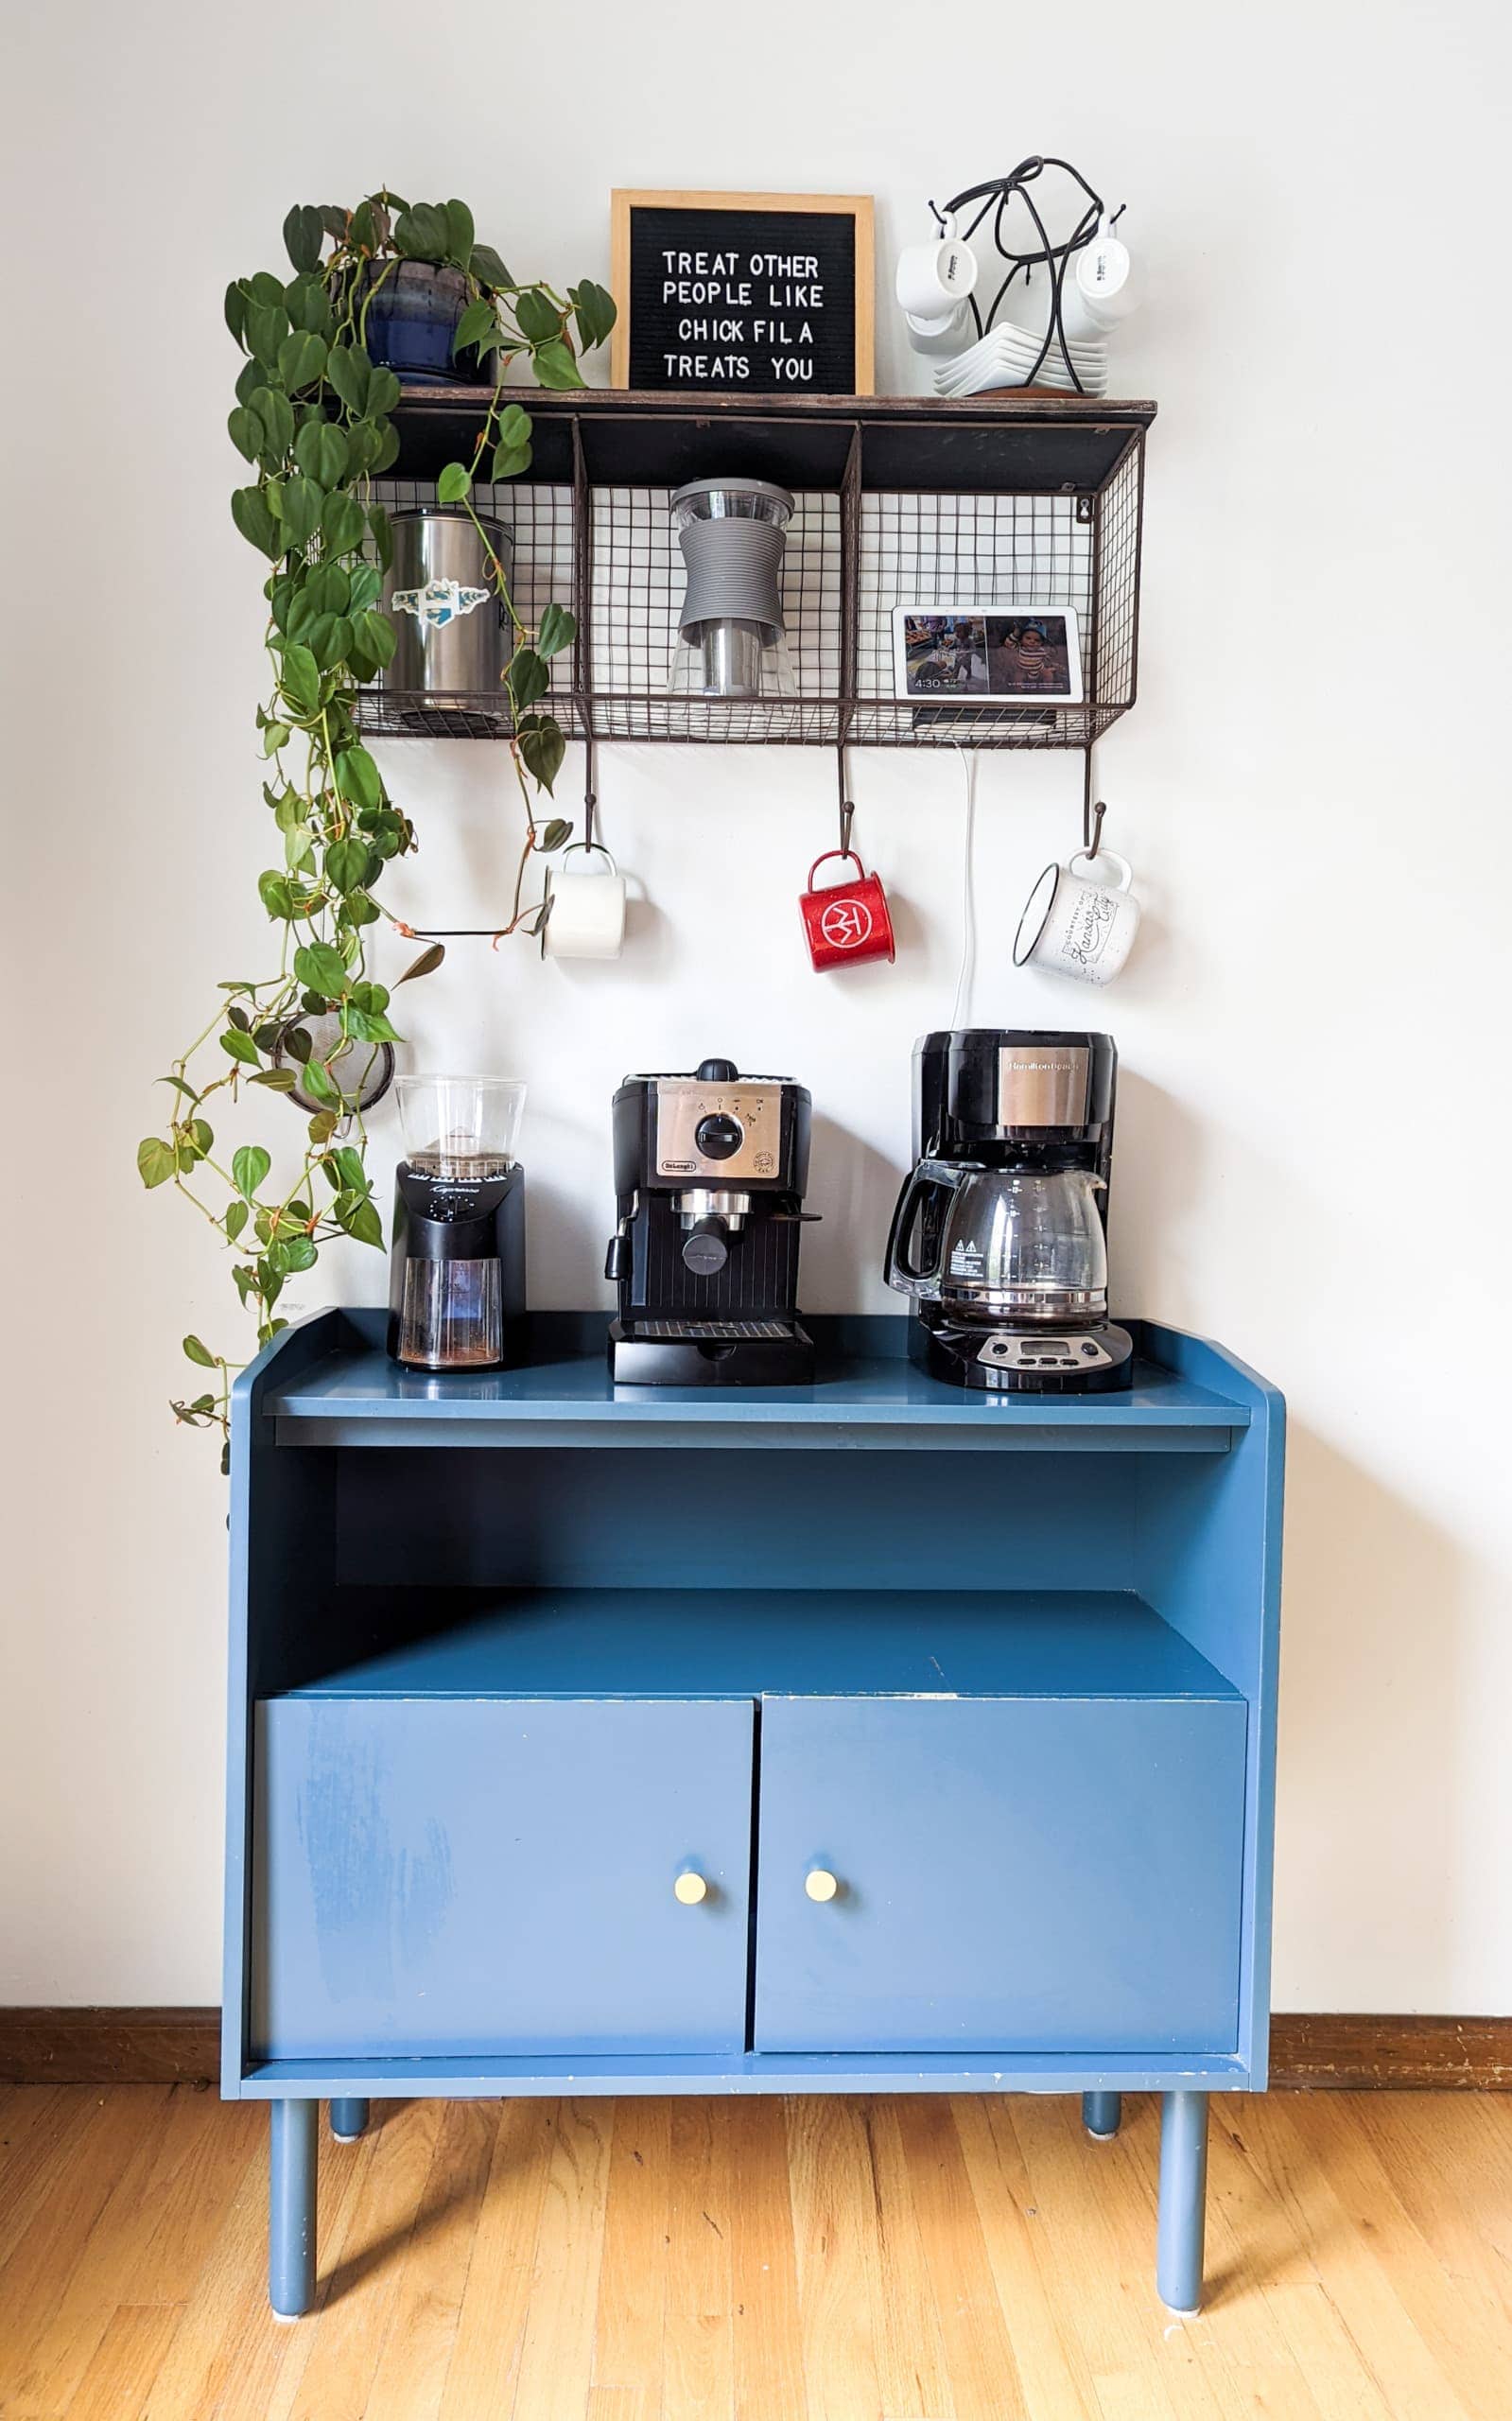
The first thing you will want to do is remove any visual clutter that is distracting from what you are trying to capture. Even though I have three small kids and two dogs, I don’t necessarily want to capture all of their toys, dog beds, and shoes in my photos.
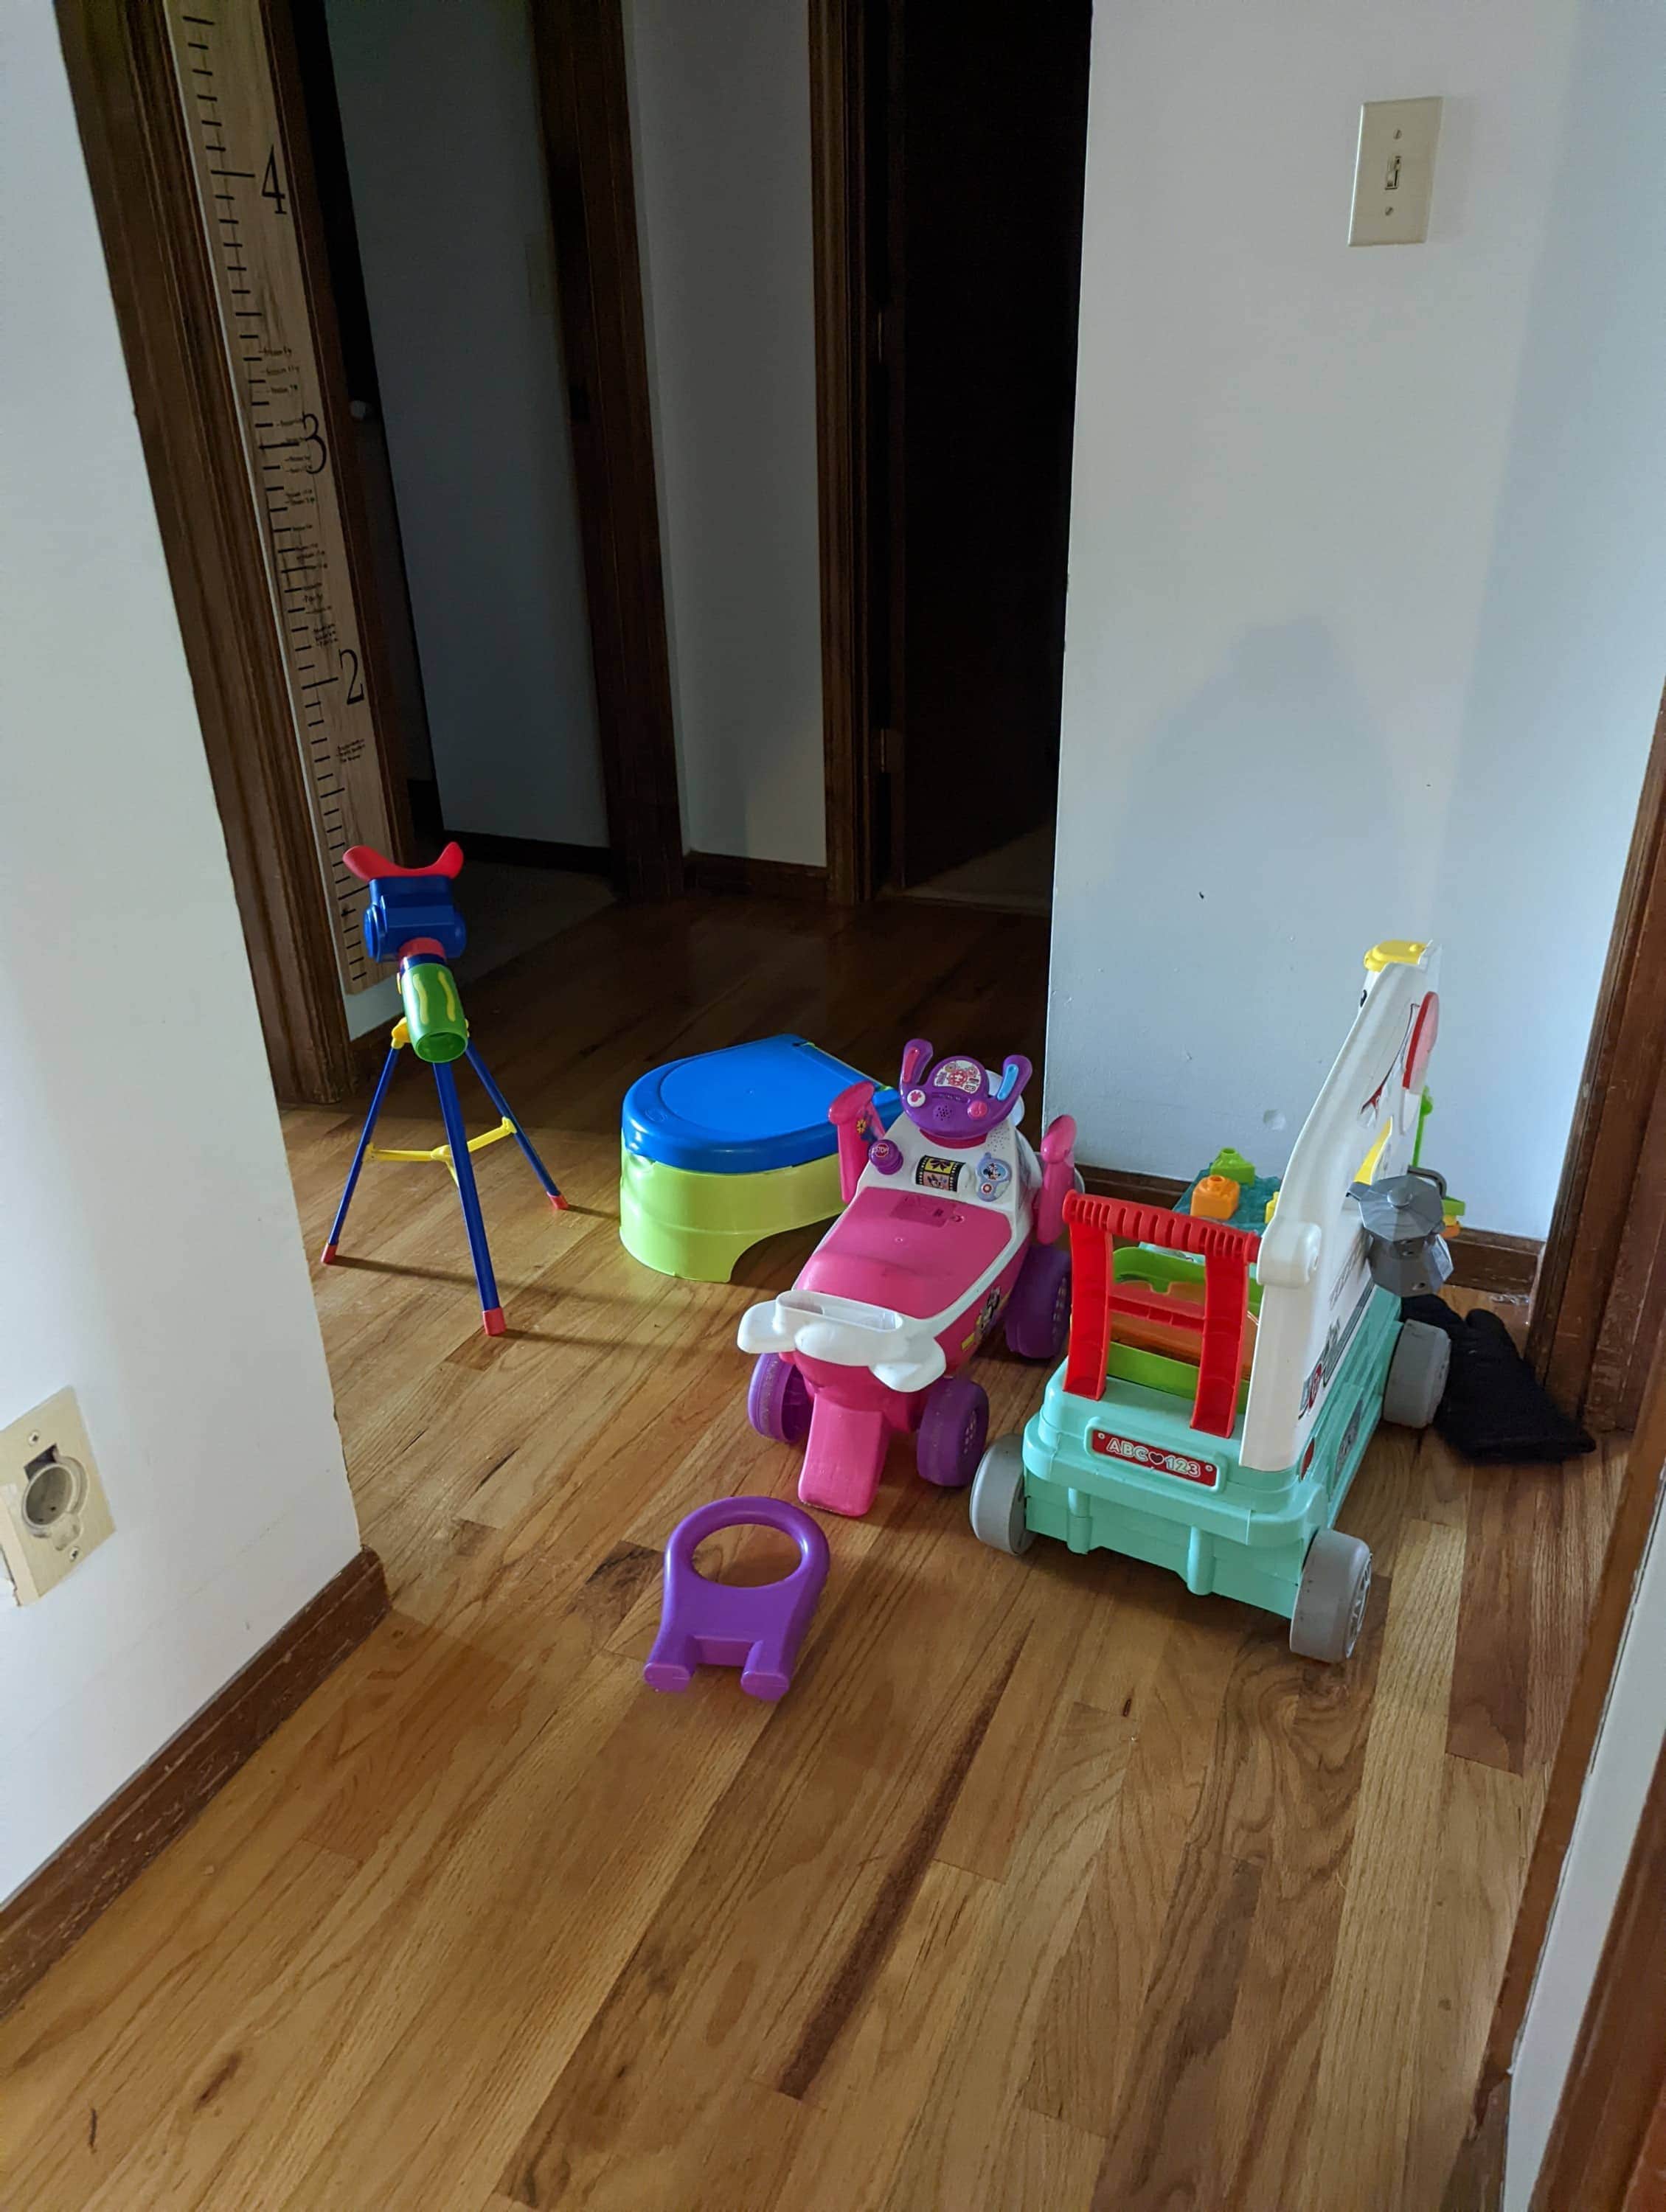
This is as simple as throwing things out of the frame. I decided my hallway was the best option as a holding place. You can see from the two photos above how much cleaner and open it feels without all of that stuff around!
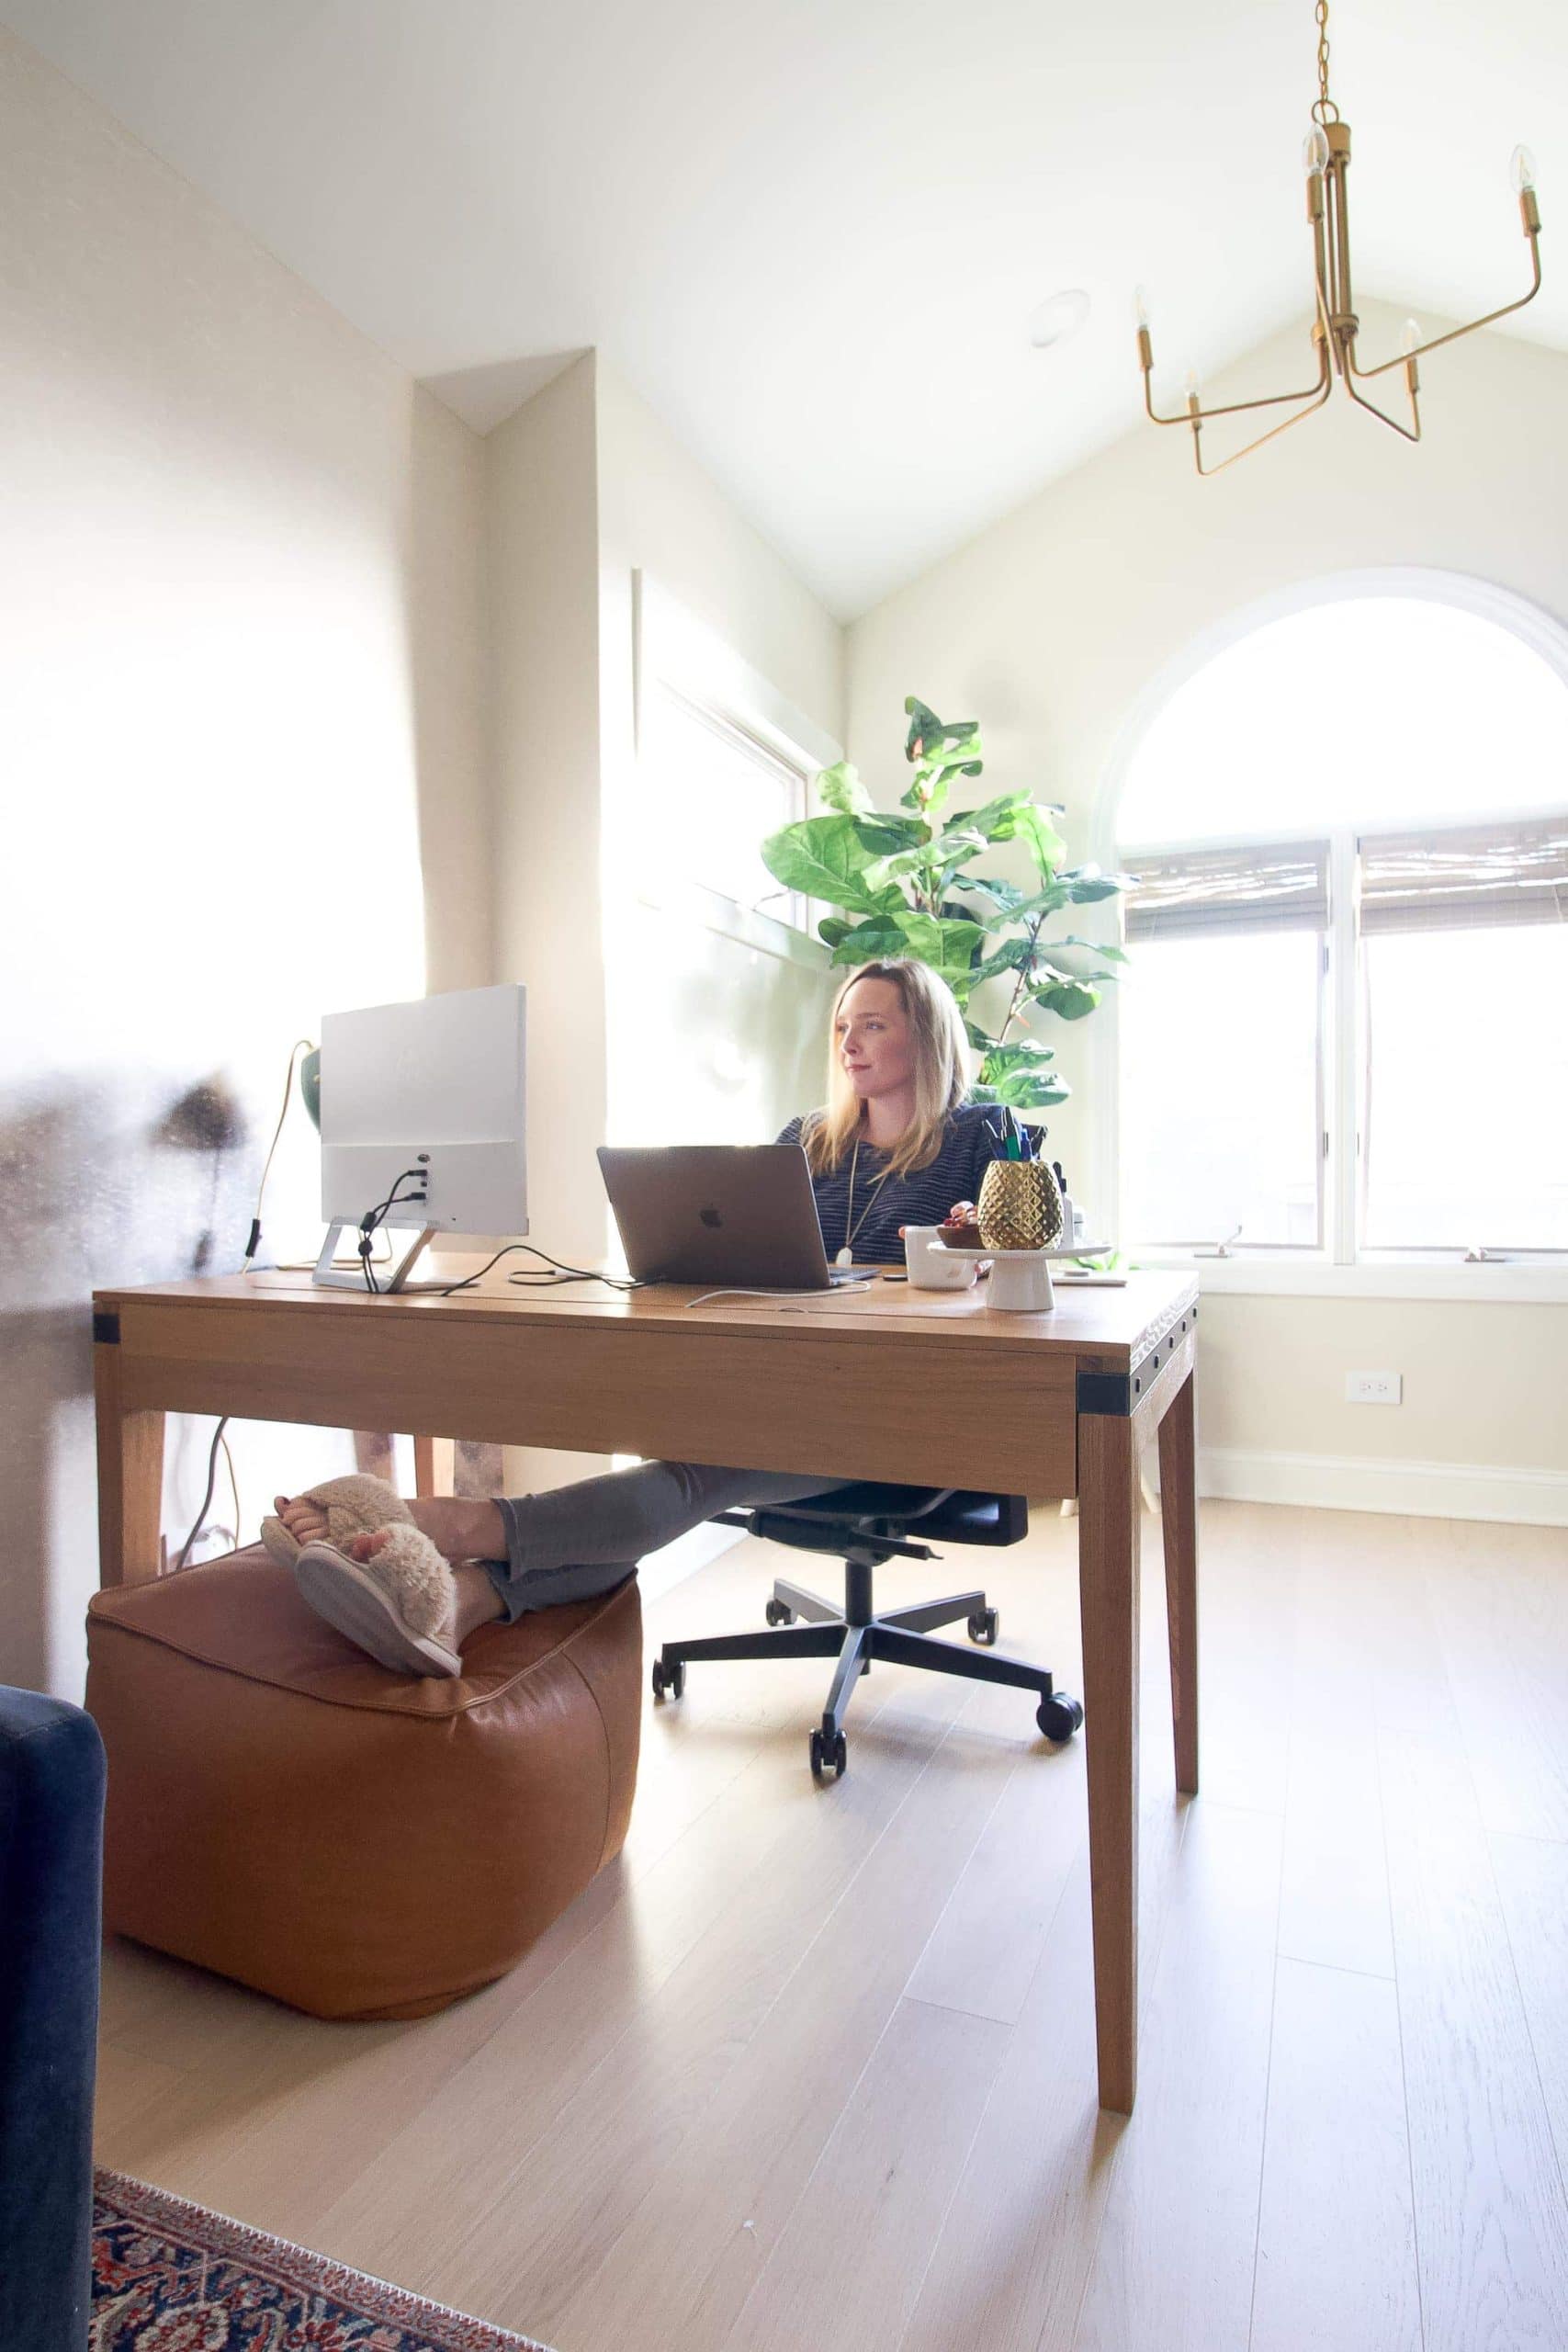
Use Natural Filtered Light
After you get your home ready to shoot, you want to find the best time of day to take photos of each room. Each room will look its best at different times of the day, depending on where the sun is. This can be frustrating, because you likely want to take all of your photos at the same time. But, I promise, it’s worth it to wait until each room gets that perfect natural filtered light!


Shooting with direct light (when the sun is streaming right into the room) will give you harsh sunrays and pick up every speck of dust. You can see in the photo on the left, the light was hitting the window and causing an awful sun flare. I waited until the sun wasn’t streaming directly through the window to get my second shot. Sometimes an overcast day is the perfect time to get a shot of a room.
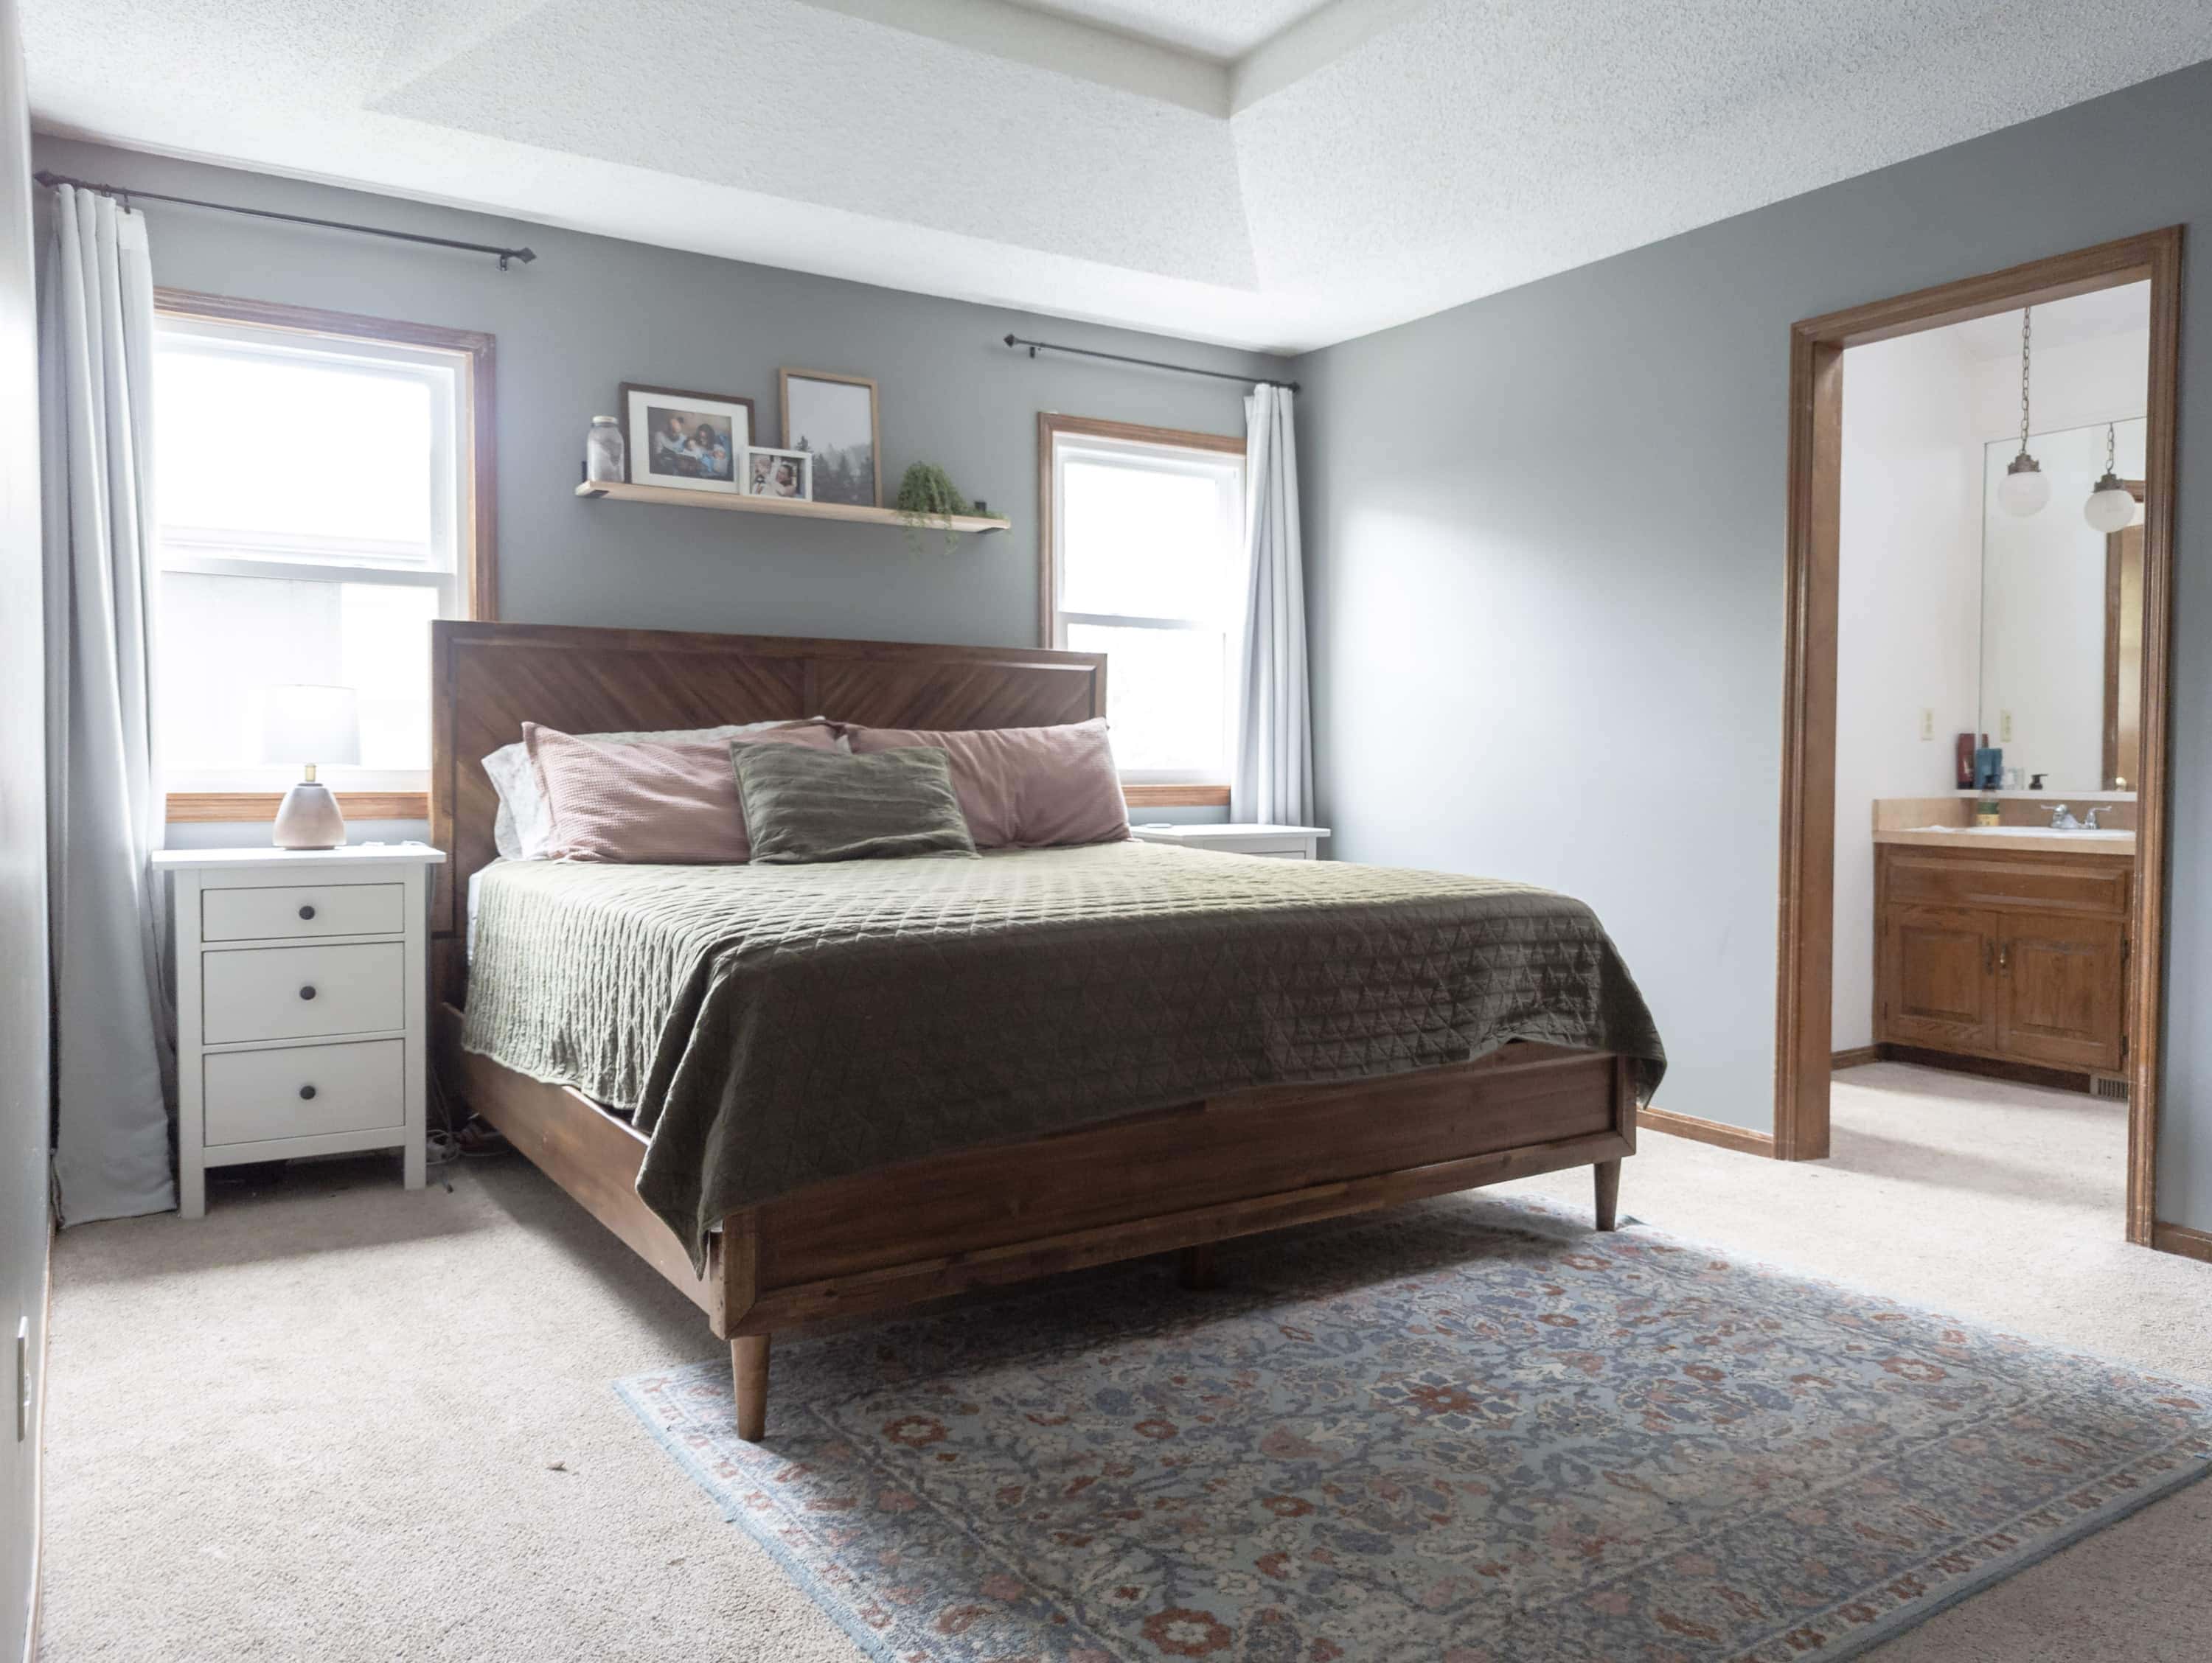
Turn Off Lights
While you might think that turning on the lights will give better lighting, the opposite is actually true. Unless you are in a windowless room, make sure all of the lights are turned off. Overhead lighting will give off a yellow hue, create glare, and add shadows.
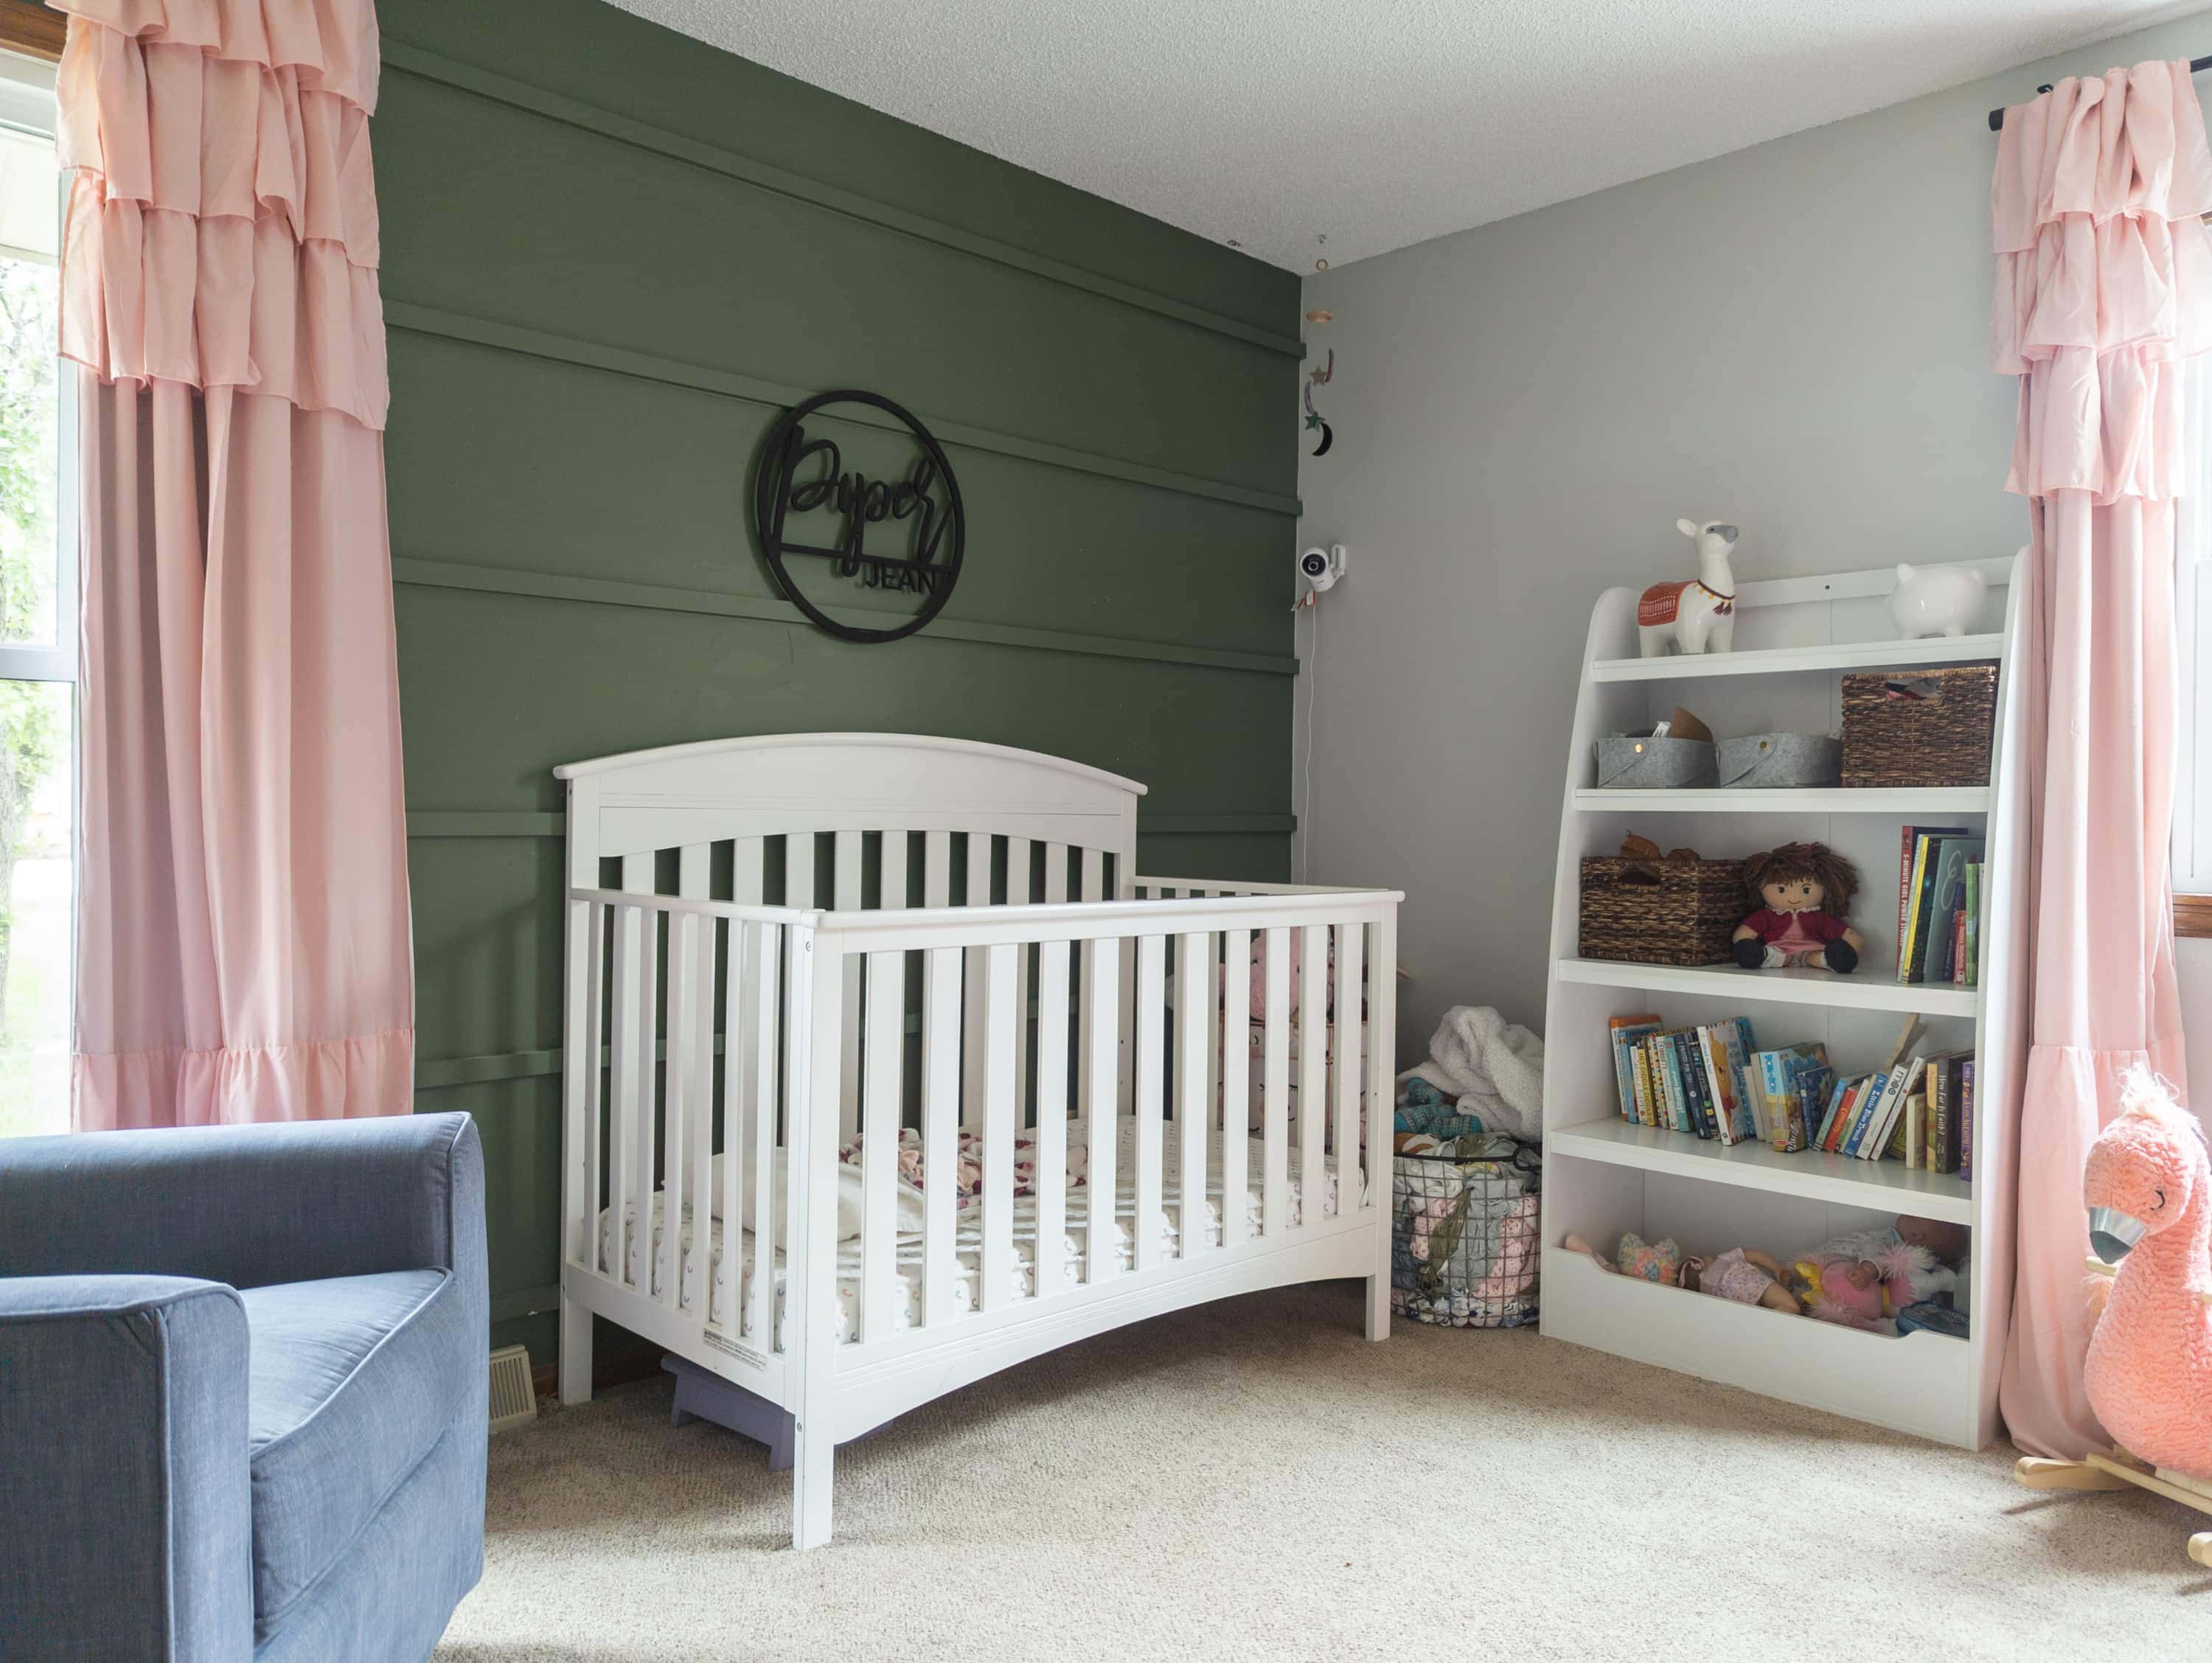
Turn off all of the lights, open up your blinds, and let that natural light stream on in!
Clean Your Camera Lens
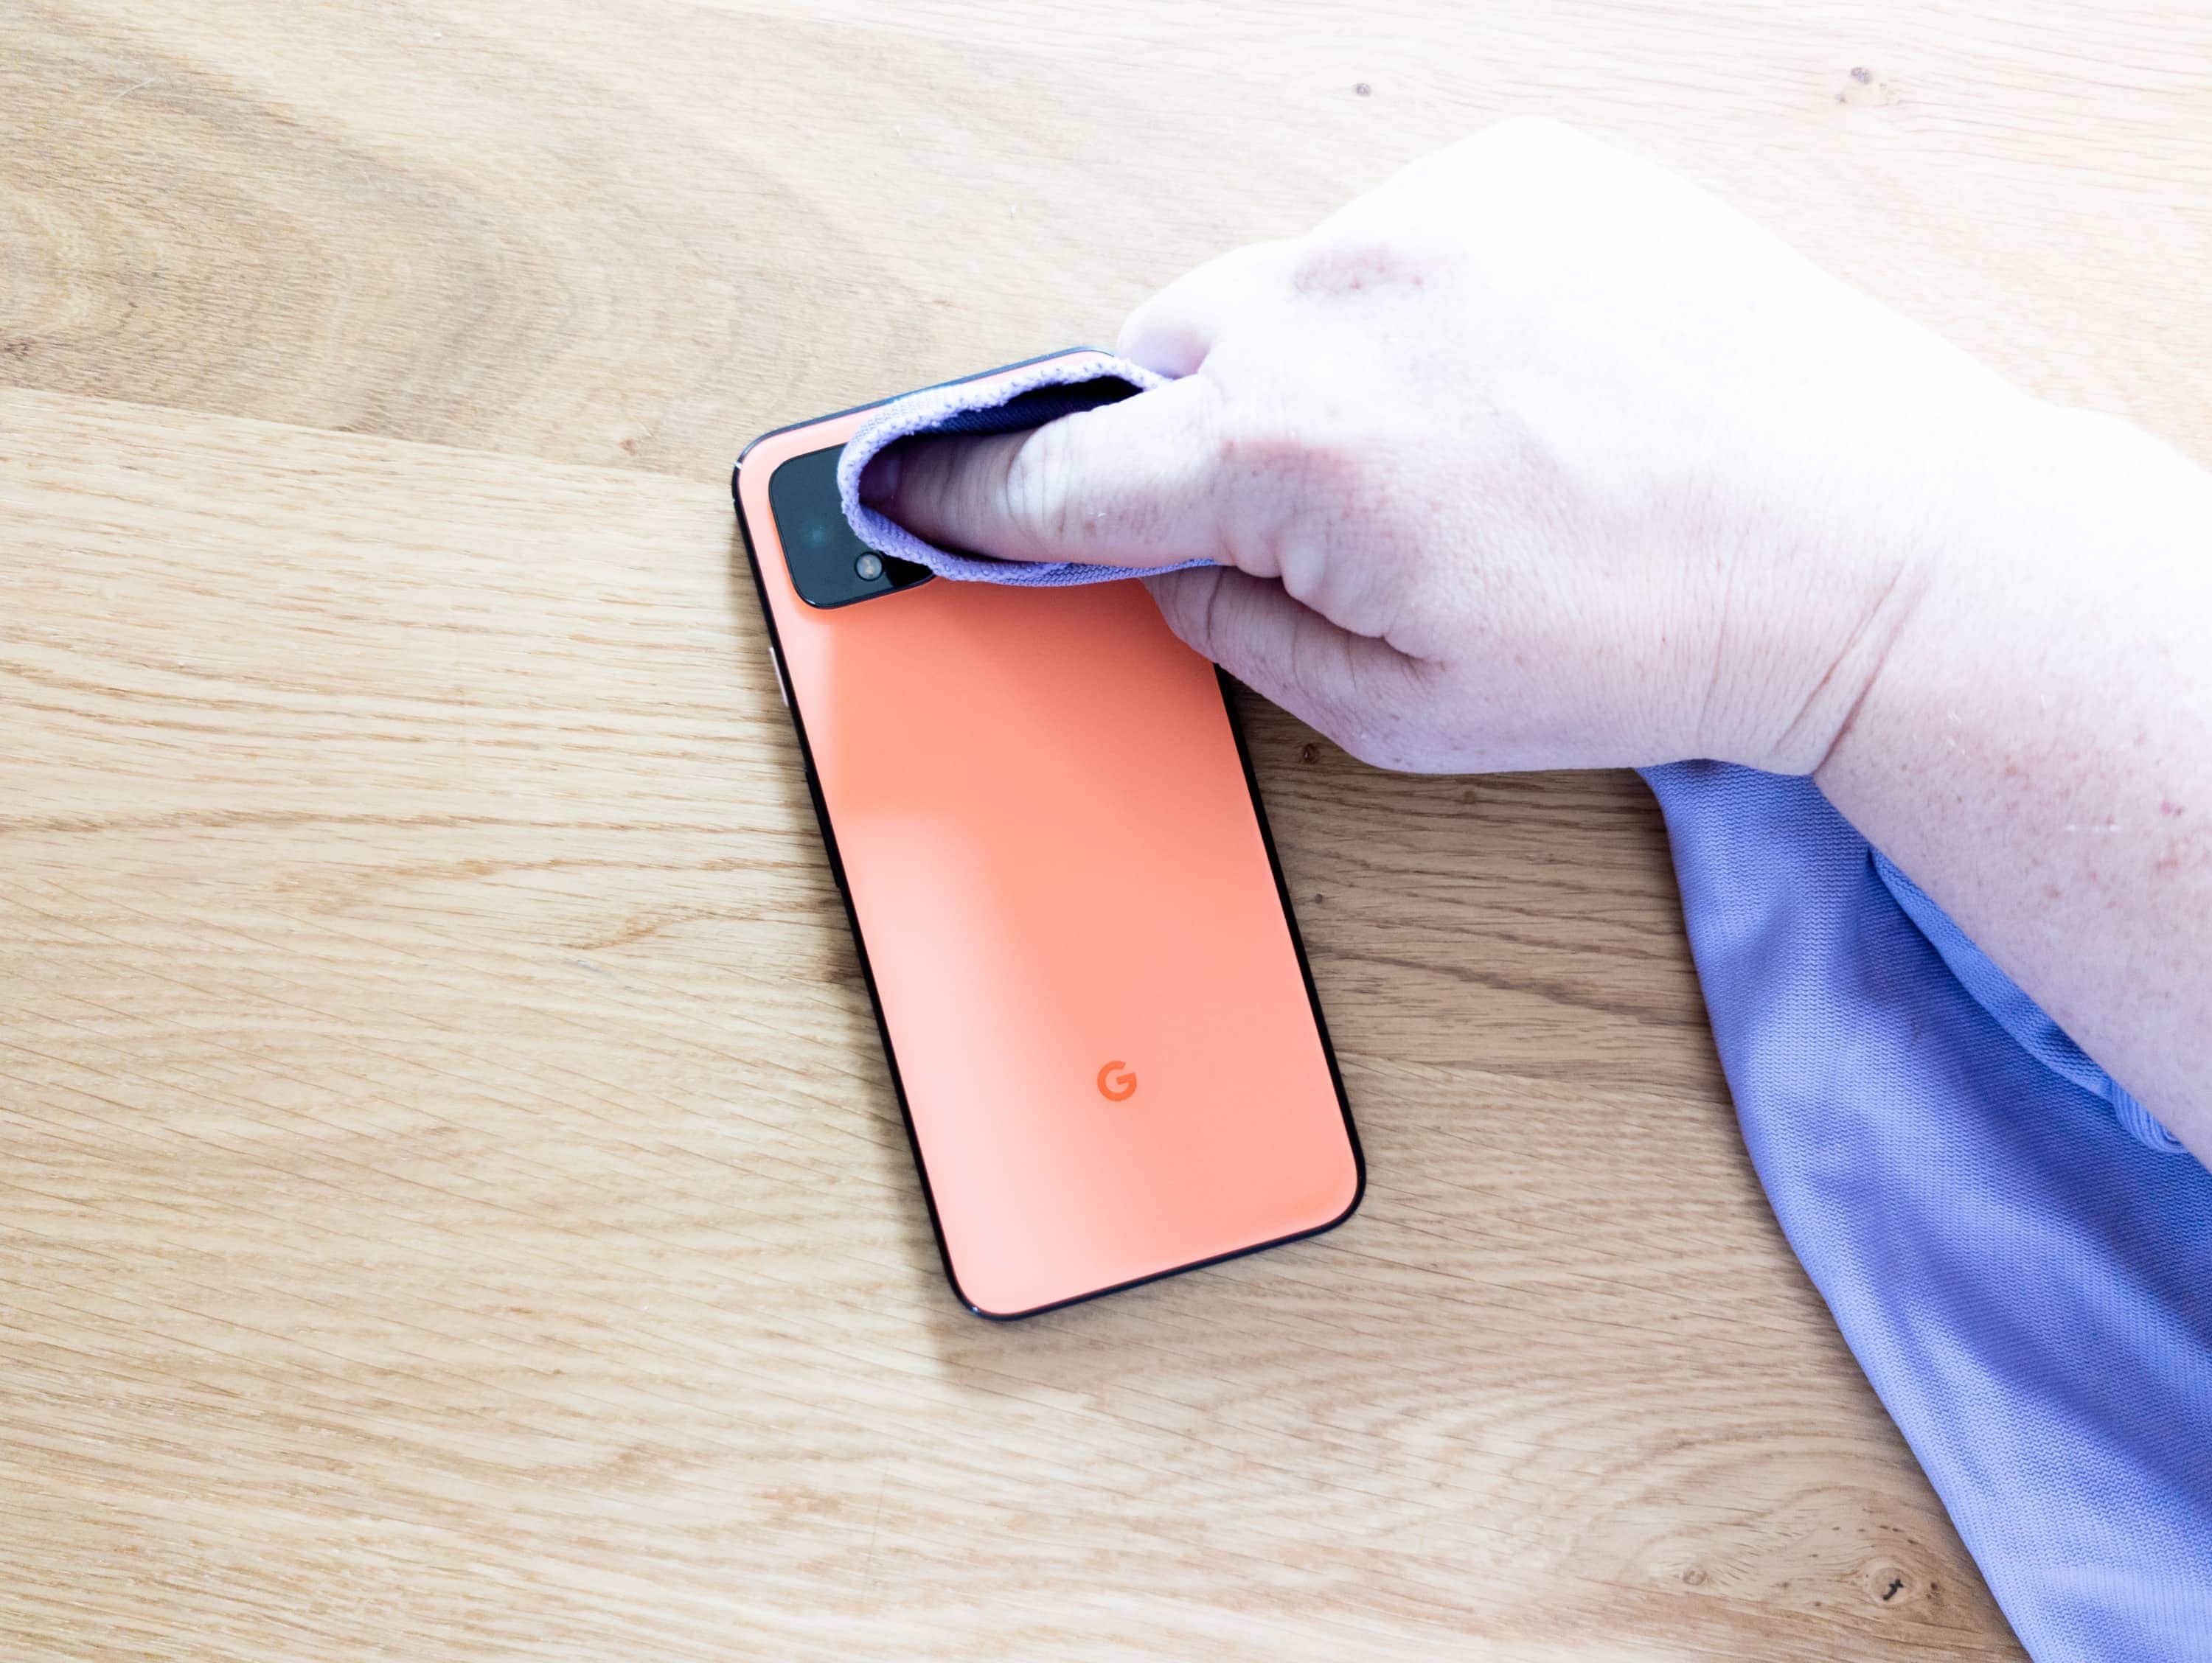
One of the easiest ways to start improving every photo you take is by cleaning your phone’s camera. Before I snap any photo, I take a swipe over my camera with my shirt and make sure any fingerprints and dust are removed. If your photo is looking hazy, that might be the answer to your problem. It is easy to forget how dirty your phone can get during everyday life.
Shoot in Raw

As I mentioned earlier, phone cameras have come so far, and one of my favorite features is the ability to shoot in raw. A raw file is when the data is not compressed, which gives you the ability to manipulate the image when editing.
The only downside is that shooting in raw will take up more storage on your phone. I recommend only turning this on when you know you will be editing the photos. It probably isn’t necessary for those 500 pictures I take of my kids a day! You can easily switch this on and off in your camera settings.
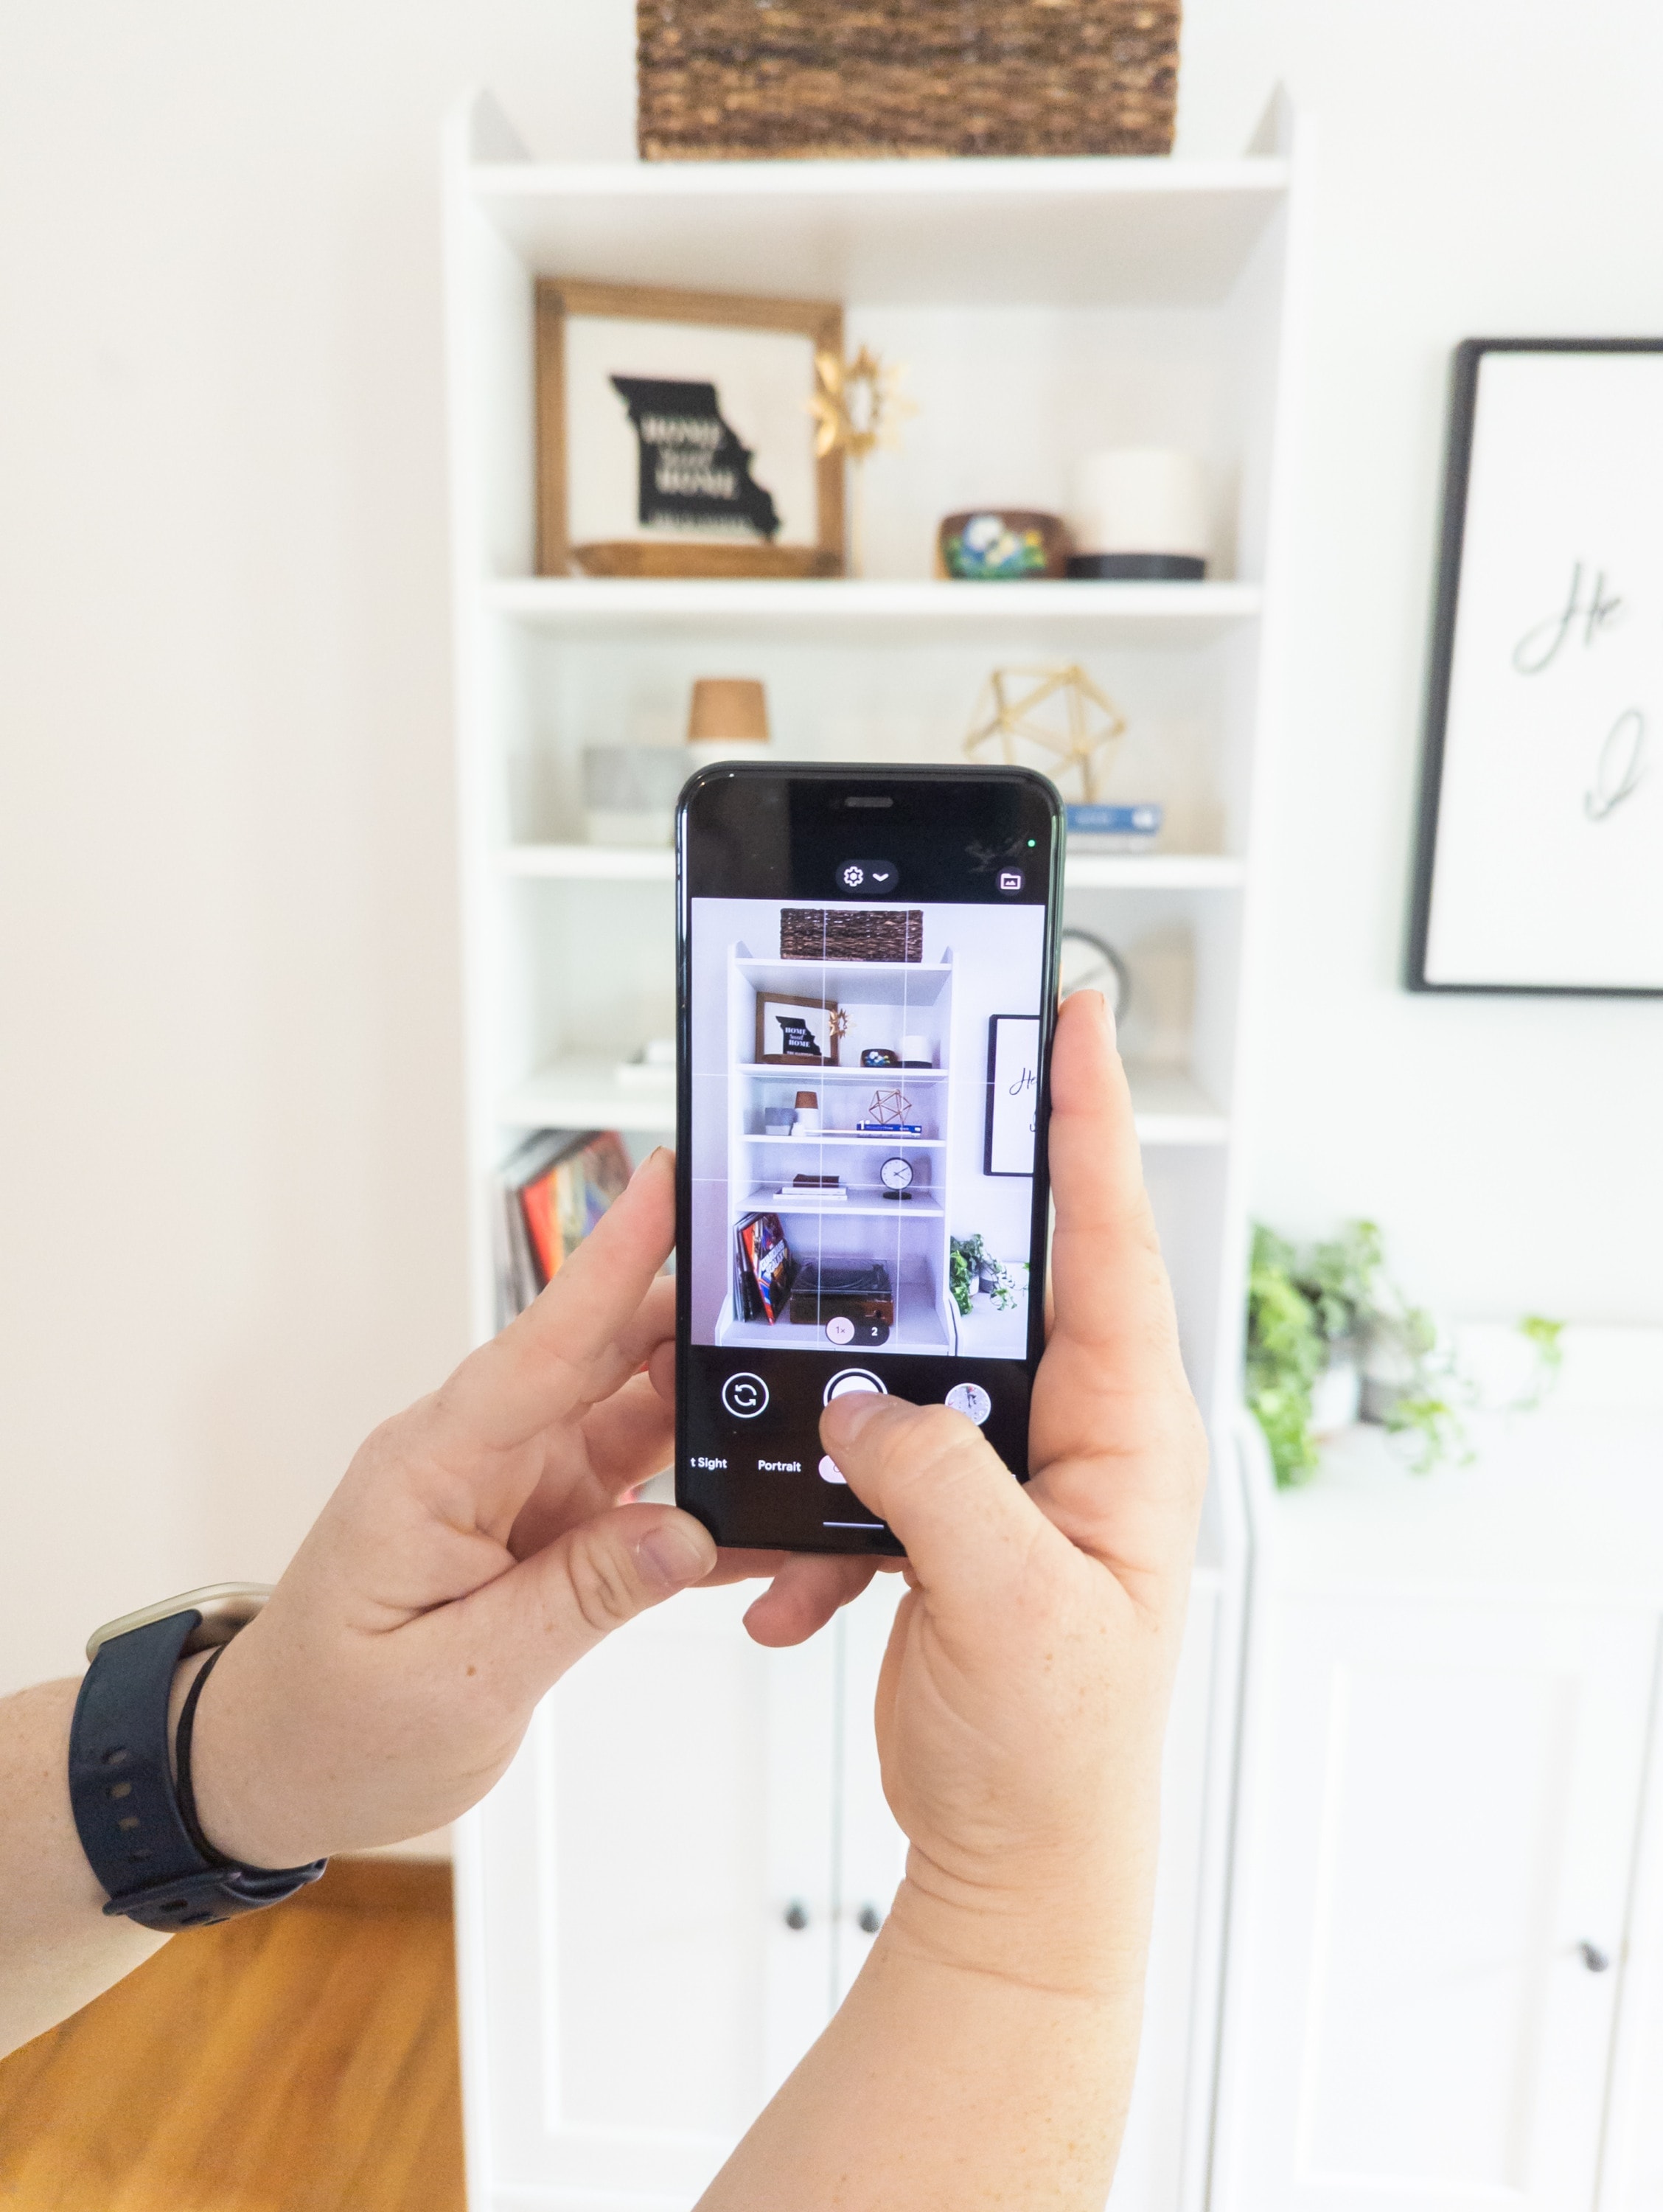
Get Low To The Ground

When it comes time to actually take photos, get low to the ground. If you take photos standing straight up, everything will be distorted and it will be an overhead view of your couch, chairs, etc. If you get low to the ground (usually on your knees), then your room will look straight and not distorted.
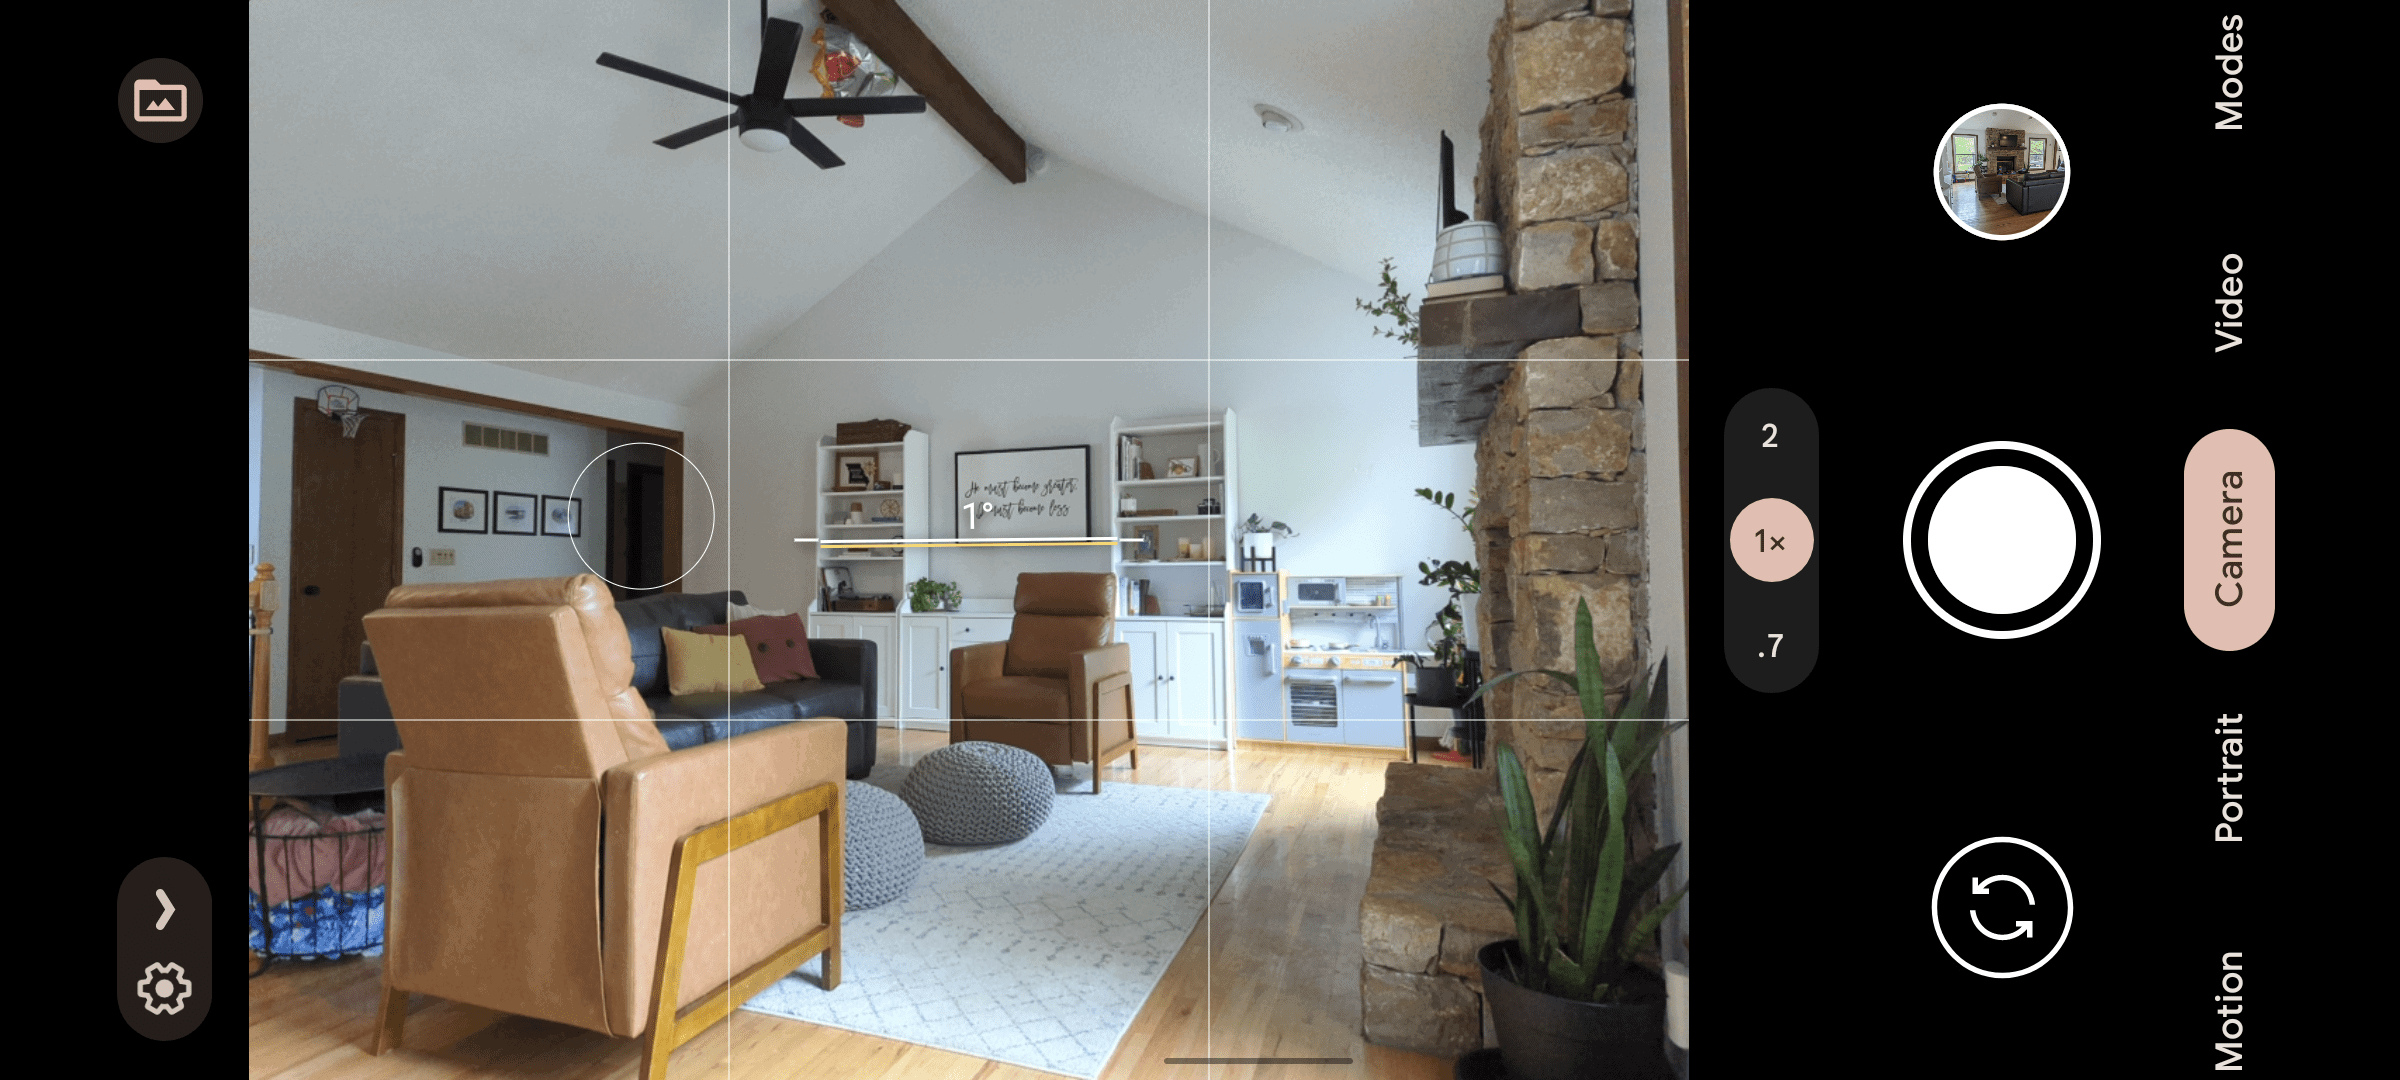
One tip is to turn on the grid lines on your camera. You can do this in your camera settings. Then, when shooting, you can make sure those lines are all straight so you have less editing later on.
Press the Dark Area
A quick way to get your lighting to be more even is to simply touch the darkest area of the photo. This will readjust your camera’s lighting settings and help create a more even tone.


The same goes if you are shooting and the photo seems to be too dark. You can tap on the lightest part of the photo to even out the lighting. You can see in the screenshots above where I tapped the screen and how the lighting was adjusted with a simple touch.
Edit Your Photos
This is where the magic finally happens. If you want to make any photo pop, you have to edit it! This is true for a DSLR or a photo taken on your phone. I recommend using the app Lightroom Mobile. The basic version is free and should give you all the tools you need.


Here is where you will be able to manipulate your photos under the “Light” tab. I often play around with each setting (exposure, contrast, shadows, etc.) until it looks just right. Once I have it looking the way I want, I save it as a preset so I can easily edit the rest of my photos using the same effects. This ensures a cohesive look.
Start Shooting!
I hope that this demonstrated how you, too, can take beautiful pictures of your home. The best place to start is to pick up your phone and start practicing. The more you play around with it, the better you’ll get at taking photos of your home.
And by the way, ALL of these tips work for any photos that you take! So go forth, take pictures of your family, your food, your pets….. and make them the best they can be!
Lindsey
You may also like…
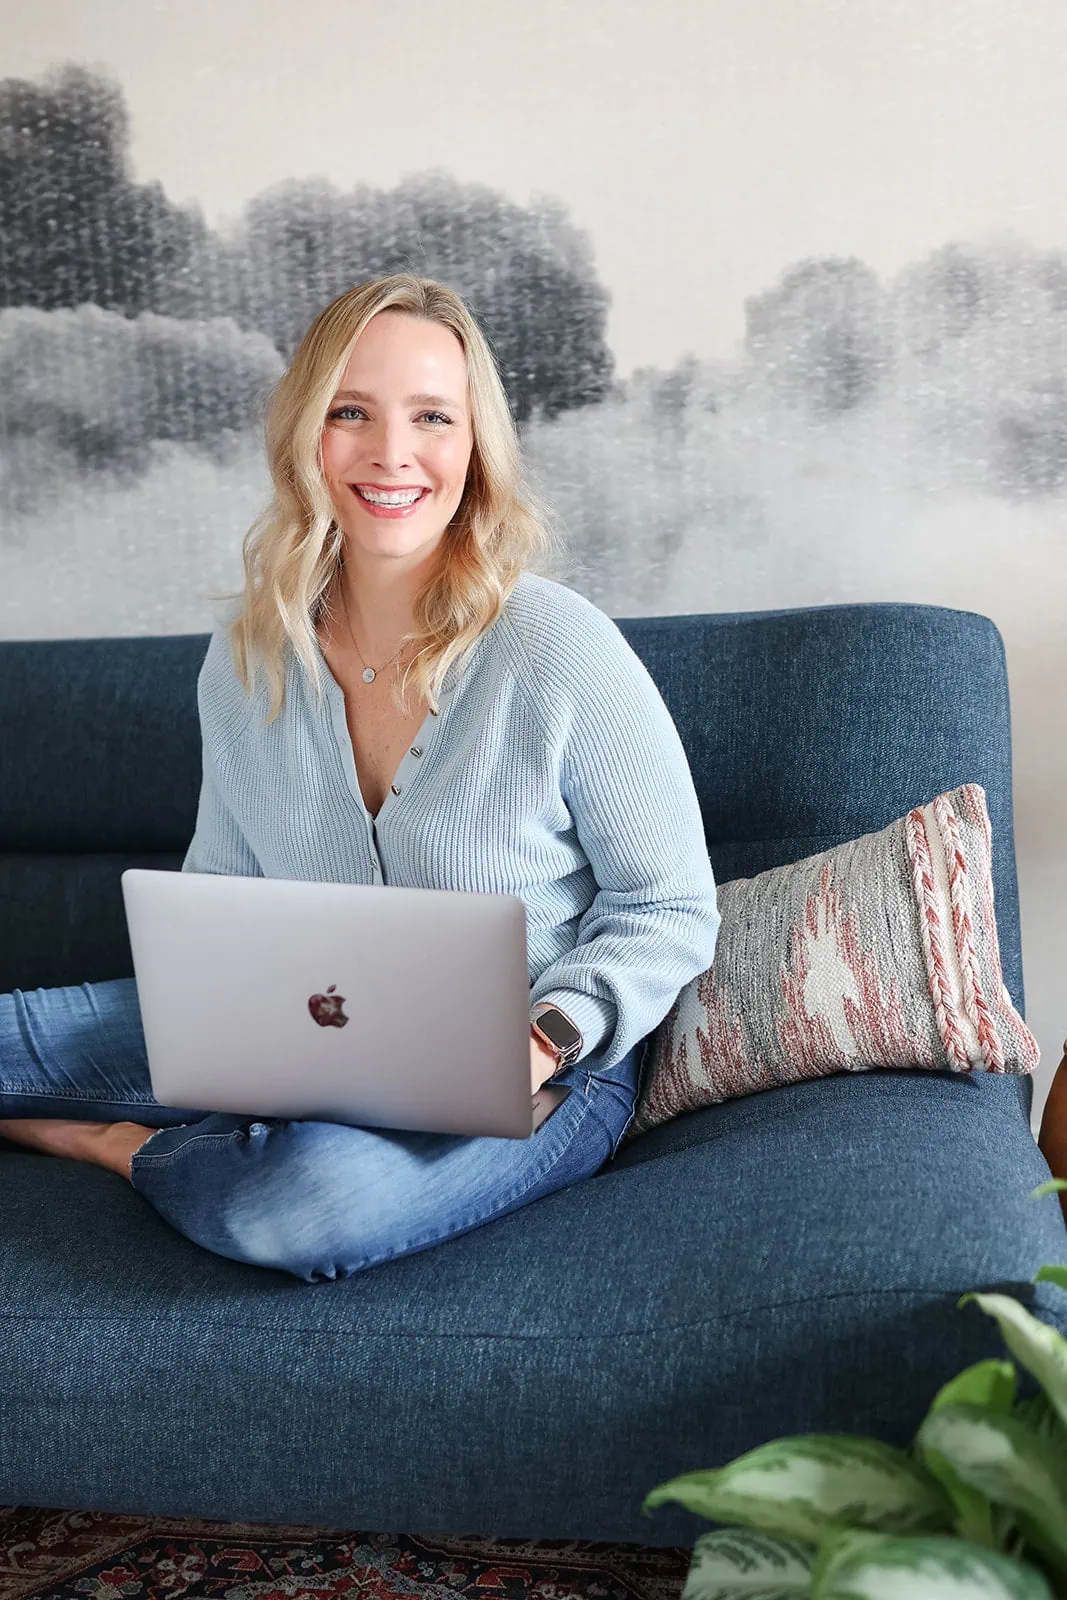


Hey there!
I’m Casey Finn, the voice behind The DIY Playbook. I’m married to Finn & mom to Rory and Ellis. Together we’re creating our dream home in Chicago, one DIY project at a time.