Installing a Closet System in Our Office
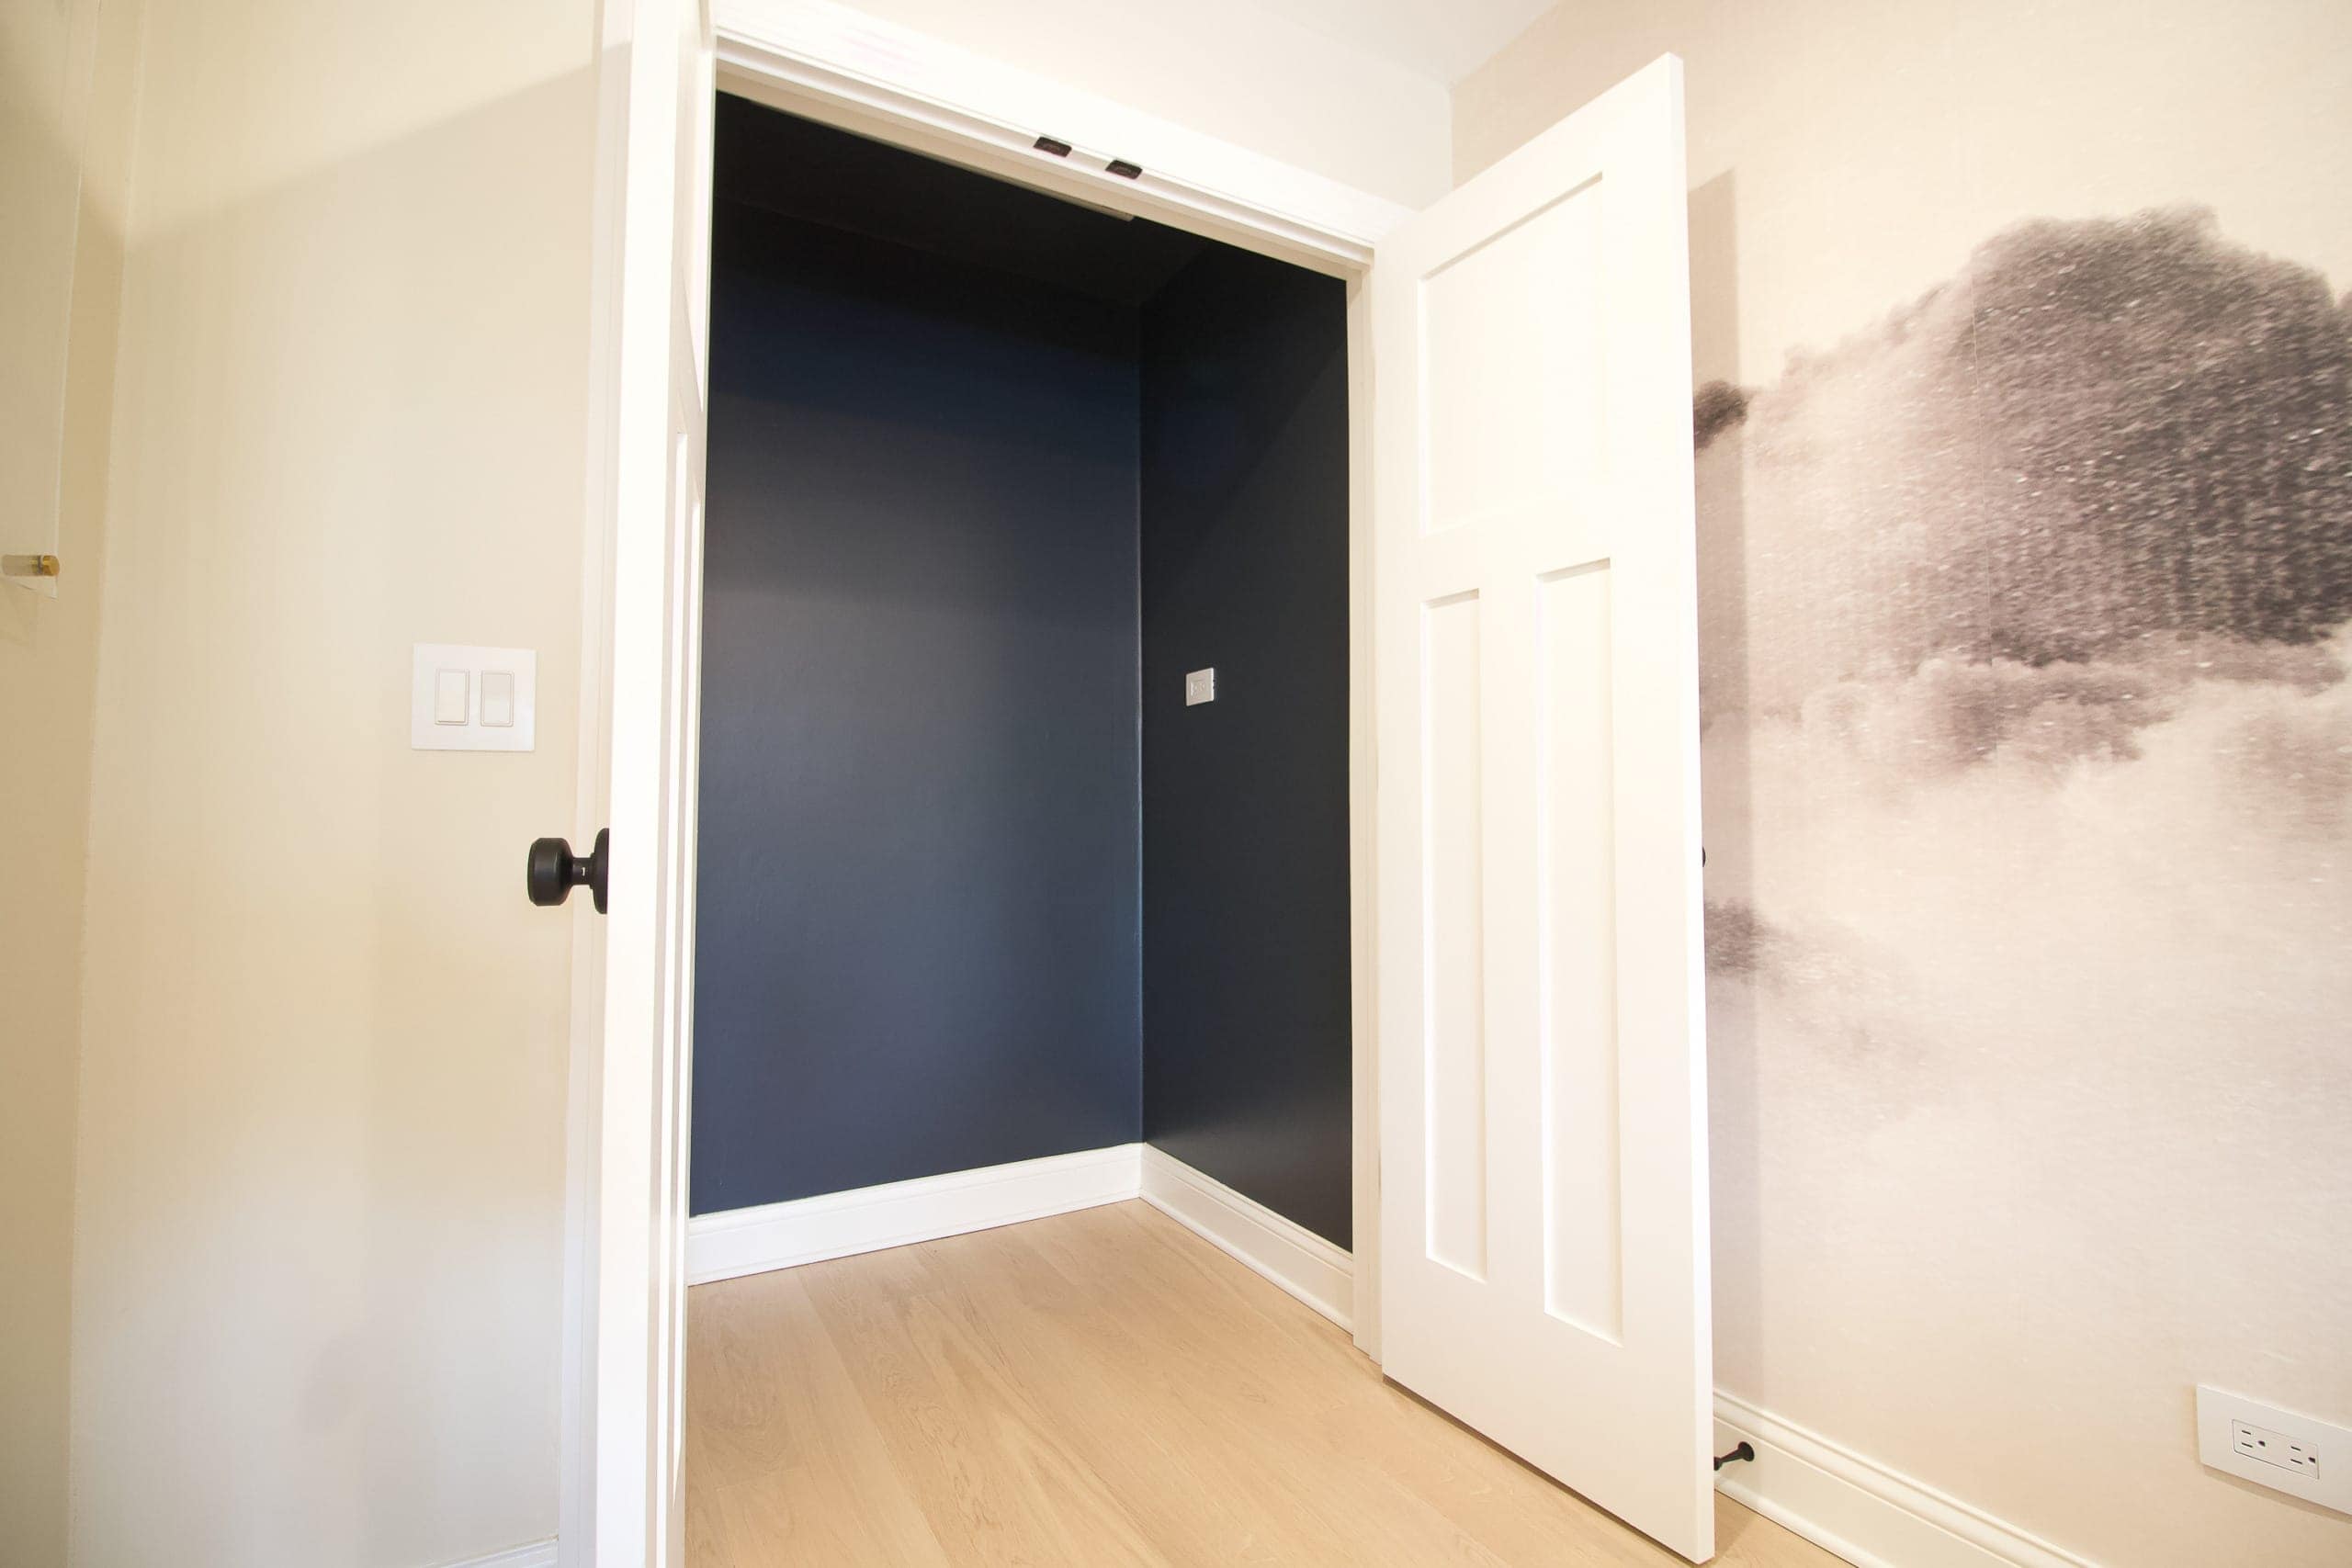
Last week, I shared the gameplan for our empty office closet. Our goal was to utilize the space to the best of its ability and create a closet plan that would be adaptable over the years. In the end, I was really happy with what we created…
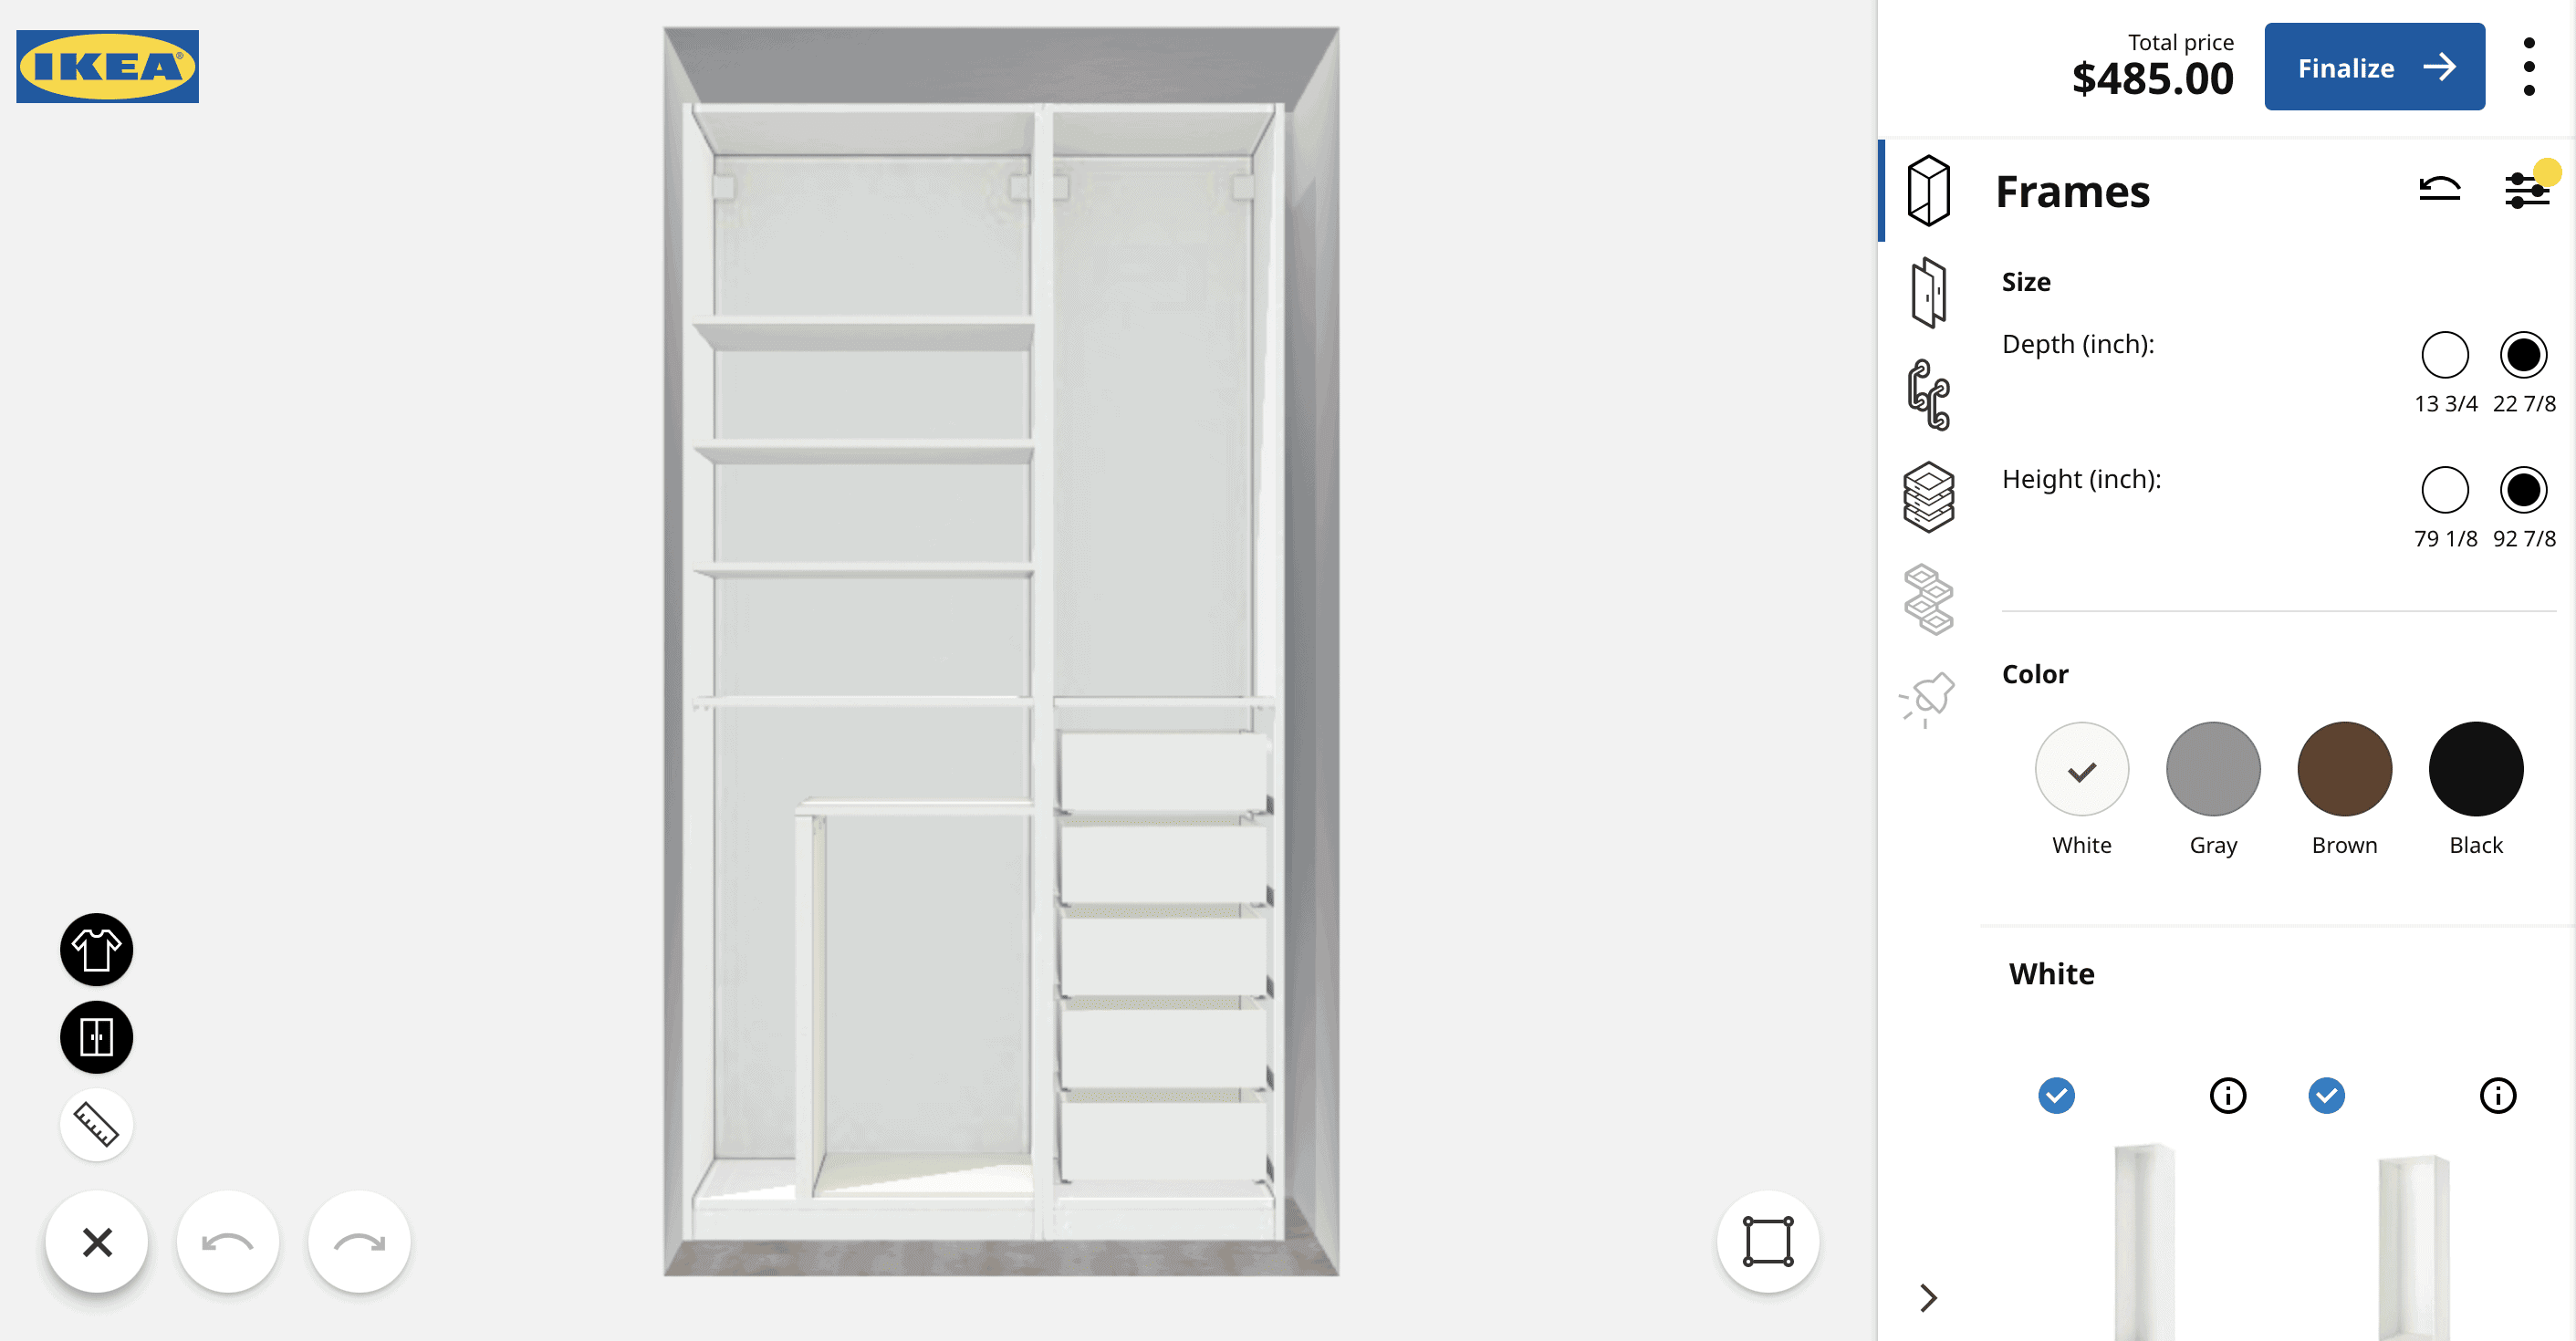
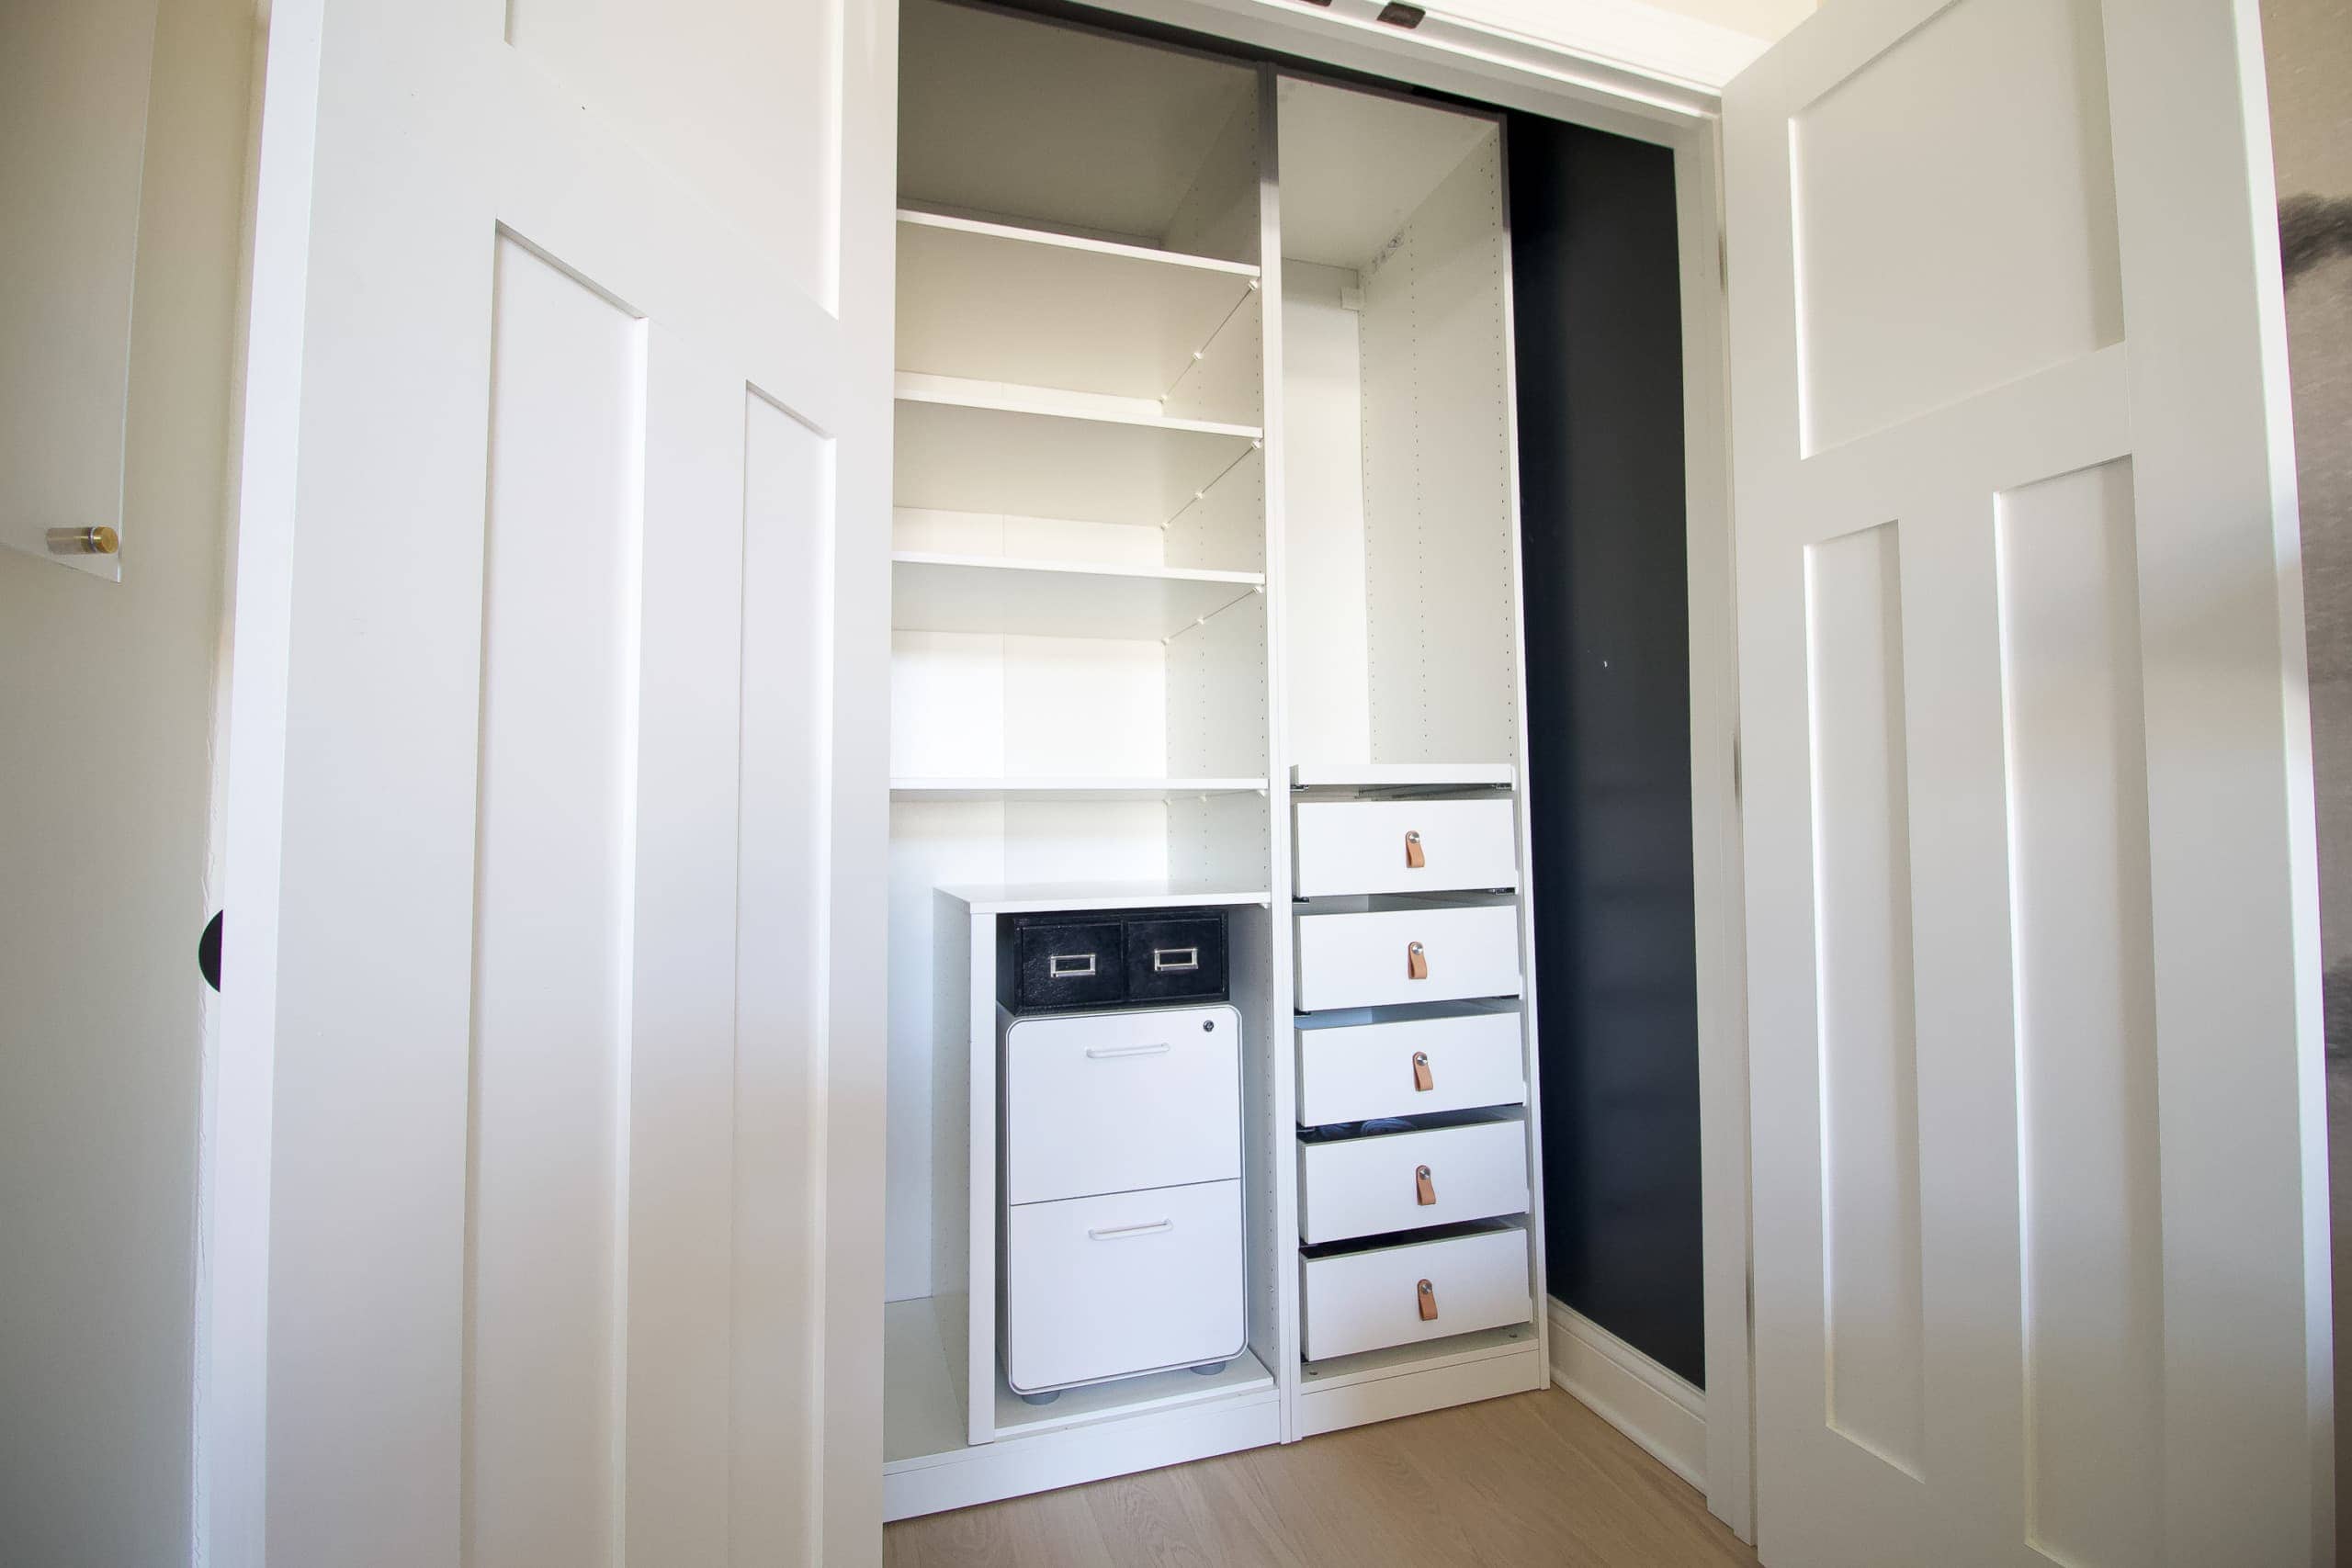
Essentially, it’s two large PAX frames from IKEA and we then customized the inside, so it has shelves, drawers, and even a spot for our file cabinet. (This post goes into all of the logistics and sizes.) We placed our order and paid extra for shipping, which was so worth it, and it all arrived right on our doorstep. 
Jan graciously offered to babysit Rory on a recent Saturday so we could spend the day getting this bad boy installed. I stupidly thought that we could maybe do the project with Rory in the house, but then I realized that with her nursery right next to the office, we wouldn’t even be able to do any heavy lifting while she napped. It would have been way too noisy! We were very grateful that Jan and Rory had a day together at Grama’s house while we worked away.
Our Best IKEA PAX Tips
We are very familiar with putting together IKEA products because we installed this same system in our main bedroom closet and we used IKEA cabinets in our laundry room. While we don’t think these are super easy or fast projects, we’ve certainly gotten better over the years and we have learned some IKEA PAX tips along the way.
Make Some Space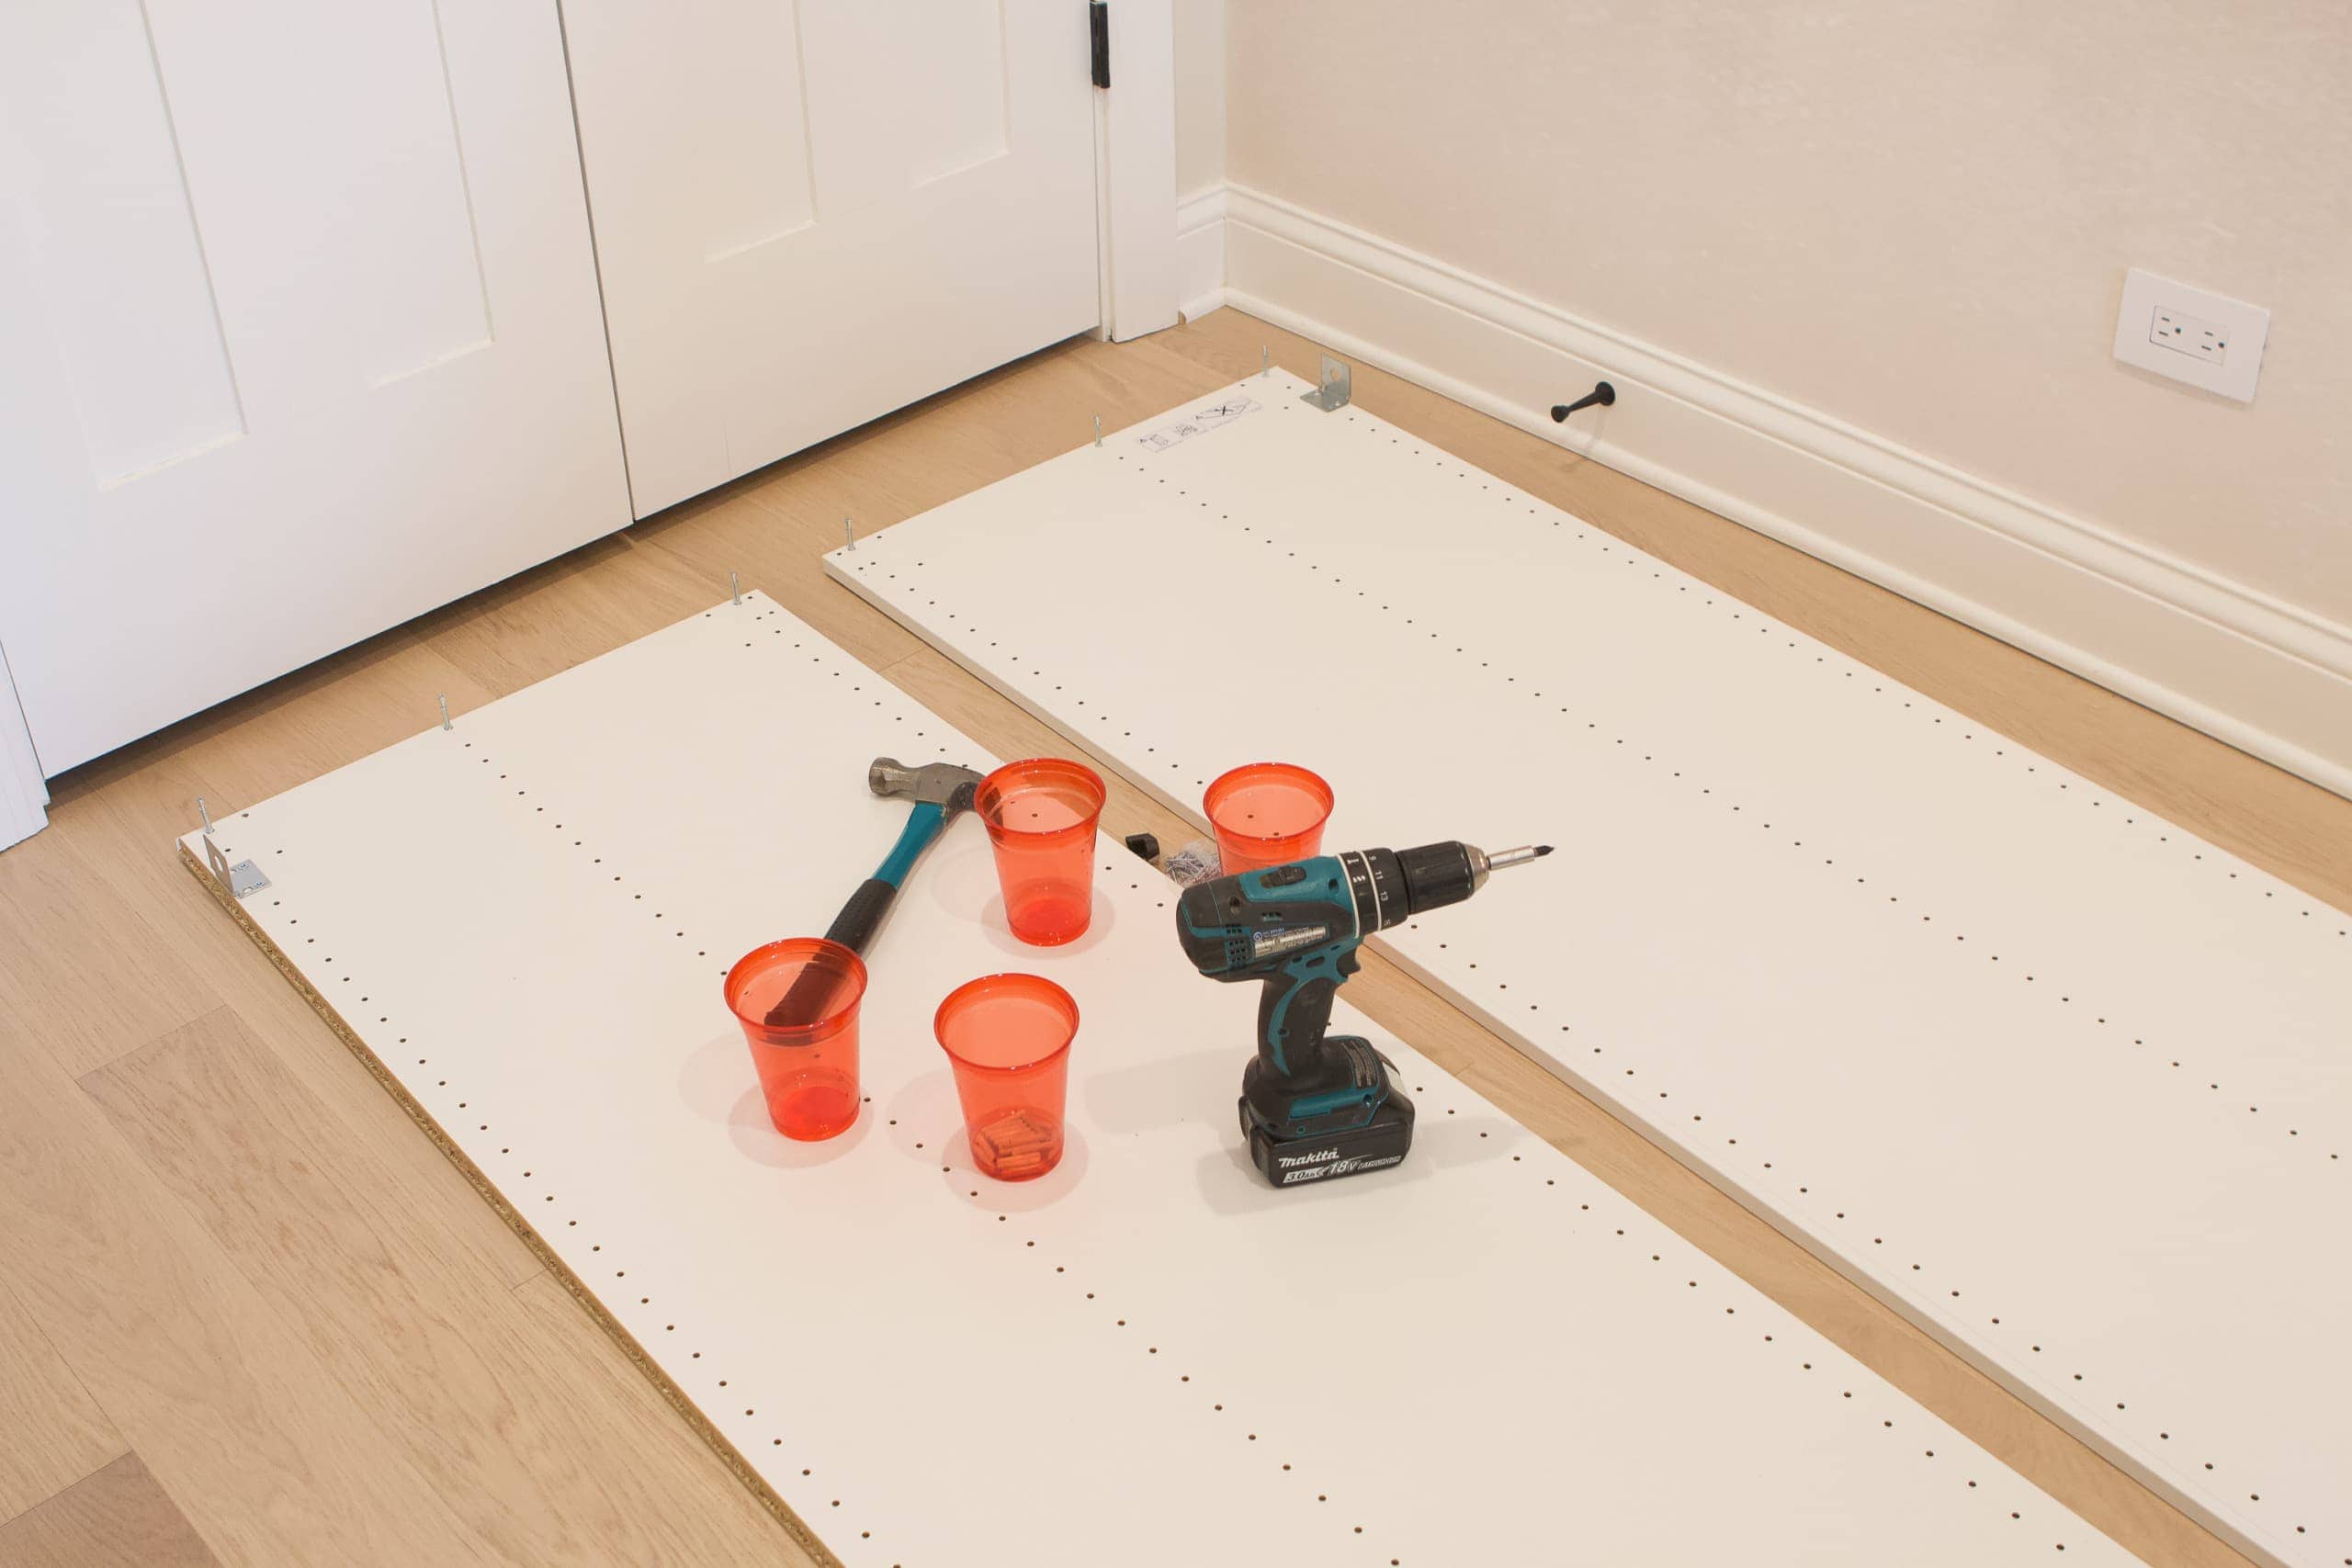
You’ll want to build your frames near their final resting place, because building them elsewhere and bringing them to the spot can be tough. My home office is pretty small, but we were able to push back the desk and couch to make a small work area on the ground. That’s where we built our two large PAX frames.
Use Containers for Parts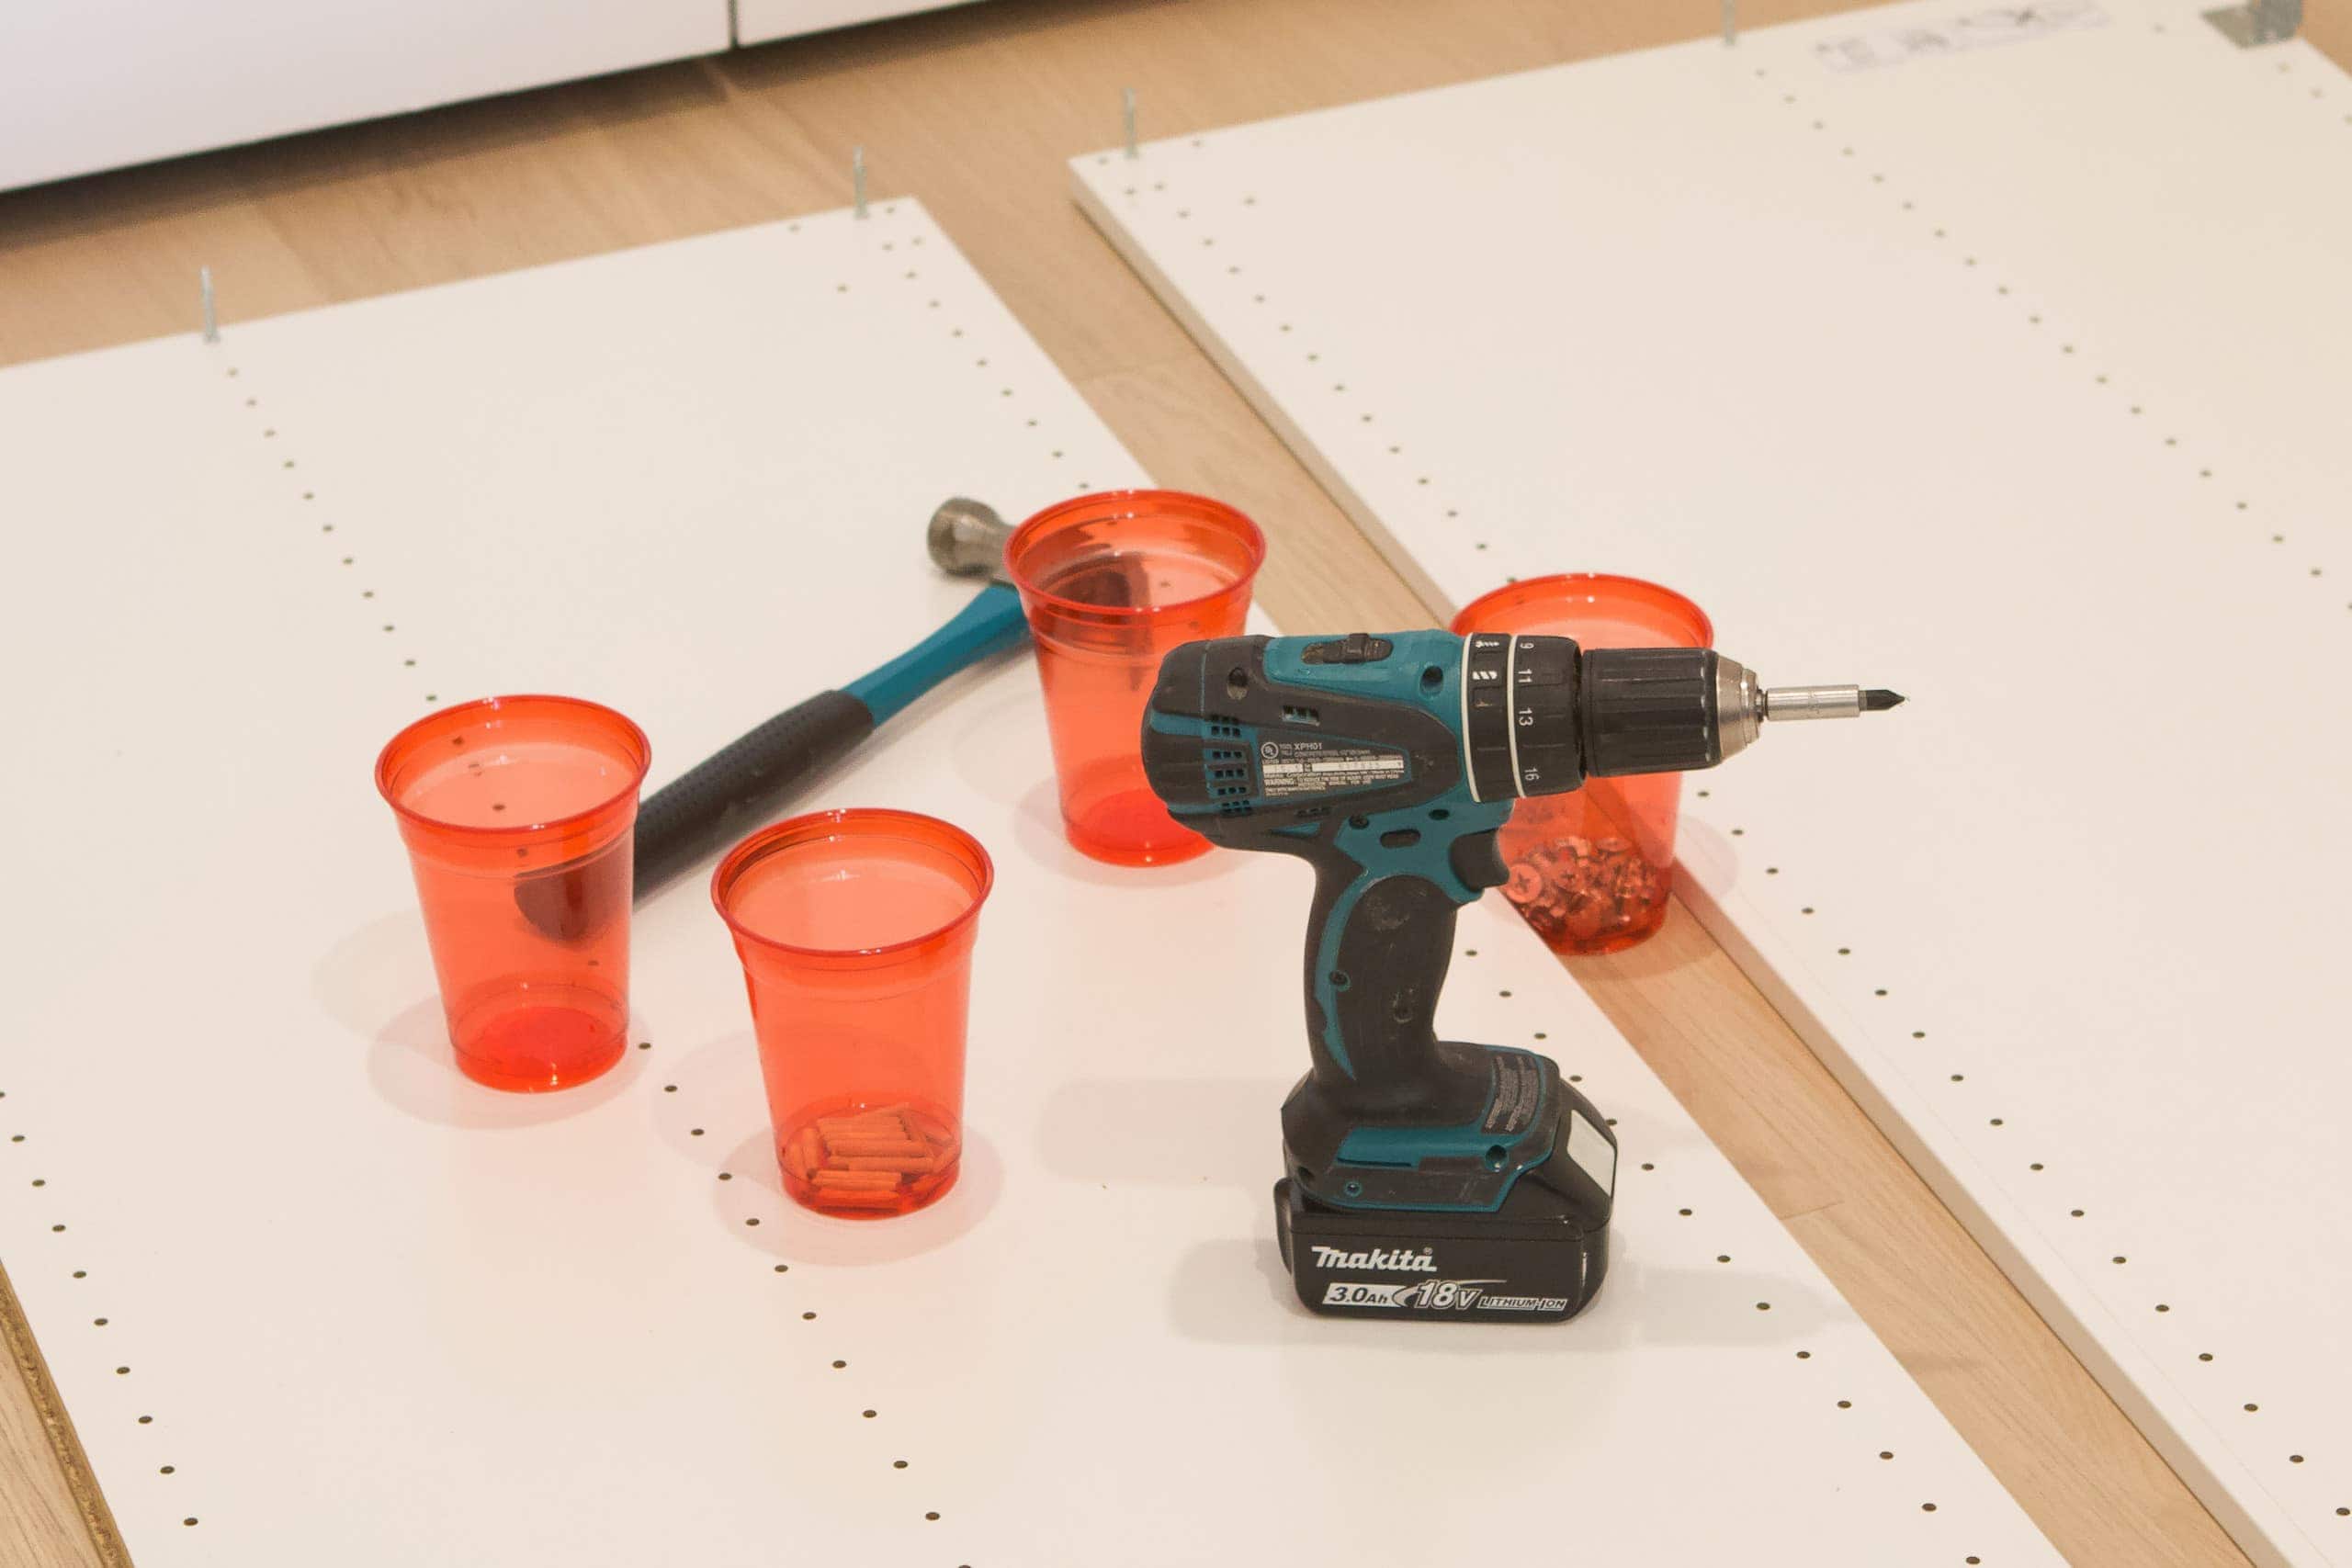
No, we were not playing beer pong in here with all of those red solo cups – although that does sound fun on a childfree day! Instead, we used those cups to corral all of the teeny tiny pieces that come with each part. It’s easy to lose things during the chaos of a project, so keep similar items grouped together in cups or bowls. Trust us.
Also, when it comes to IKEA, it’s all about looking at the pictures suuuuper closely. Luckily, Finn is really good at this. He can look at the photo and two seconds later he will have the pieces and parts all ready to go. It takes my brain much longer and it can be easy to make mistakes if you don’t look at those pictures closely.
Remove the Baseboard
If you’re pushing your large frames against a wall or into a closet, you’ll want to remove the baseboard so the wall is completely flush. We only removed the back baseboard because the frames didn’t quite reach each side of the closet. But if your frames are going wall to wall, then you’ll want to remove the baseboards there too.


Here’s the easiest way to remove a baseboard: take a utility knife and run it across the top of the baseboard to score the caulk, then put a pry bar at the top of the baseboard and gently hammer it down. You can do this all the way across the baseboard, pulling the wood off of the nails as you go.
Know Your Ceiling Height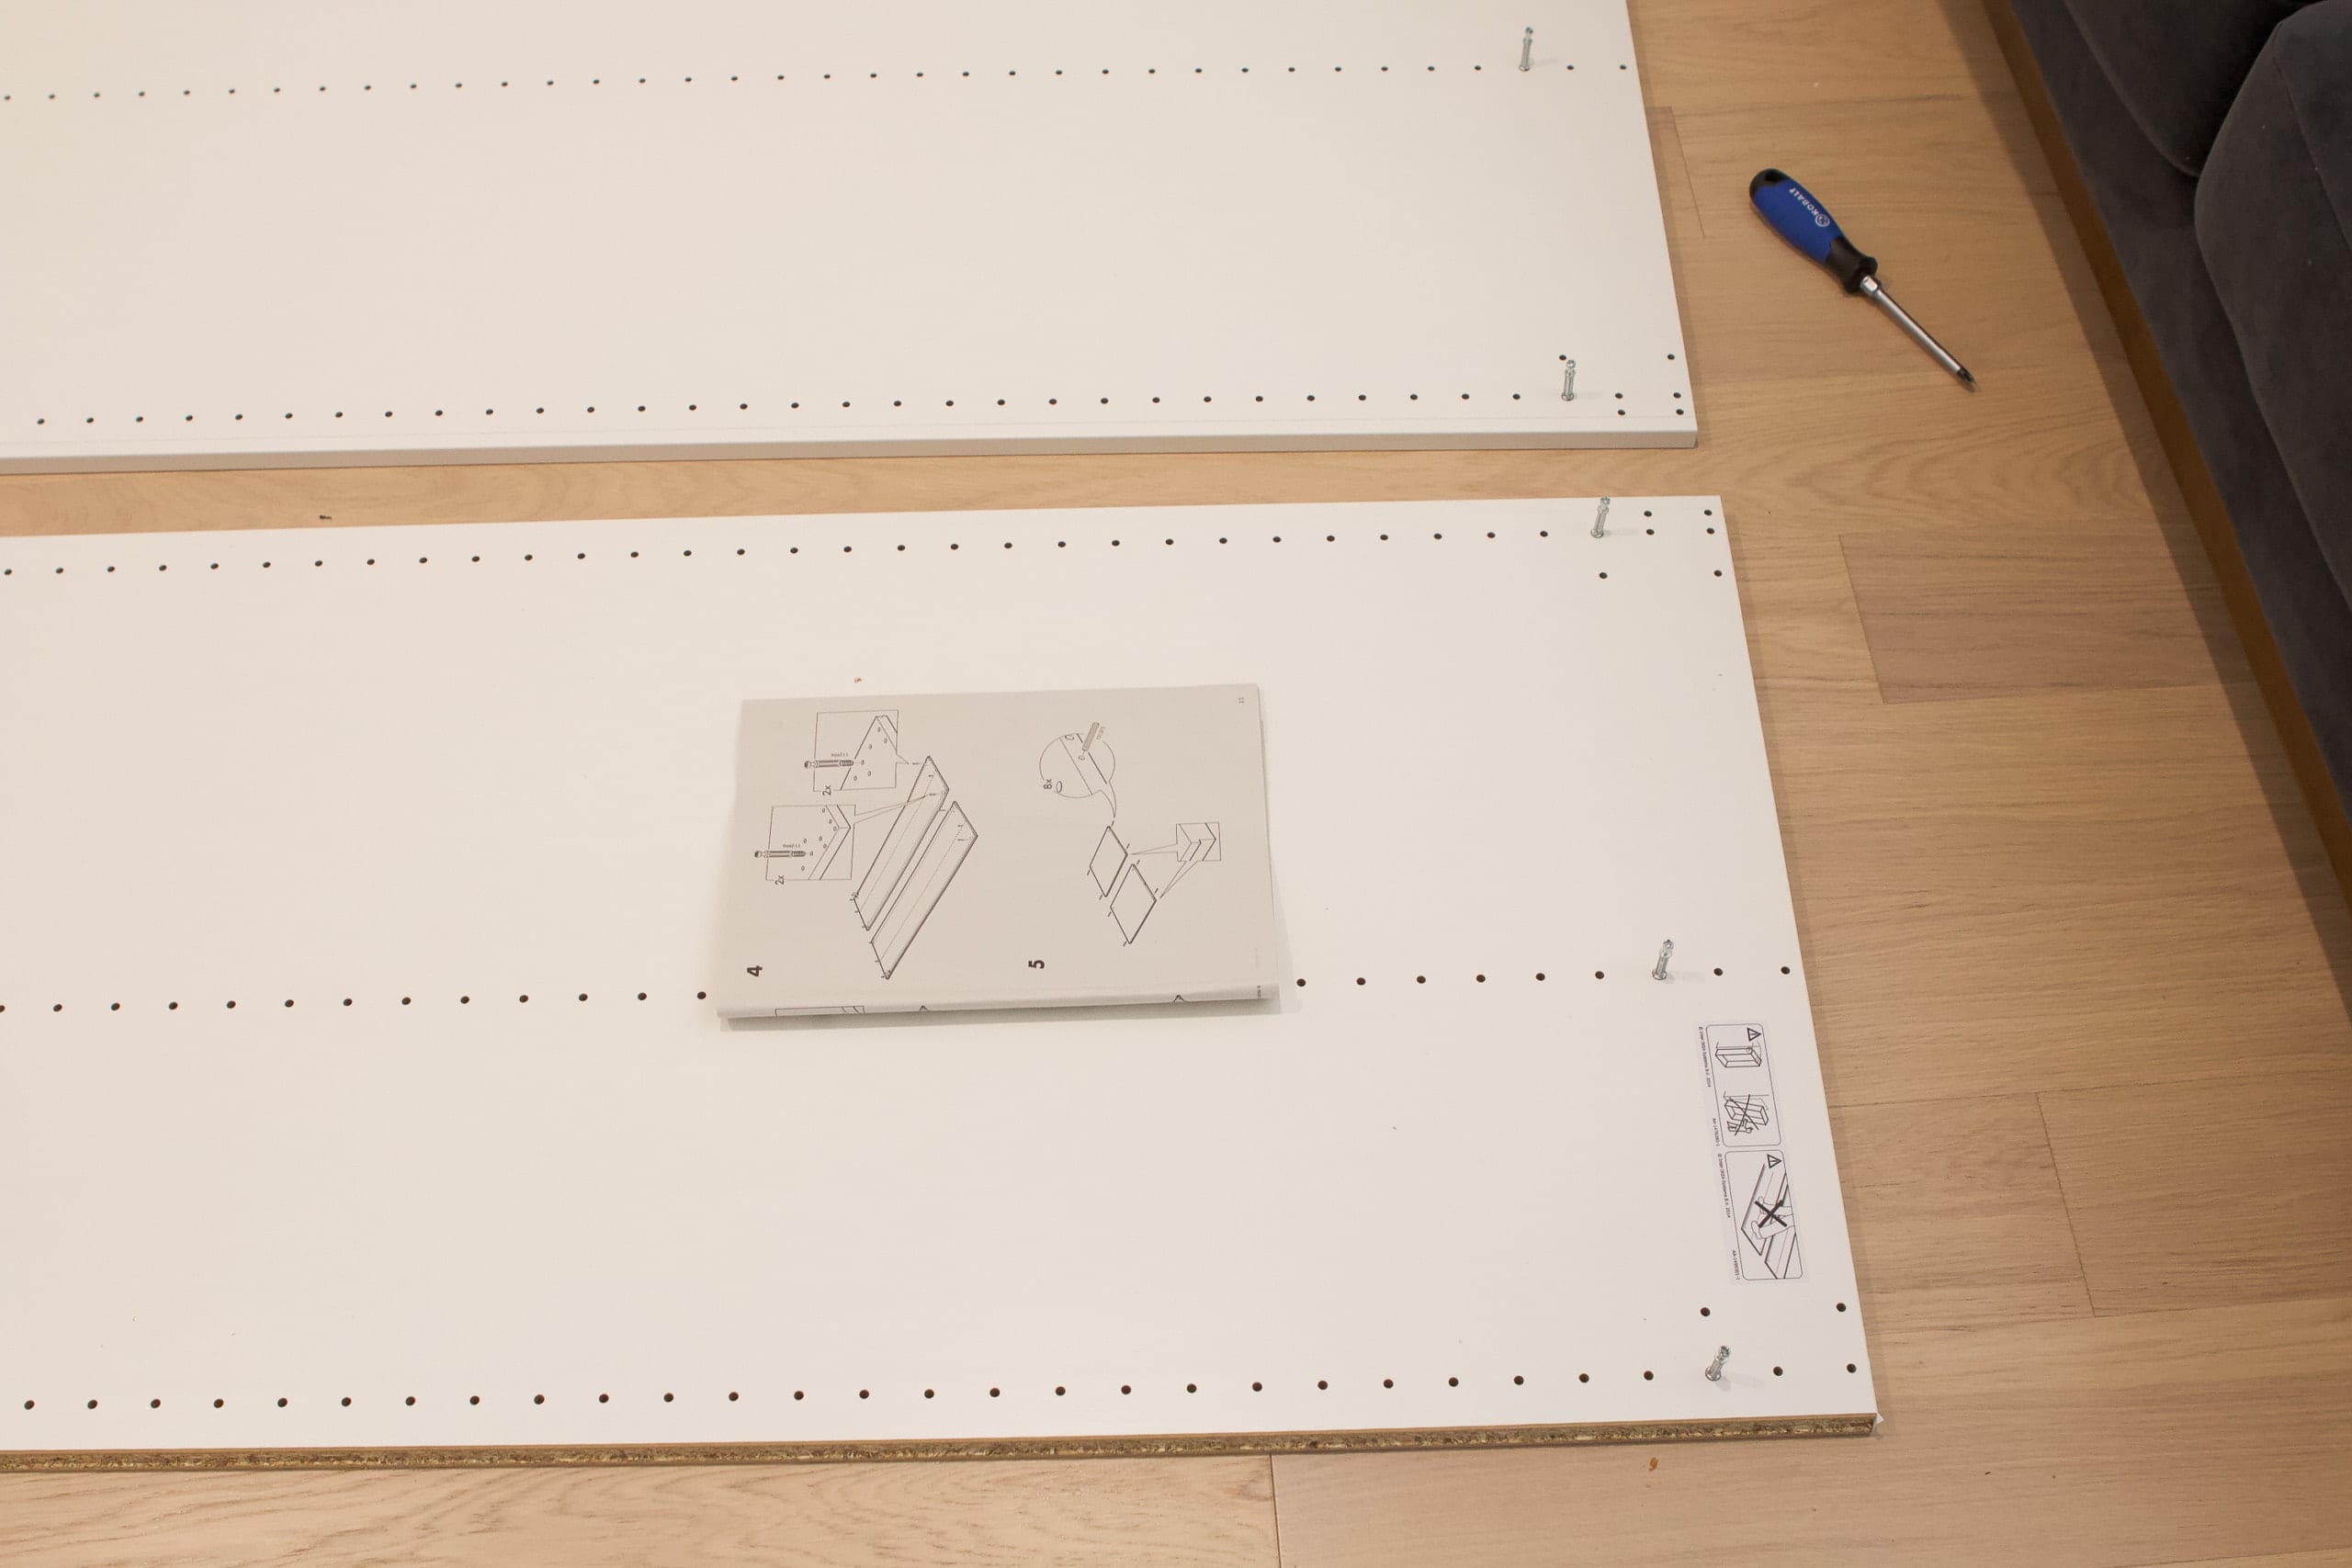
We learned a big lesson when we installed the closet in our bedroom – check your ceiling height! If your ceilings are taller than 95 2/3 inches, then you can go ahead and build the frames on the ground. This is so much easier because you can build on the ground, stand the frame up, and scoot it into place. But if your ceiling height is shorter than that, the assembled frame might scrape the ceiling and not stand fully upright. We ran into this problem in our bedroom and ended up having to buy a new IKEA PAX frame. It was a huge bummer. (You can read more about that saga here.)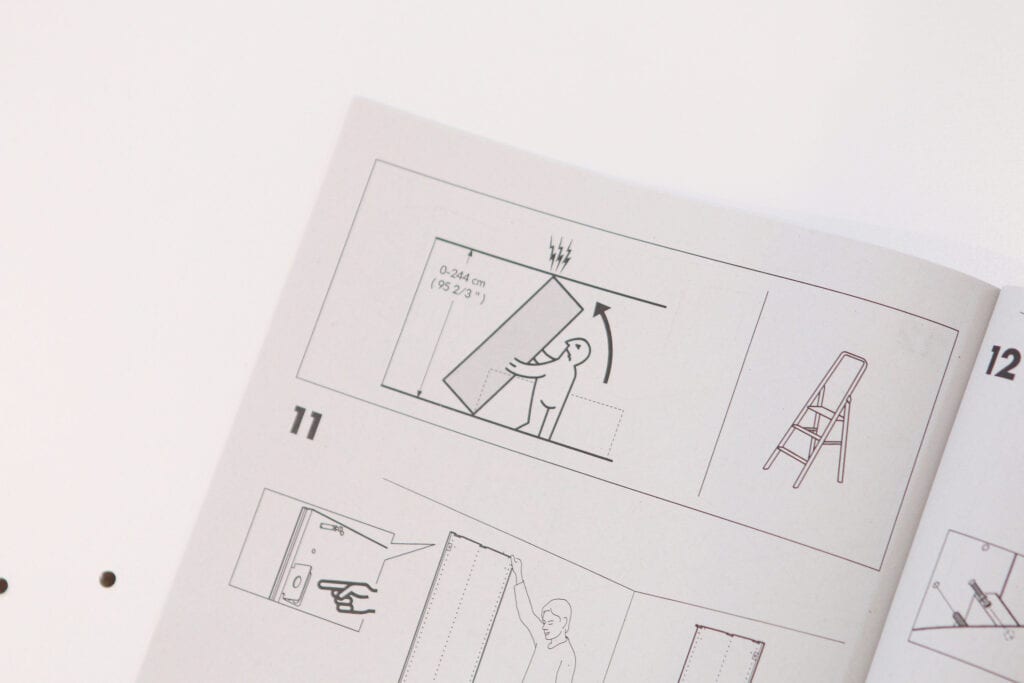
Determined not to make that same mistake, we measured our closet three times, checking the height. It was a teeeeeny tiny bit taller than 95 2/3, but not much, which made us nervous…  We ended up putting the first large frame together standing up, which definitely took longer, just to be safe.
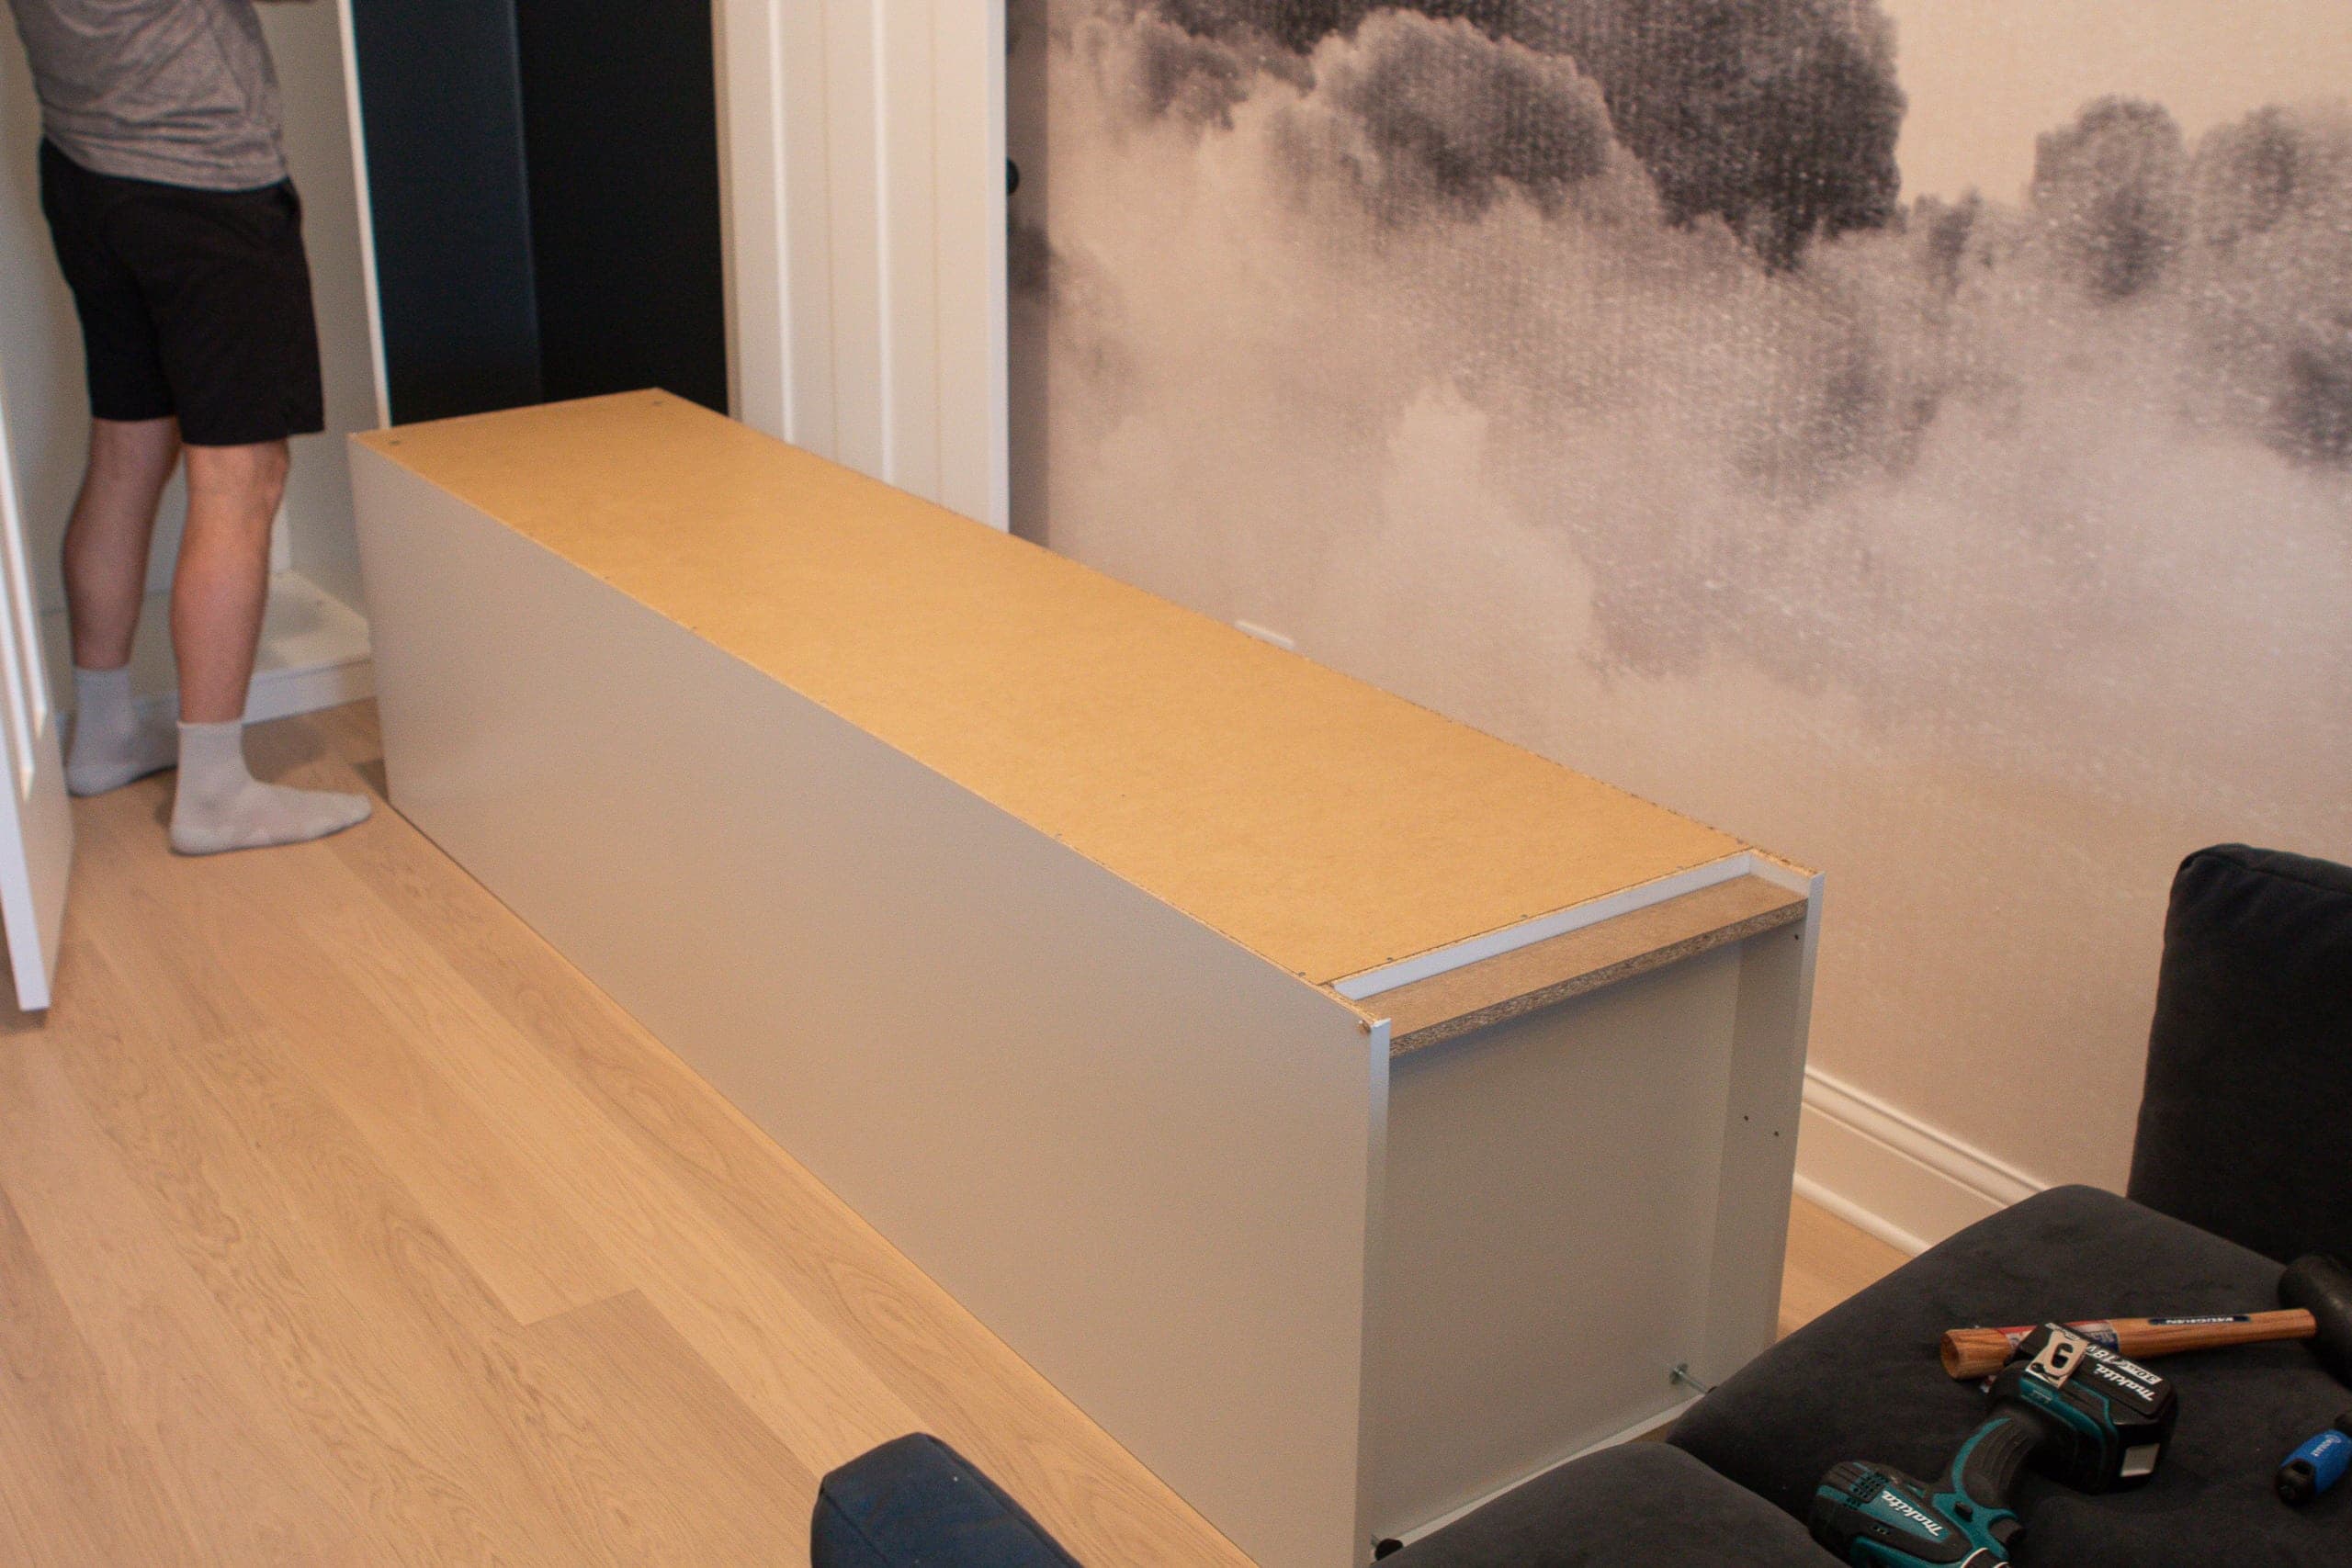
However, we were puzzled when it came to the second frame. Because the space is so tight, we didn’t think we could possibly build the frame inside the closet with the other frame in place and the last thing we wanted to do was remove the first frame and not be able to get it back in. We took a gamble and ended up building the second frame on the ground and then stood it up into place. 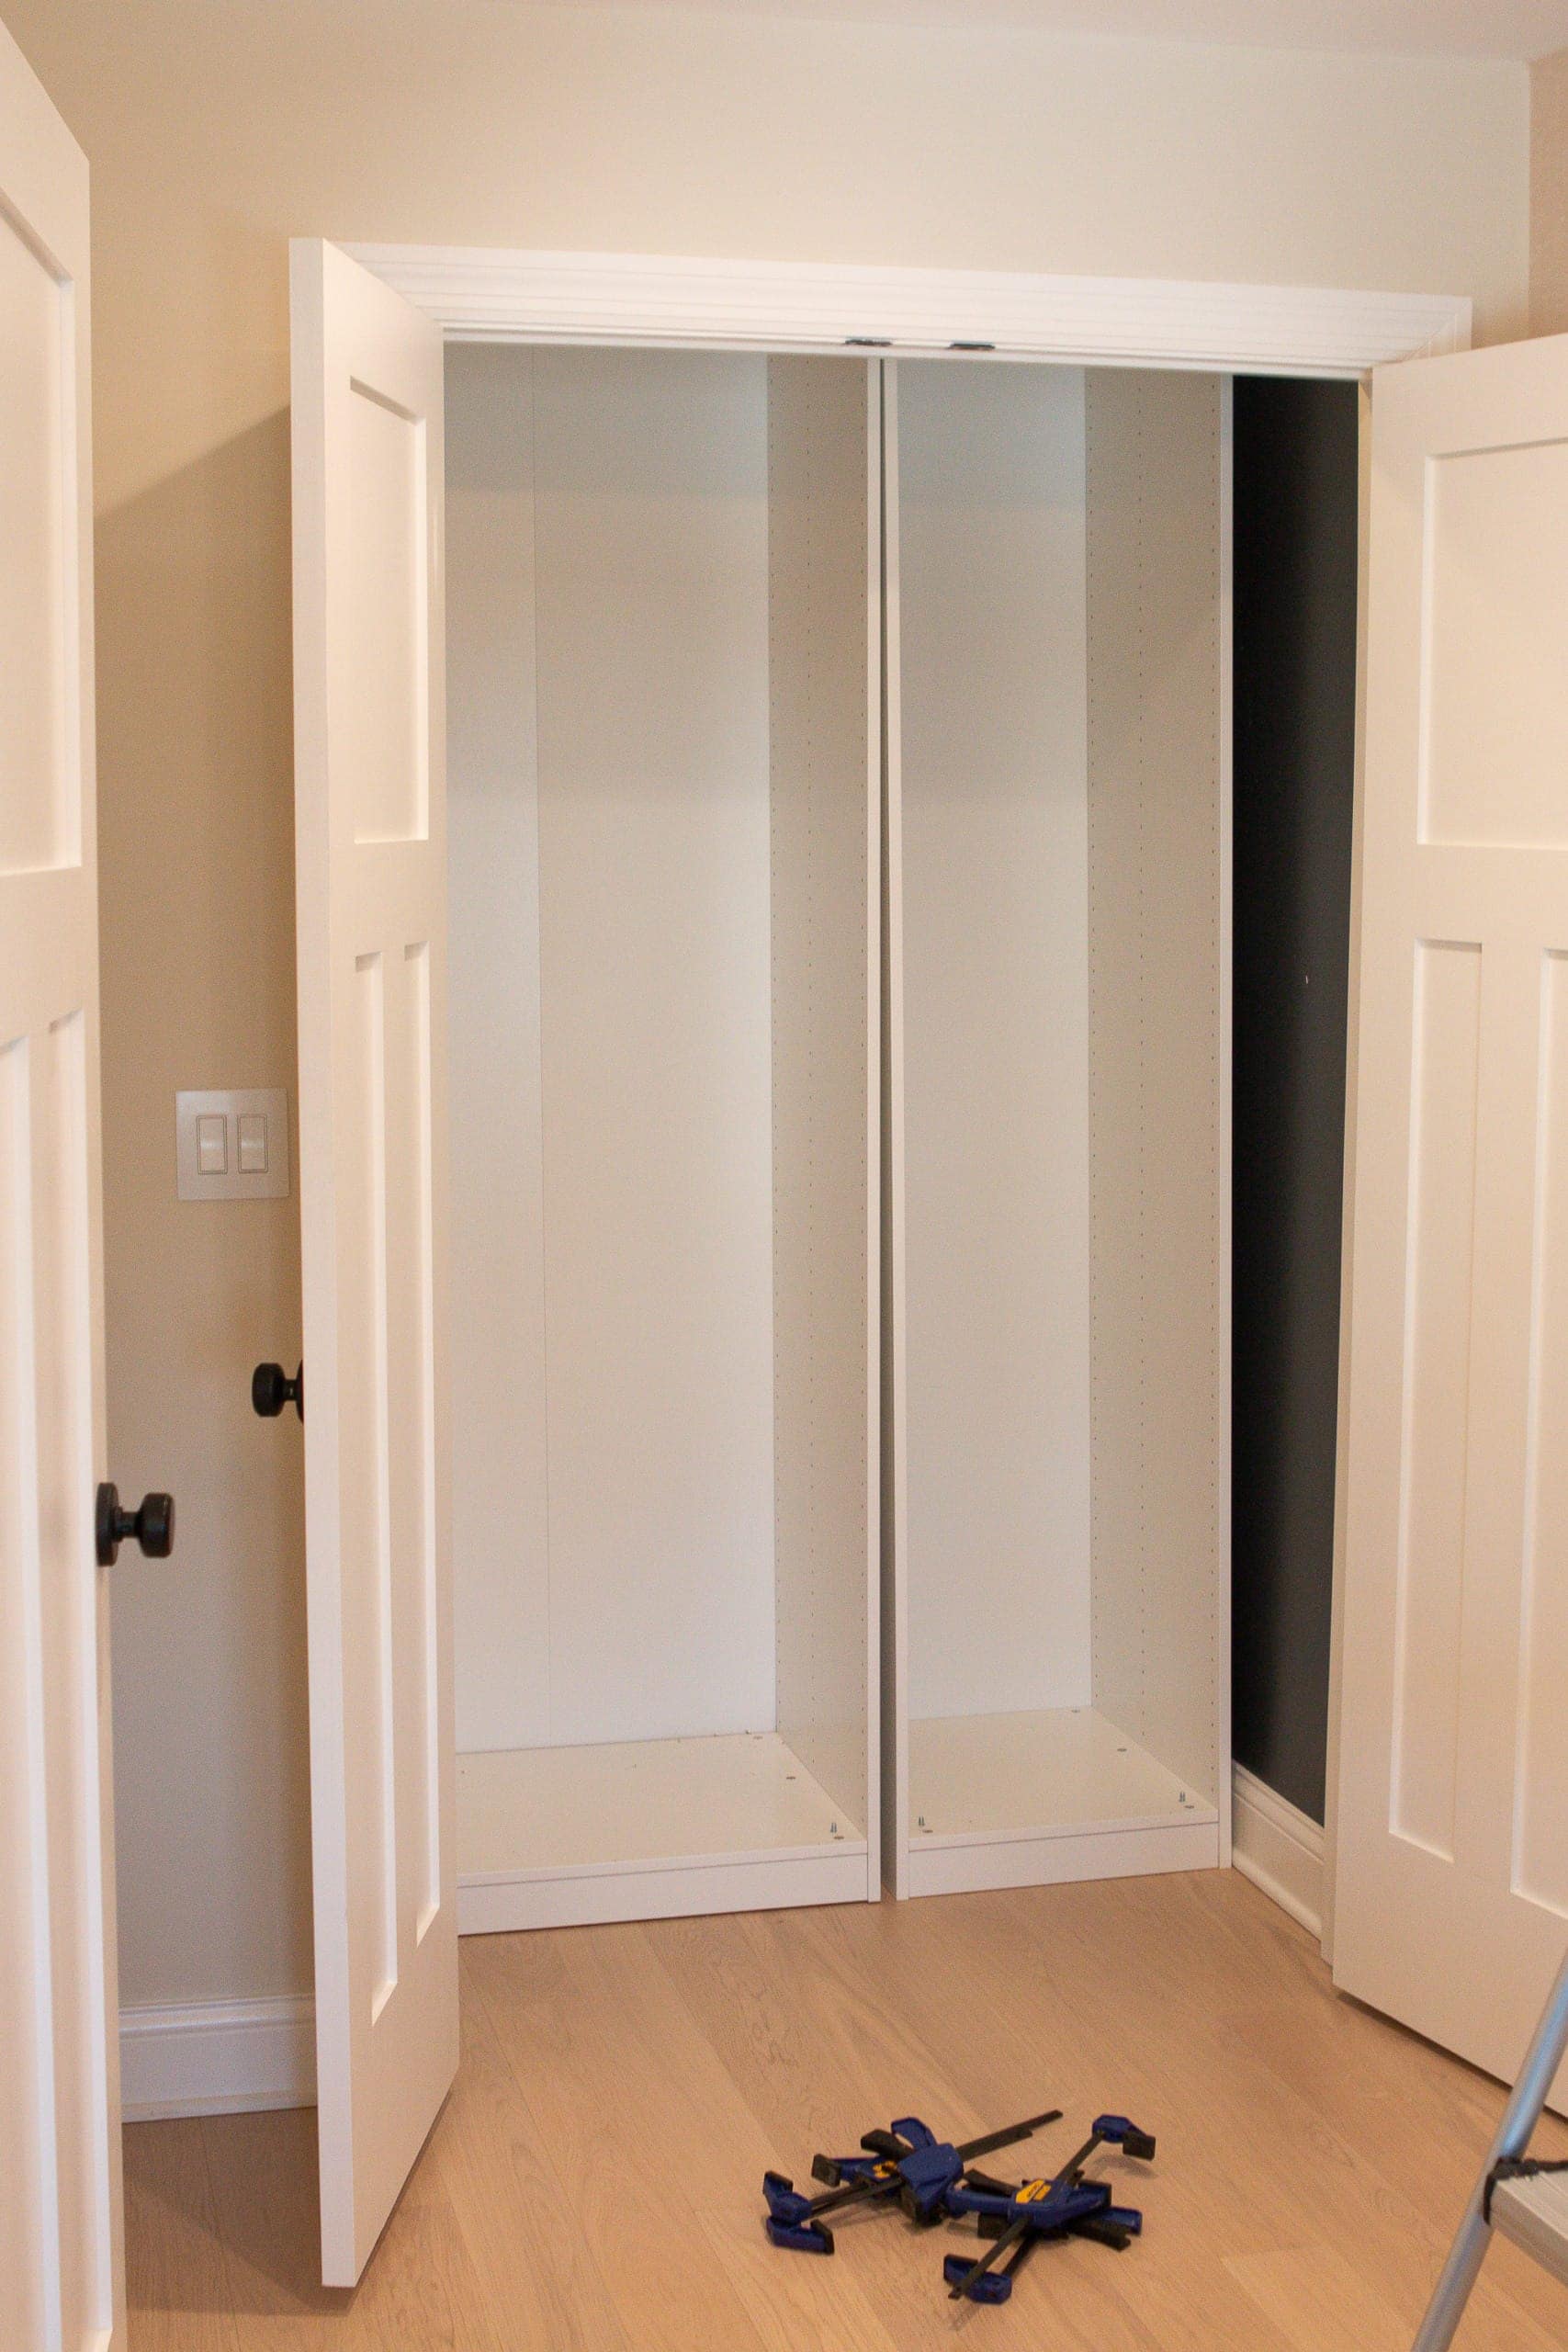 Luckily, it juuuuust made it when it came to the ceiling height. We breathed a huge sigh of relief! So check your ceiling height before you start building!
Use Snap Toggle Bolts
Getting the frames assembled and in place is half the battle with this project. Once they were in, it was time to secure them to the wall. I’m a big fan of snap toggle bolts when it comes to securing heavy items, so we decided to go with these for this project. (If you need the scoop on other wall anchors, this blog post breaks it down.) 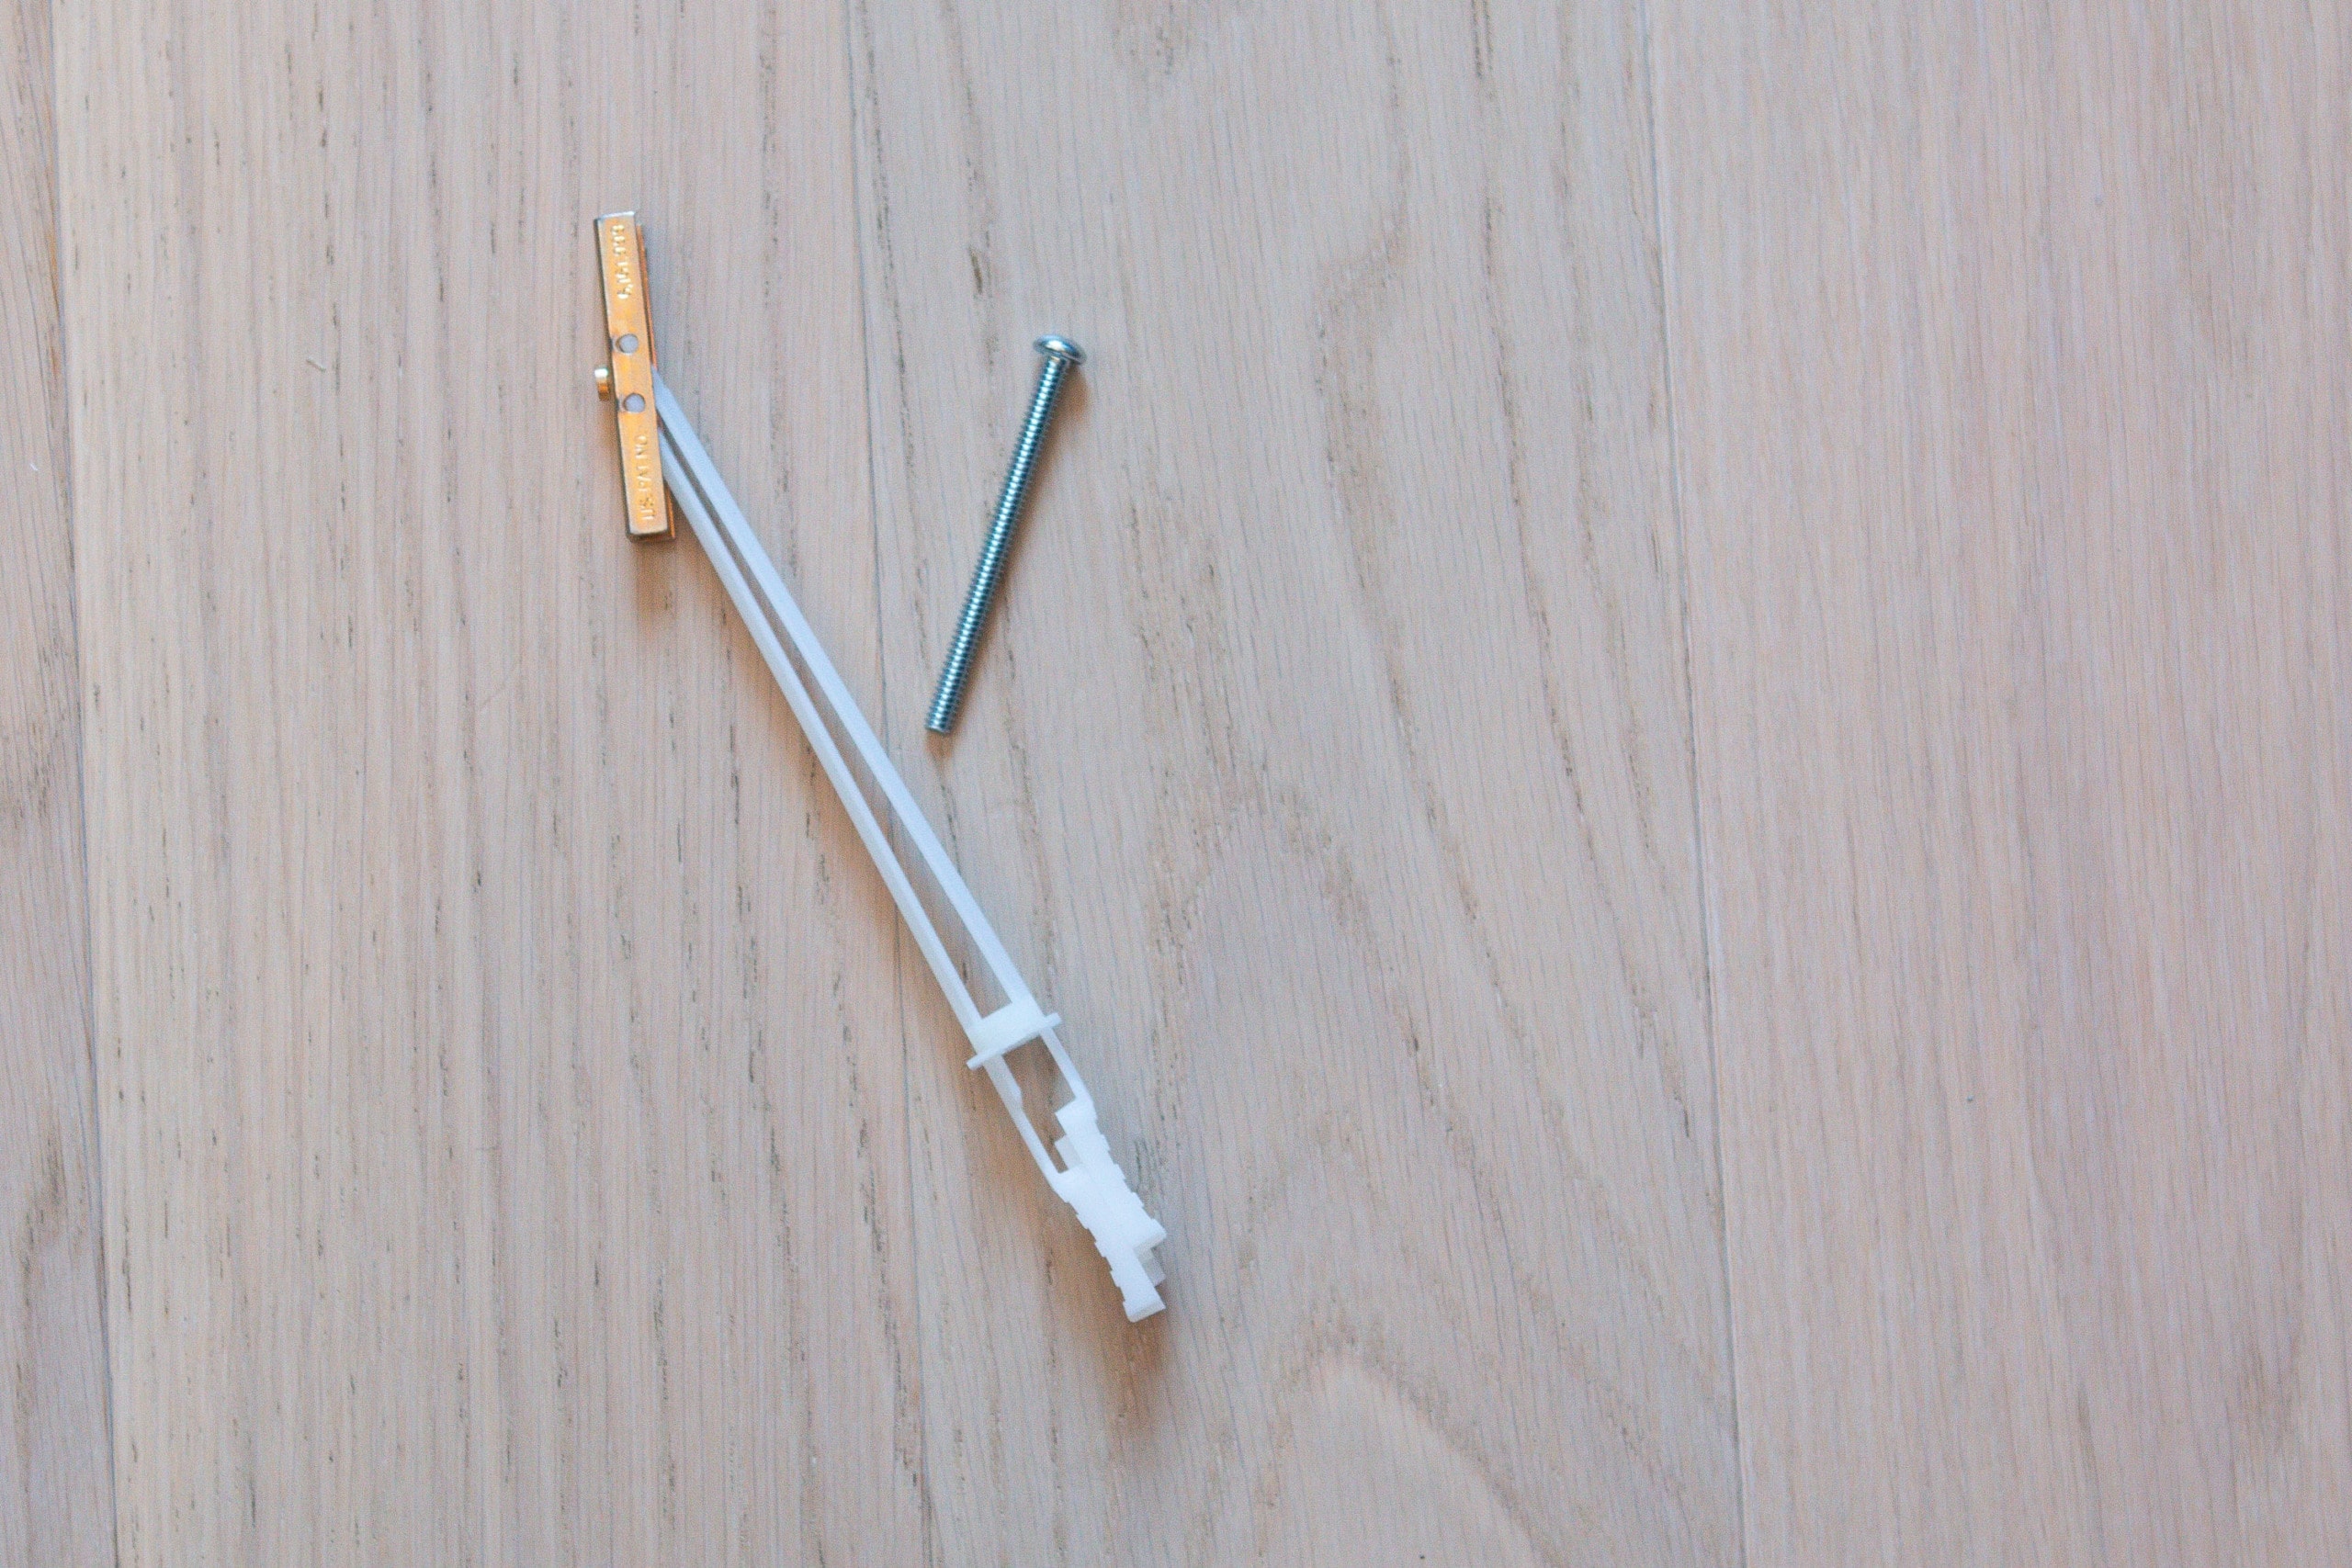
These anchors are nice because they hold hundreds of pounds and they’re pretty easy to install. You just create a large pilot hole, insert the anchor, snap off the plastic, and then use the accompanying screw to attach it. If you’re installing into a stud, then you can forgo these in that area. Out of our four spots to attach the frames, we hit one stud and just screwed directly into that.
Clamps Are a Must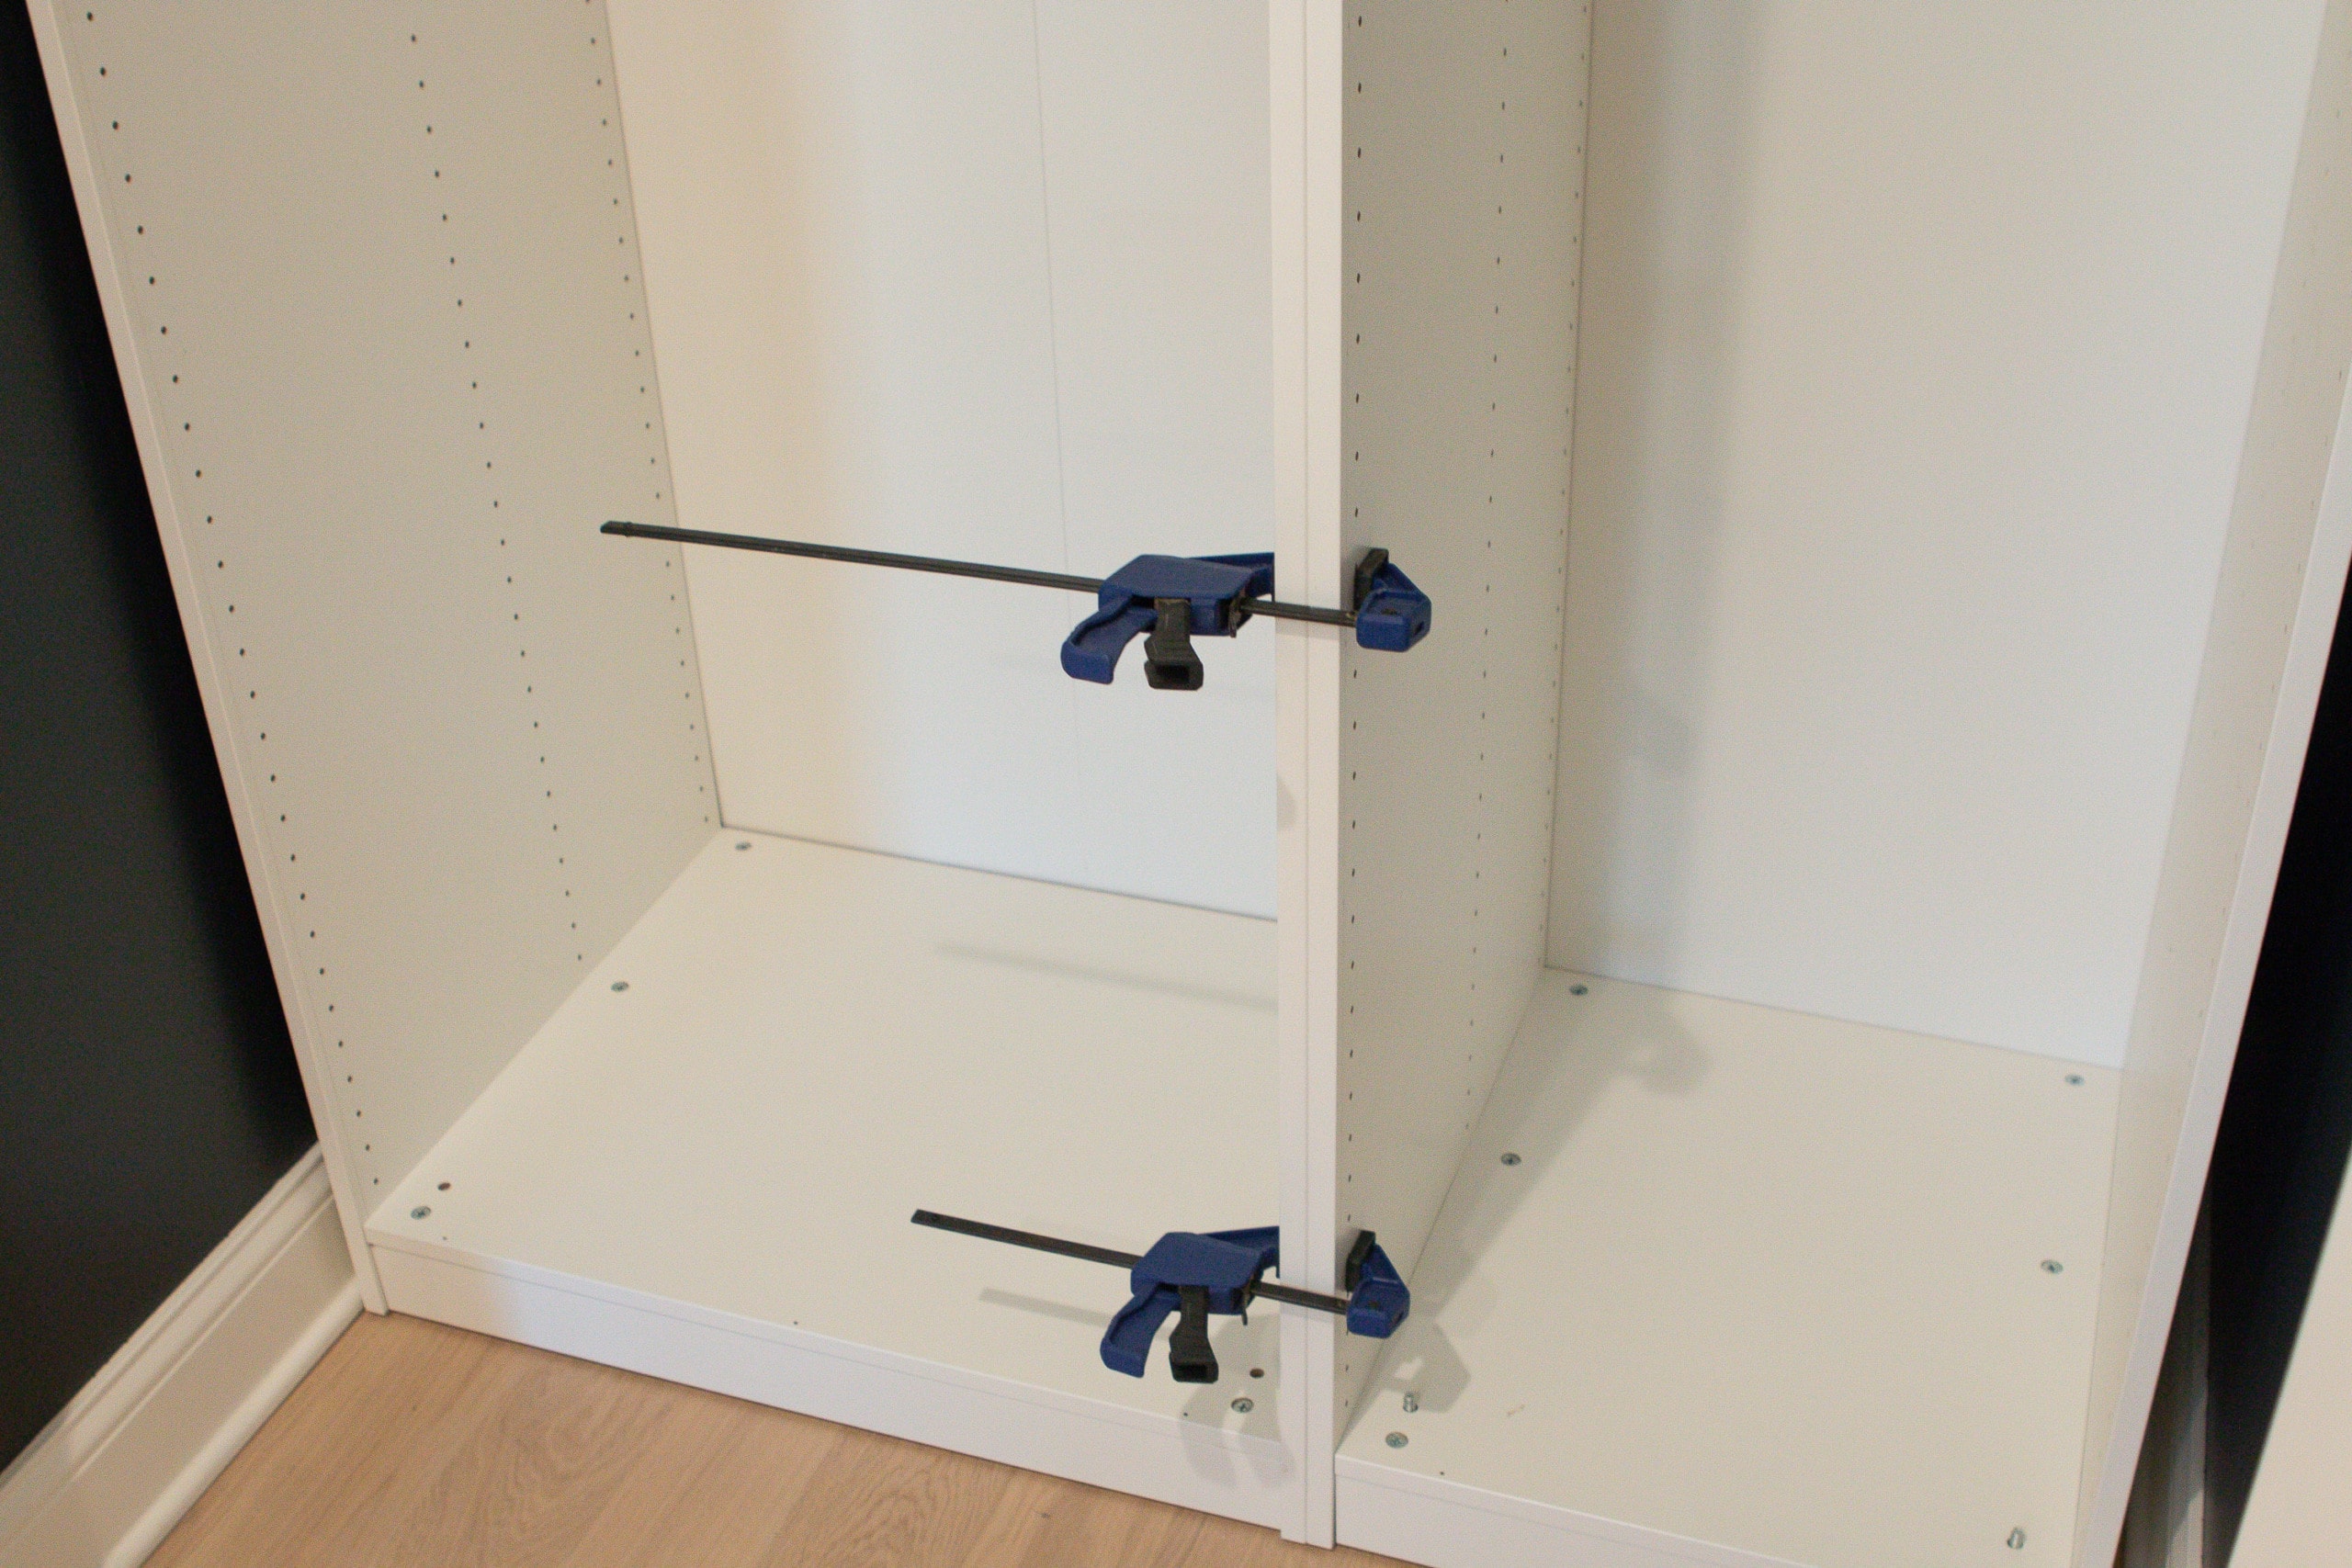
With the frames attached to the wall, it was time to get them attached together. You’ll definitely want to have clamps on hand for this step. 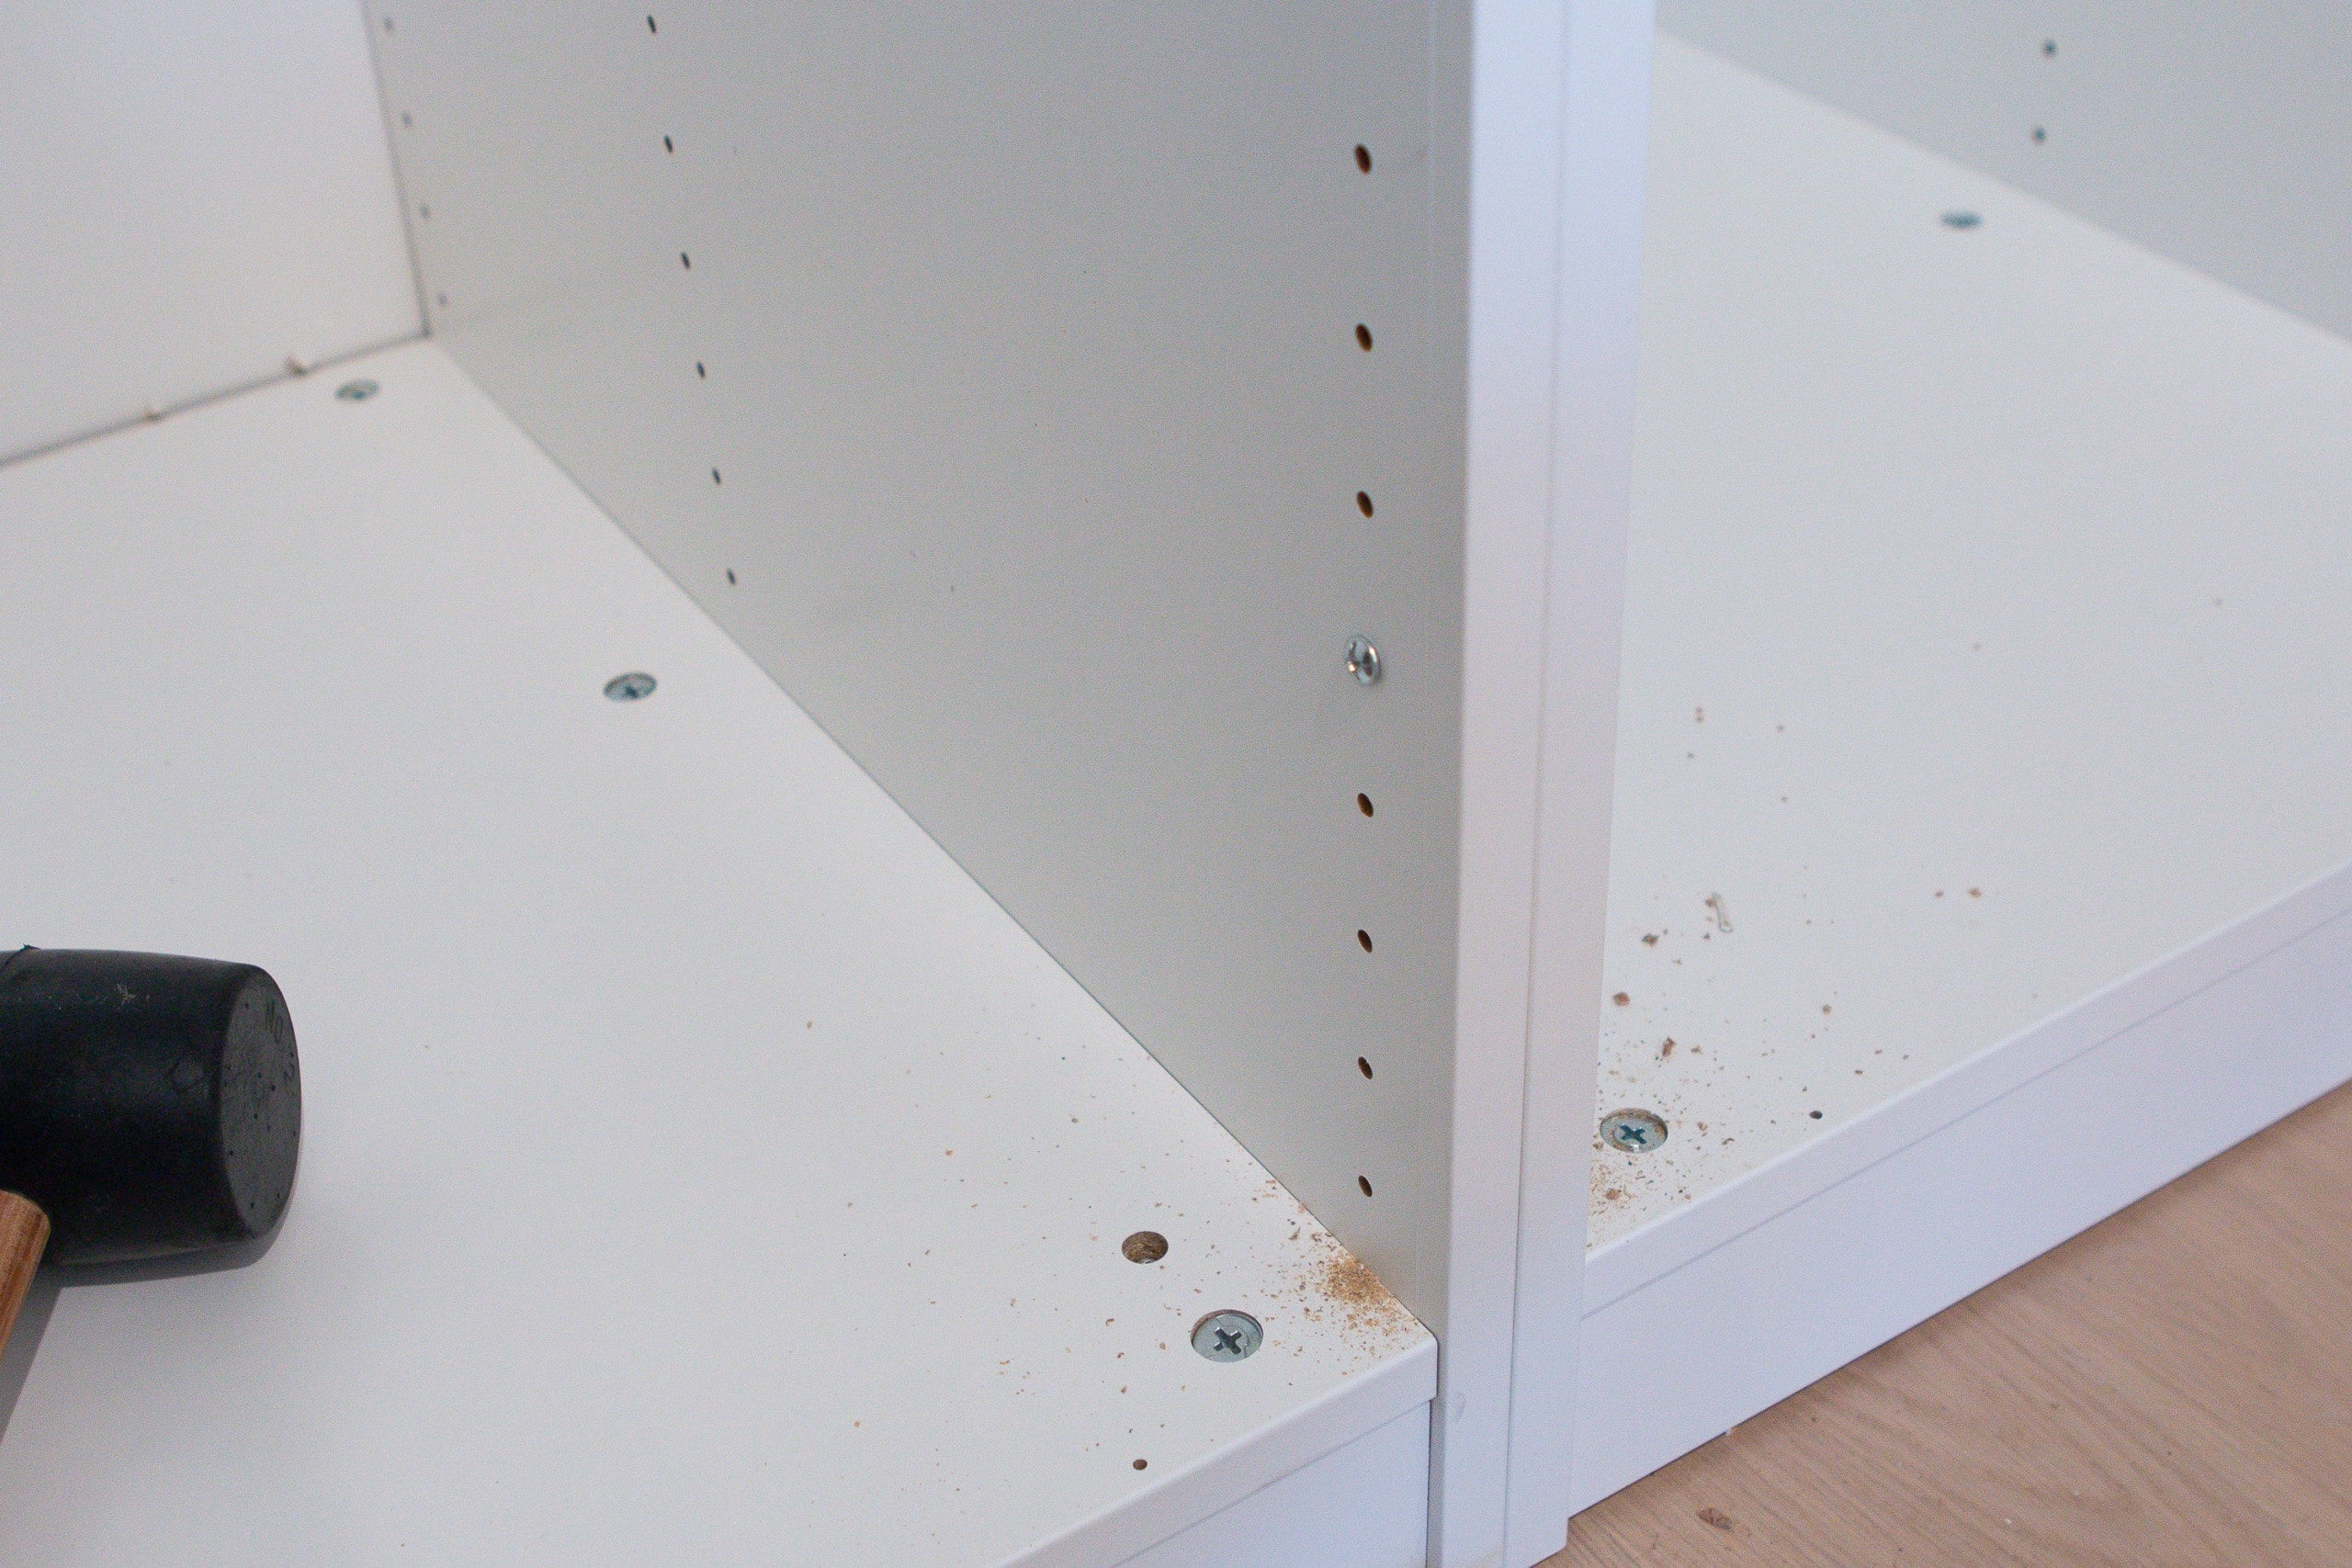 IKEA provides small screws that you can use to attach the frames together. Just drill a pilot hole directly through a shelf hole and then screw the two pieces together. We did this in three spots up and down the front of the frame.
Add Your Shelves & Drawers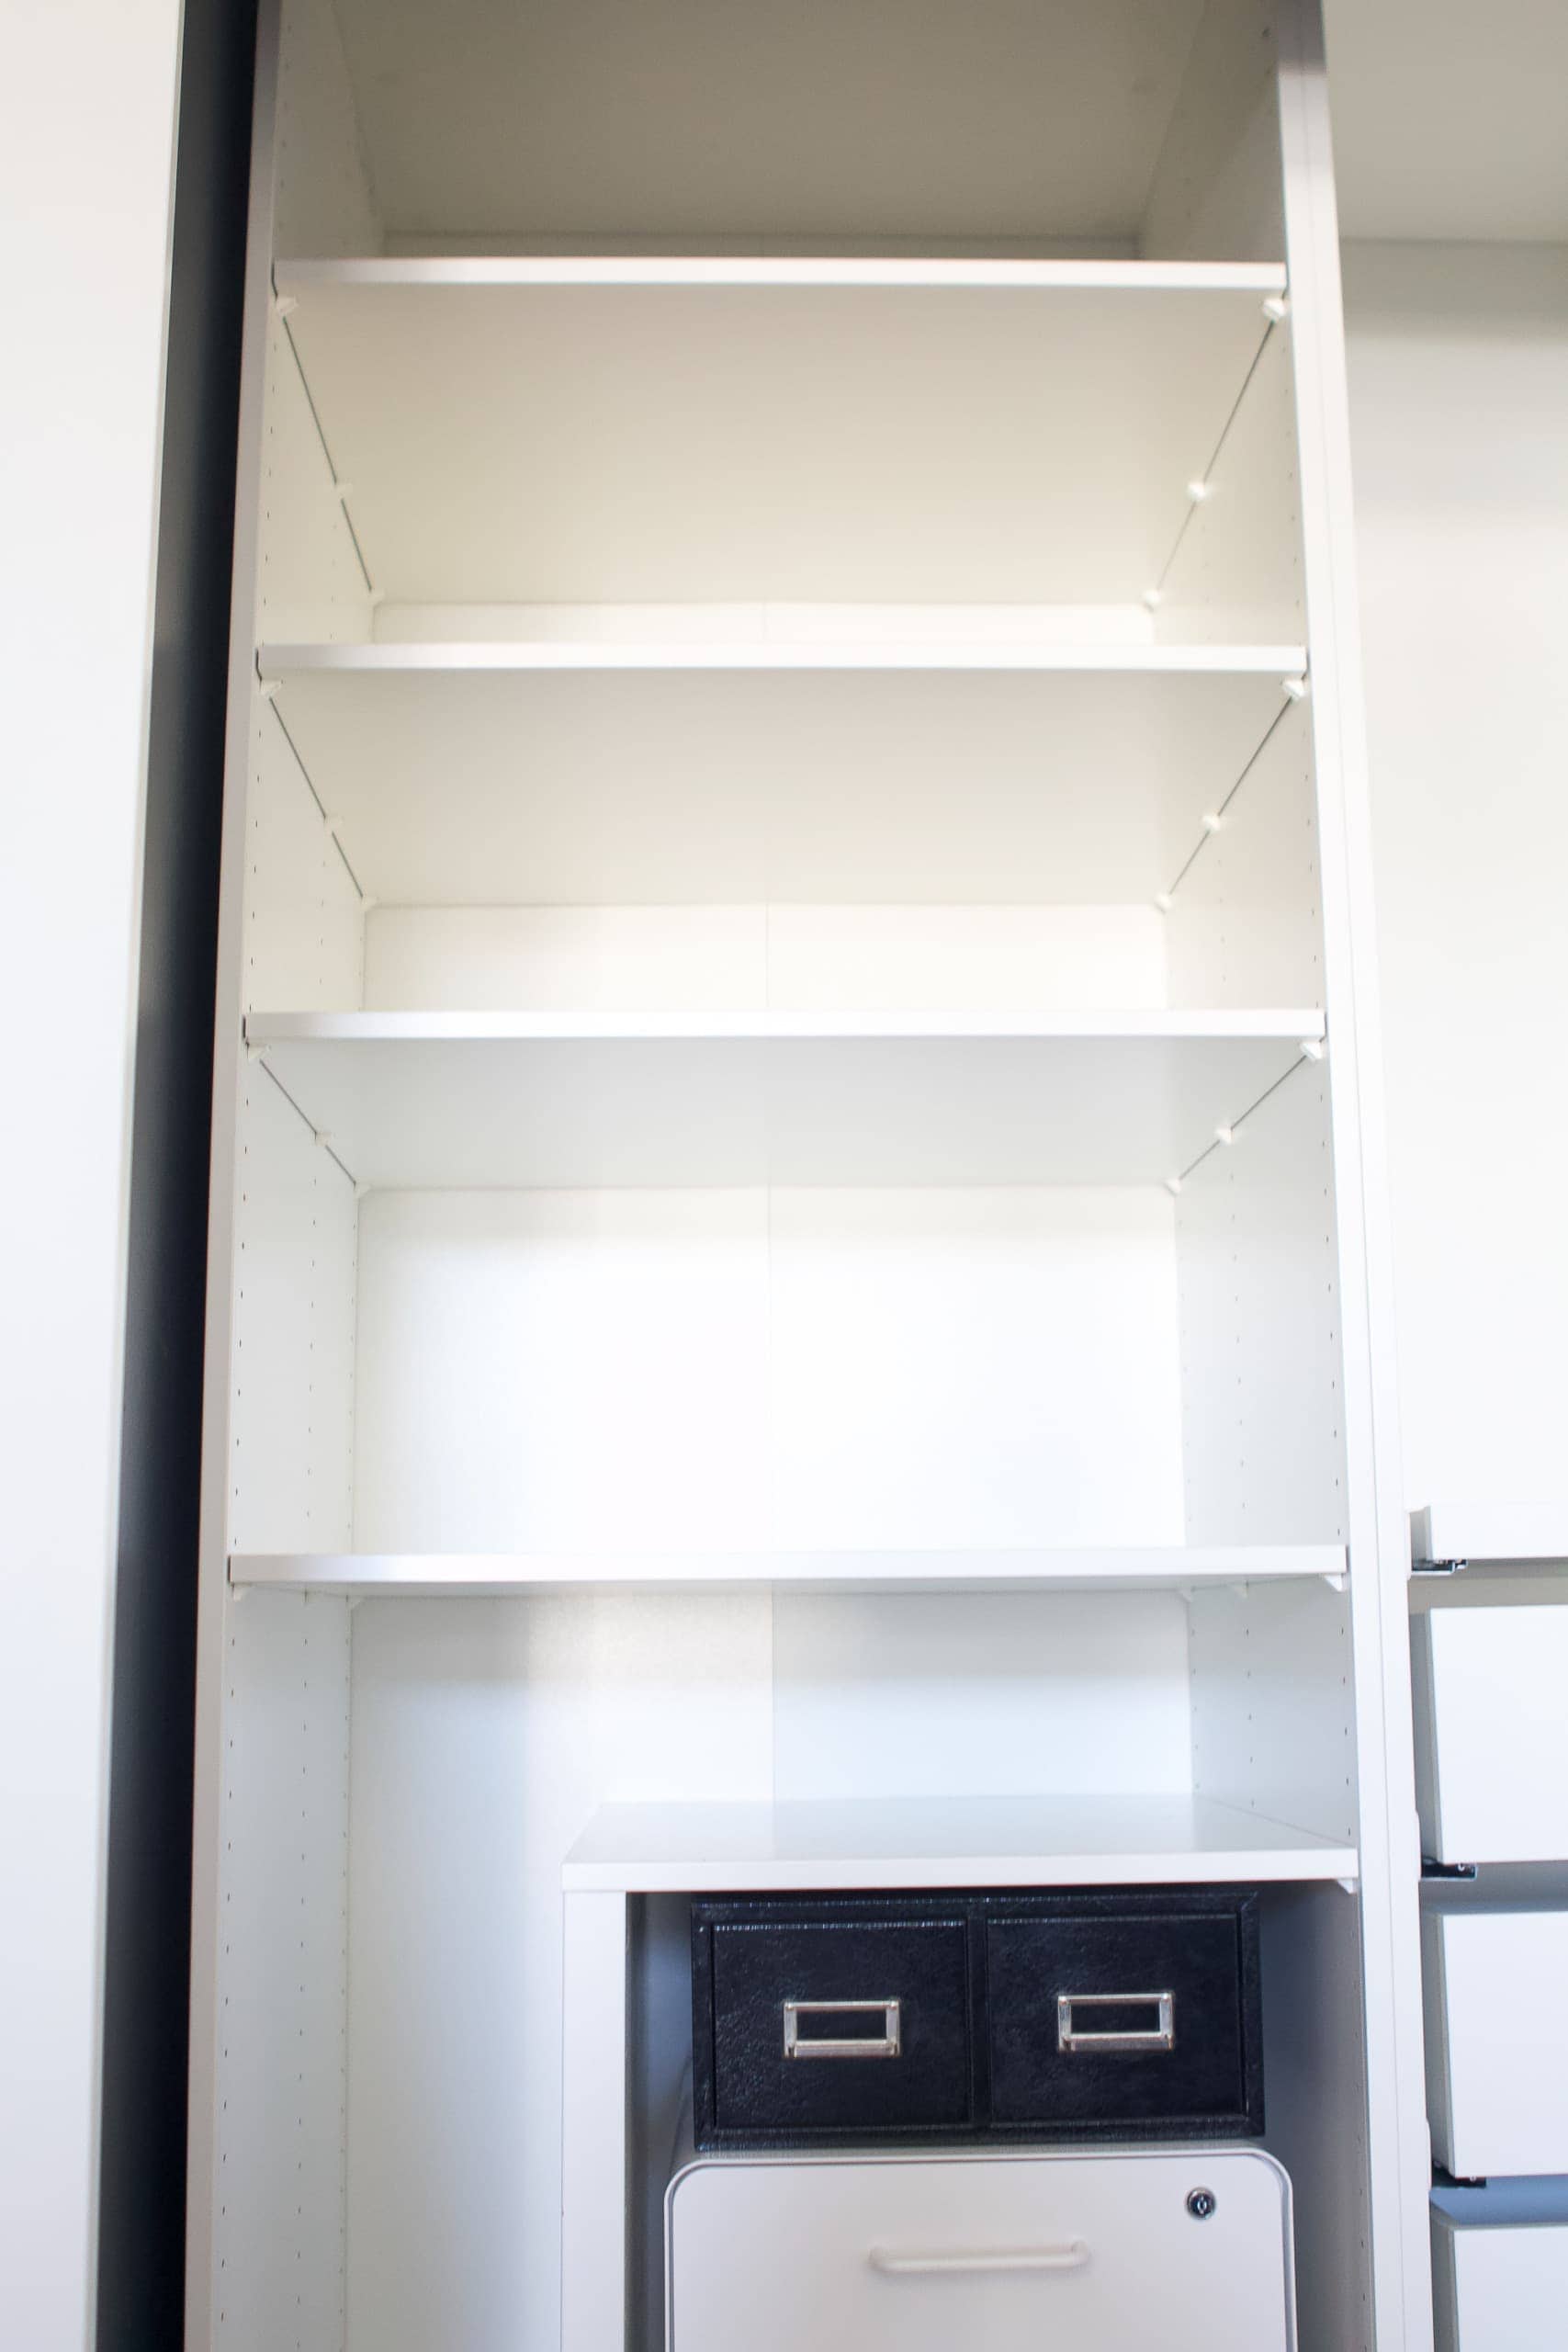
The hardest part was over! Now, time for the fun stuff – the accessories. Okay, maybe not “fun”. Finn did have to put five drawers together. He built the drawers, while I got to work installing the shelves and file cabinet divider into the two frames. I’d say it took us about an hour and a half to get the rest of the items into the frames. The good thing about all of these pieces is that they’re adjustable.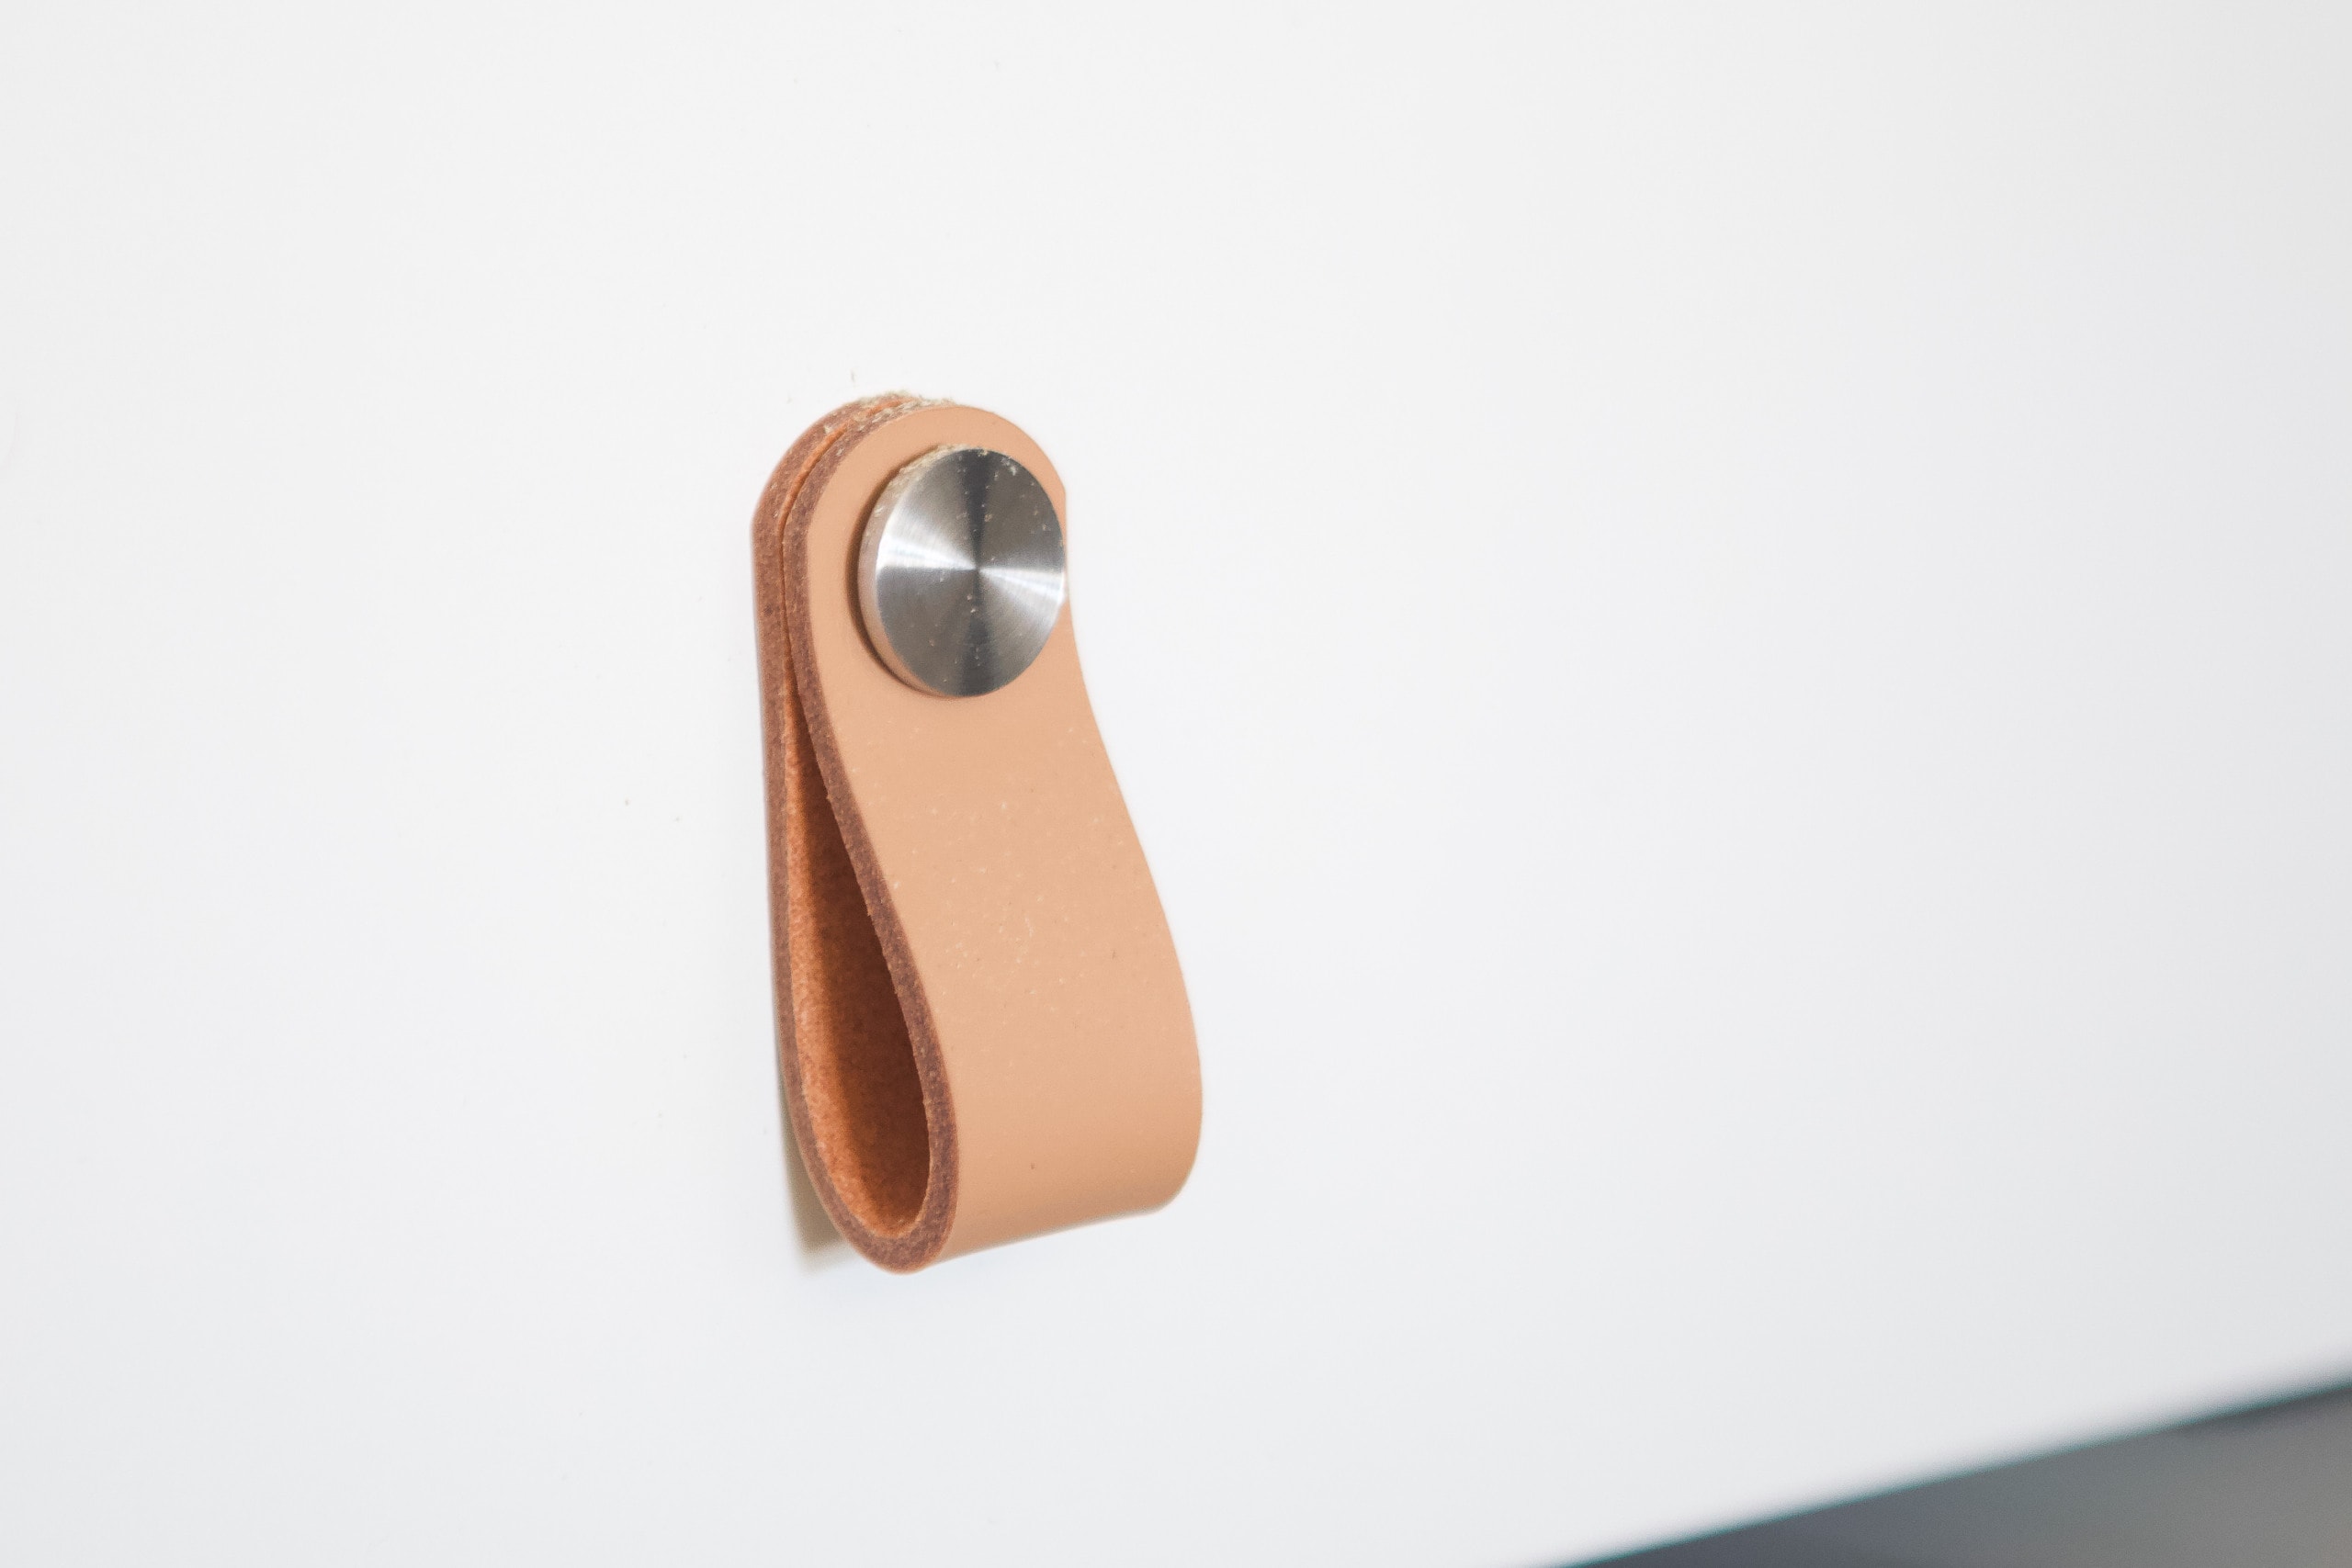
I also went ahead and ordered these cute drawer pulls from IKEA too. I thought they would add a little warmth to the all-white closet system. These were easy to install. I just created a pilot hole and then screwed them into place.
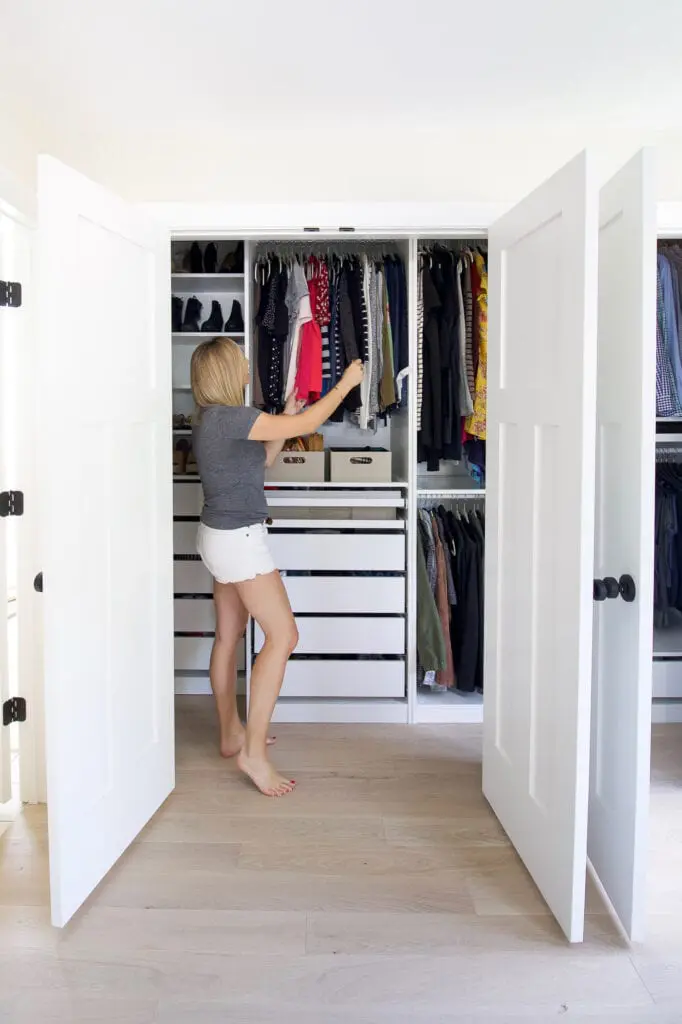
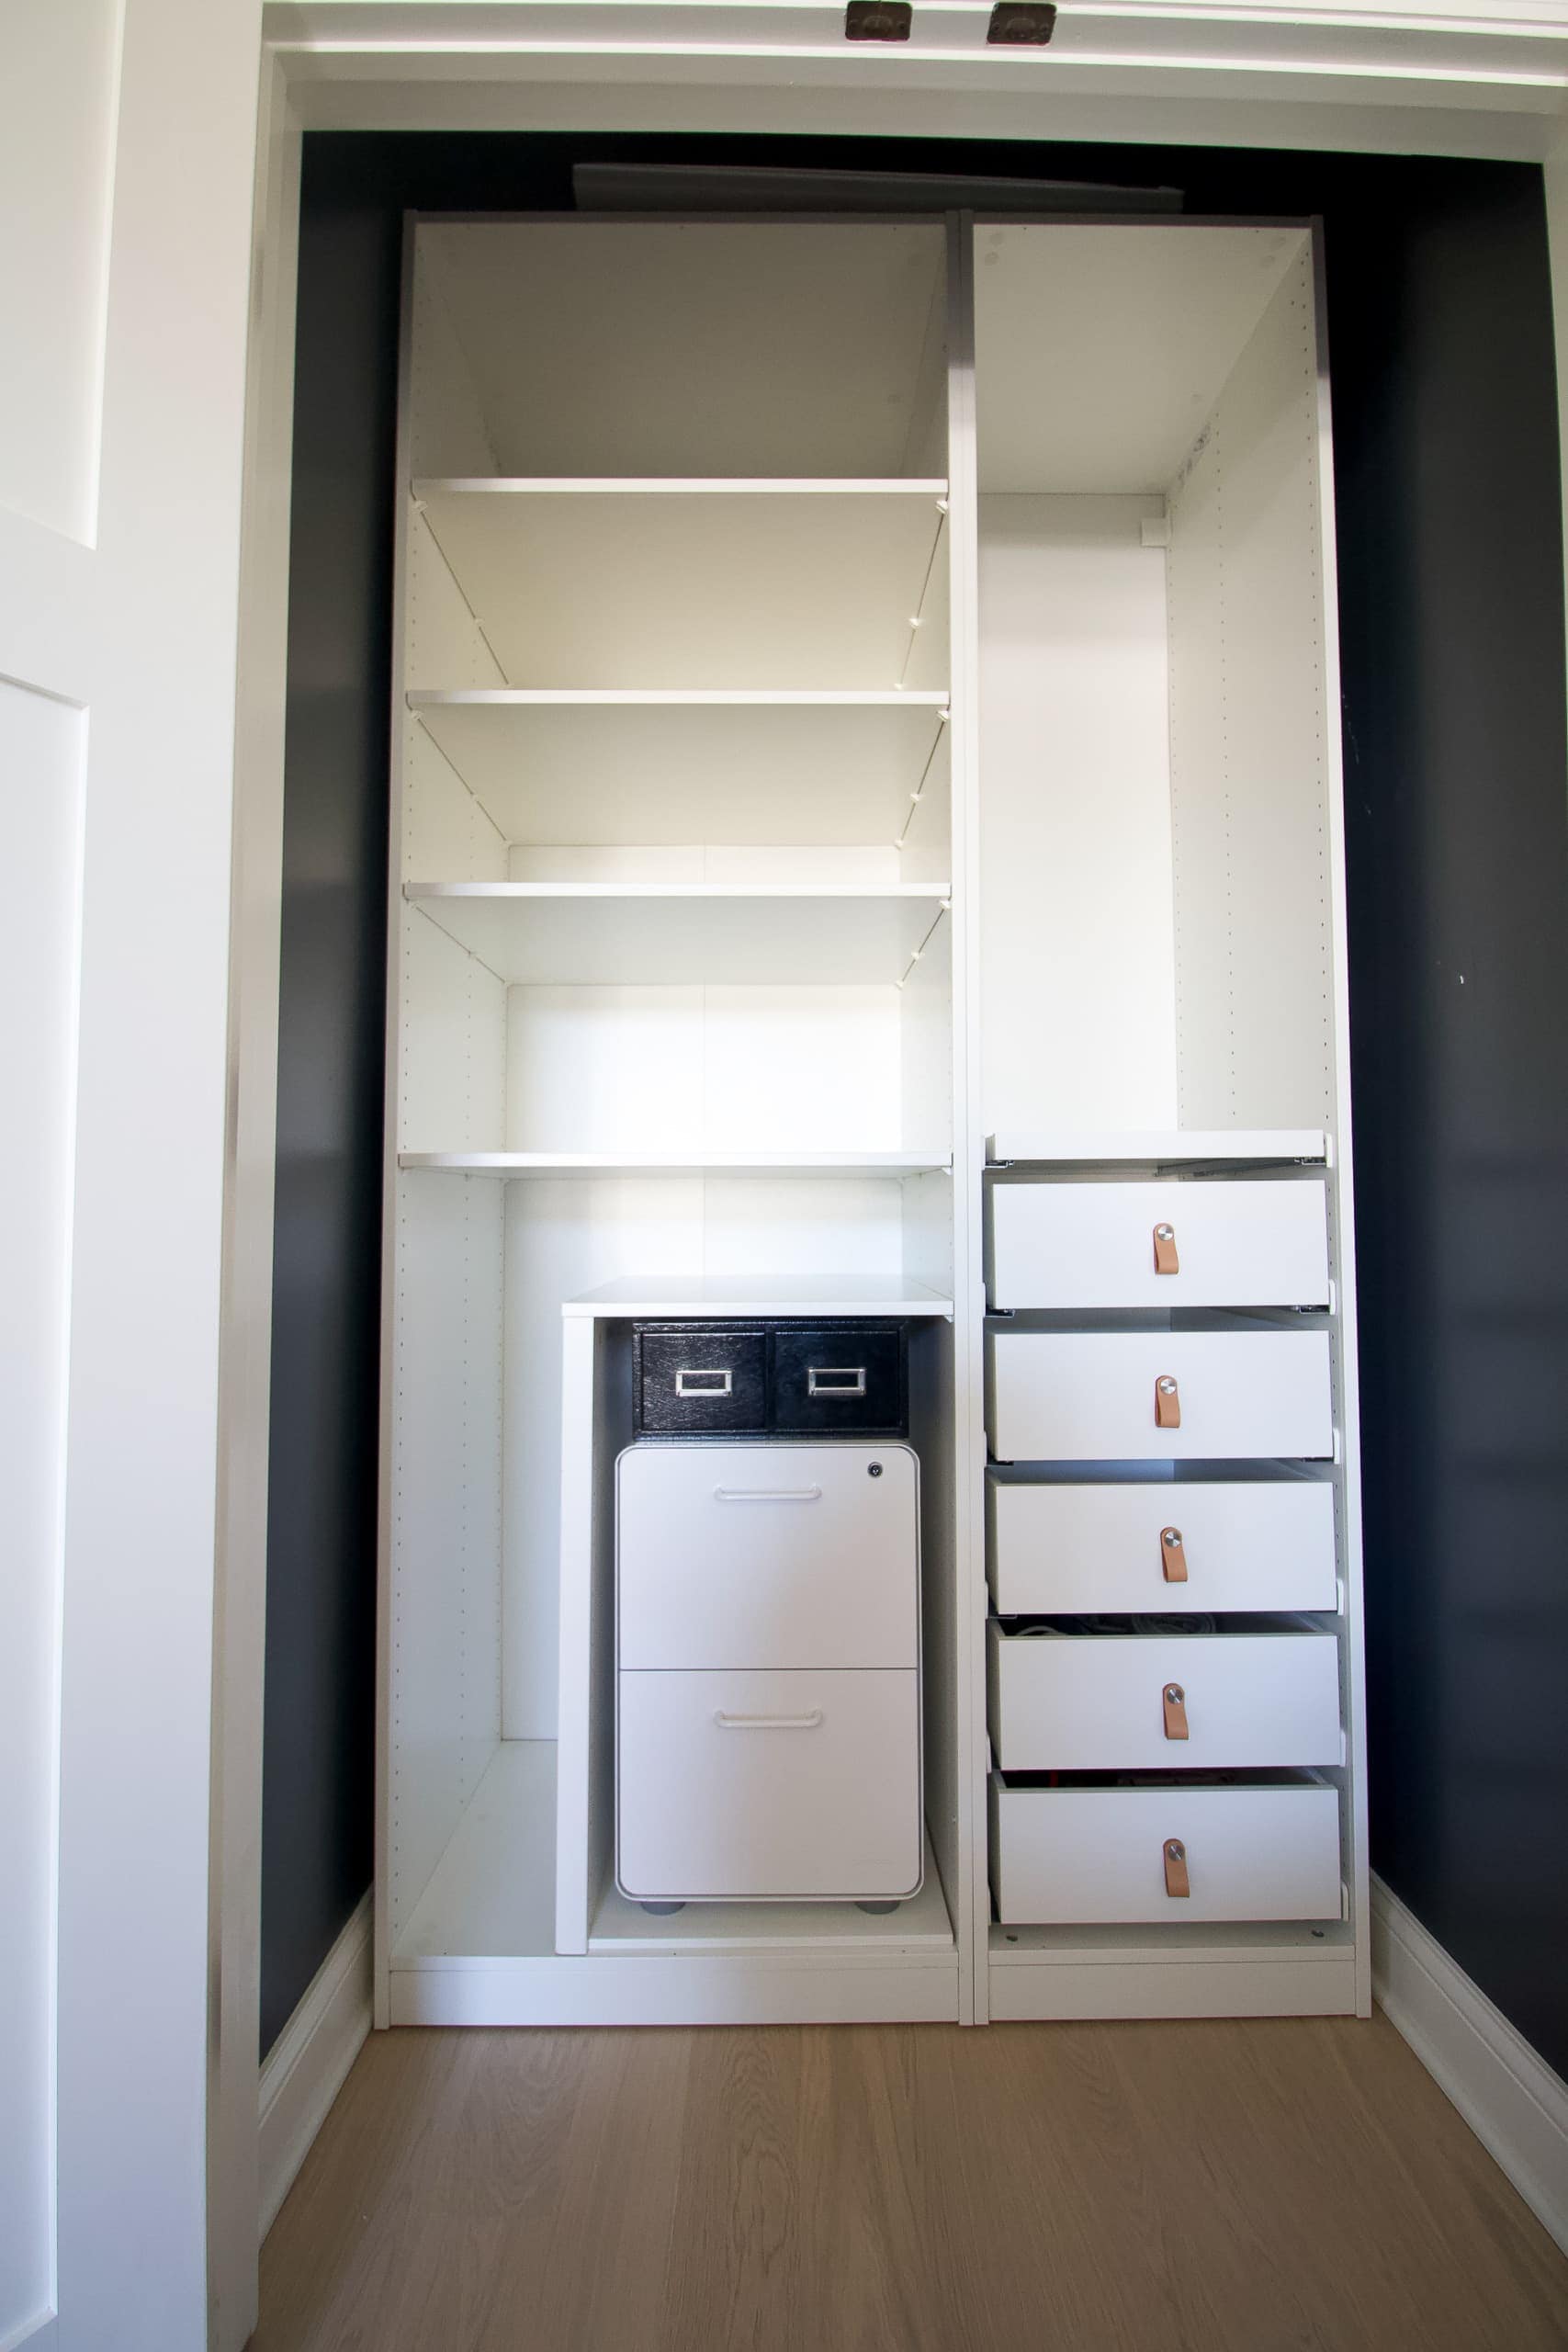
An Empty Closet to a Full One
Paint Color: Valspar “Chimney Smoke” // Closet System Information // Leather Handles // File Cabinet // Black Cabinet (thrifted)
Our closet is about 95% there! We put the file cabinet into its spot, along with a small black pull-out drawer where I store extra photos. (I found it at a flea market years ago!) We obviously need to fill the rest of this closet up with actual stuff, like my photography equipment, wrapping paper, gifting supplies, extra home decor, electronics, etc. Not to mention we want to add some of the extras to make the closet system look even better, like these hole covers and these screw hole stickers.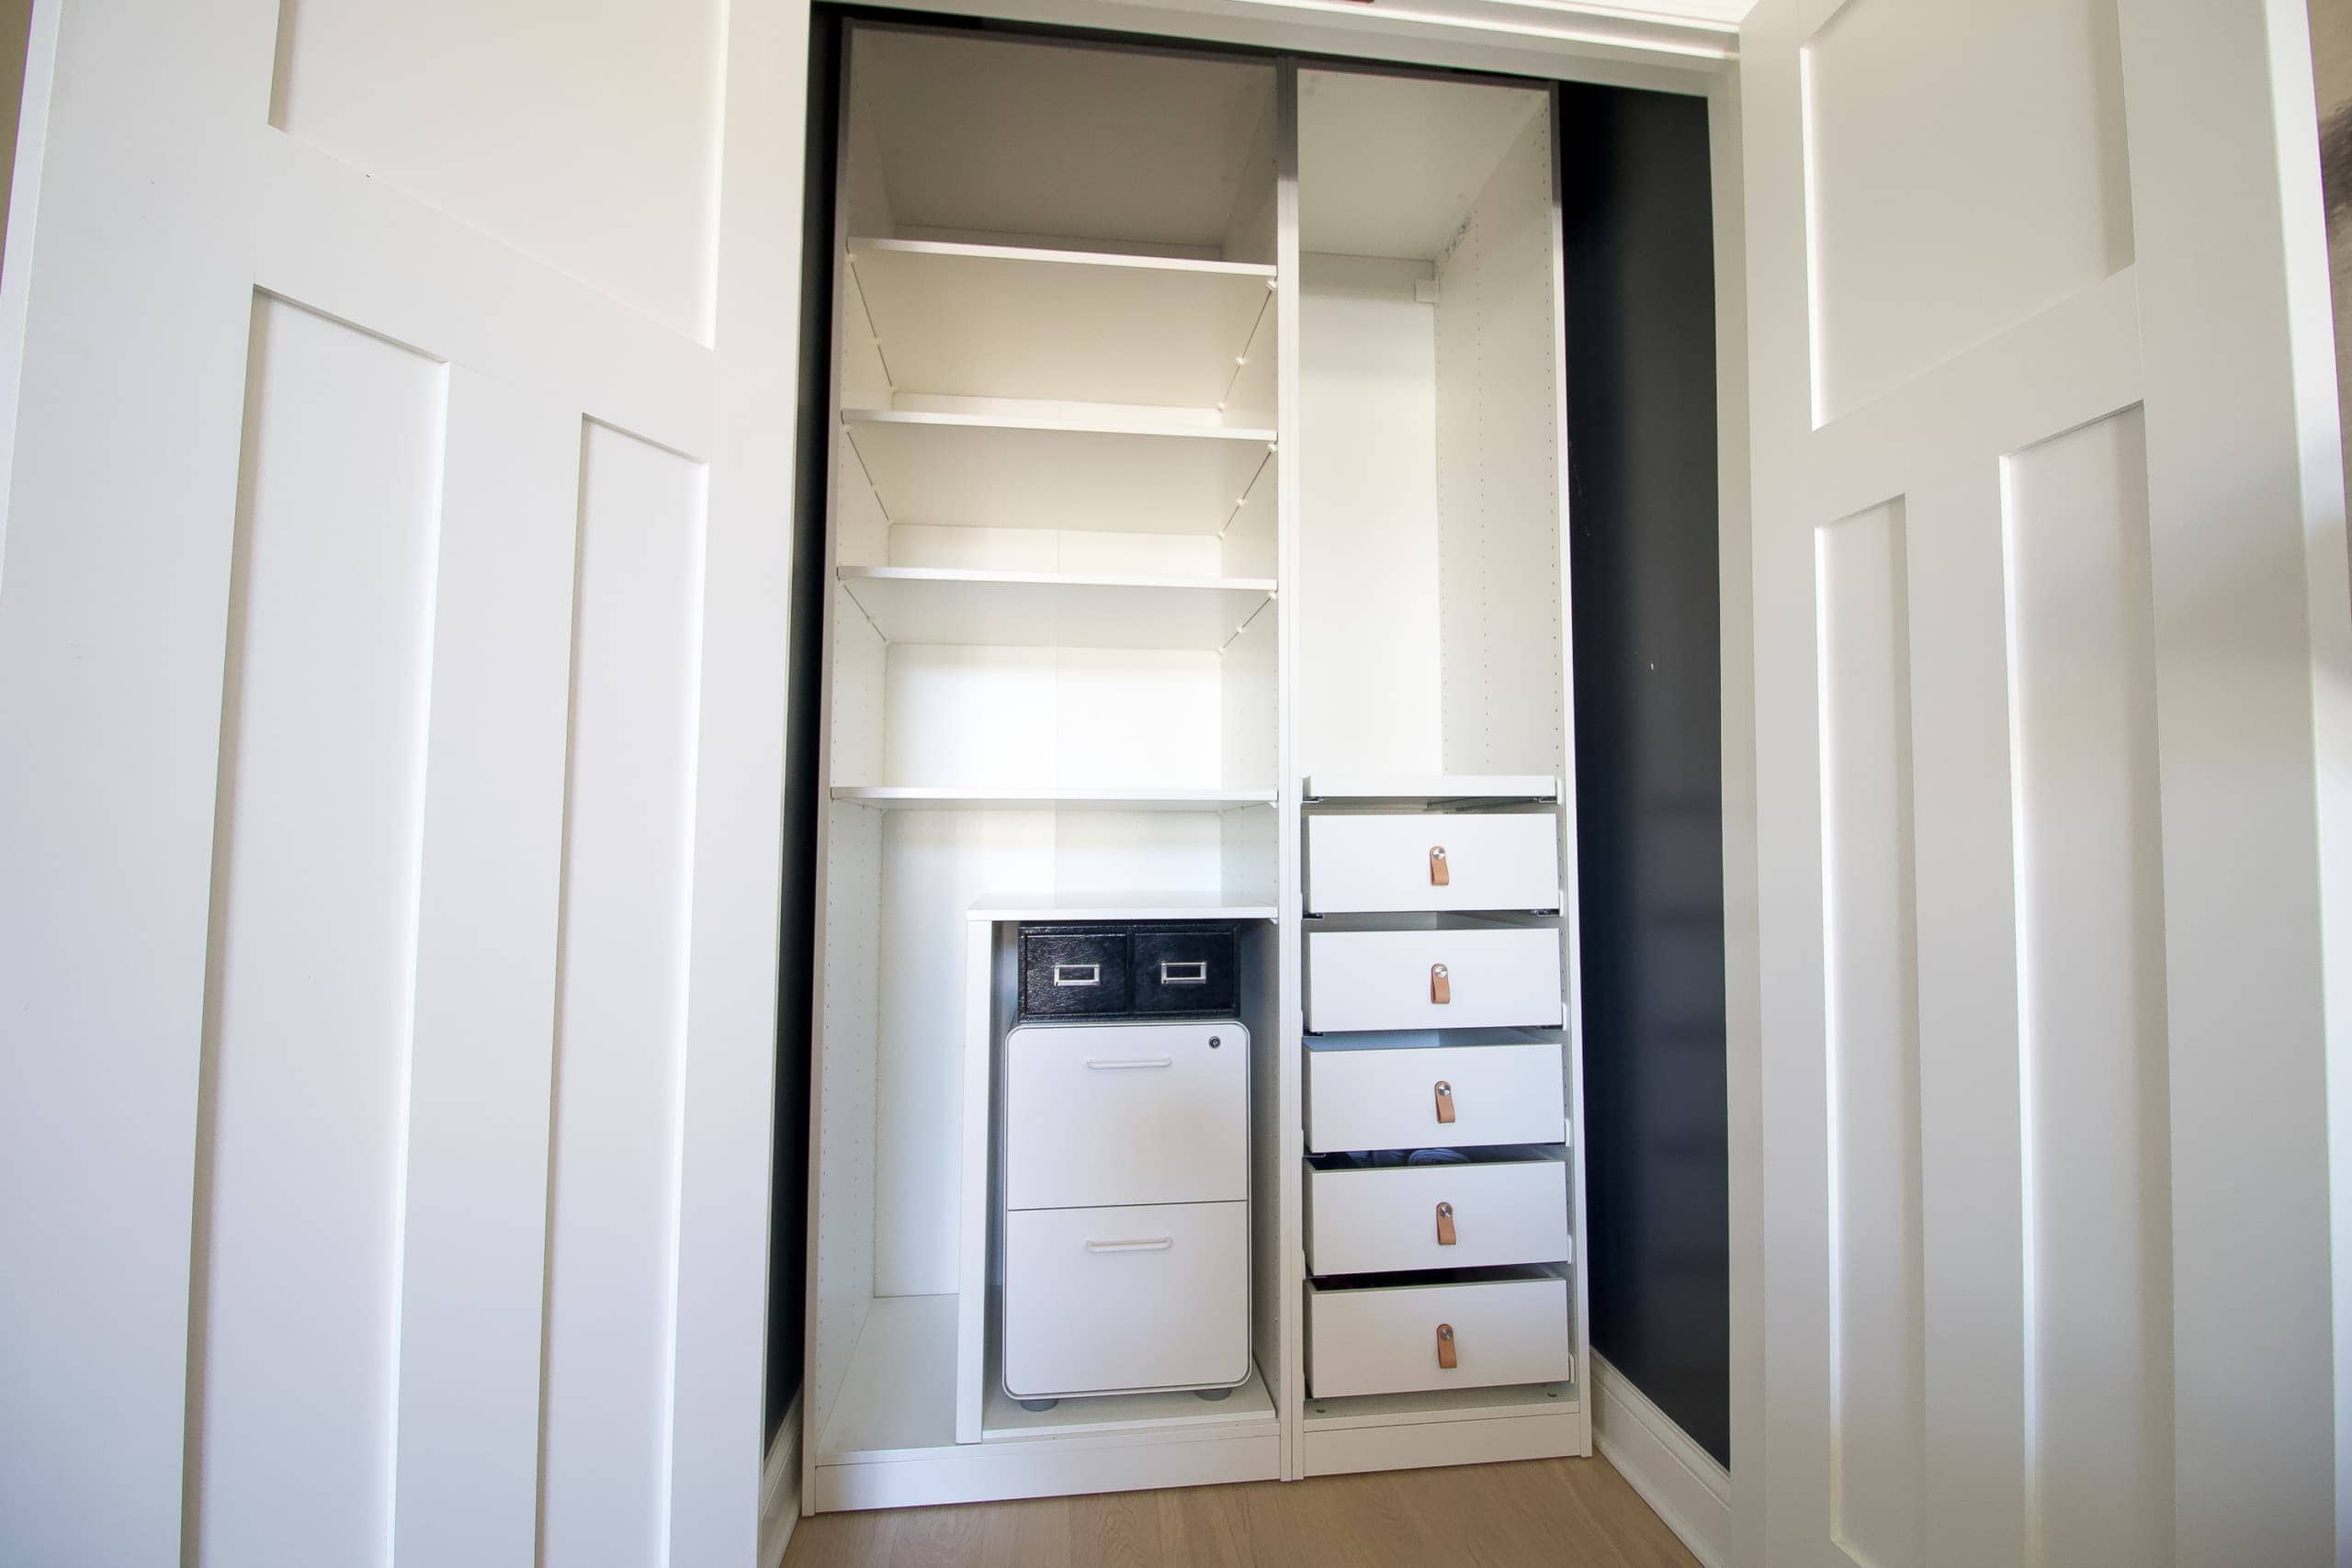
Once the closet was installed, we realized that we wanted one more shelf in the cabinet on the right side, along with lots of baskets and bins to fill up this space. We placed another IKEA order and those items should arrive any day now!
What’s Next?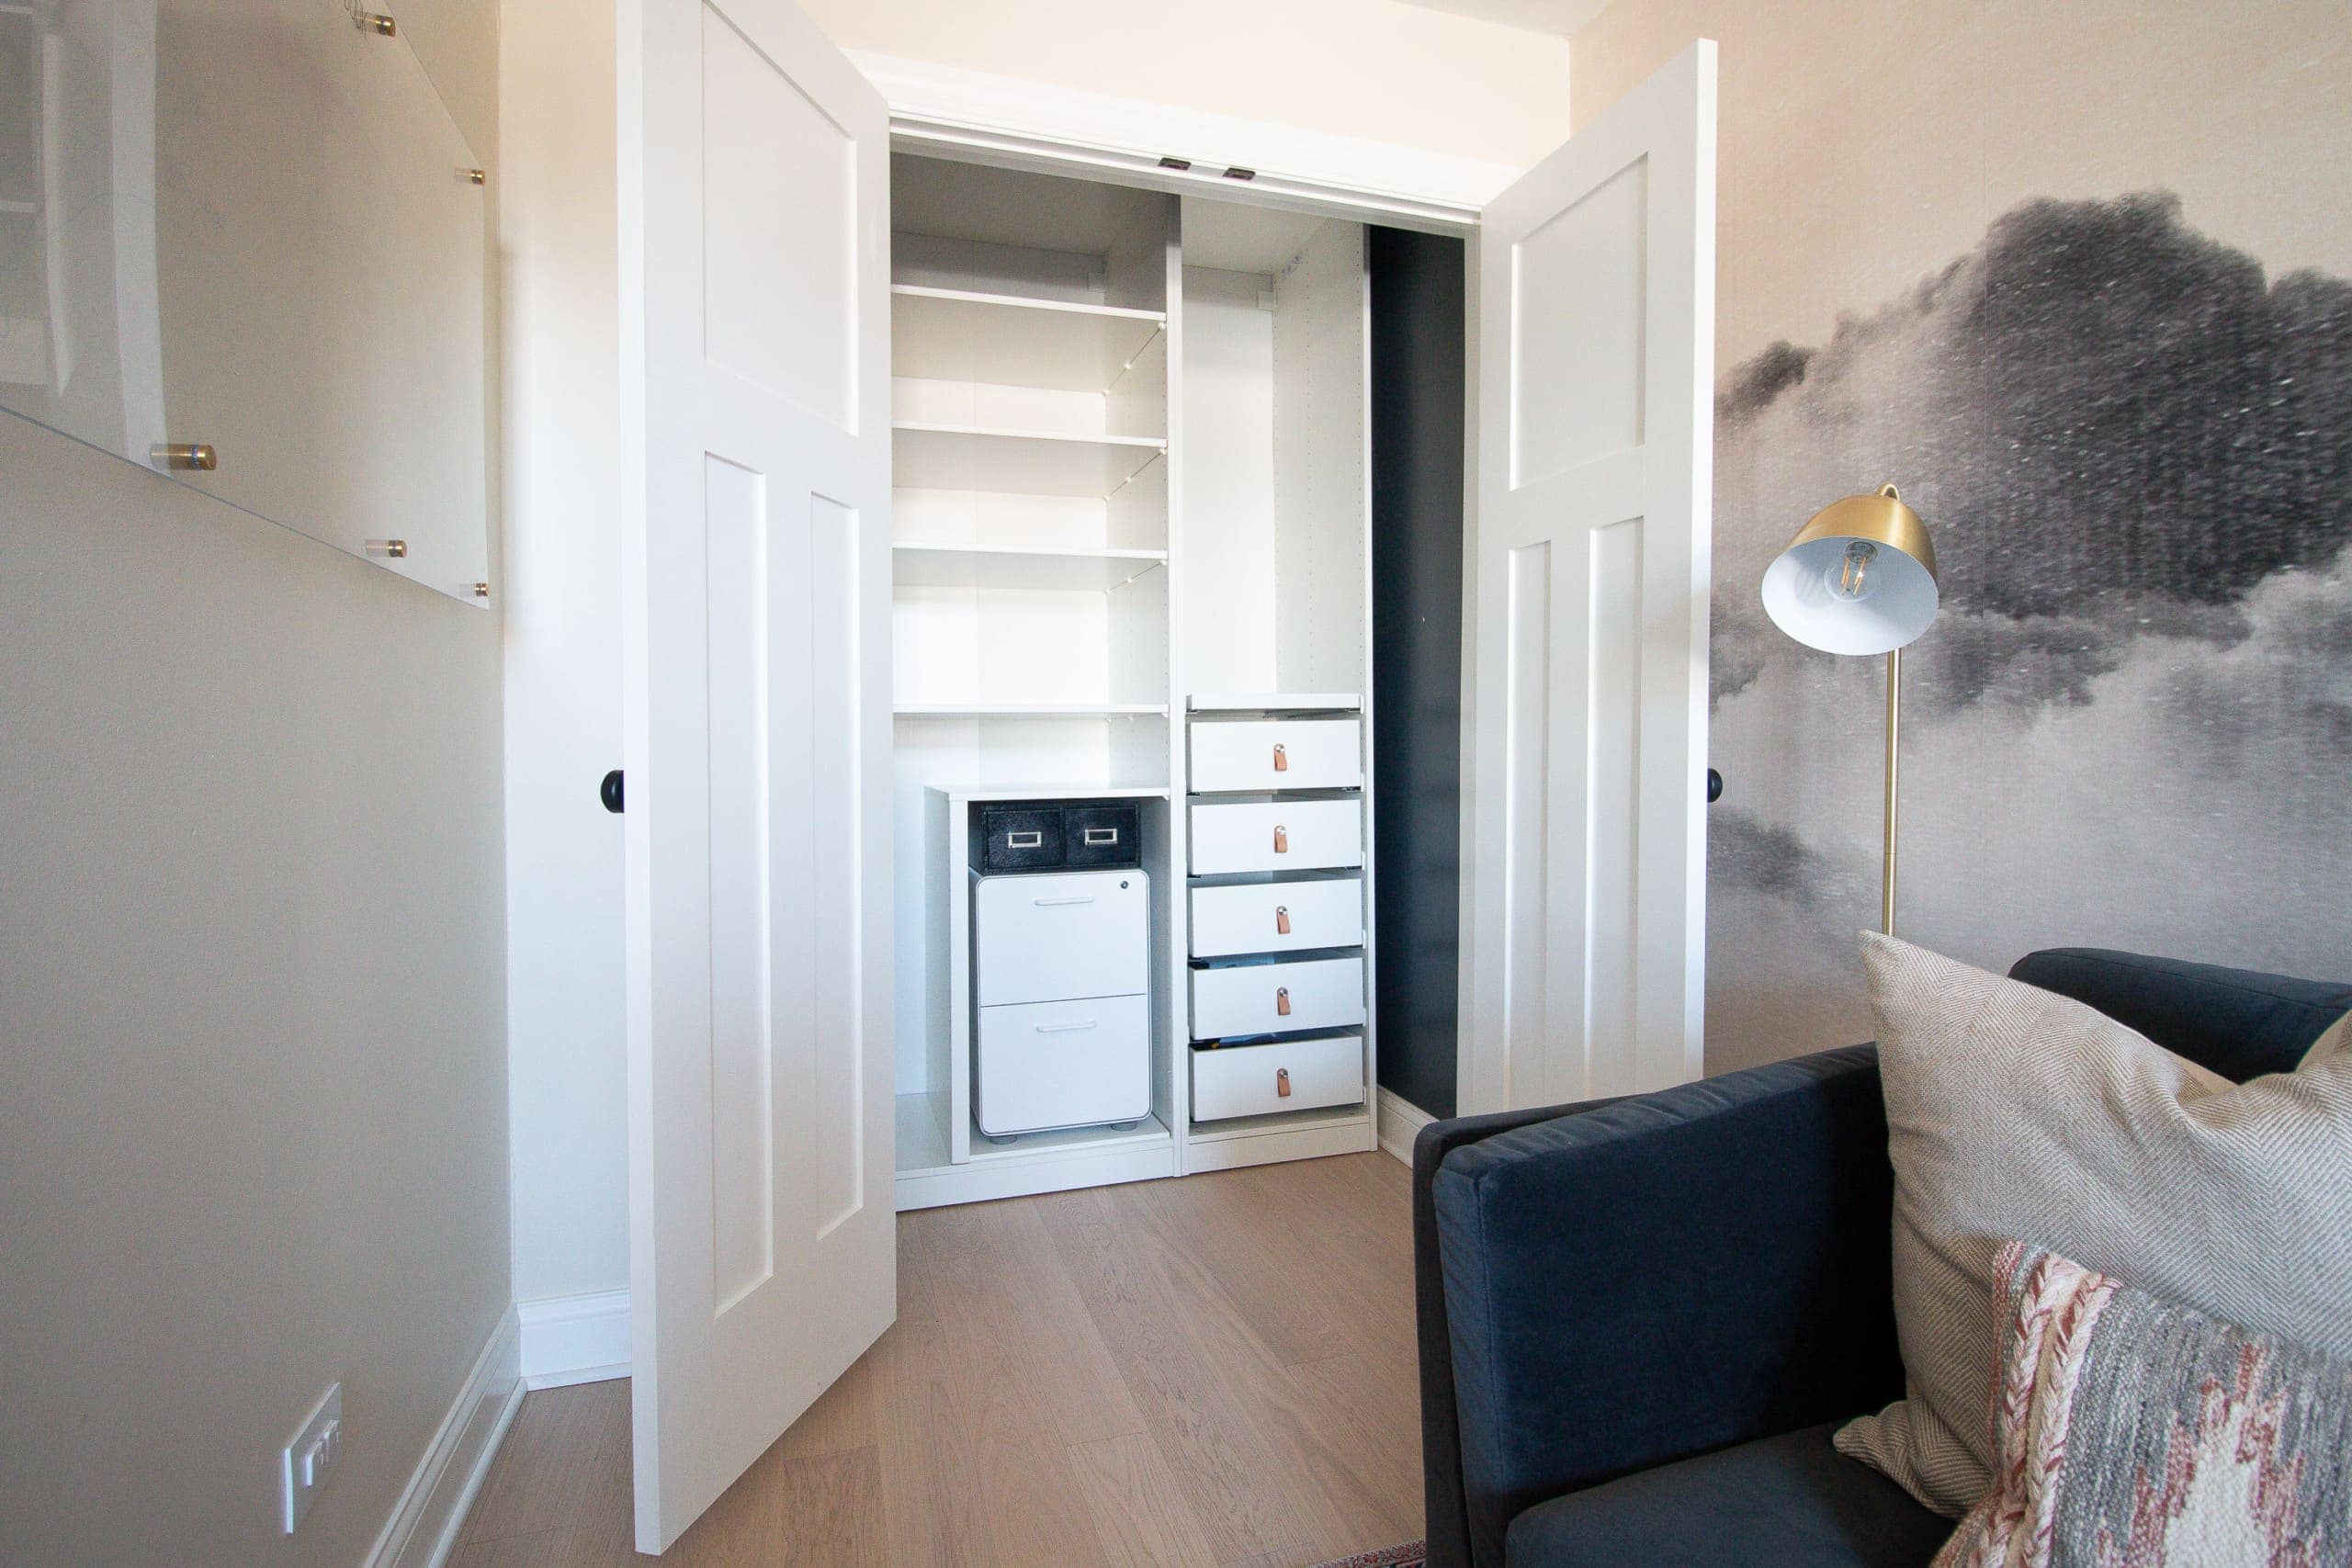
Next, I’ll share the completed office closet! It’s time to get our items organized and in this space, instead of sitting in piles in our guest room…yeesh. Can’t wait to finally check this big project off our 2021 home goals list!
Casey
Catch Up on the Closet Project
You may also like…


Hey there!
I’m Casey Finn, the voice behind The DIY Playbook. I’m married to Finn & mom to Rory and Ellis. Together we’re creating our dream home in Chicago, one DIY project at a time.