How to Make a DIY Acrylic Dry Erase Board
From the beginning of our office project, I knew I wanted to add a large dry erase board in here. While I no longer write out my schedule for the week on a dry erase board (I used to do that back in this post but now I use Trello!), I love having a big board for other projects. Writing down big picture goals, walking through a DIY project with Finn, or even just jotting down an inspirational quote for the week…a wipeable board is key for me!
I ended up making my own DIY acrylic dry erase board for the office and it was a heck of a lot easier (and less expensive) than I thought it would be. I was able to customize it exactly for my space and it’s a stylish addition that goes with the decor in the rest of the room (can’t wait to show you the full office reveal next week!).
DIY Acrylic Dry Erase Board – Supplies
Here’s what you’ll need to grab for this DIY project.
- Acrylic
- Plywood (or something you can drill through)
- Standoffs
- Power Drill
- Brad Point Drill Bit & Regular Drill Bits
- Tape Measure & Sharpie
- Anchors & Screws
- Decal or Stickers (optional)
Steps to Create Your Own Dry Erase Board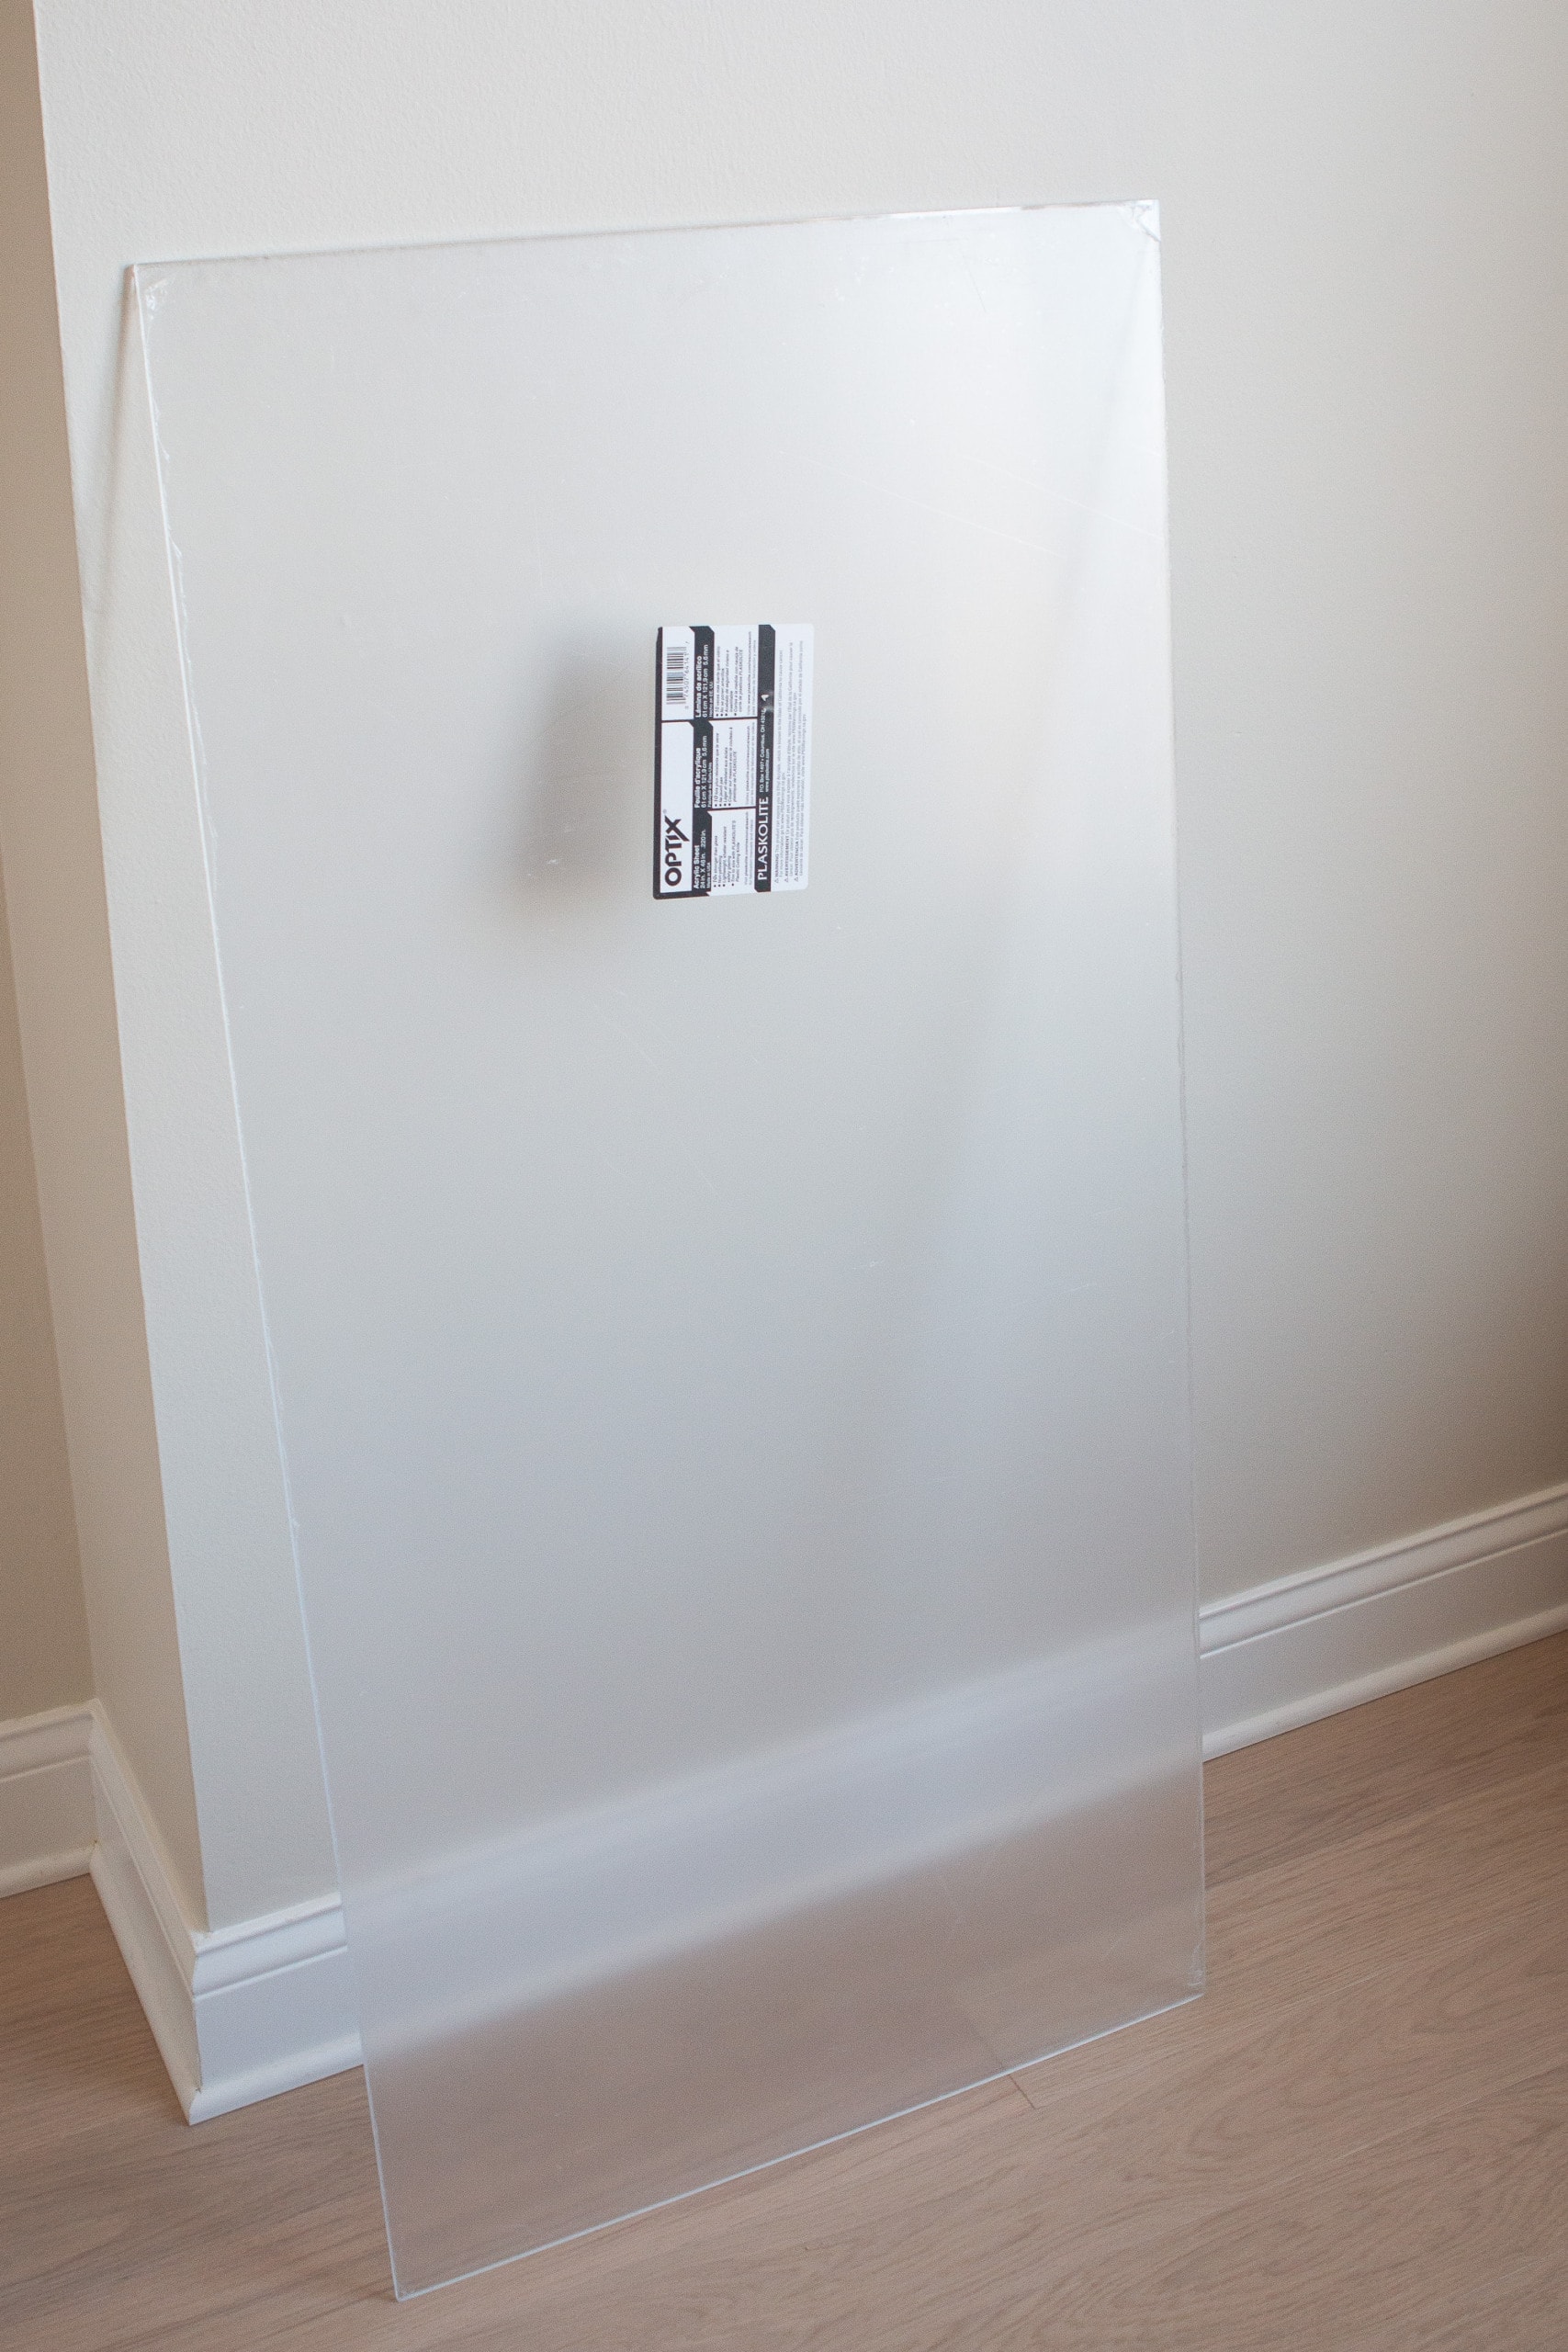
First, you need to buy your acrylic. I ended up getting this piece from Lowe’s Home Improvement. They had lots of sizes to choose from, but the 24×48 was perfect for my space. You can always buy a larger piece and cut it down to size so it fits your wall exactly! Some stores may even cut the piece down for you, but I would check before buying.
Prep your Acrylic

You’ll be drilling holes into the acrylic, so it’s important to have something underneath so you don’t drill into the floor. I used leftover plywood (we have so many scraps from our built-in project) underneath so I could drill through the acrylic and hit the plywood on the other side. 
I decided to go with eight fasteners on the DIY acrylic dry erase board…all four corners and then four more in the middle, for stability. I measured an inch in from the edge and drew marks with my sharpie.
Drill Your Holes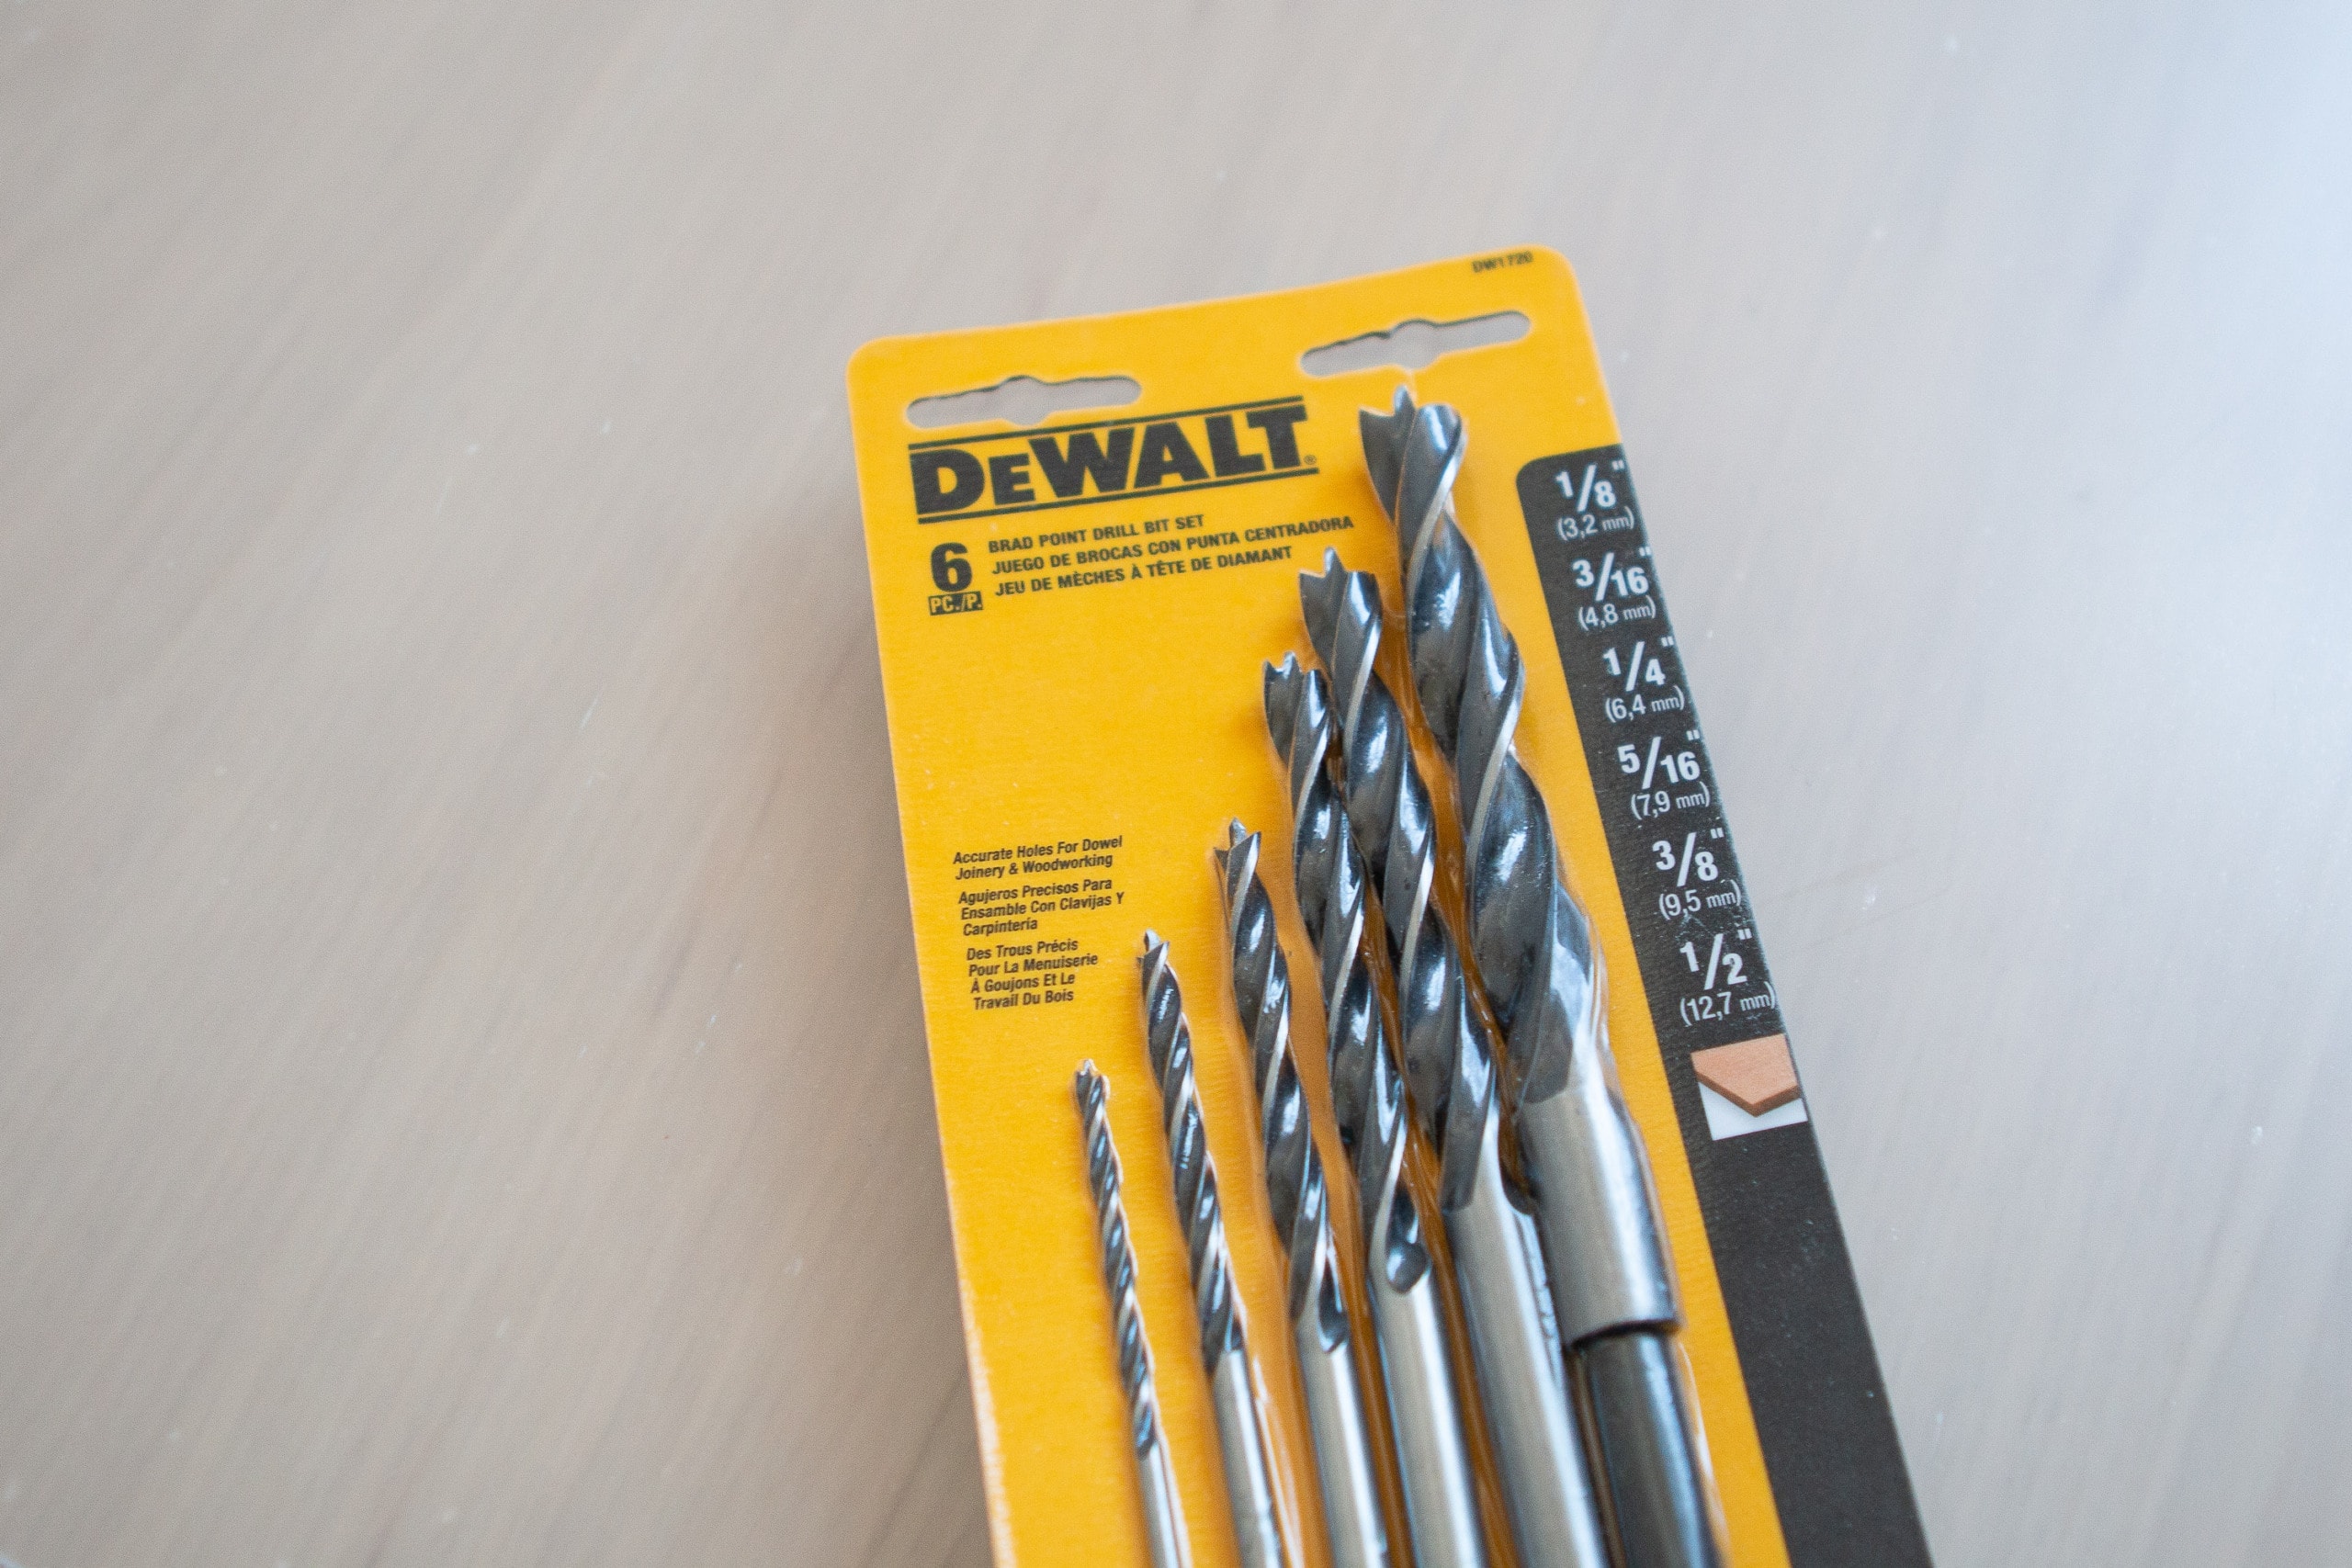
I ended up buying this brad point drill bit set for this project because these bits are great for drilling into plastic. If you use a regular bit, there is a chance the plastic can crack (which would be really bad!). If you only have a regular bit, I’ve heard you can drill in reverse and go really slow to prevent cracking. For me, I decided it was worth it to invest in the brad point drill bit set for this project.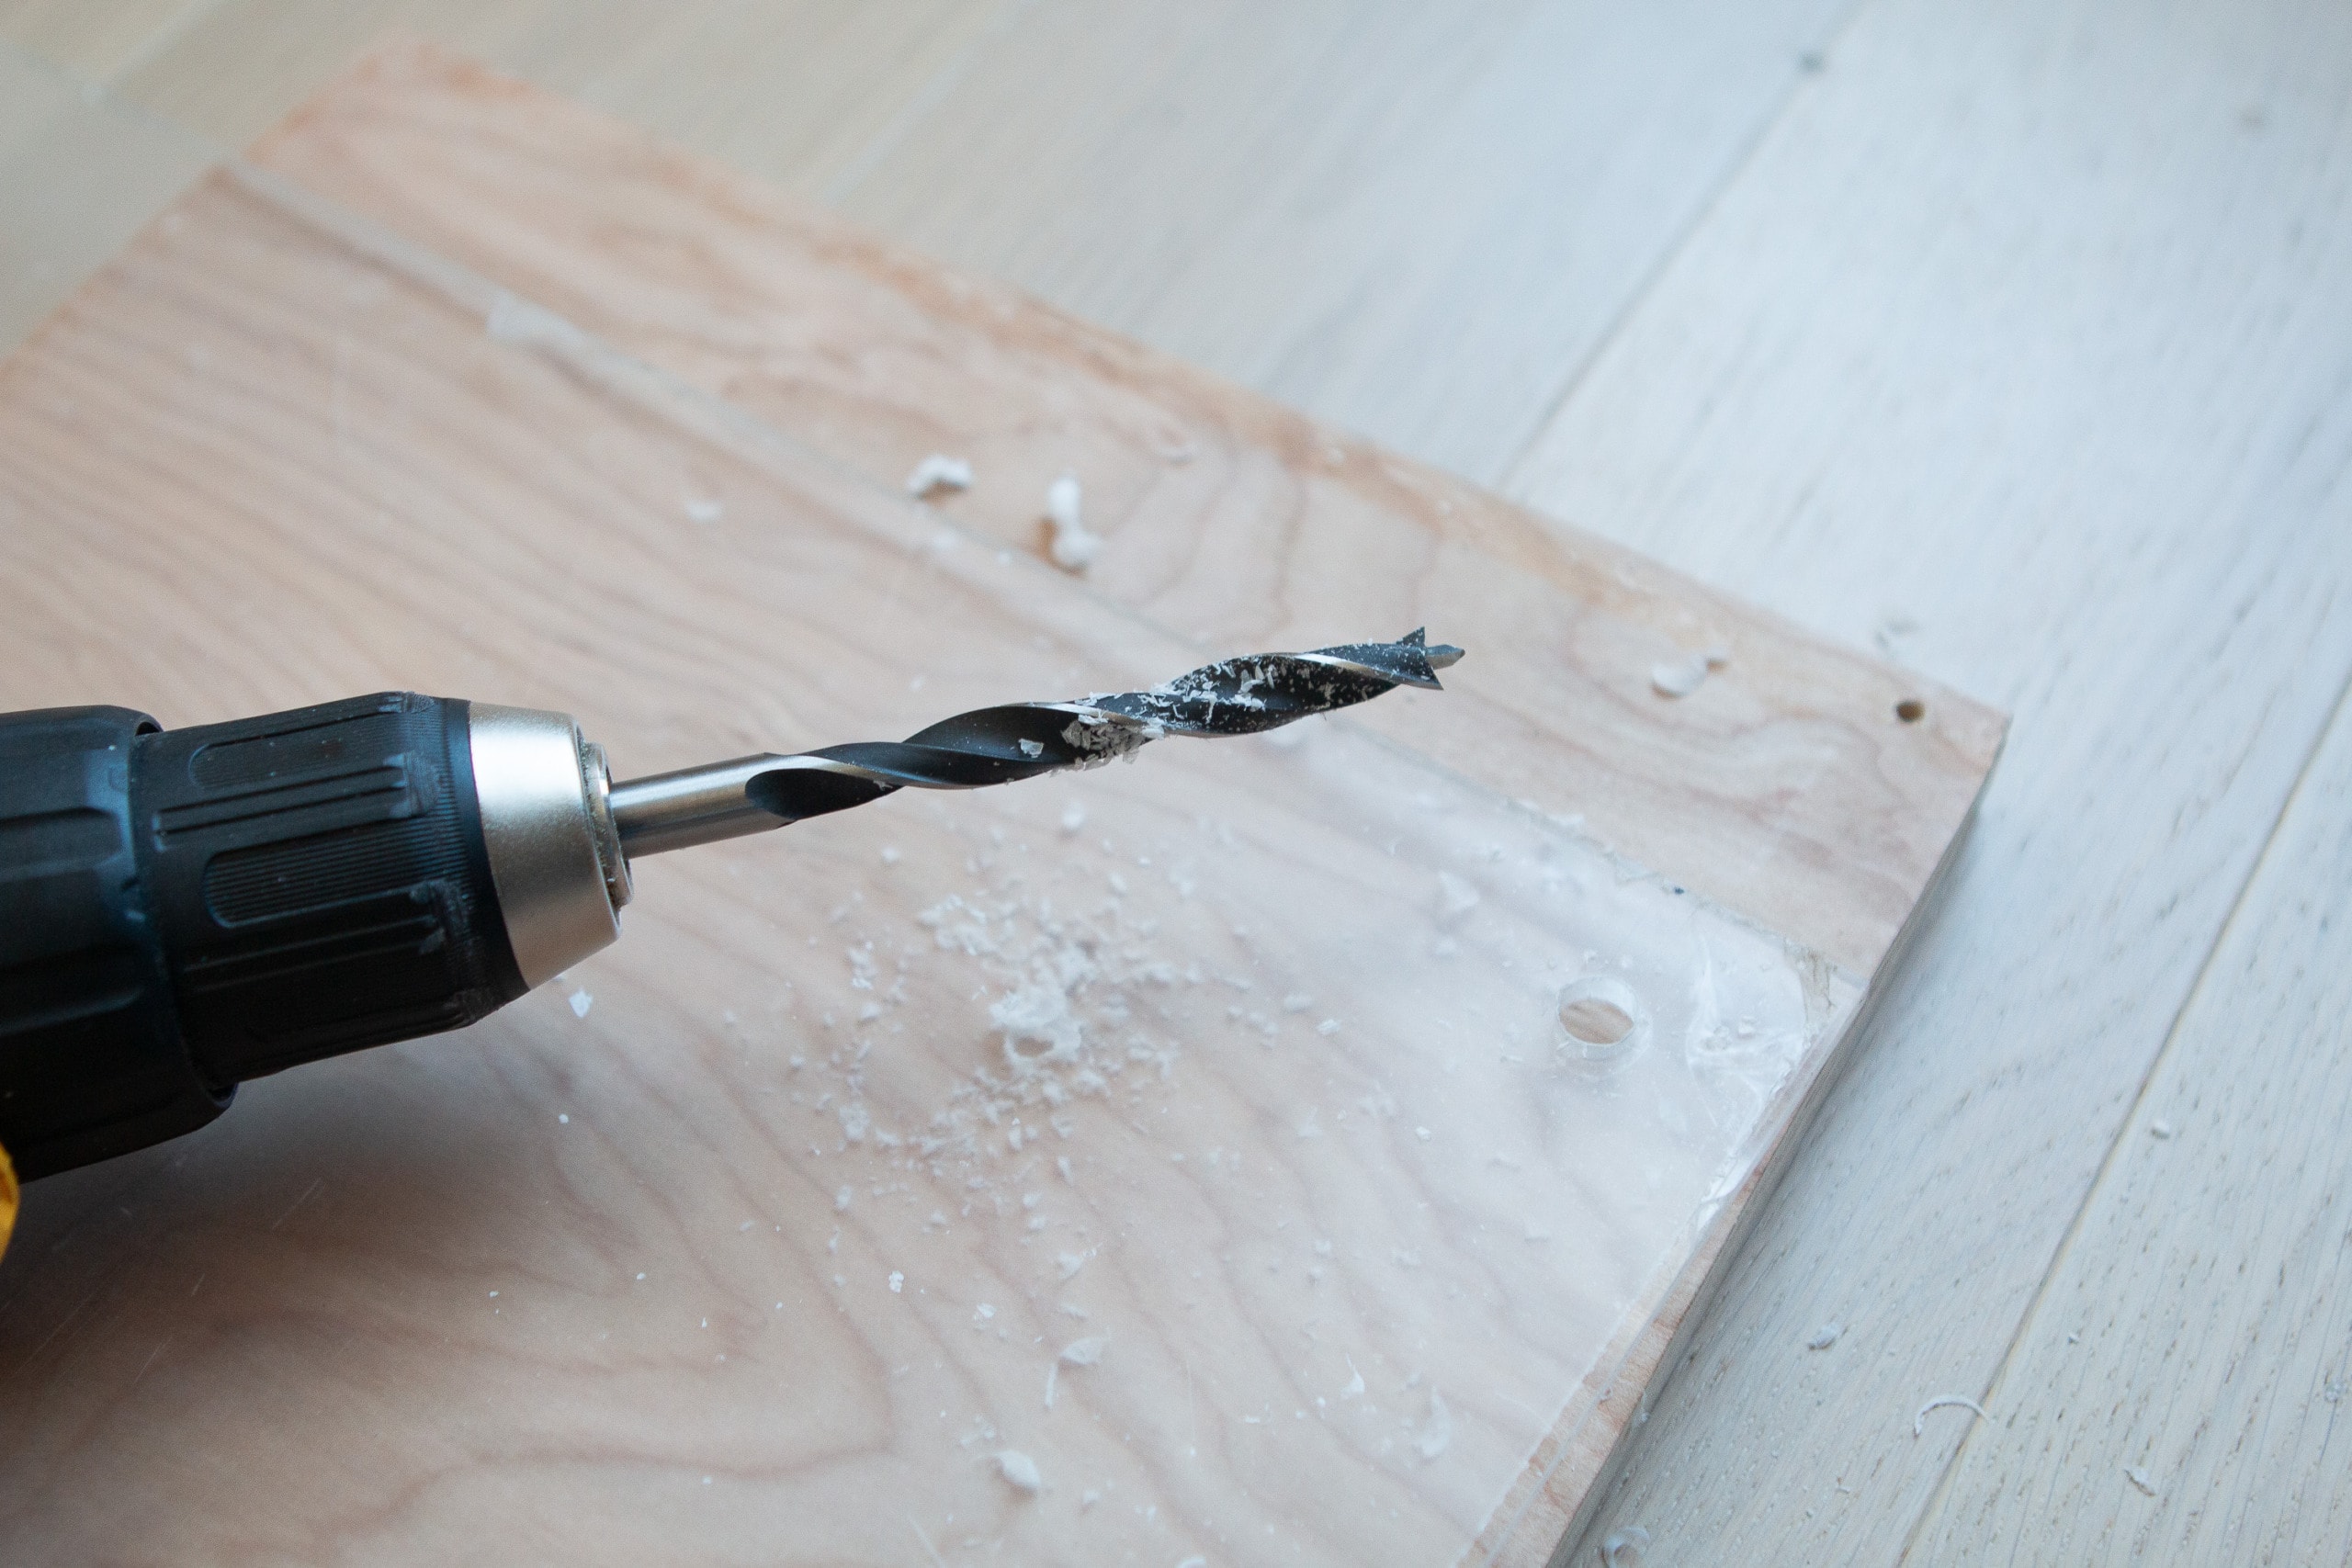
I used the 3/16″ sized bit to drill my holes because that is the same thickness as my standoffs. I went slow for each hole, so I could create a clean mark all the way through.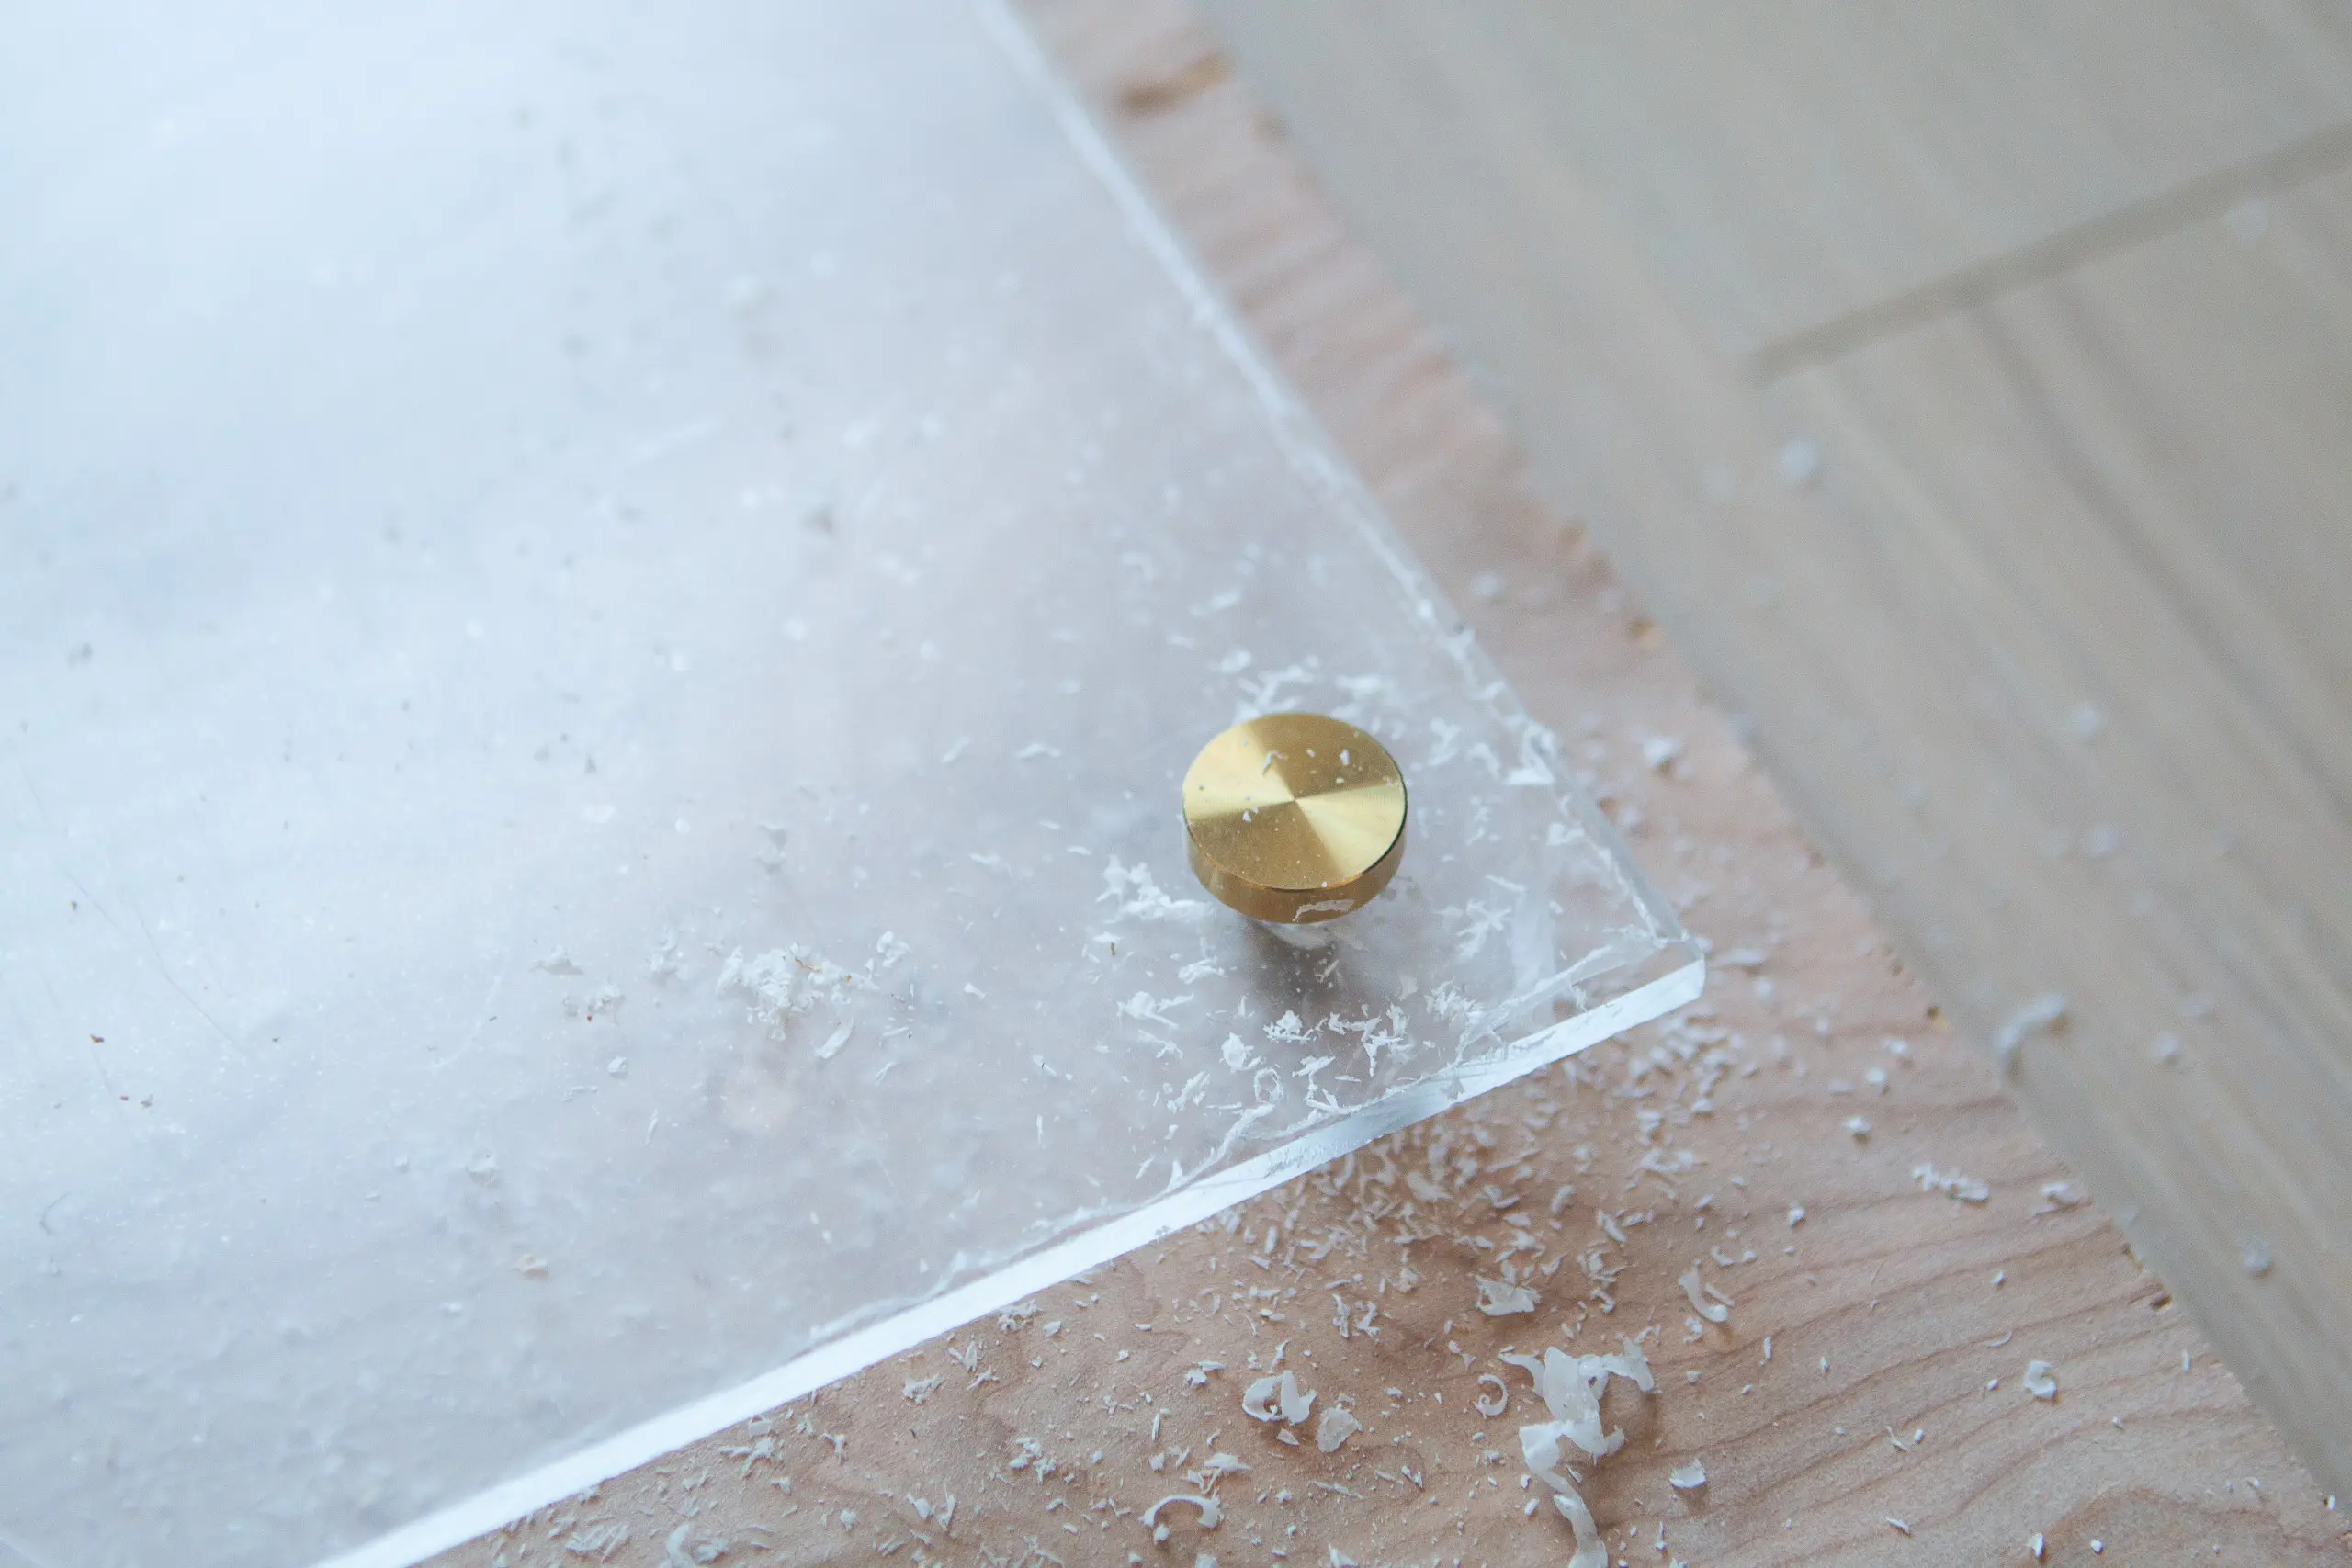
Test to make sure the top portion of your standoff fits into your holes. You may have to use your drill bit to make it a tiny bit wider so it slides in easily.
Add Decals or Stickers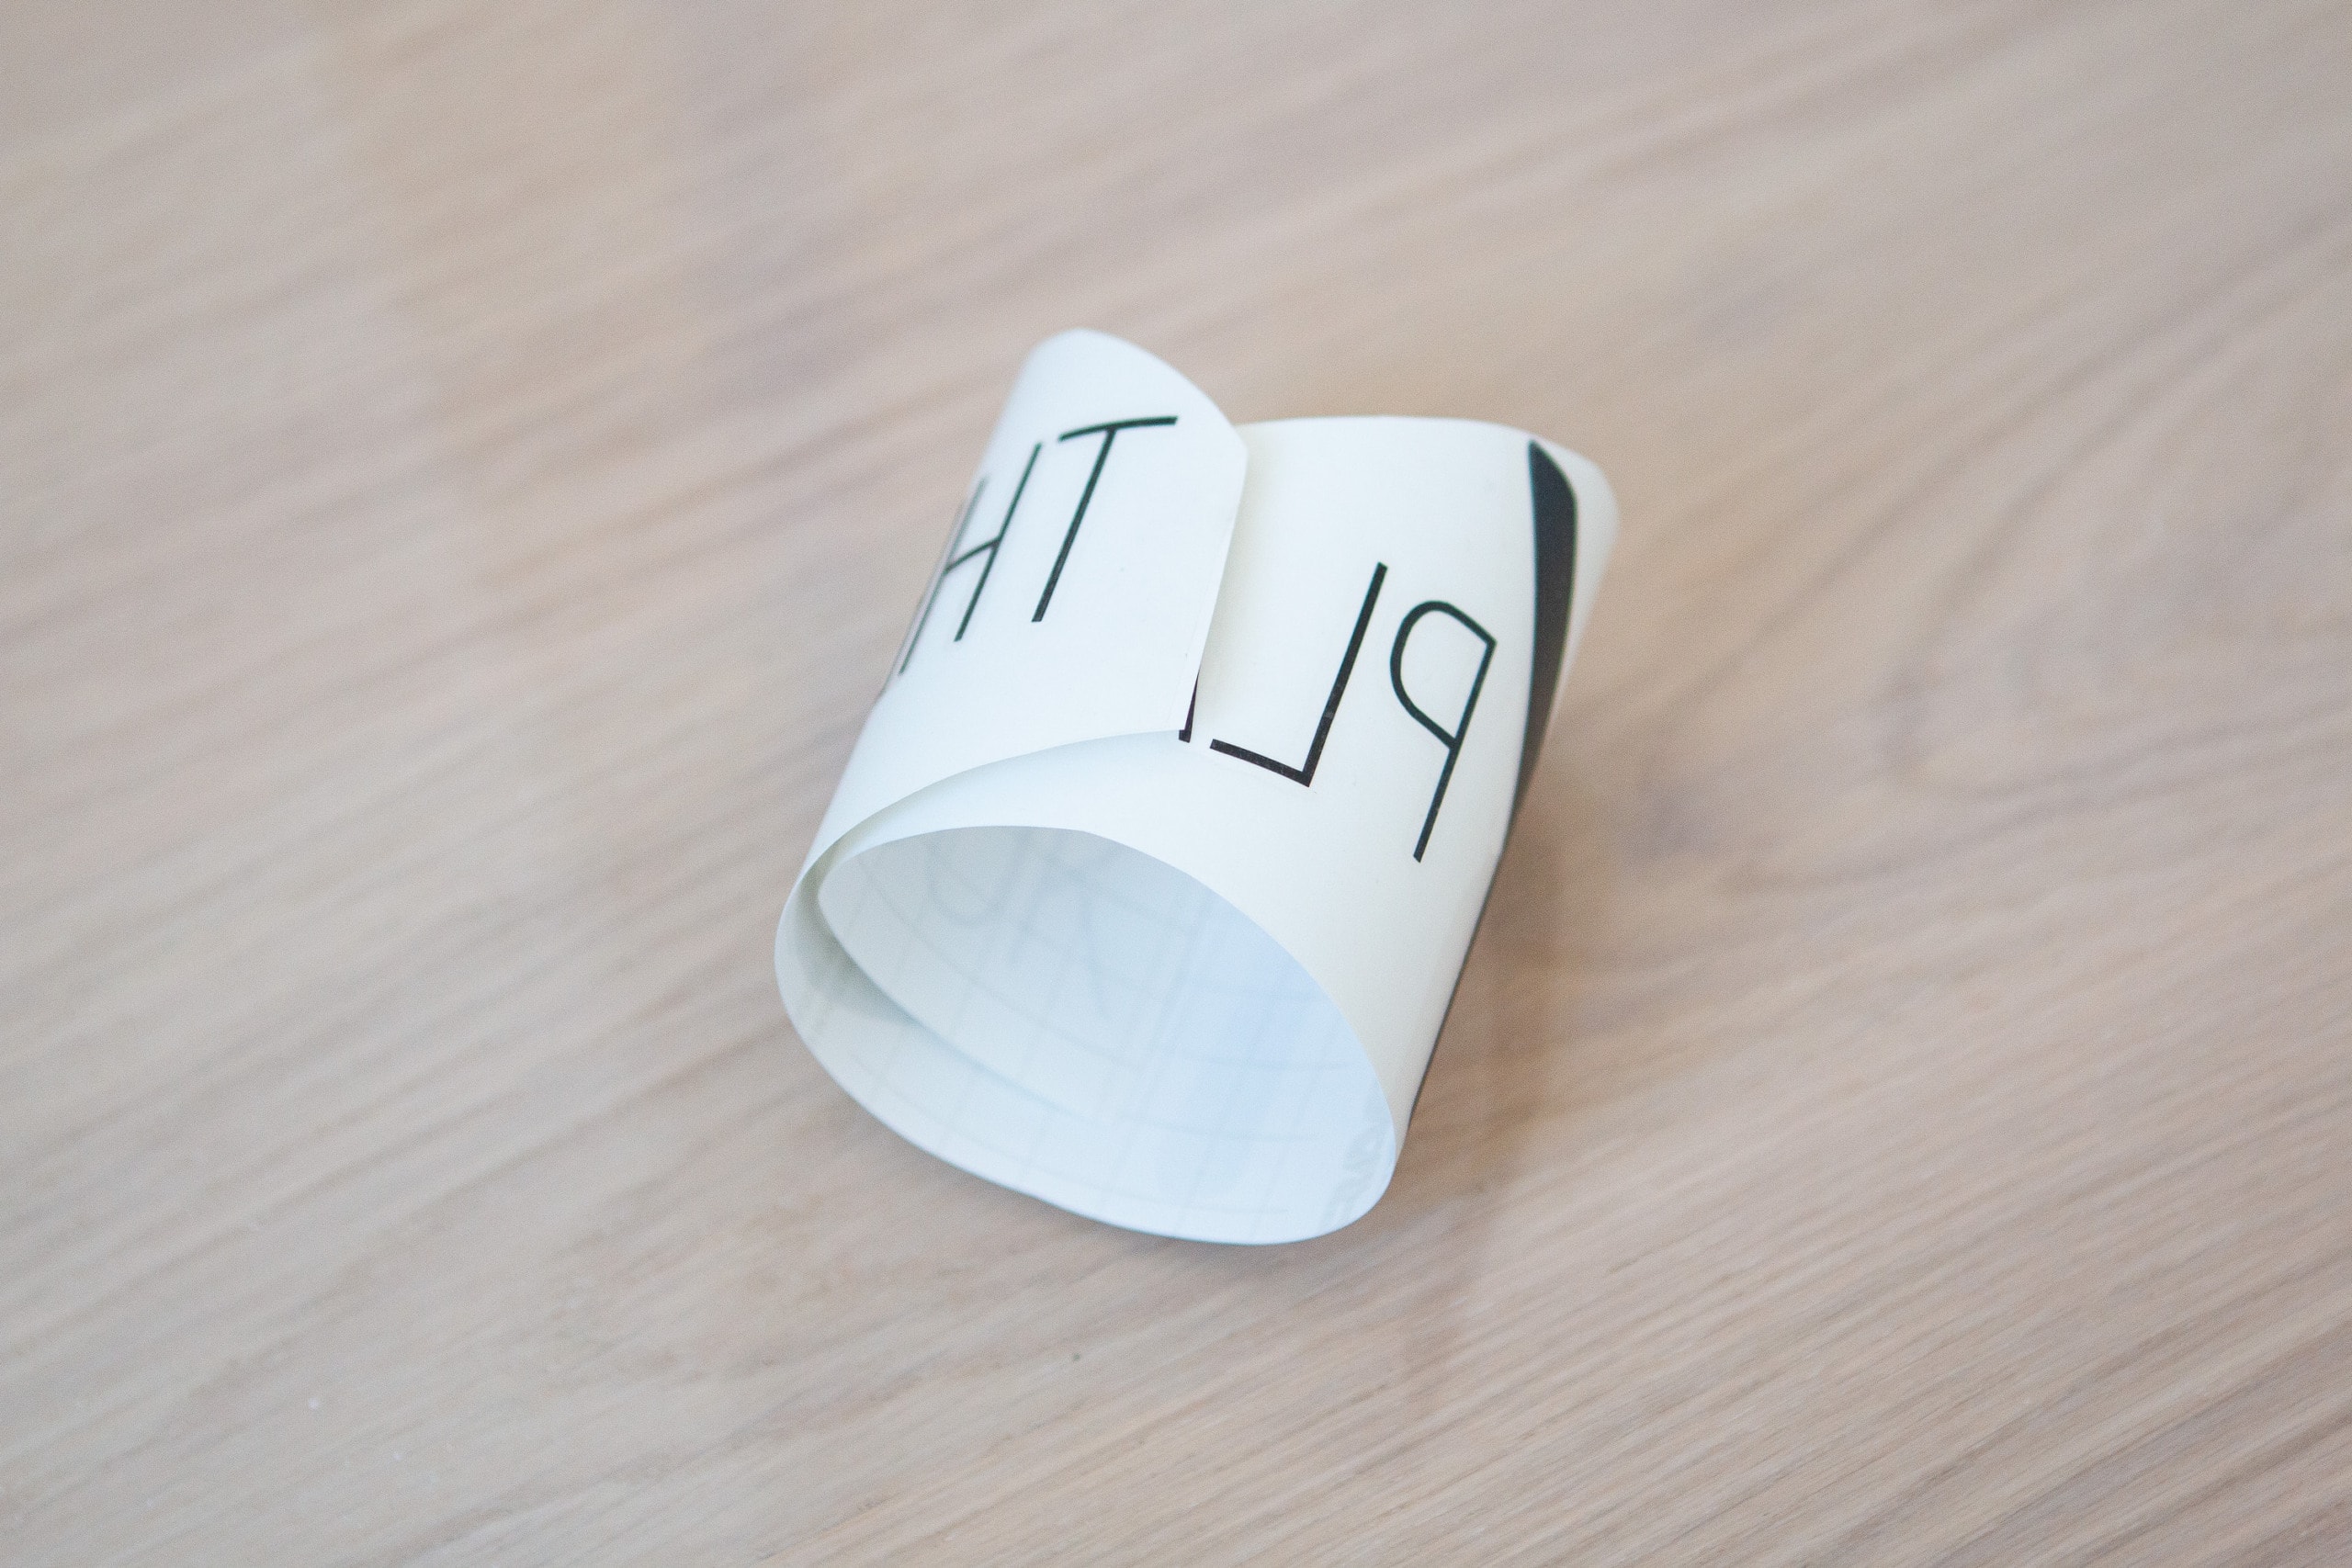
I ended up adding my logo to the dry erase board to brand it. This is totally optional, but also kinda fun.  My friend, Kate, is a genius on her Cricut and whipped this logo up for me in no time (thanks, Kate!). If you don’t have a cutting machine like a Cricut, I suggest using stickers! You can turn your acrylic into a large calendar, add a quote at the top, or put anything you want on there. I added my logo to the back of the board so it would stay nice and wouldn’t peel or be interrupted on the front side.
Mark Your Wall & Add Anchors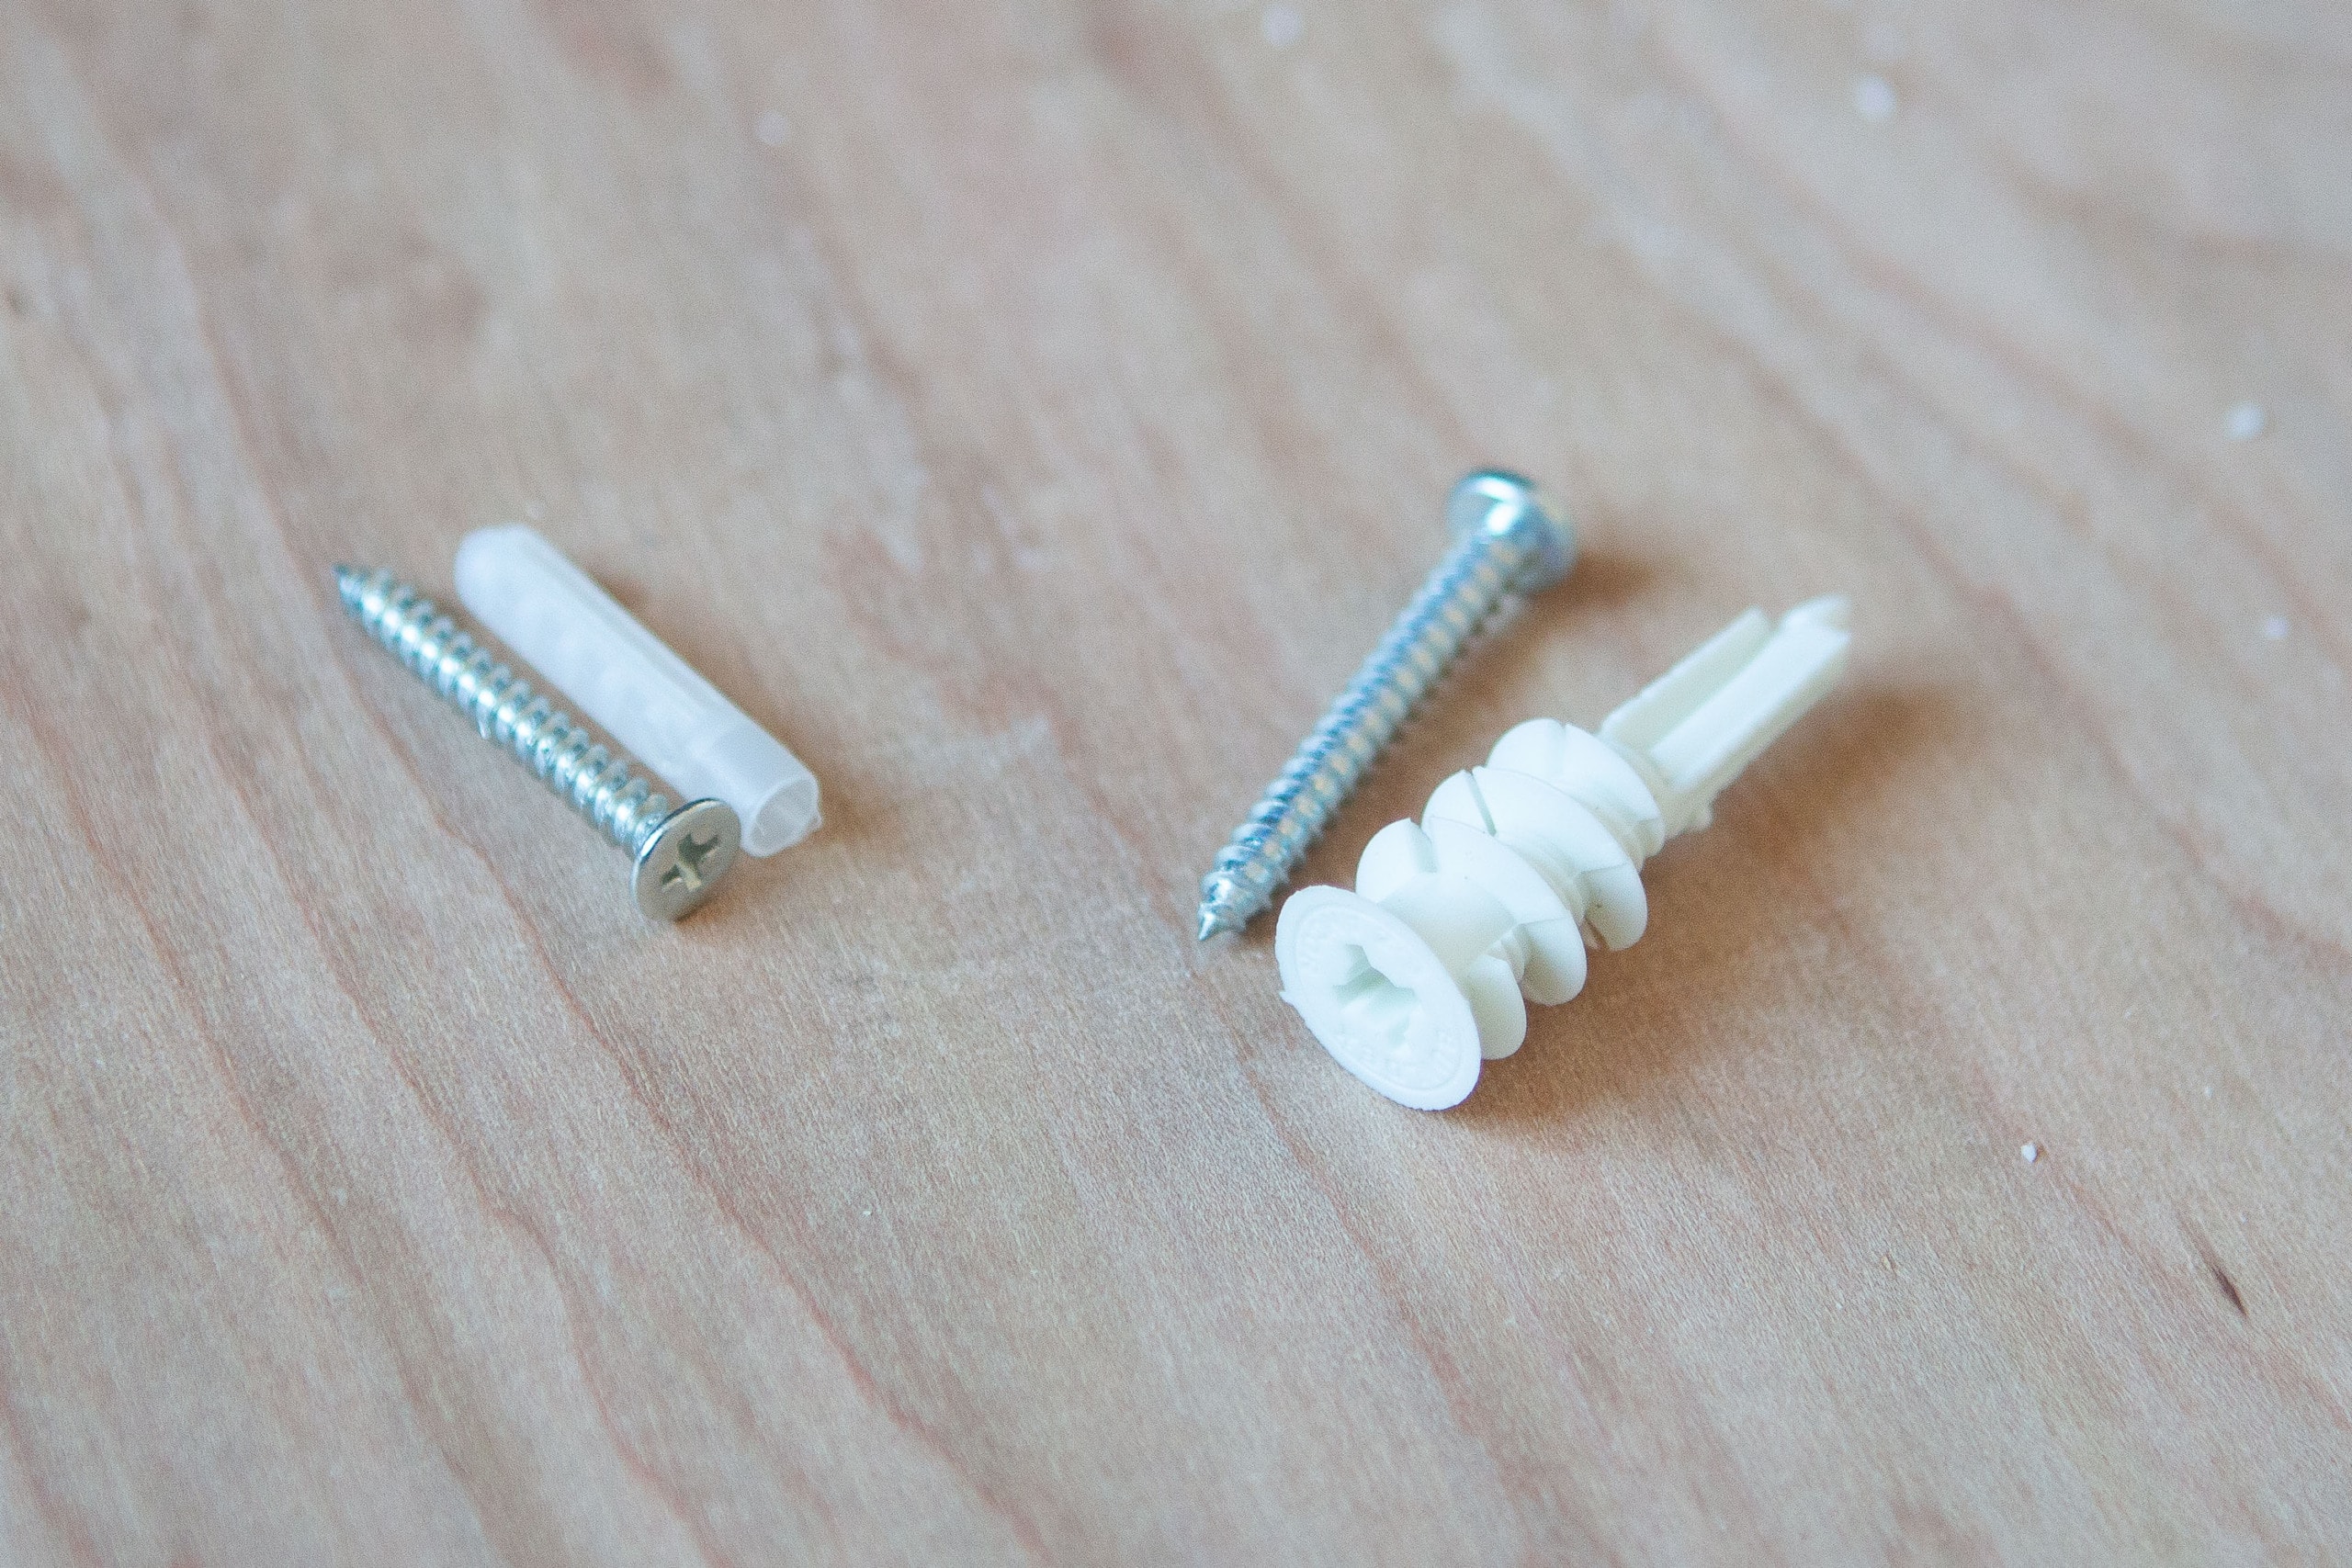
On the left are the screw and anchor that came with the standoff. I always like to upgrade the anchors I use so they’re heavy-duty and I never have to worry about the piece I have falling down! I upgraded to this anchor and screw instead (just make sure it still fits with your standoff).
 I put the acrylic up on the wall and marked the 8 holes directly onto the wall to add my anchors. First, drill a pilot hole, screw in your anchor, and then add the base of your standoff.
Attach your Acrylic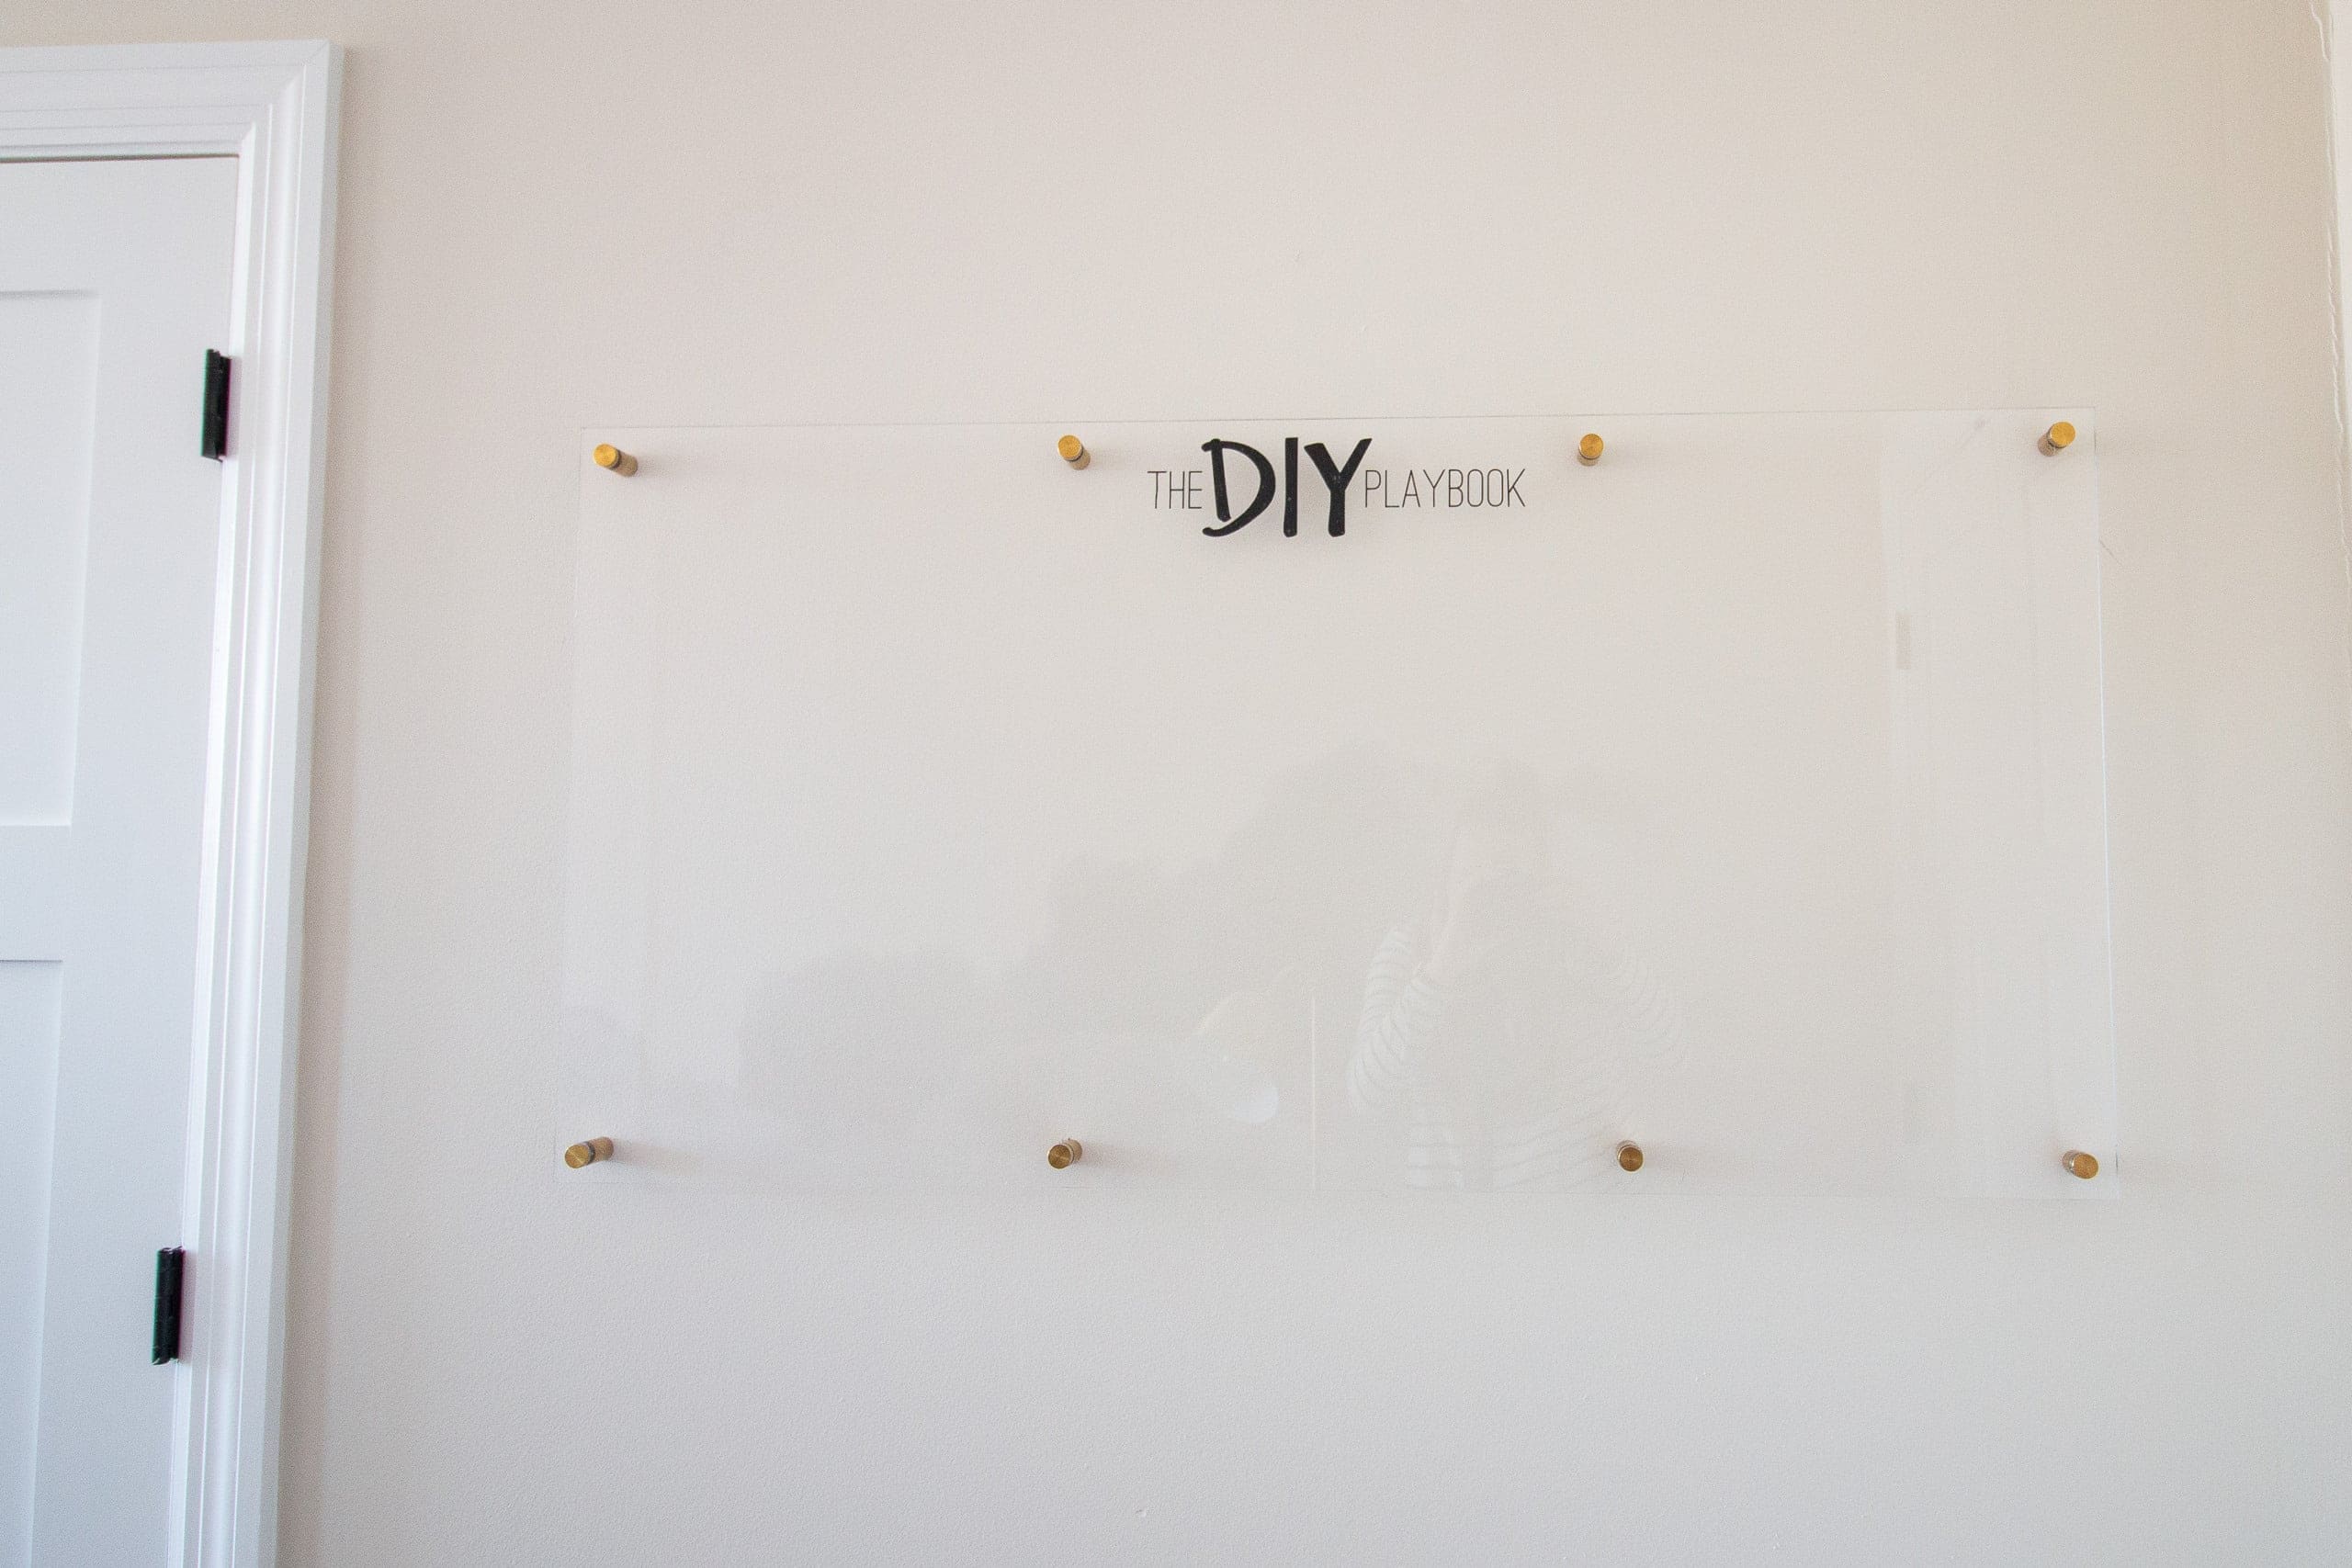
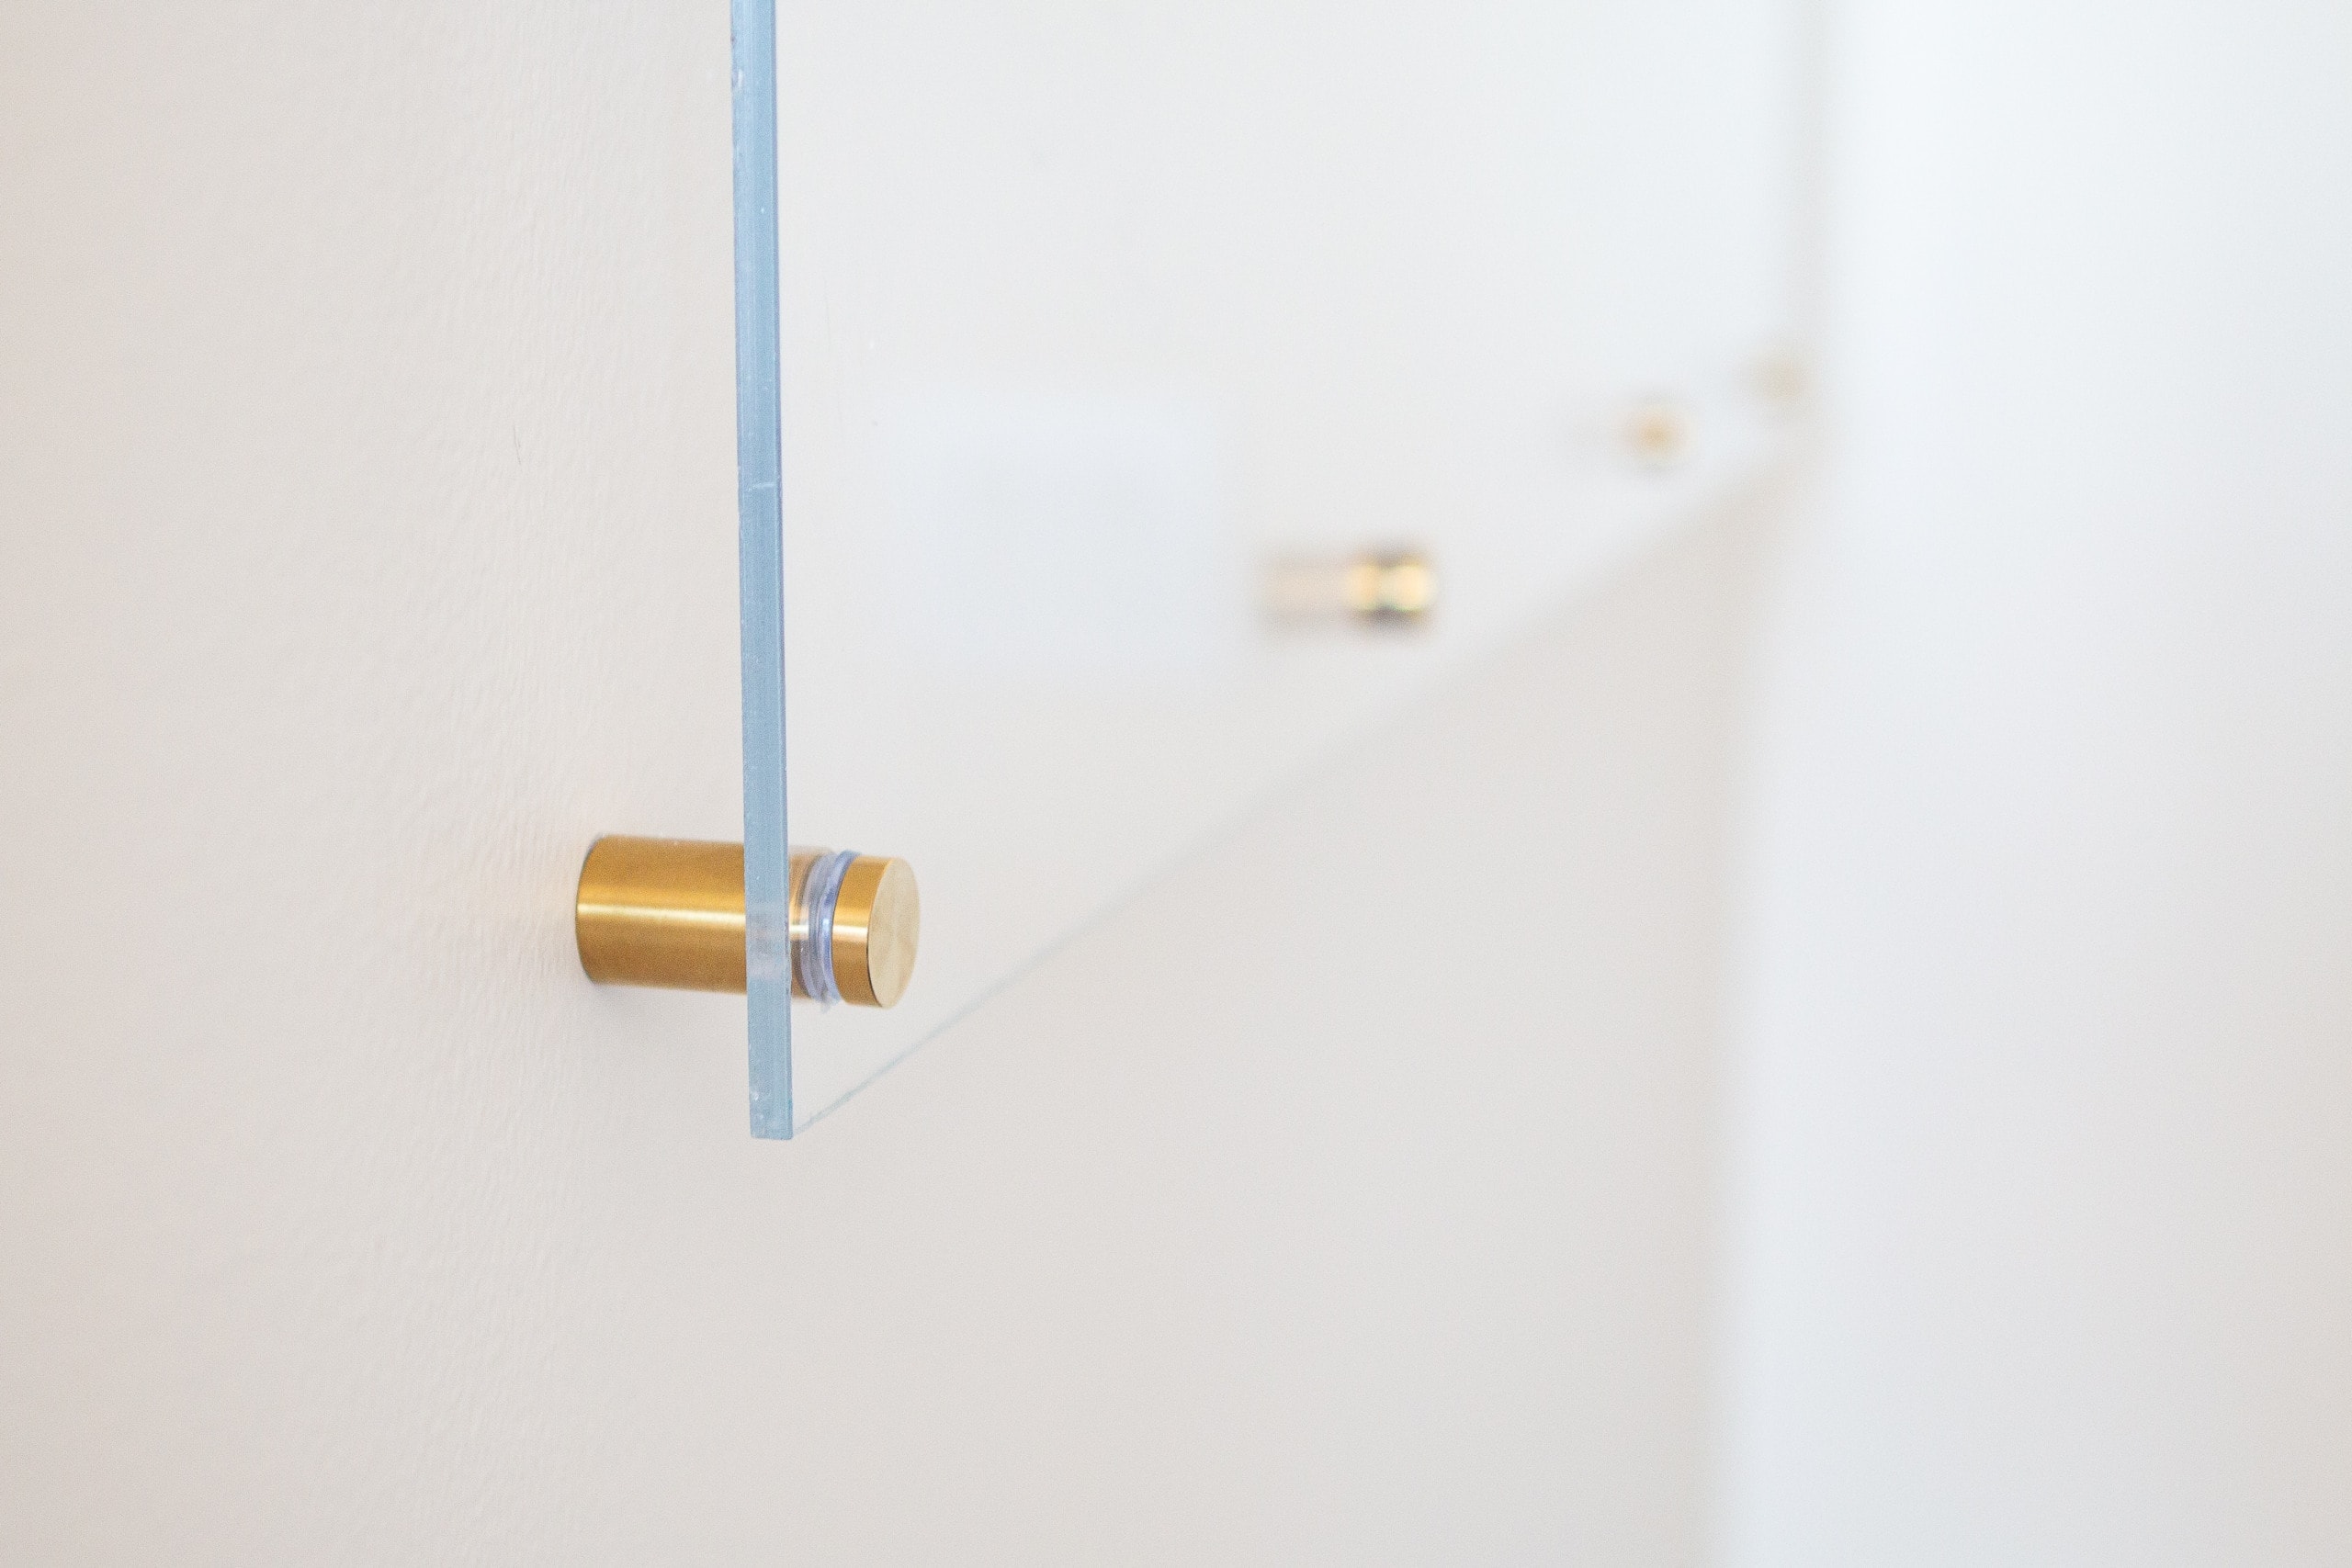
Once the bases of the standoff pieces were up, I was able to screw in the acrylic with the top piece of the standoff. This is what holds the acrylic in place and makes it look like it’s floating.
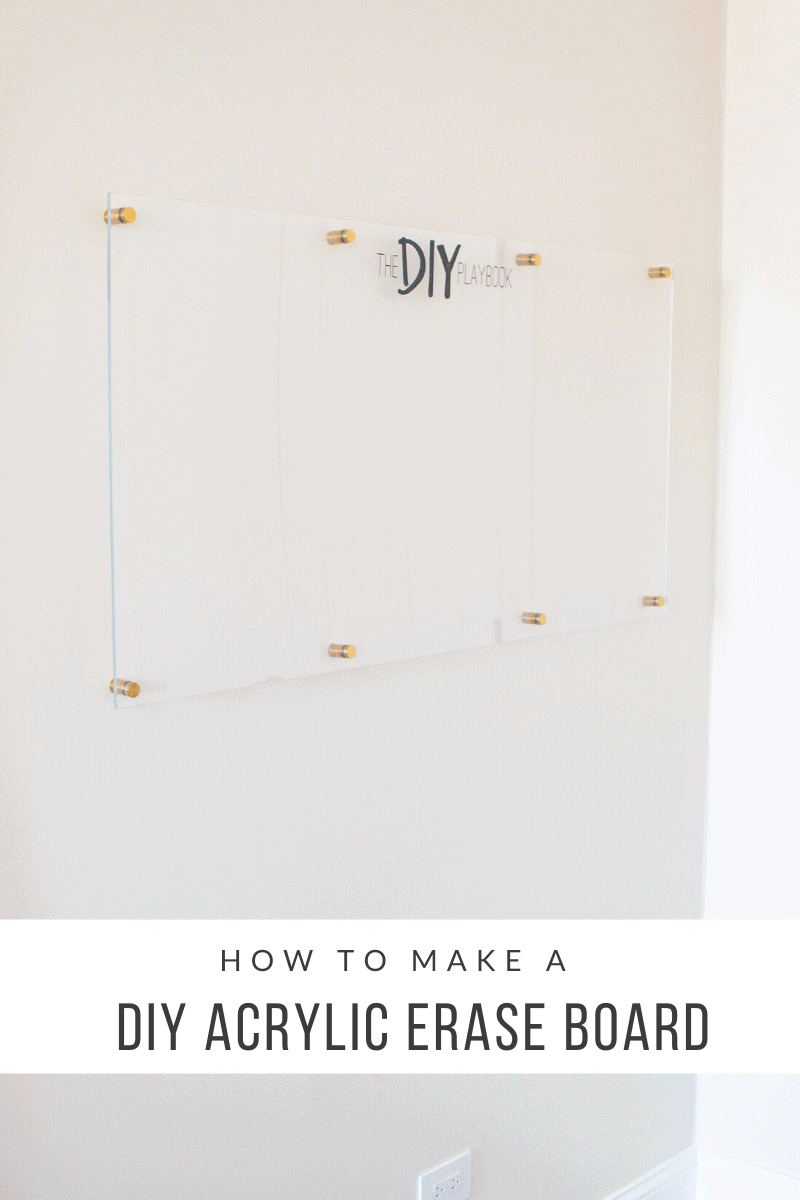
My New DIY Dry Erase Board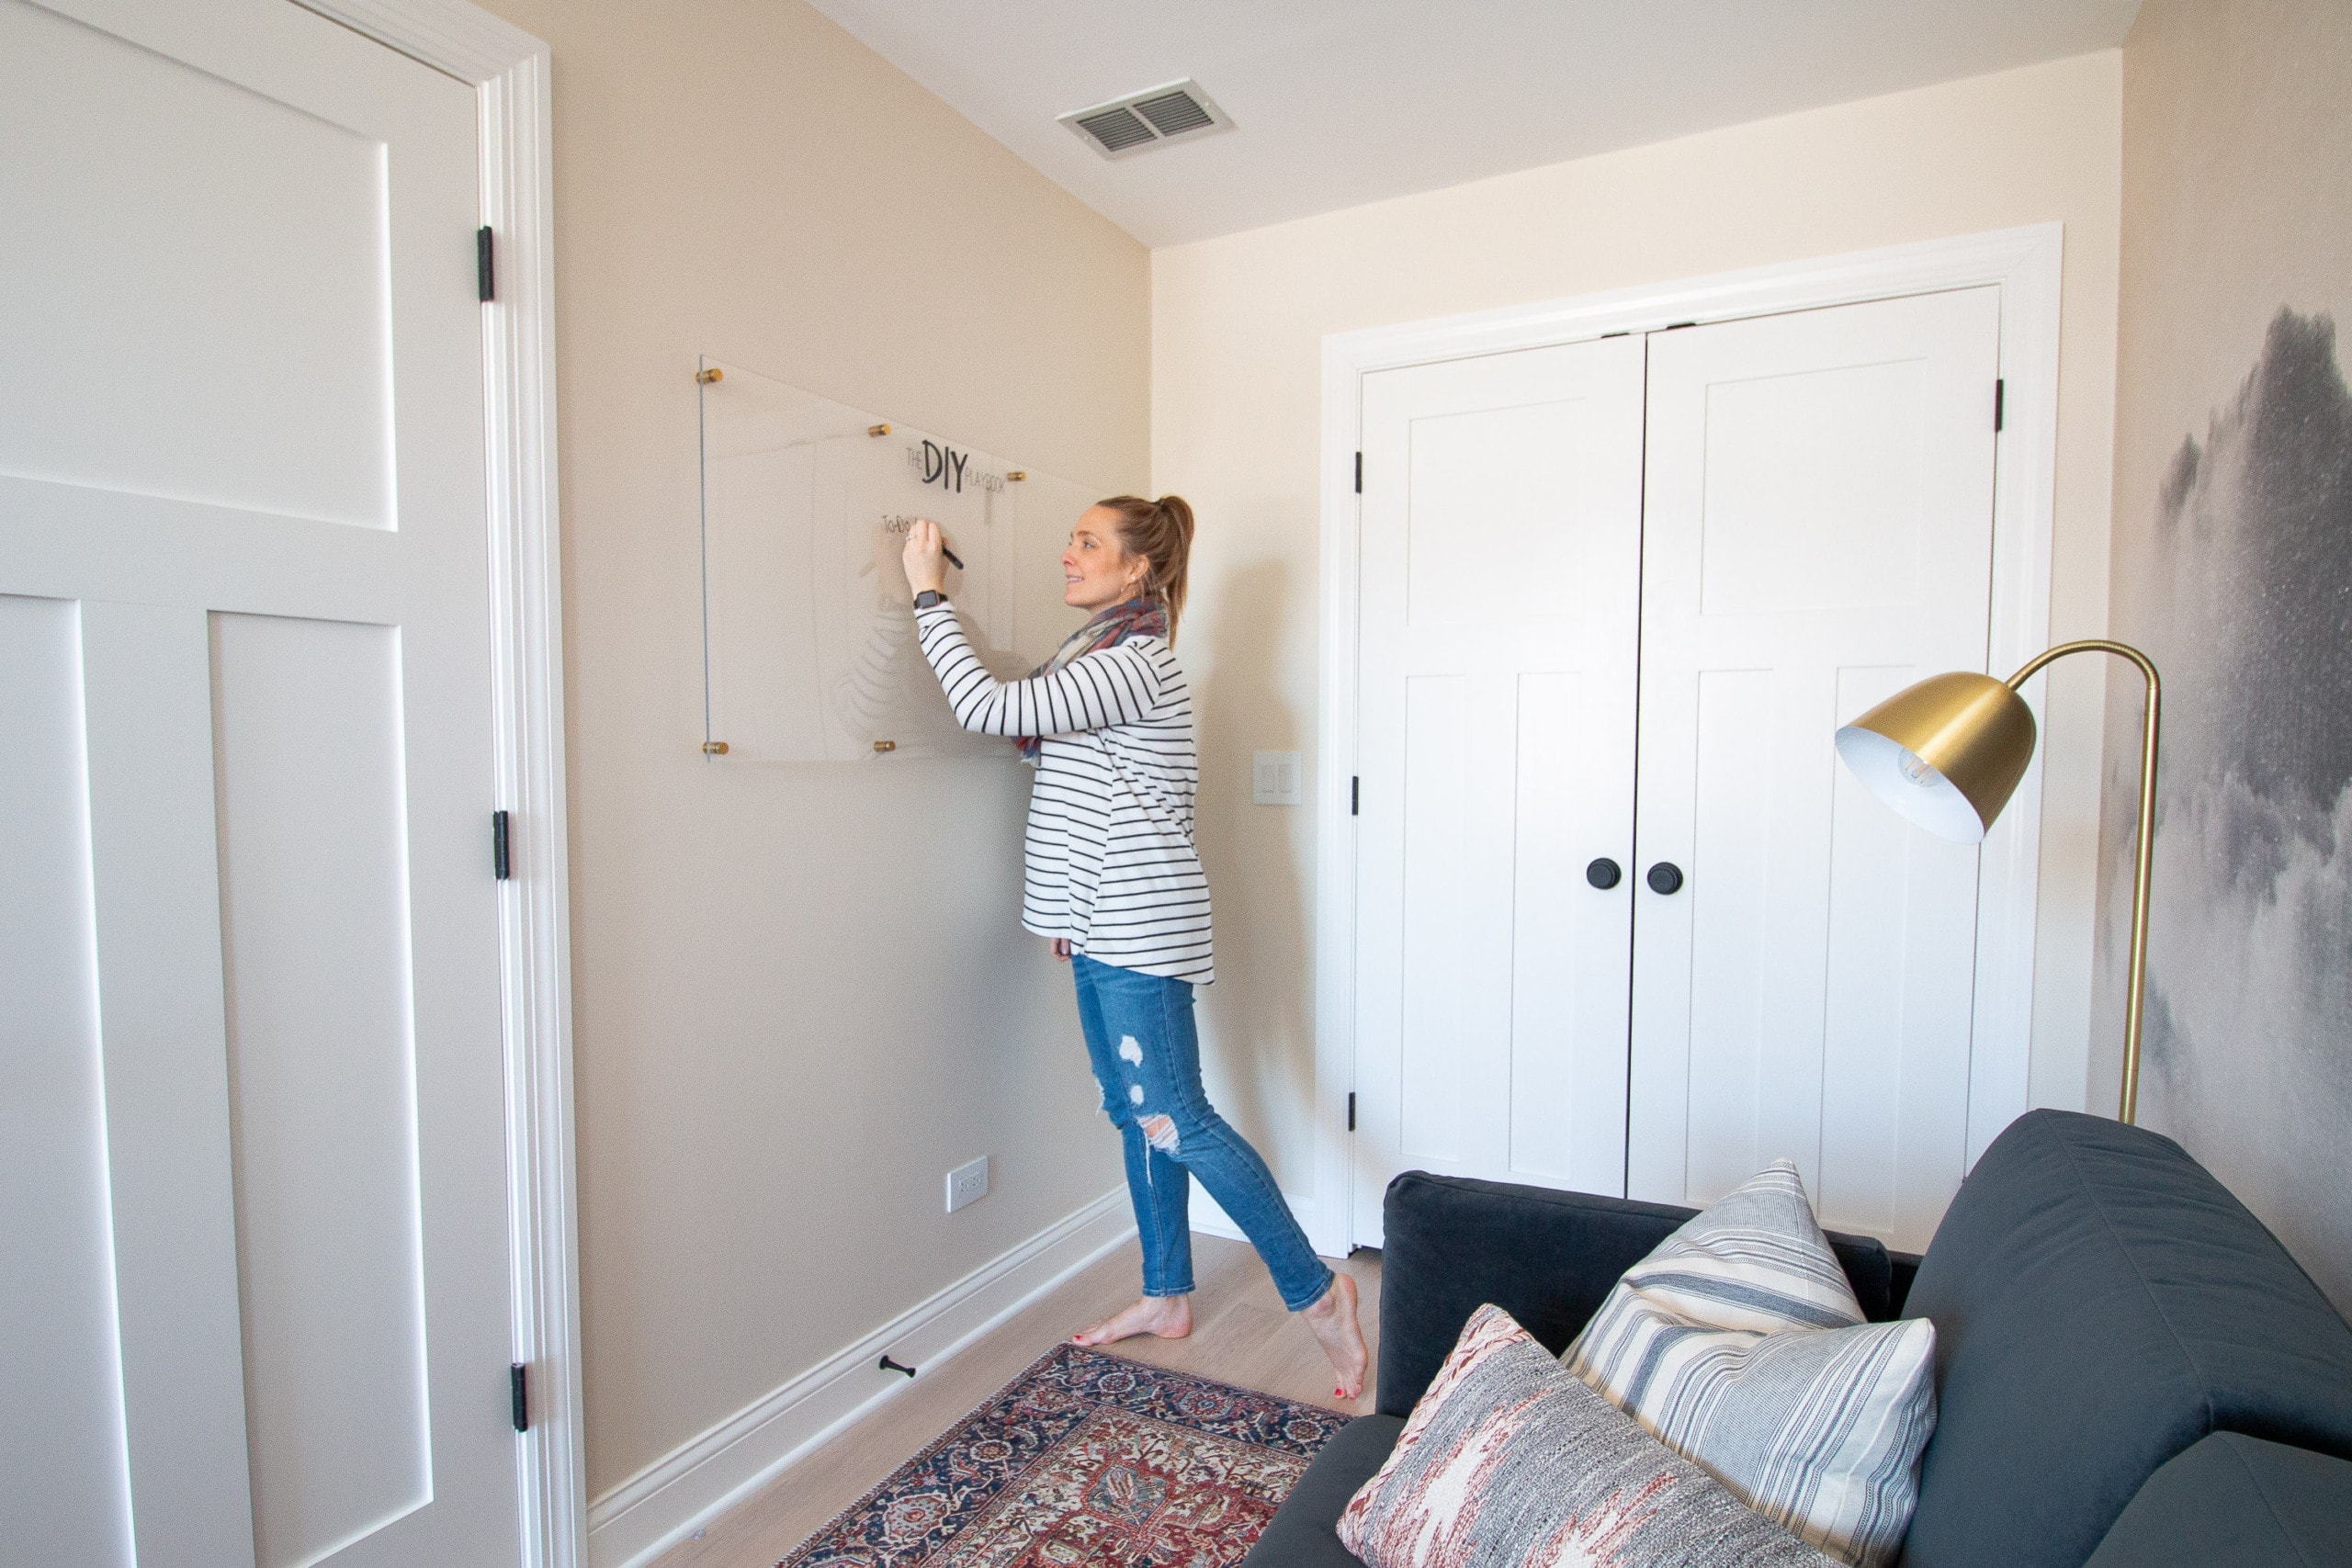
I’m so happy I took the time to add this piece to our office. It’s a great size, I can write tons of information on it, and it isn’t an eyesore! This project turned out to be way easier than I anticipated and I saved so much money doing it myself (check out this one you can buy for $500, ouch! I spent around $80). I could picture a board like this in a kitchen to plan out menus, as a family calendar, or in anyone’s office.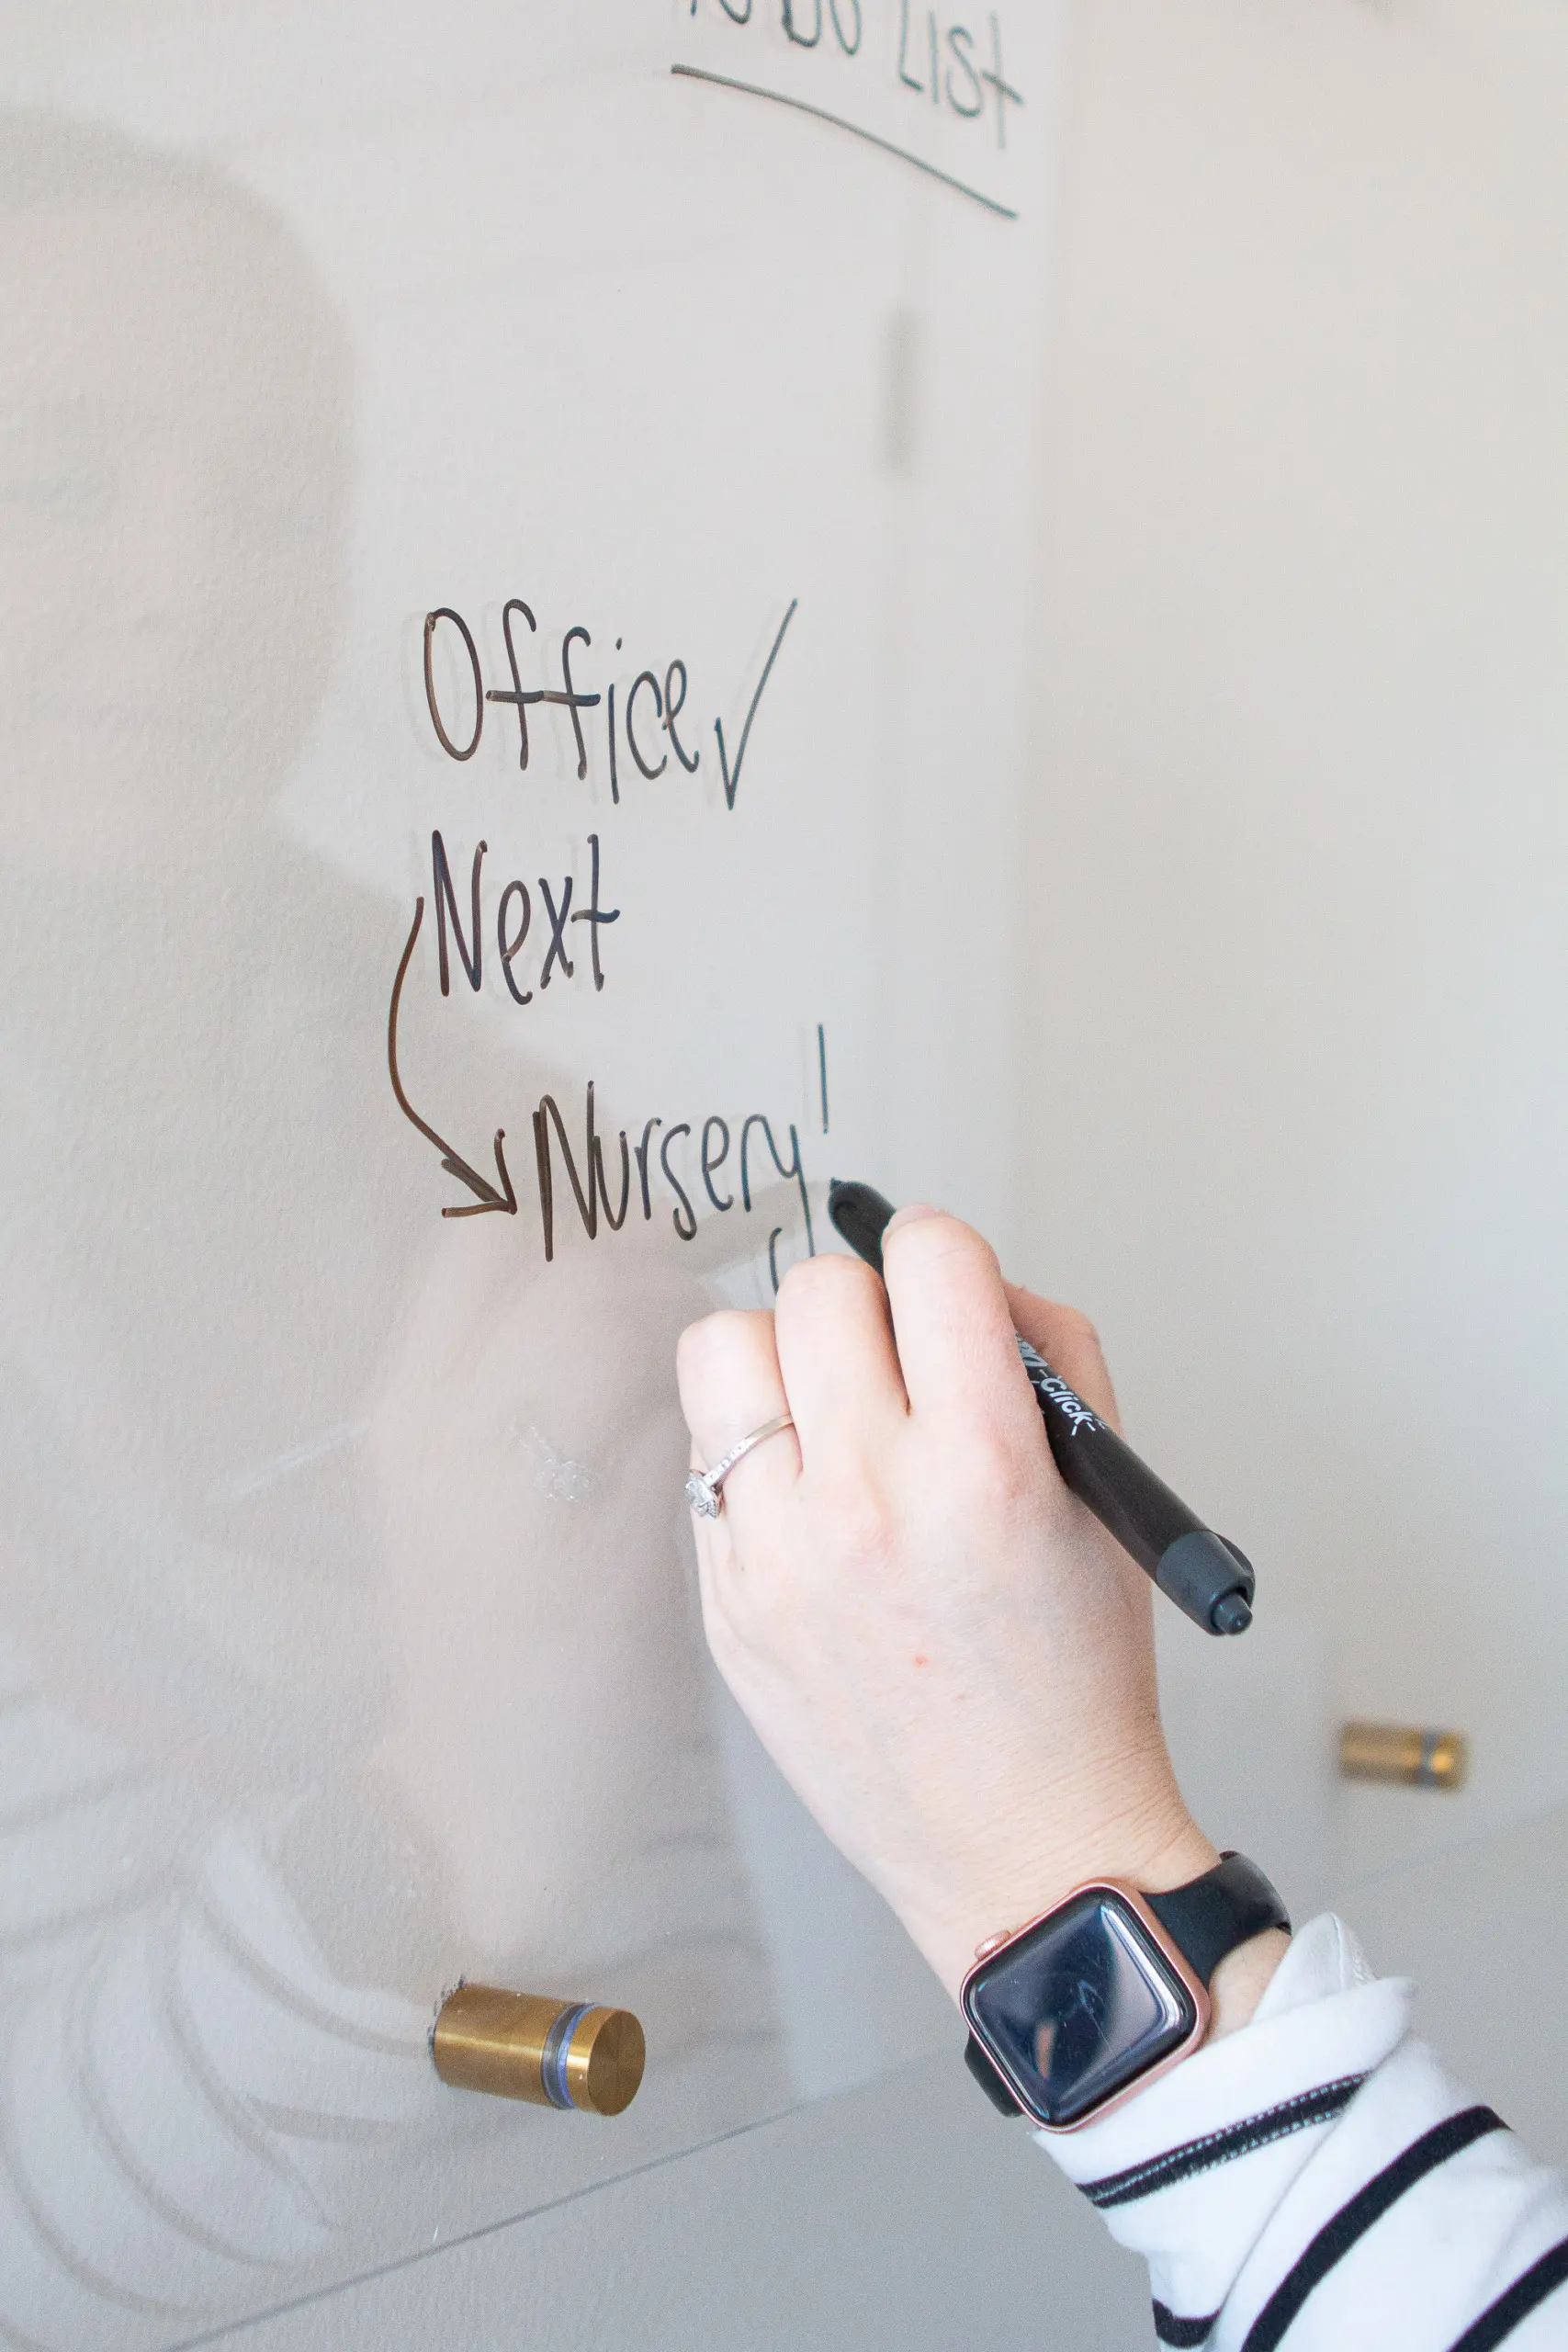
Now, don’t mind me. I’ll just be over here doodling away with my new dry erase markers (because every new dry erase board needs new markers, right?!).
Casey
Catch Up On the Home Office Makeover
You may also like…


Hey there!
I’m Casey Finn, the voice behind The DIY Playbook. I’m married to Finn & mom to Rory and Ellis. Together we’re creating our dream home in Chicago, one DIY project at a time.