The Reveal of Our First Floor Bathroom
For the past five or six weeks, the kitchen and bathroom on our first level have been unusable. Well, I’m happy to say that even though the kitchen isn’t 100% complete, I was able to reclaim some of our home back – our bathroom is finished and clean! The Cloe tile in the shower looks incredible and that wood trim is finally gone!
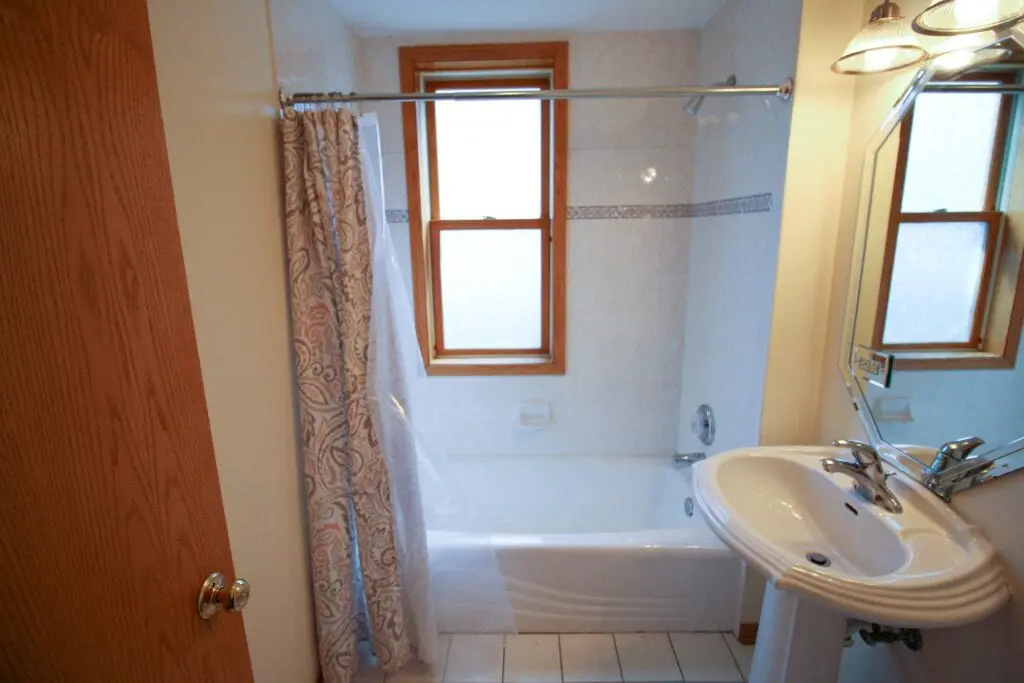
But before we get to the good stuff, let’s start at the beginning of this space. Here’s what the room looked like when we bought the house in May 2019…
Our Bathroom – Before

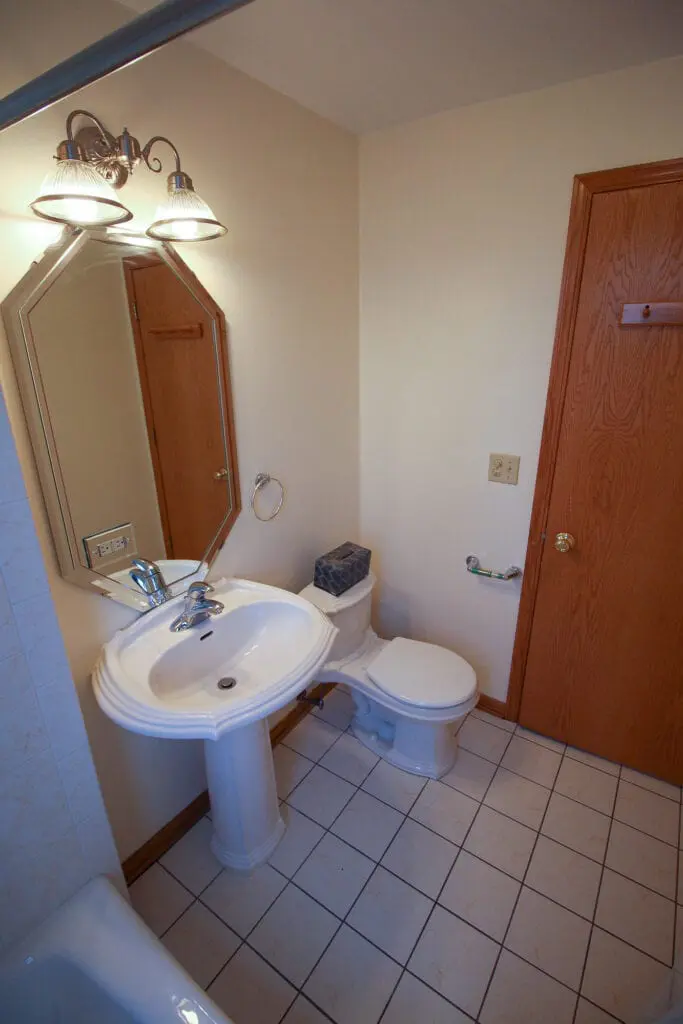
We did a refresh of this first-floor bathroom during our Phase One home renovation. We didn’t have the time, or funds, to fully gut the room, so we kept the toilet, vanity, and shower and replaced other elements of the space.
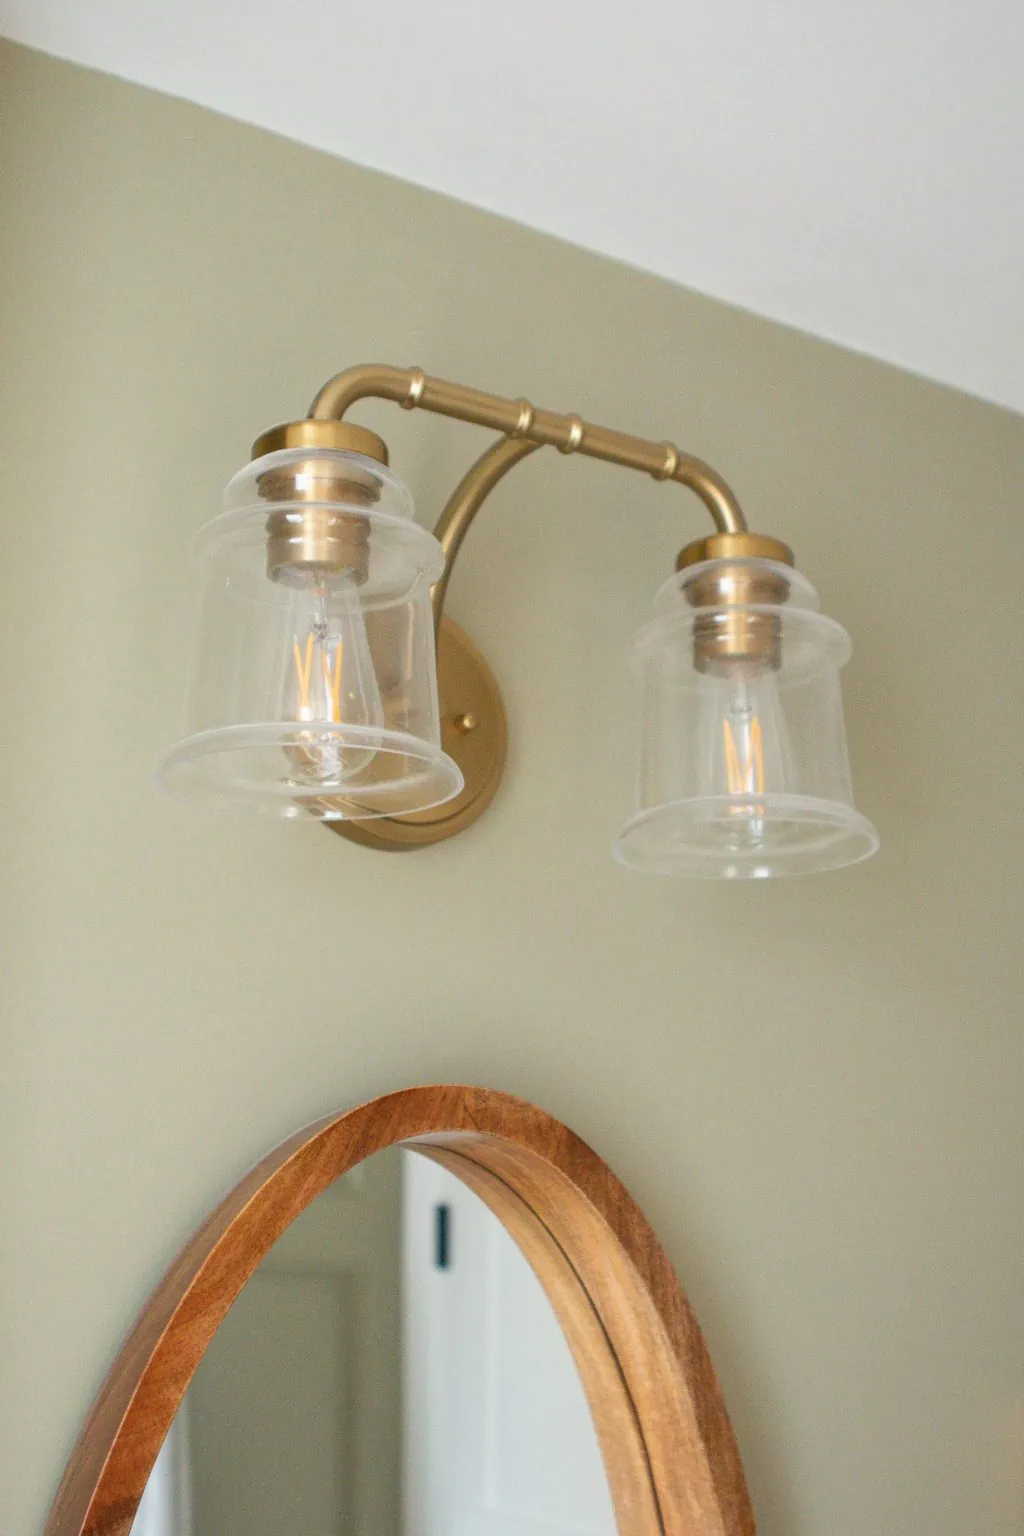
Adding new tile, a fresh coat of paint, a new faucet, new lighting, and a new mirror made this place feel totally different in a hurry. But the one area we didn’t really touch was the shower. It still had outdated tile from the 90’s, so I just put up an extra long shower curtain to hide it and called it a day.
Wood Window Surround
We added the task of redoing the shower tile onto our contractor’s to-do list while his crew was here working on the kitchen. The reason this was a “must” for us was because of the wood window surround. We never actually used the shower because we were worried about the wood getting wet! Wood in a shower isn’t exactly the best idea. My contractor quoted me a great price to re-tile the shower and swap out all of the hardware since his crew was already going to be here working on the kitchen. (I highly recommend bundling items when you have pros come in! You’ll save money and you’ll only have to deal with the mess once.) 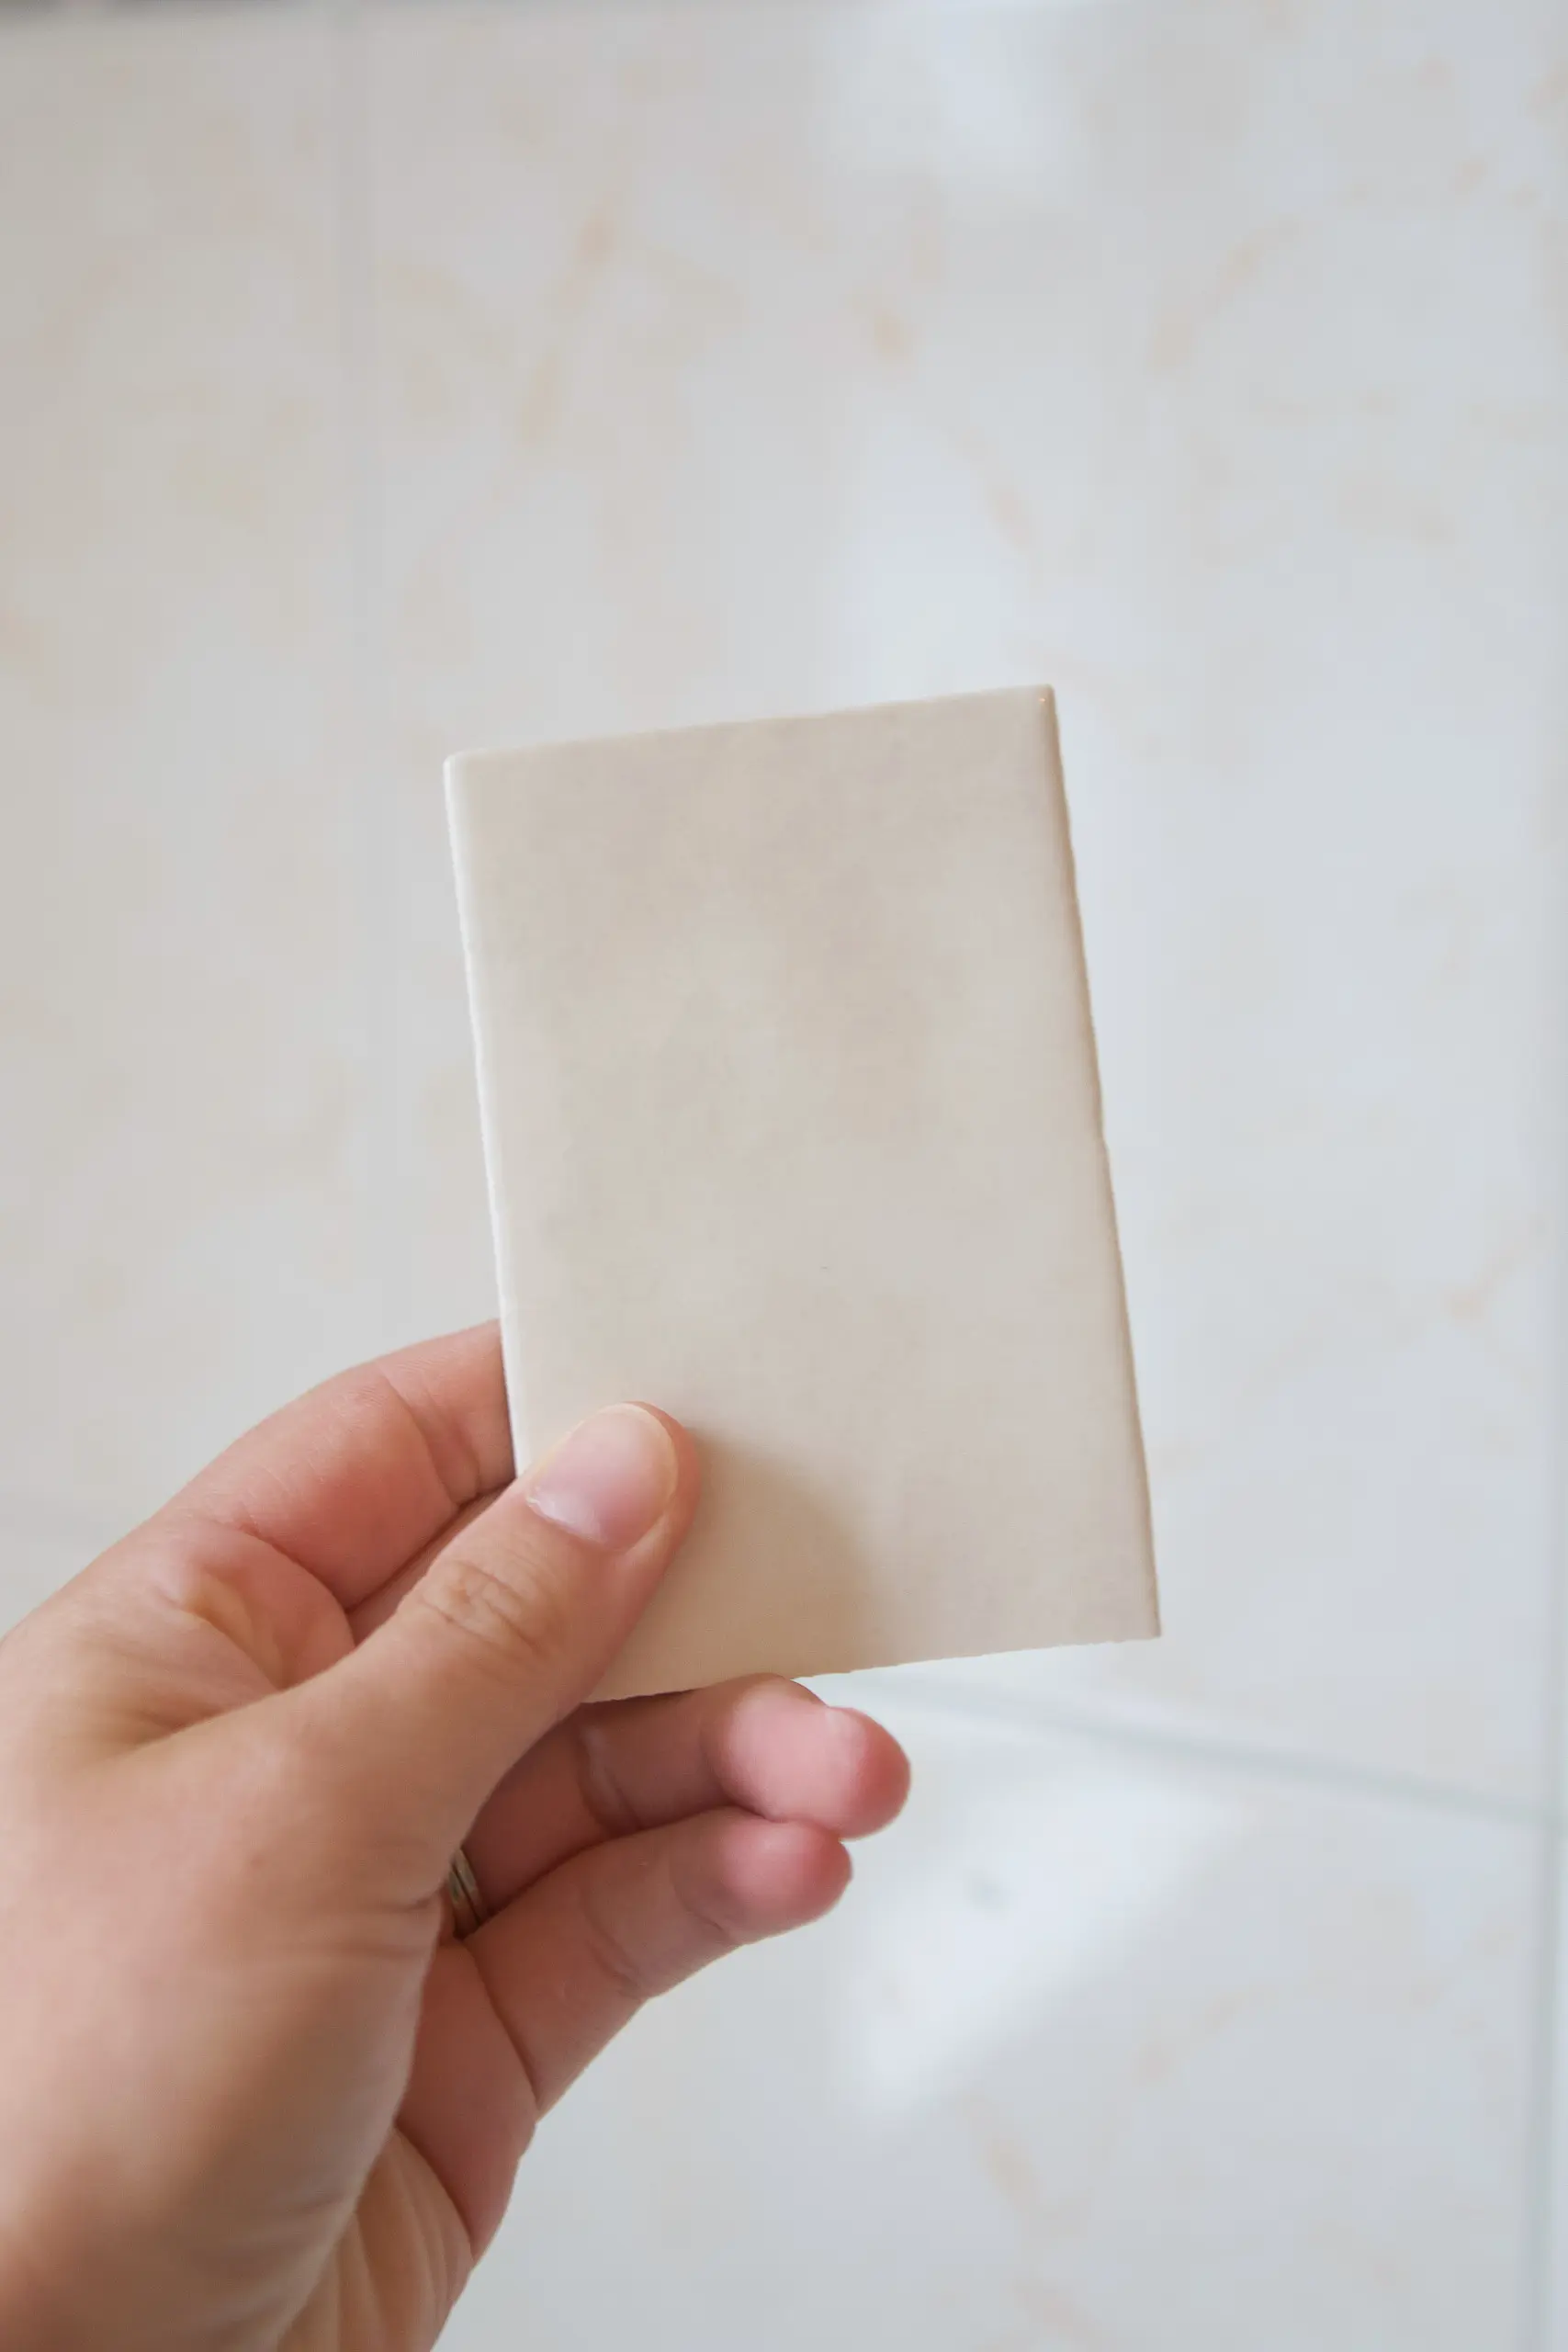
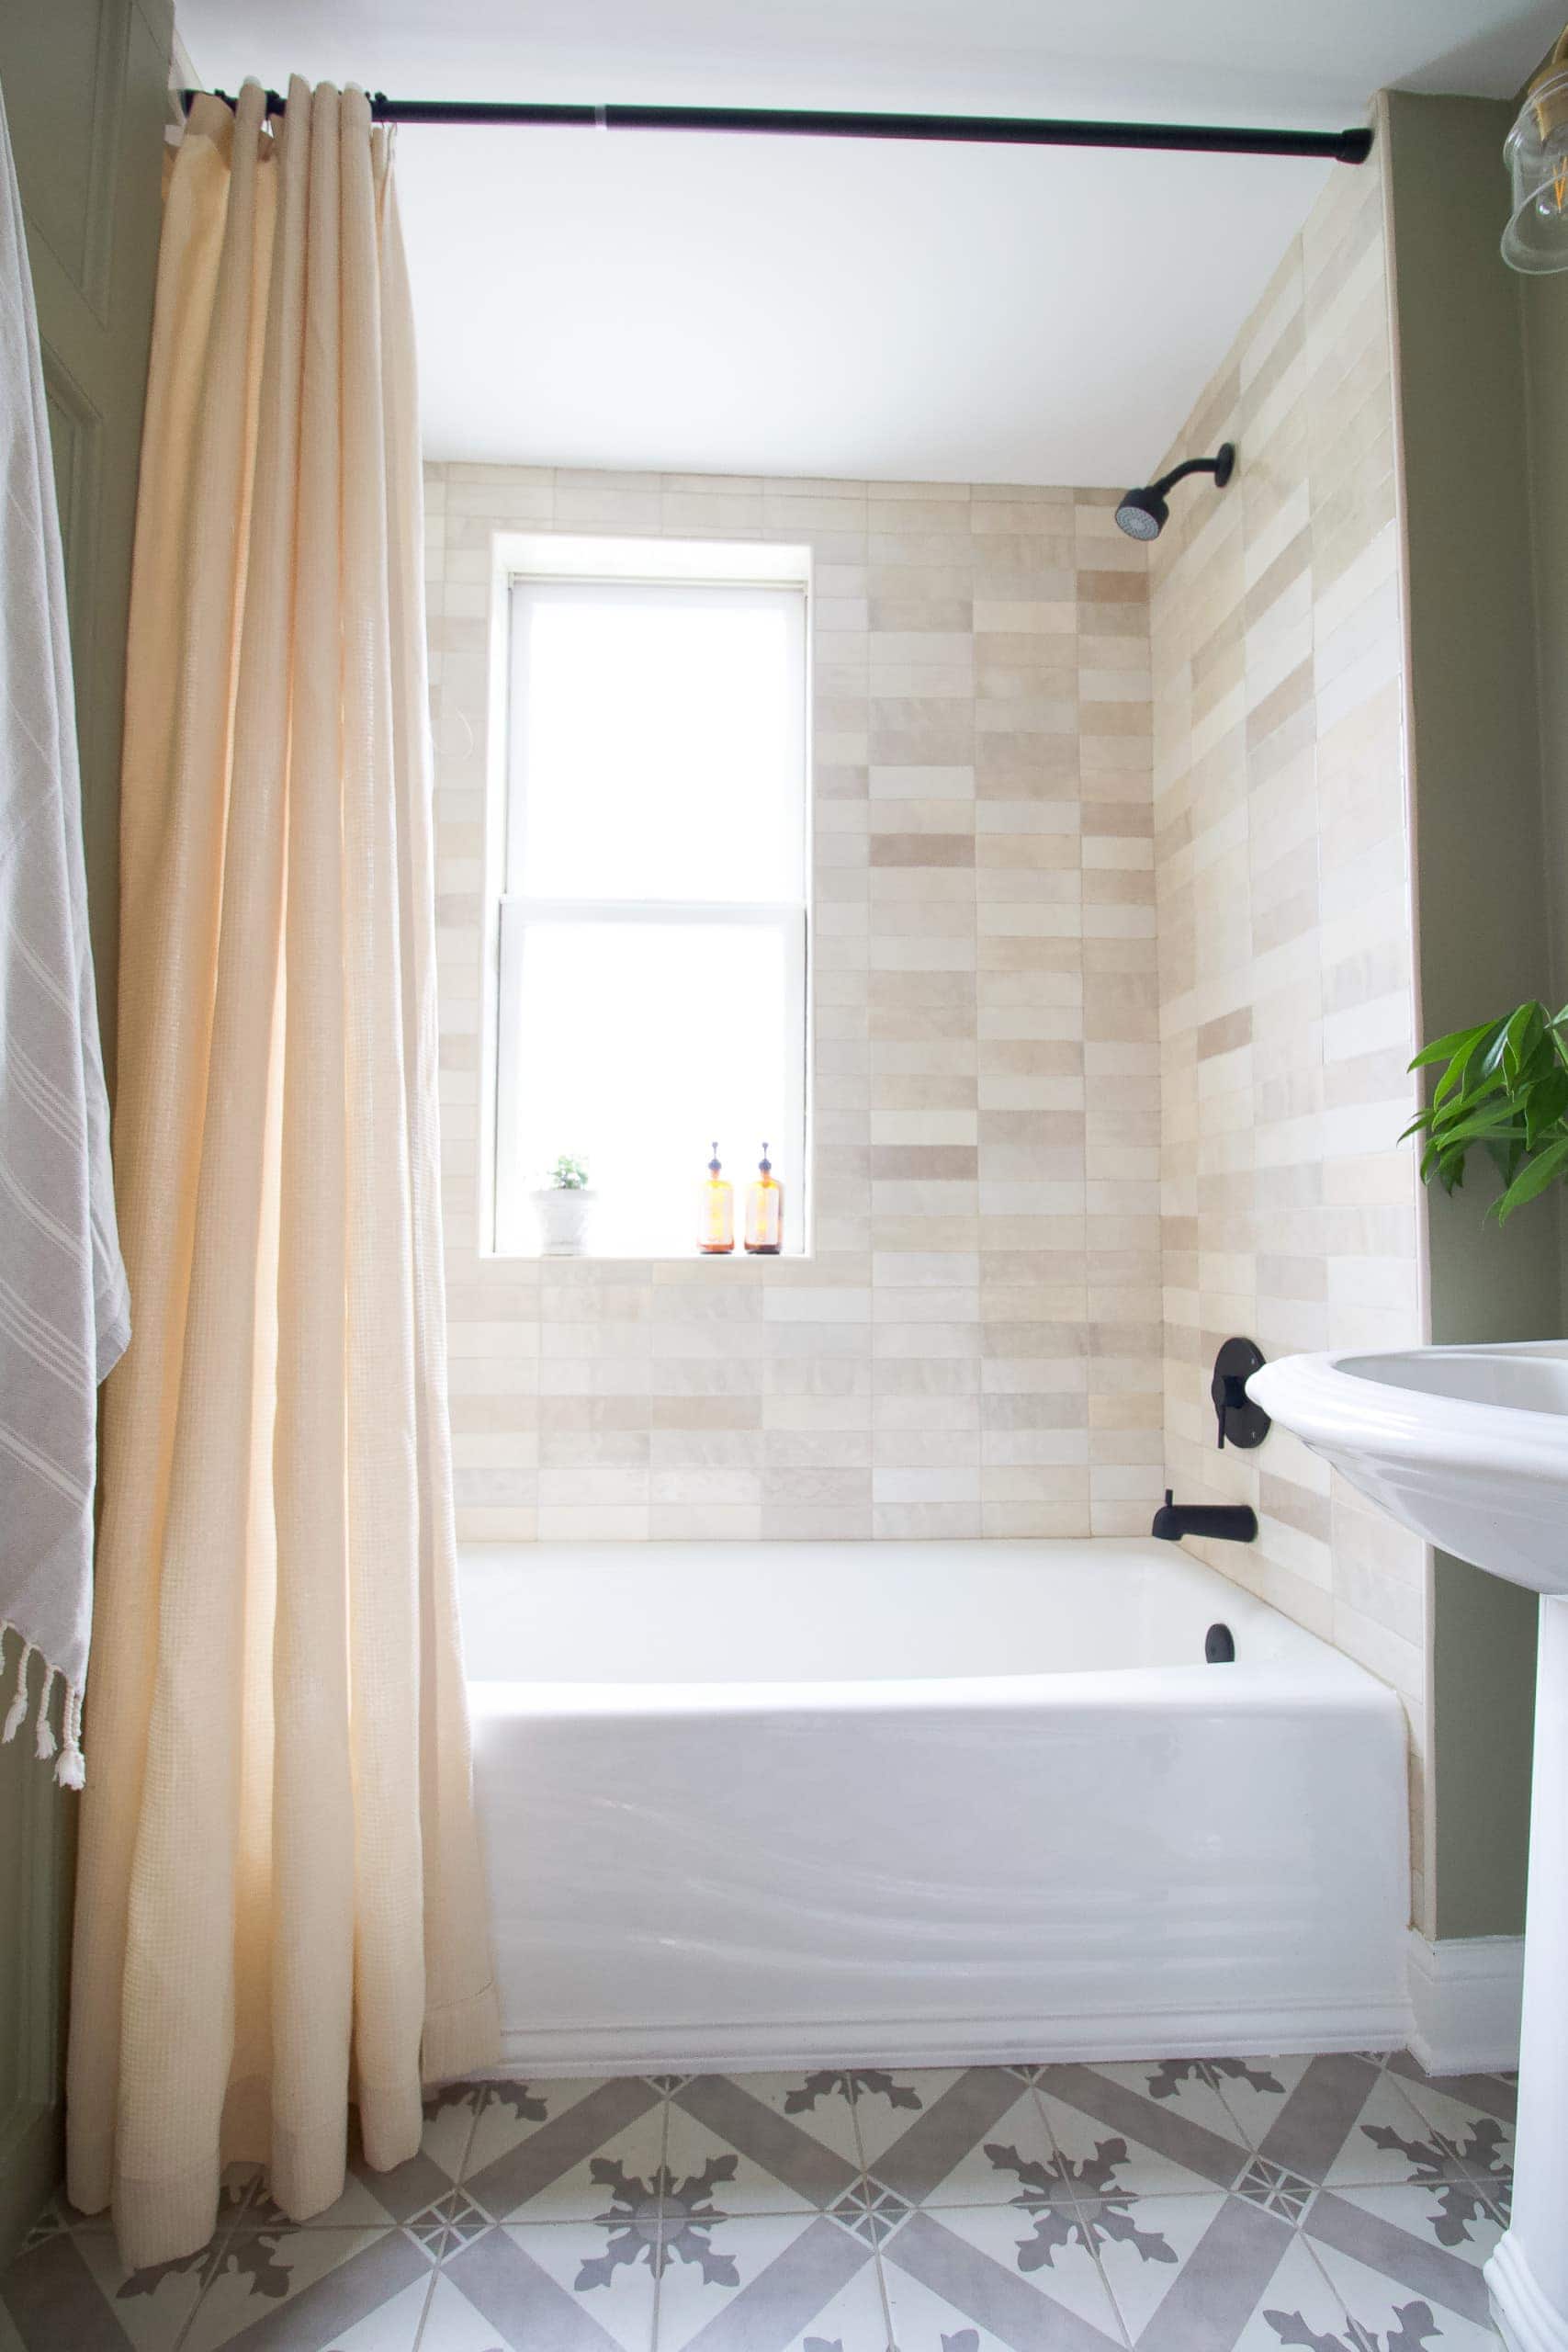
I ended up choosing this Cloe tile in the creme color for the room and told my contractor to lay it in a stacked pattern instead of the traditional brick pattern of subway tile. 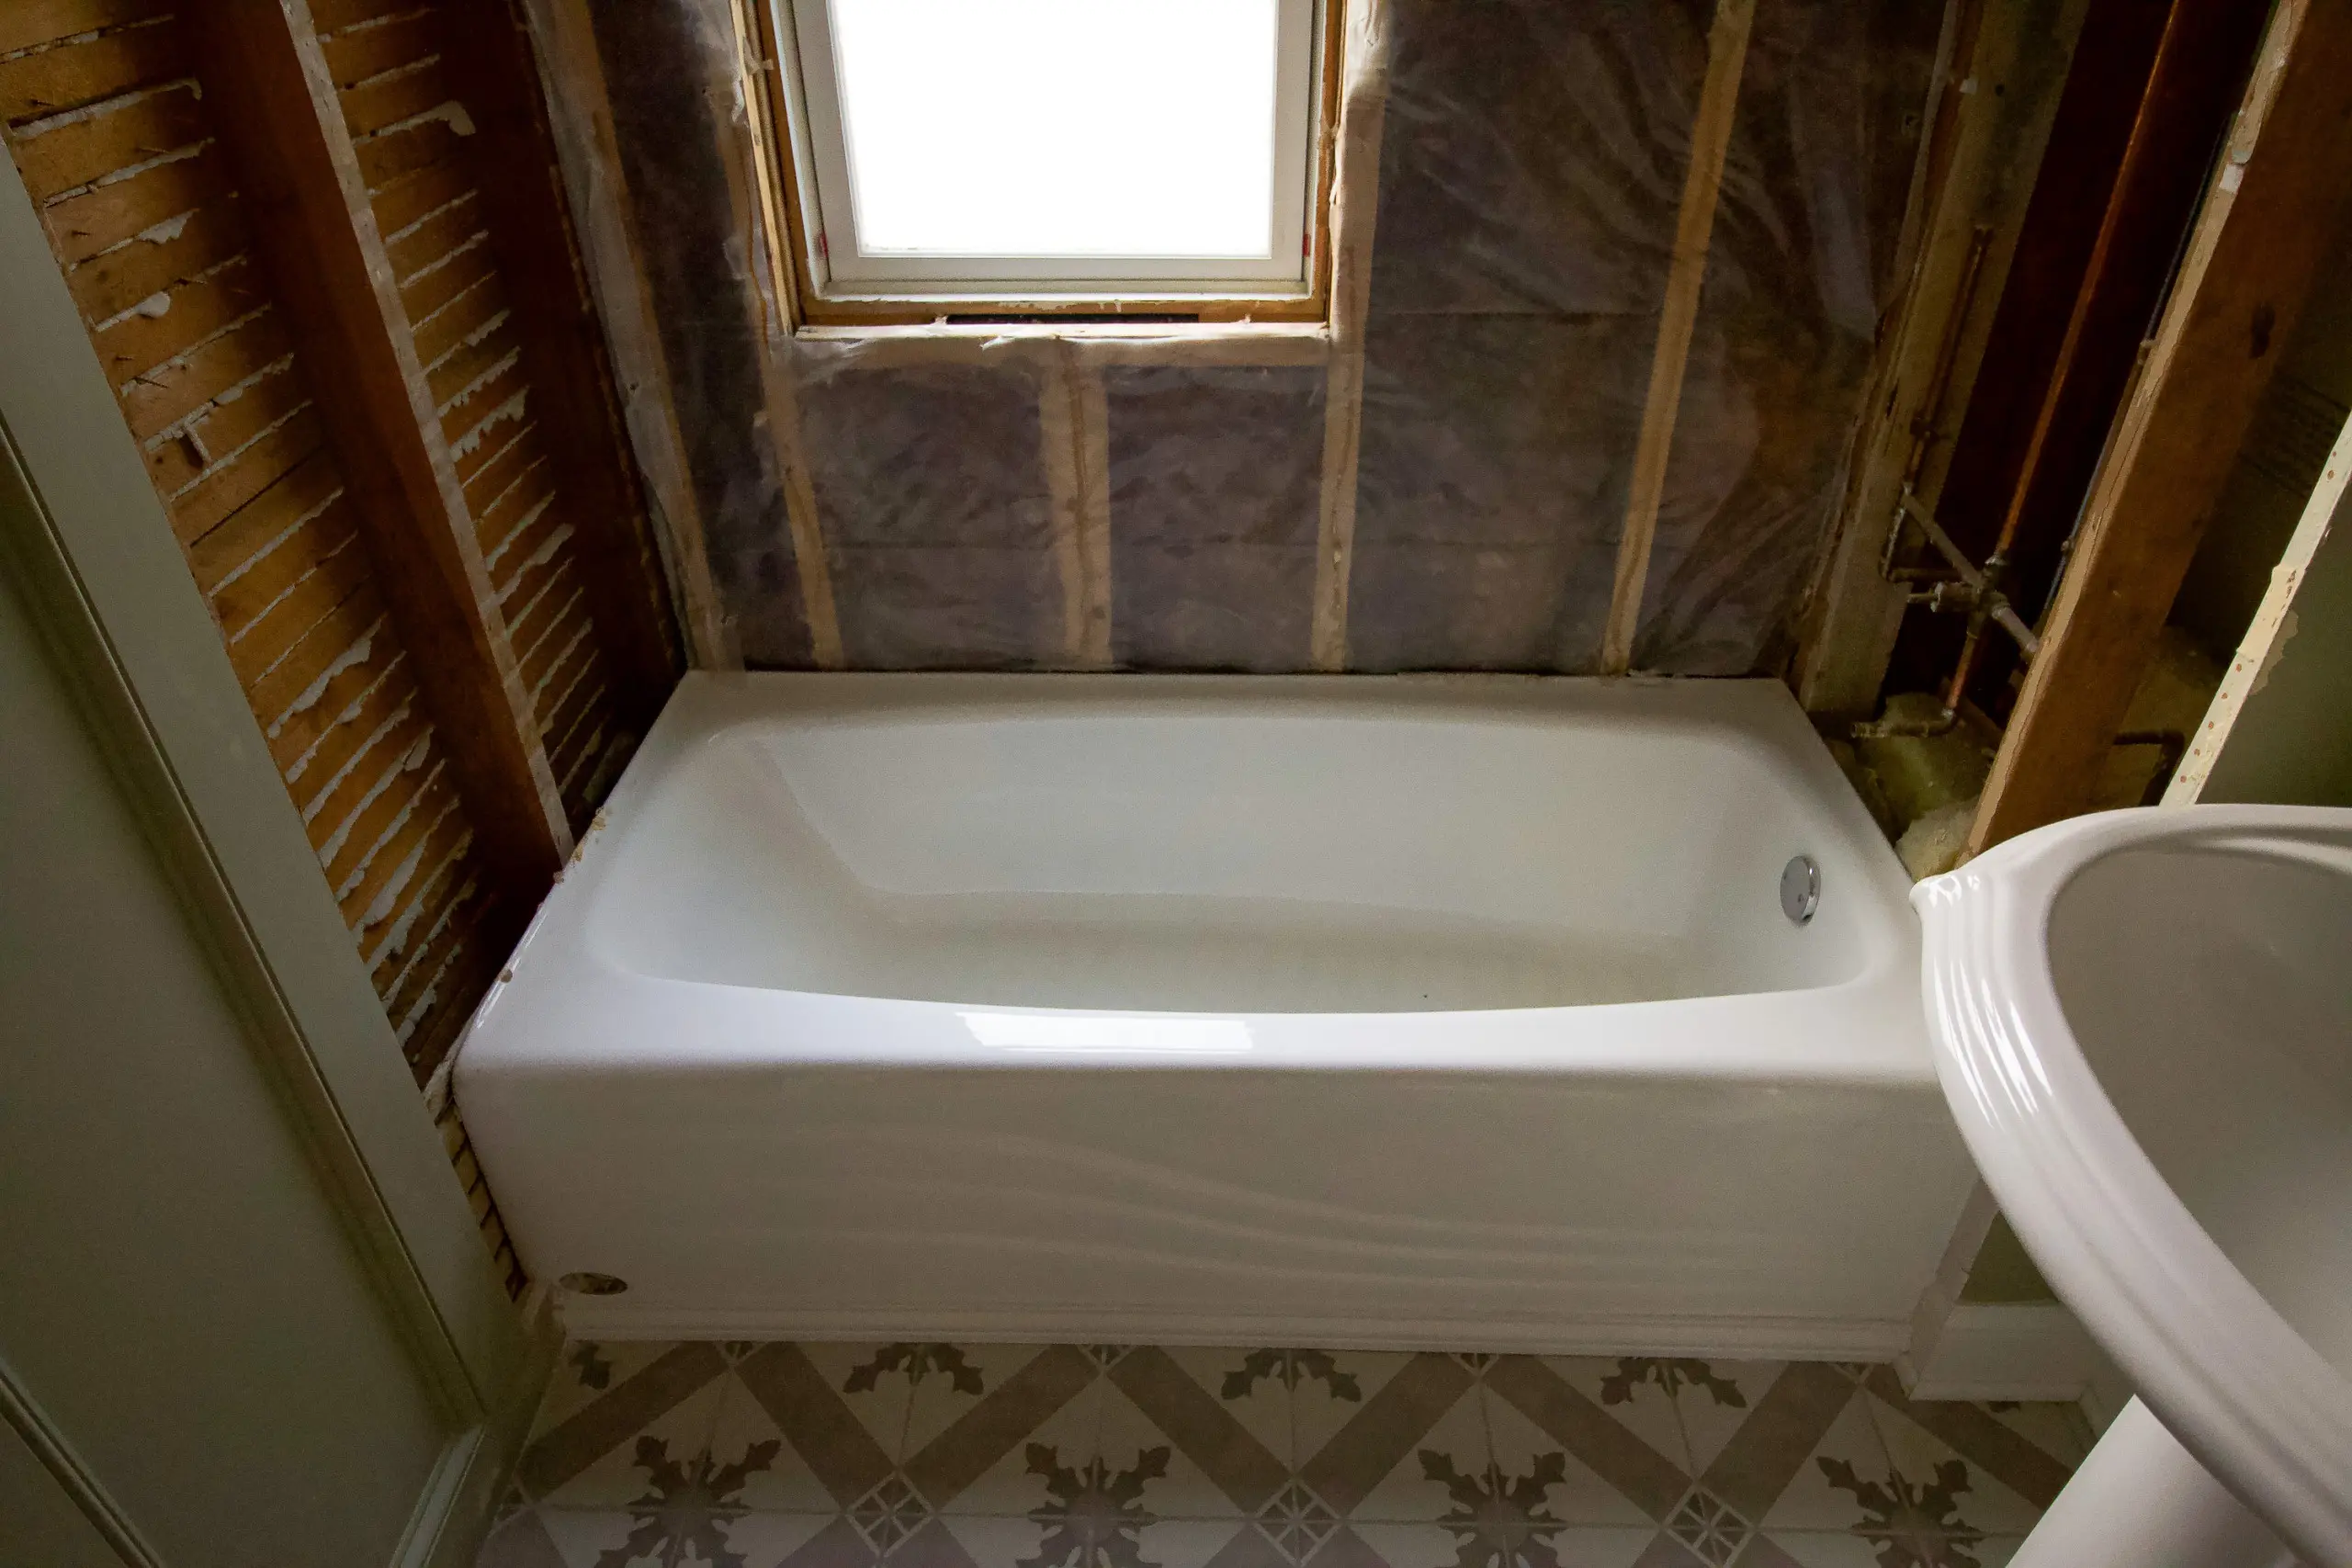
The crew ripped everything out in the shower, down to the studs, and built it back up.
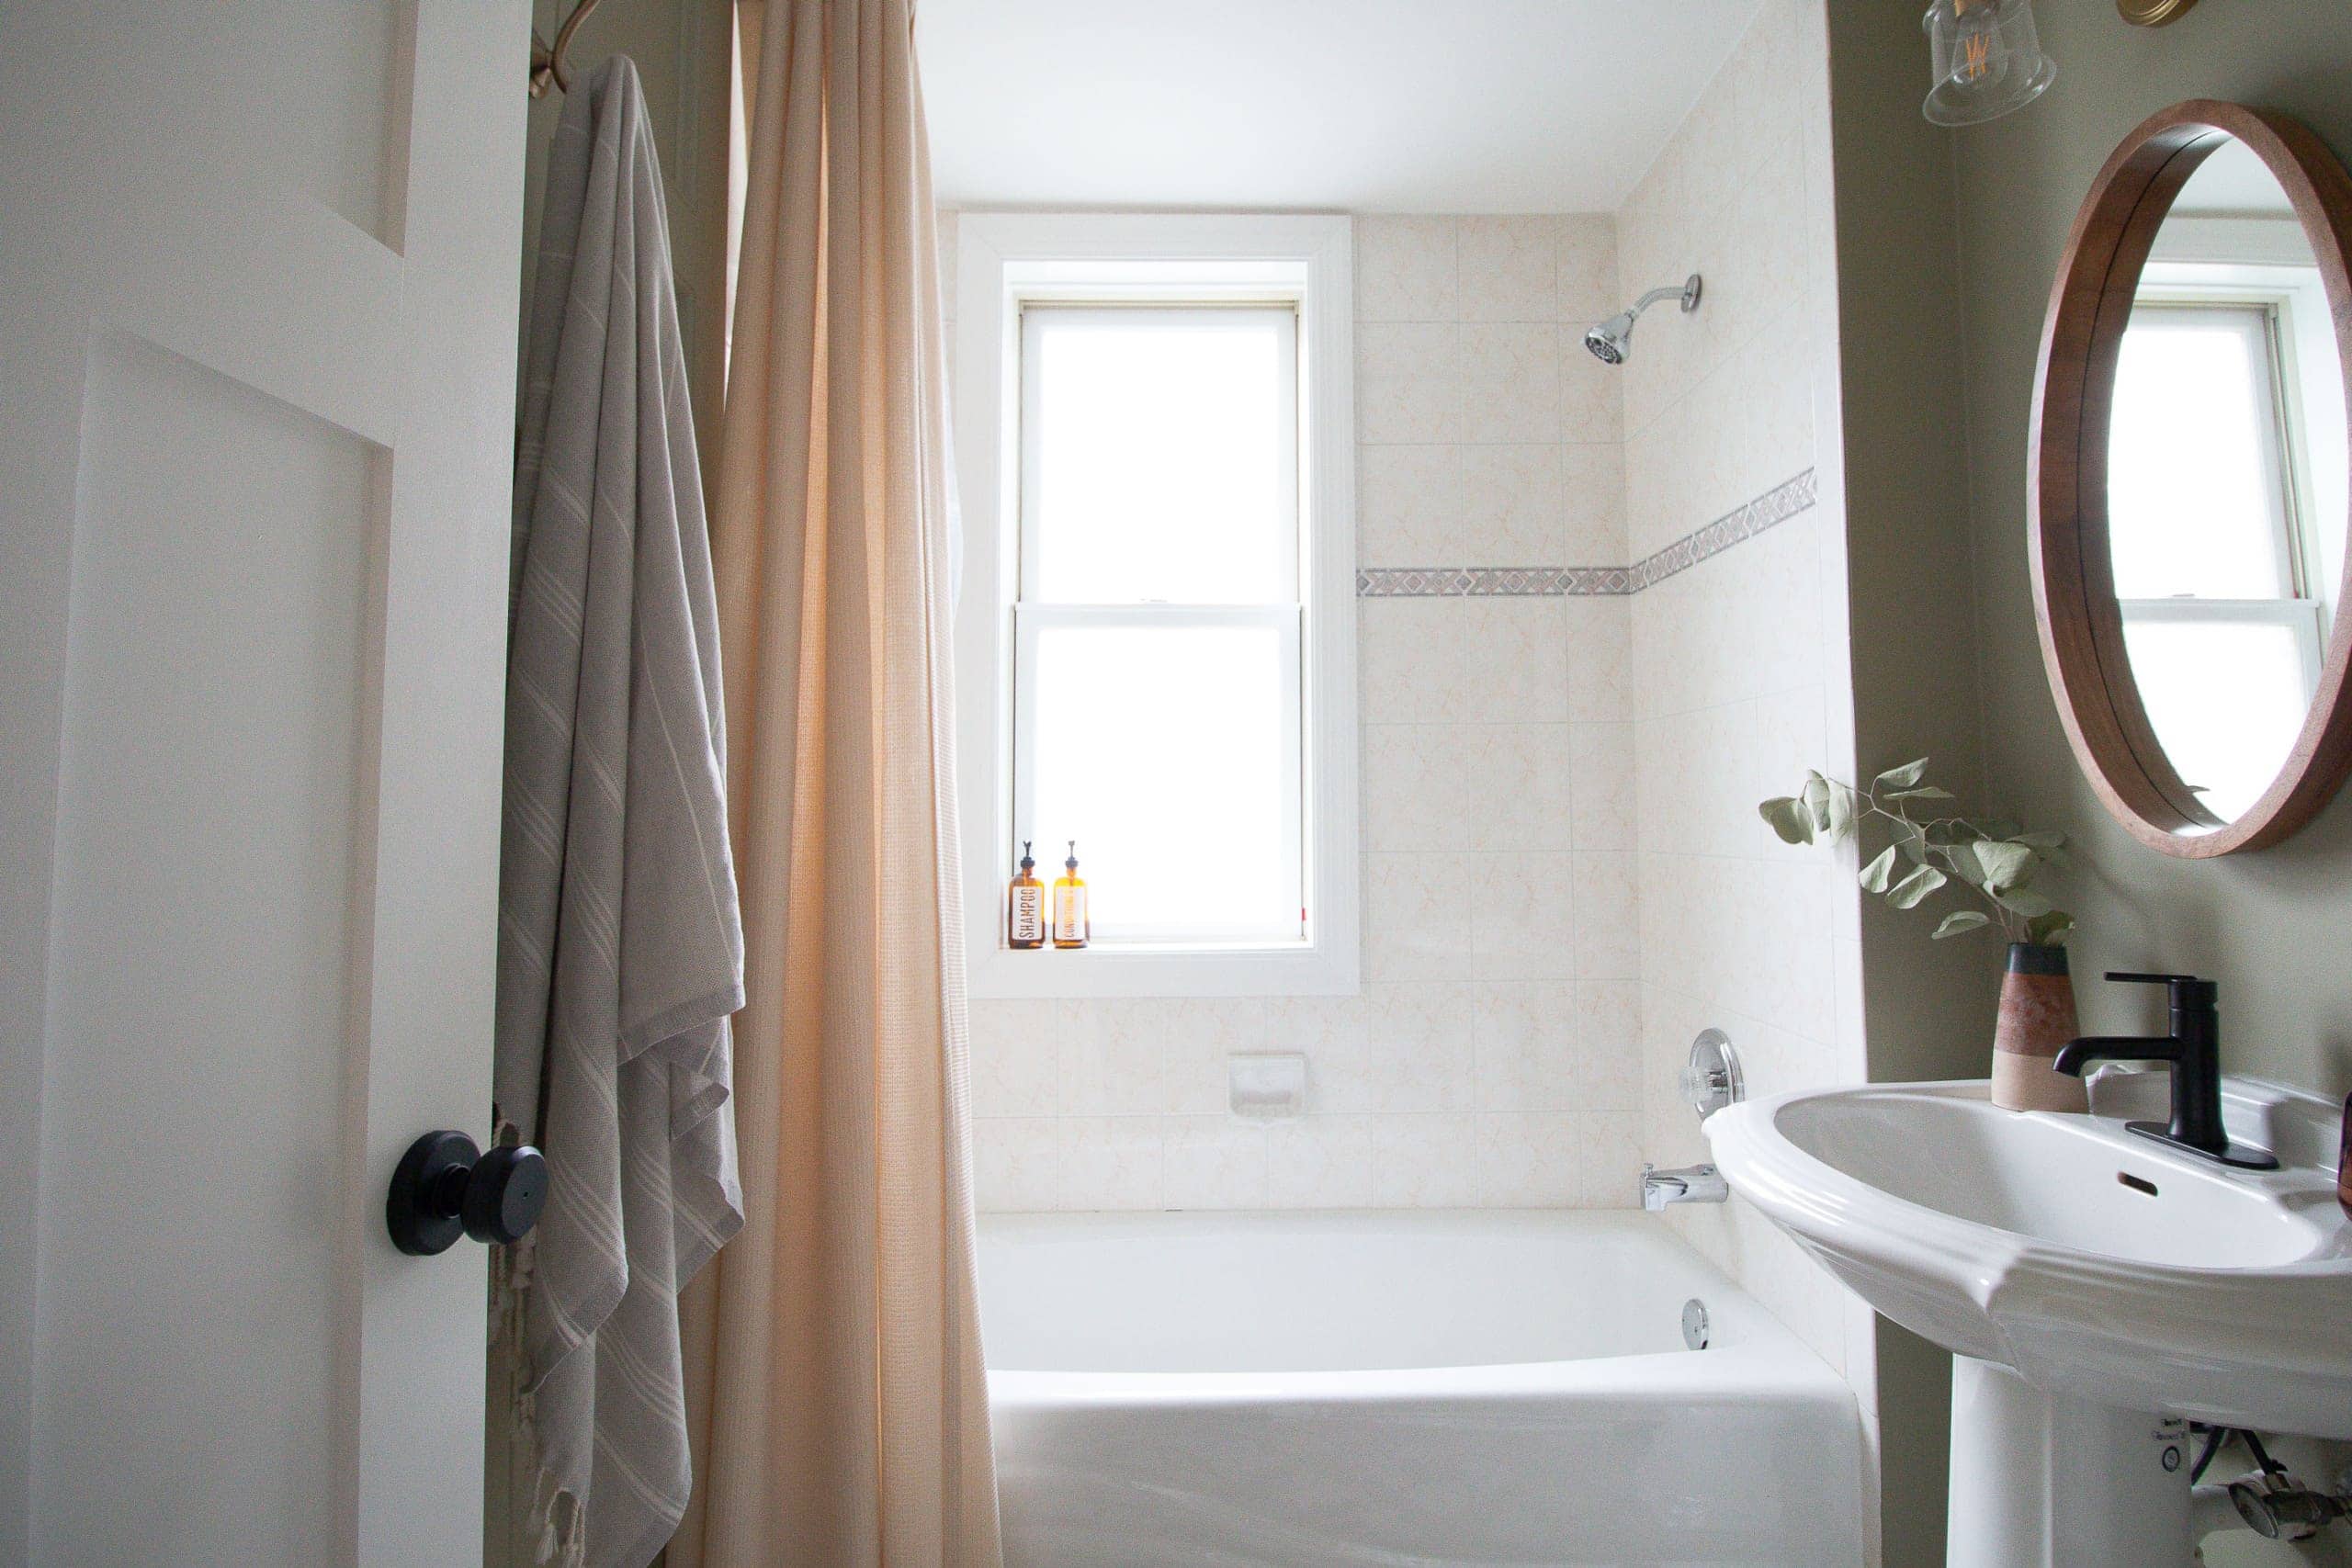
Creme Cloe Tile in the Shower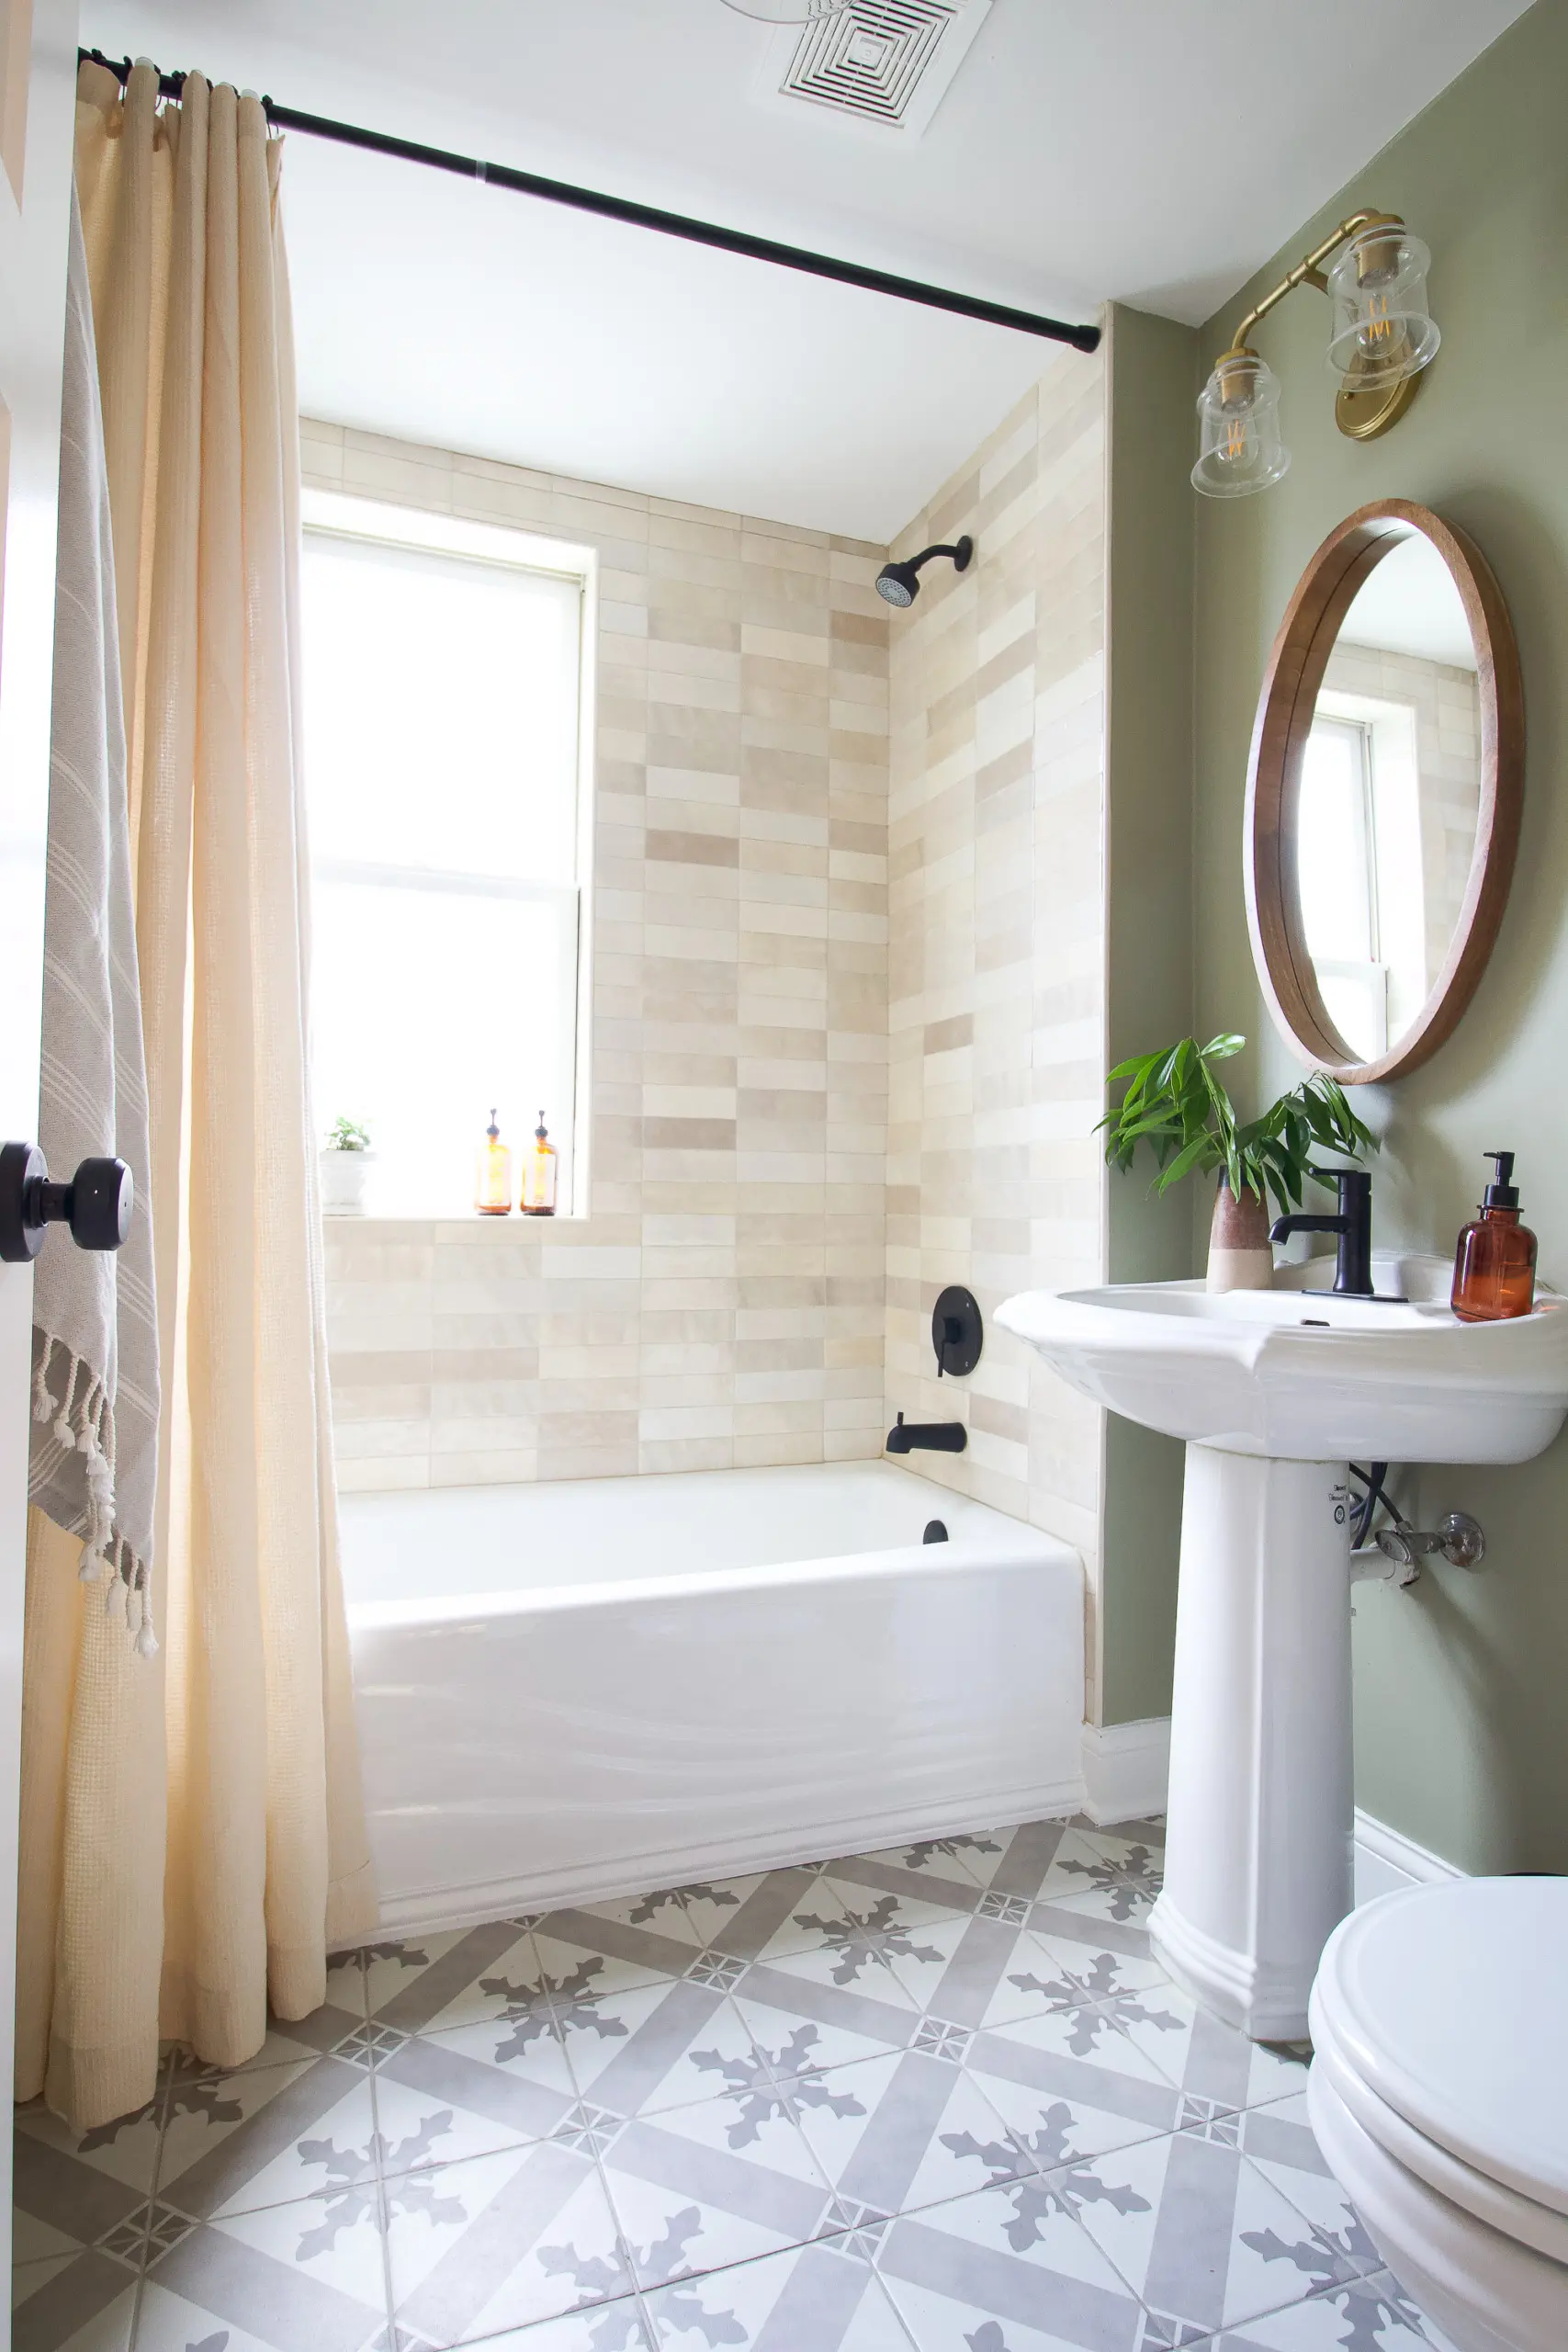
I originally bought six boxes of the tile and the tile guy needed about 50 more tiles to finish the job. Ugh! I searched all over Chicago to try to get that same tile locally, but not one store carried it. I panic ordered another two boxes from Wayfair (just in case any arrived broken) and they came in a few days so he could finish the job. I’m not sure if the stacked pattern ended up using more tiles or if my math was off, but here’s your reminder to always buy extra tile for projects. You can always return it!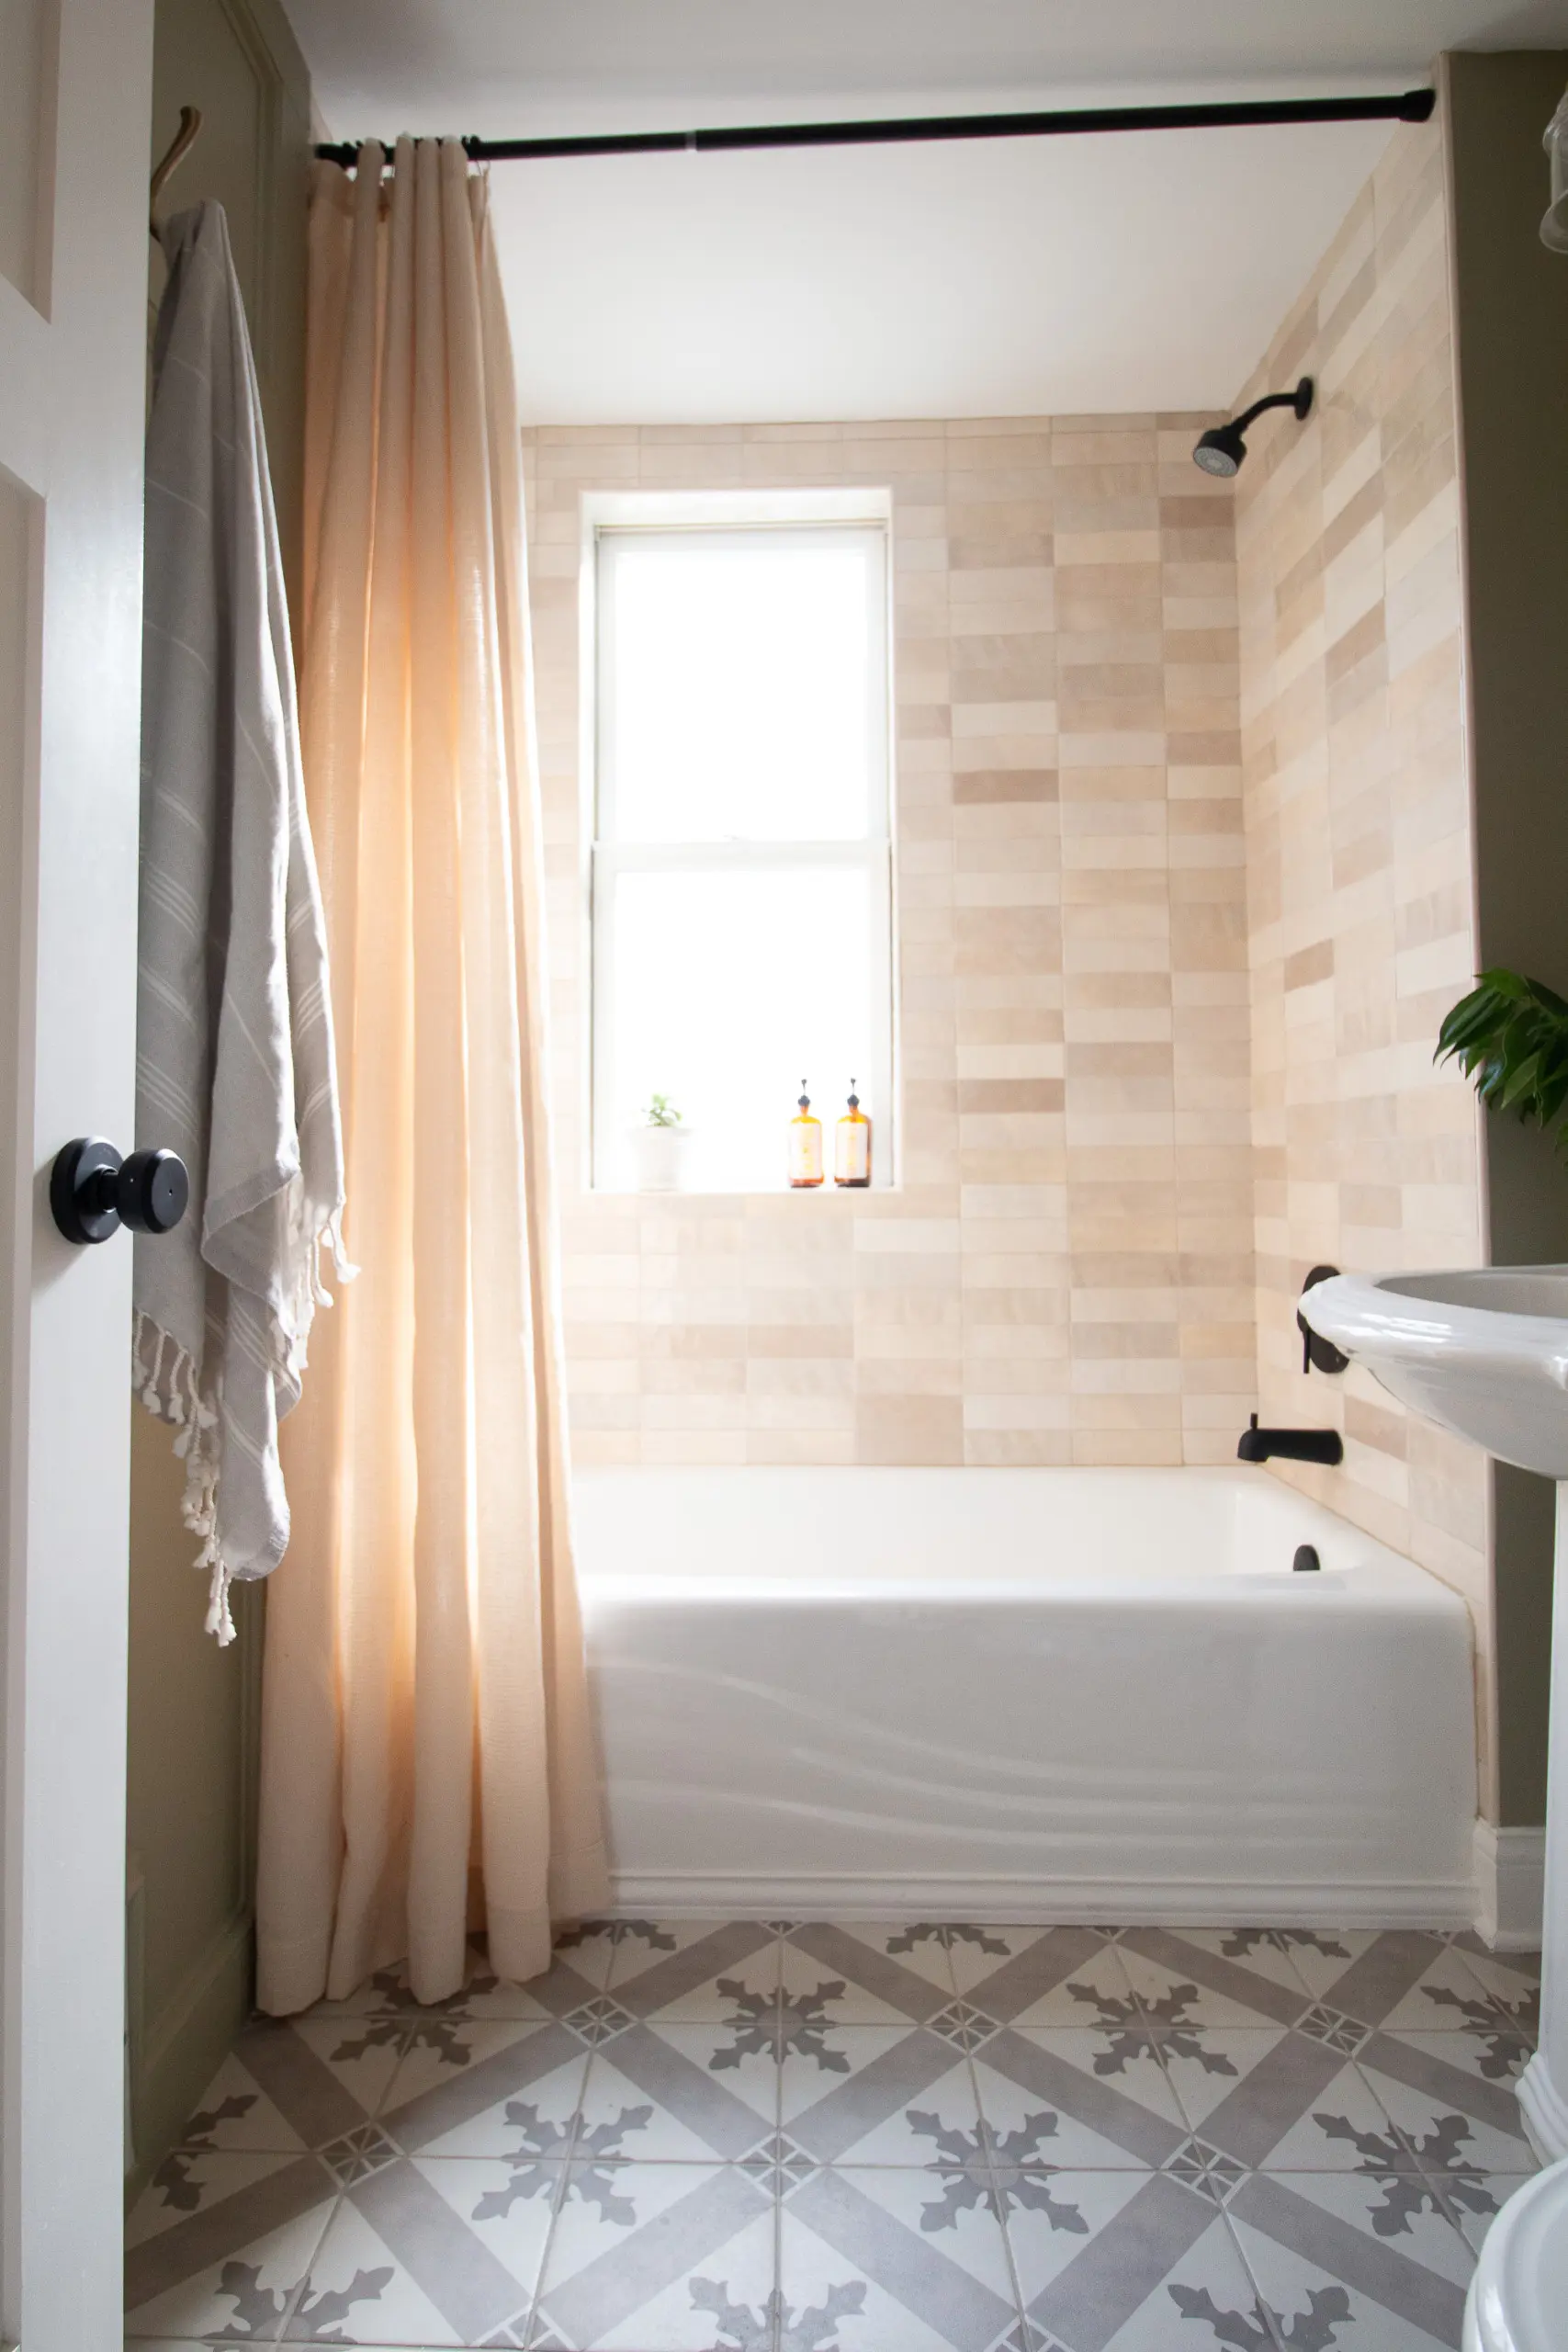
As for the grout, I went with the color “bone” so there wasn’t too much contrast between the grout and tile color. The tile has so many beautiful creamy shades and looks very natural in the bathroom. I think it works really well with the other colors and vibes in the room.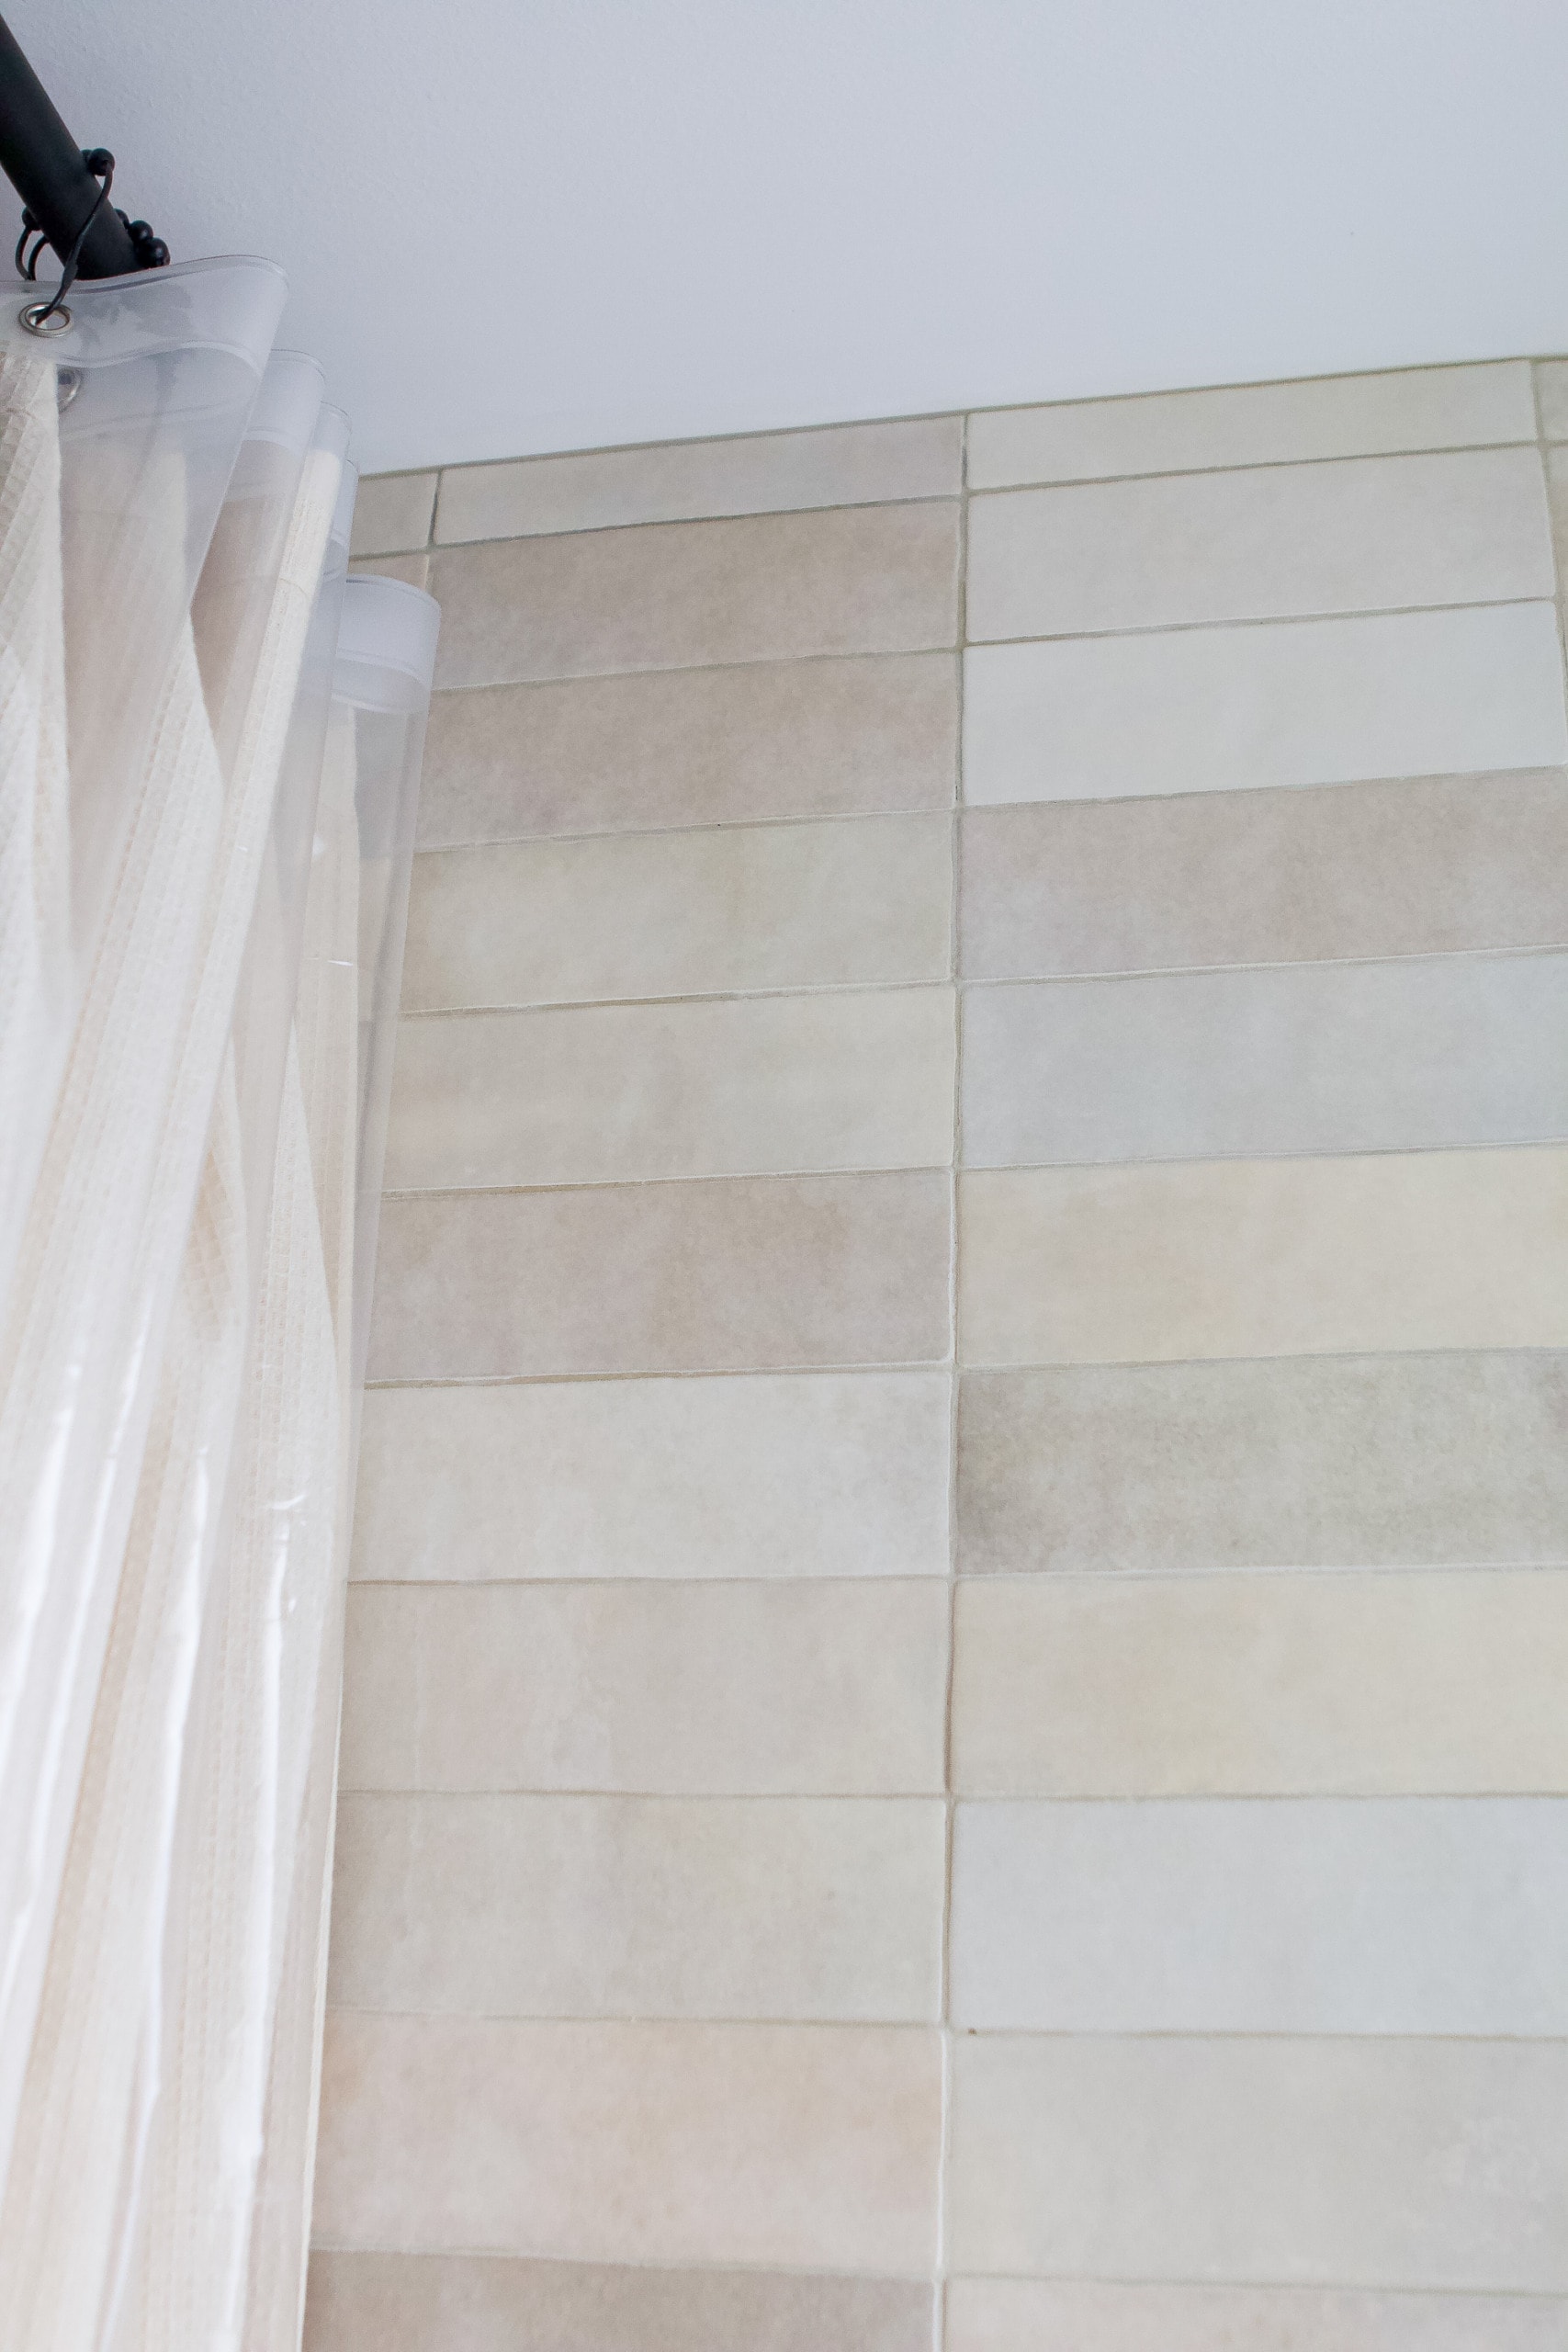
I’m really happy we went with the stacked pattern. It makes it a bit more contemporary in here.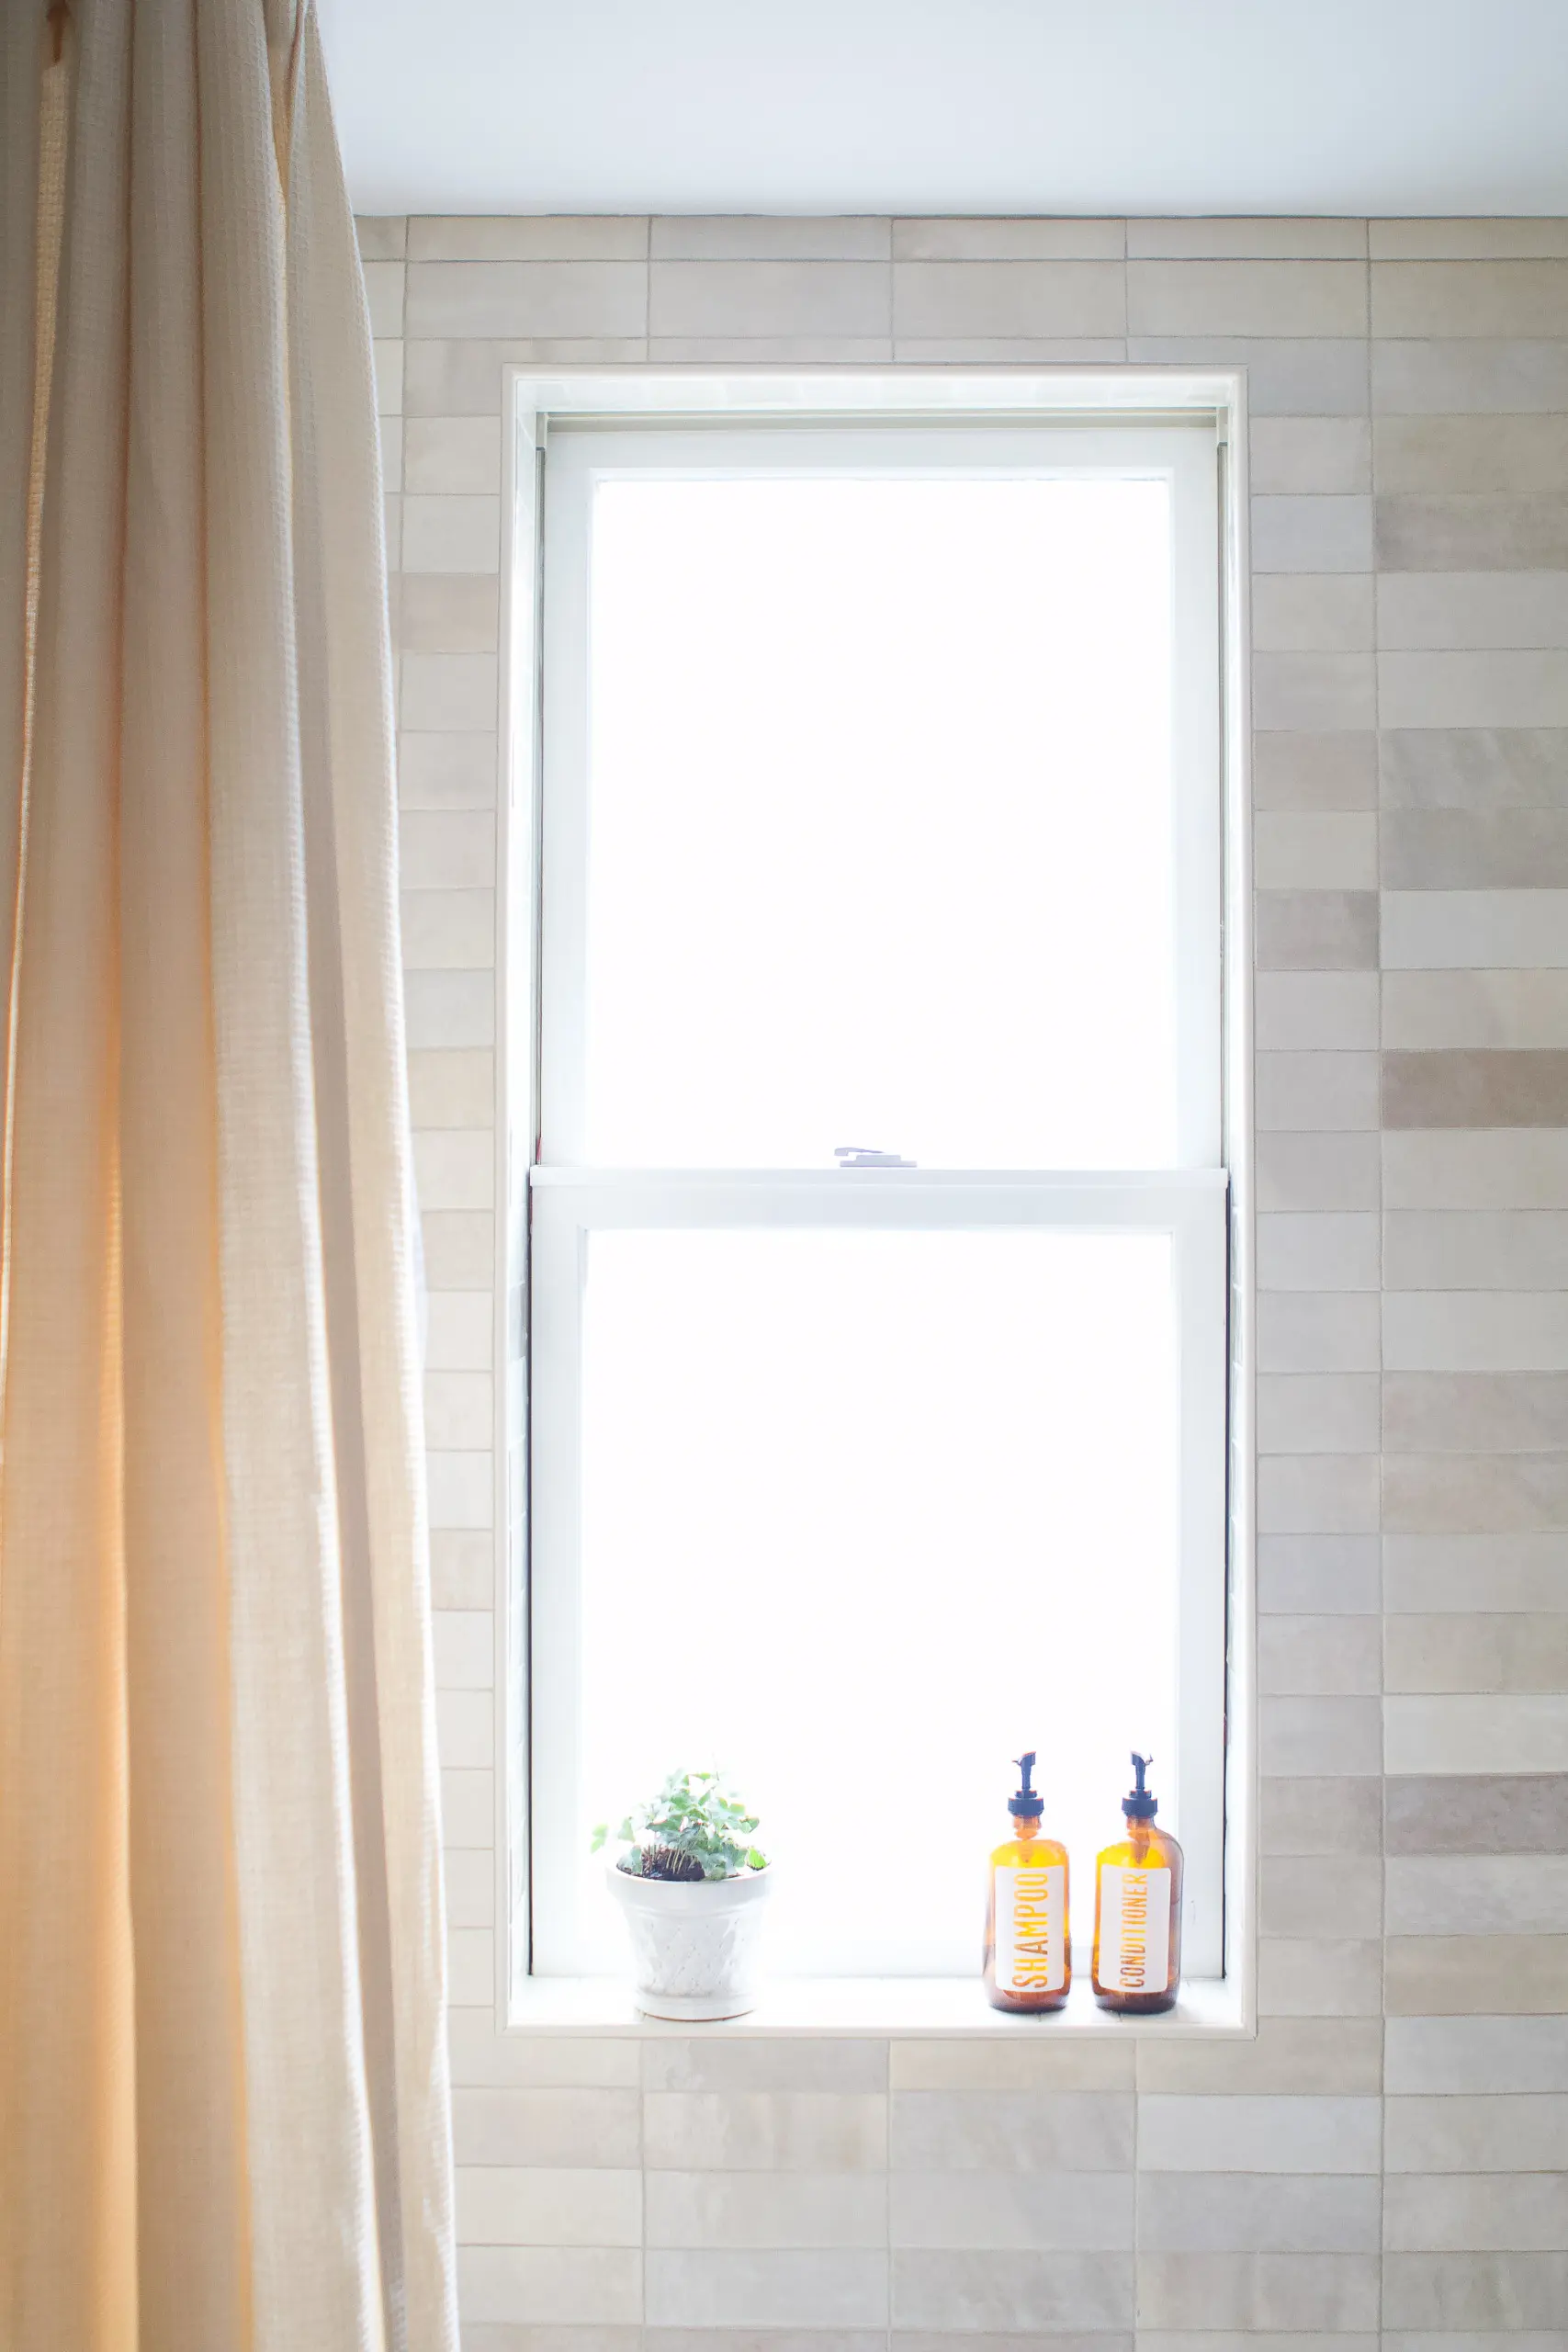
The wood window trim is officially gone and replaced with tile, which means we can actually use this shower now!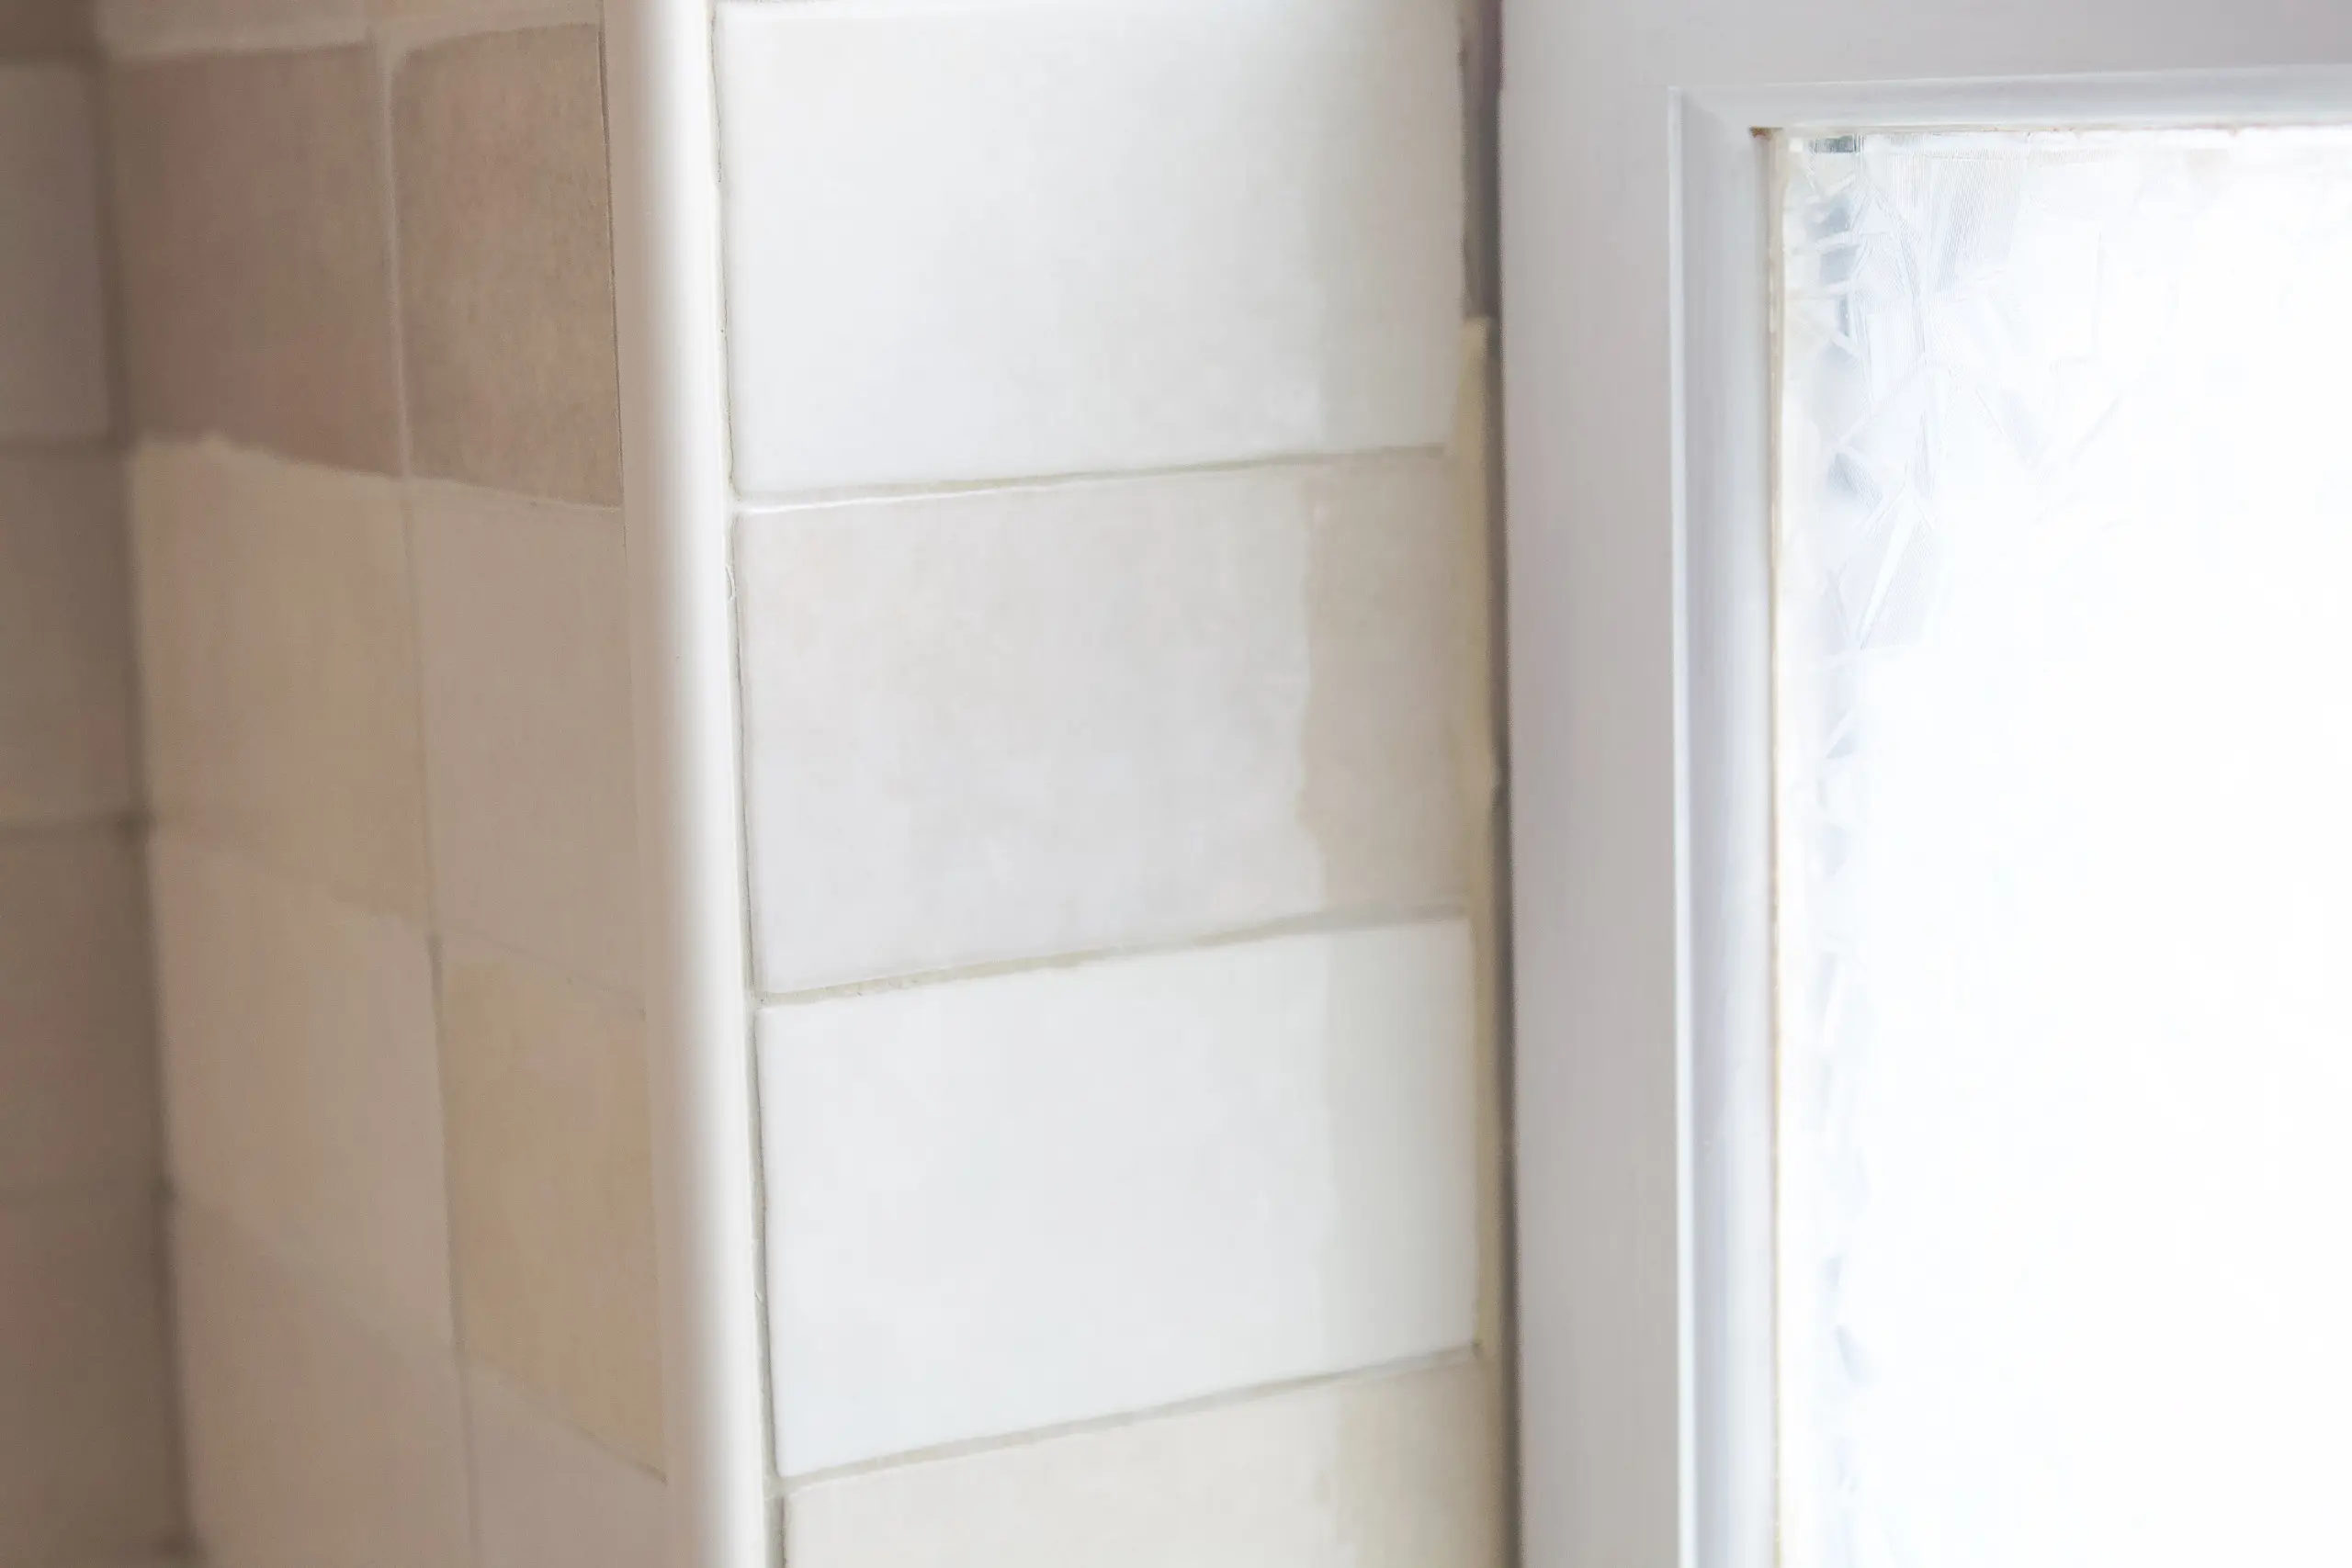
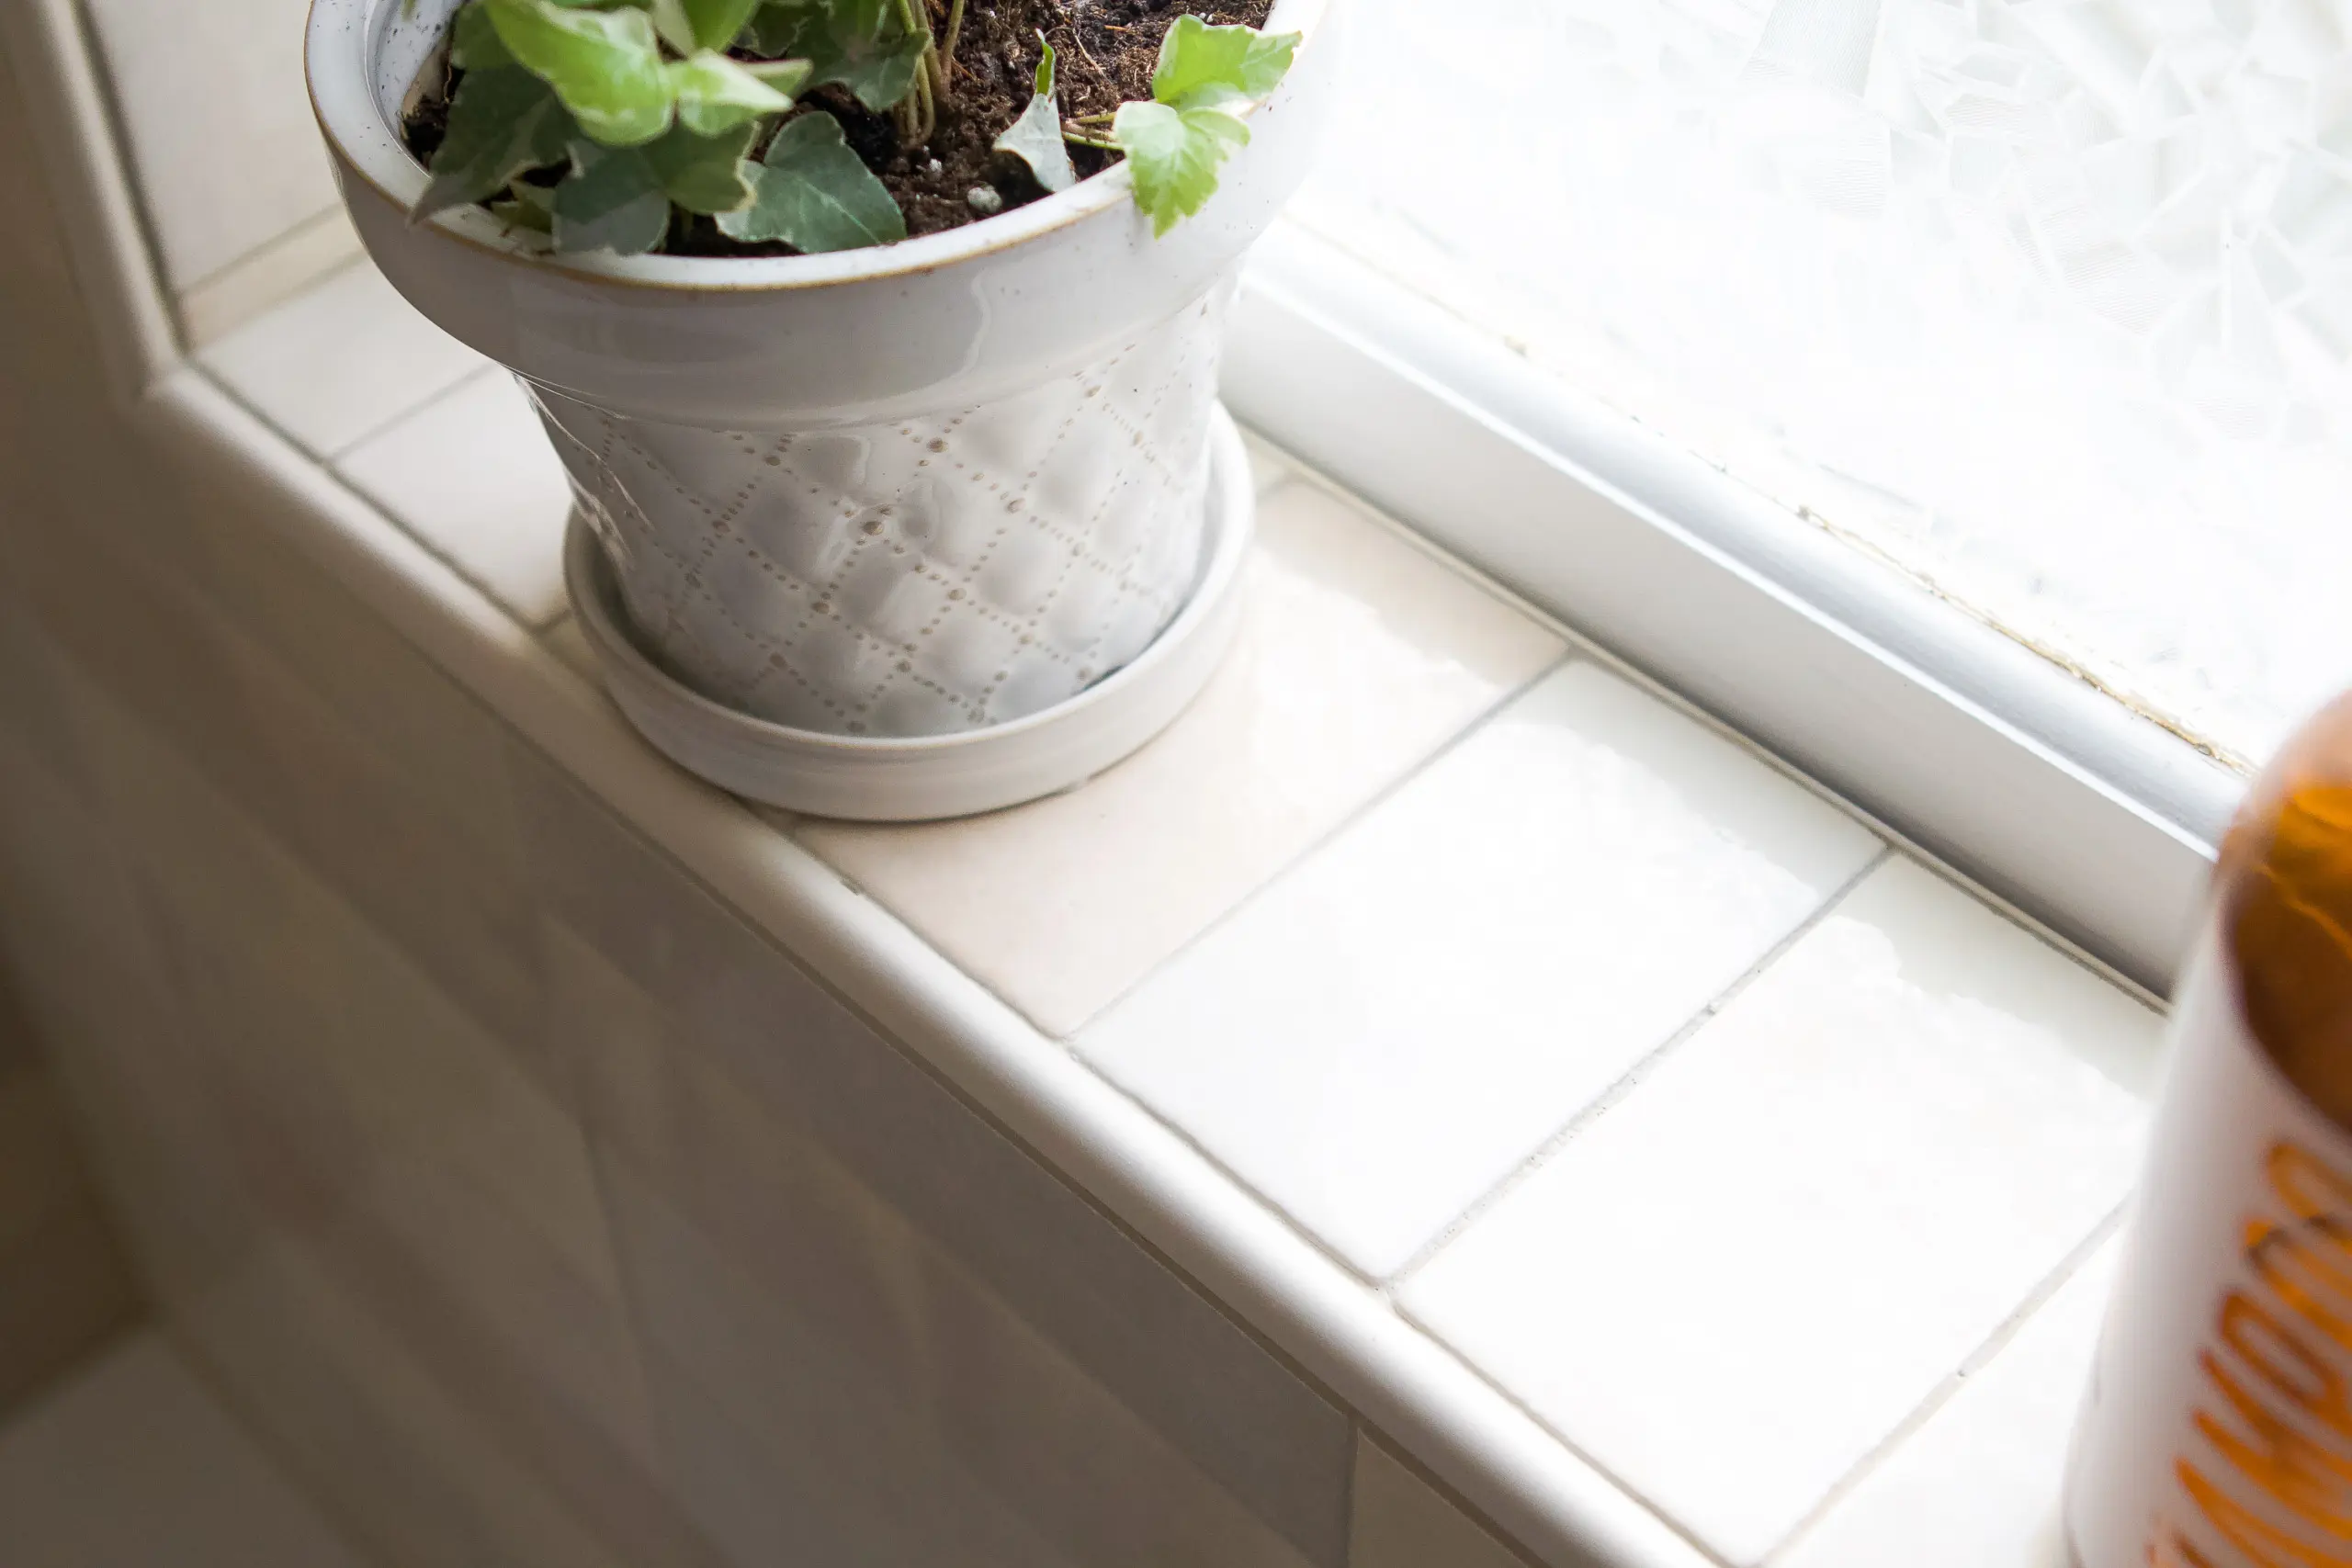
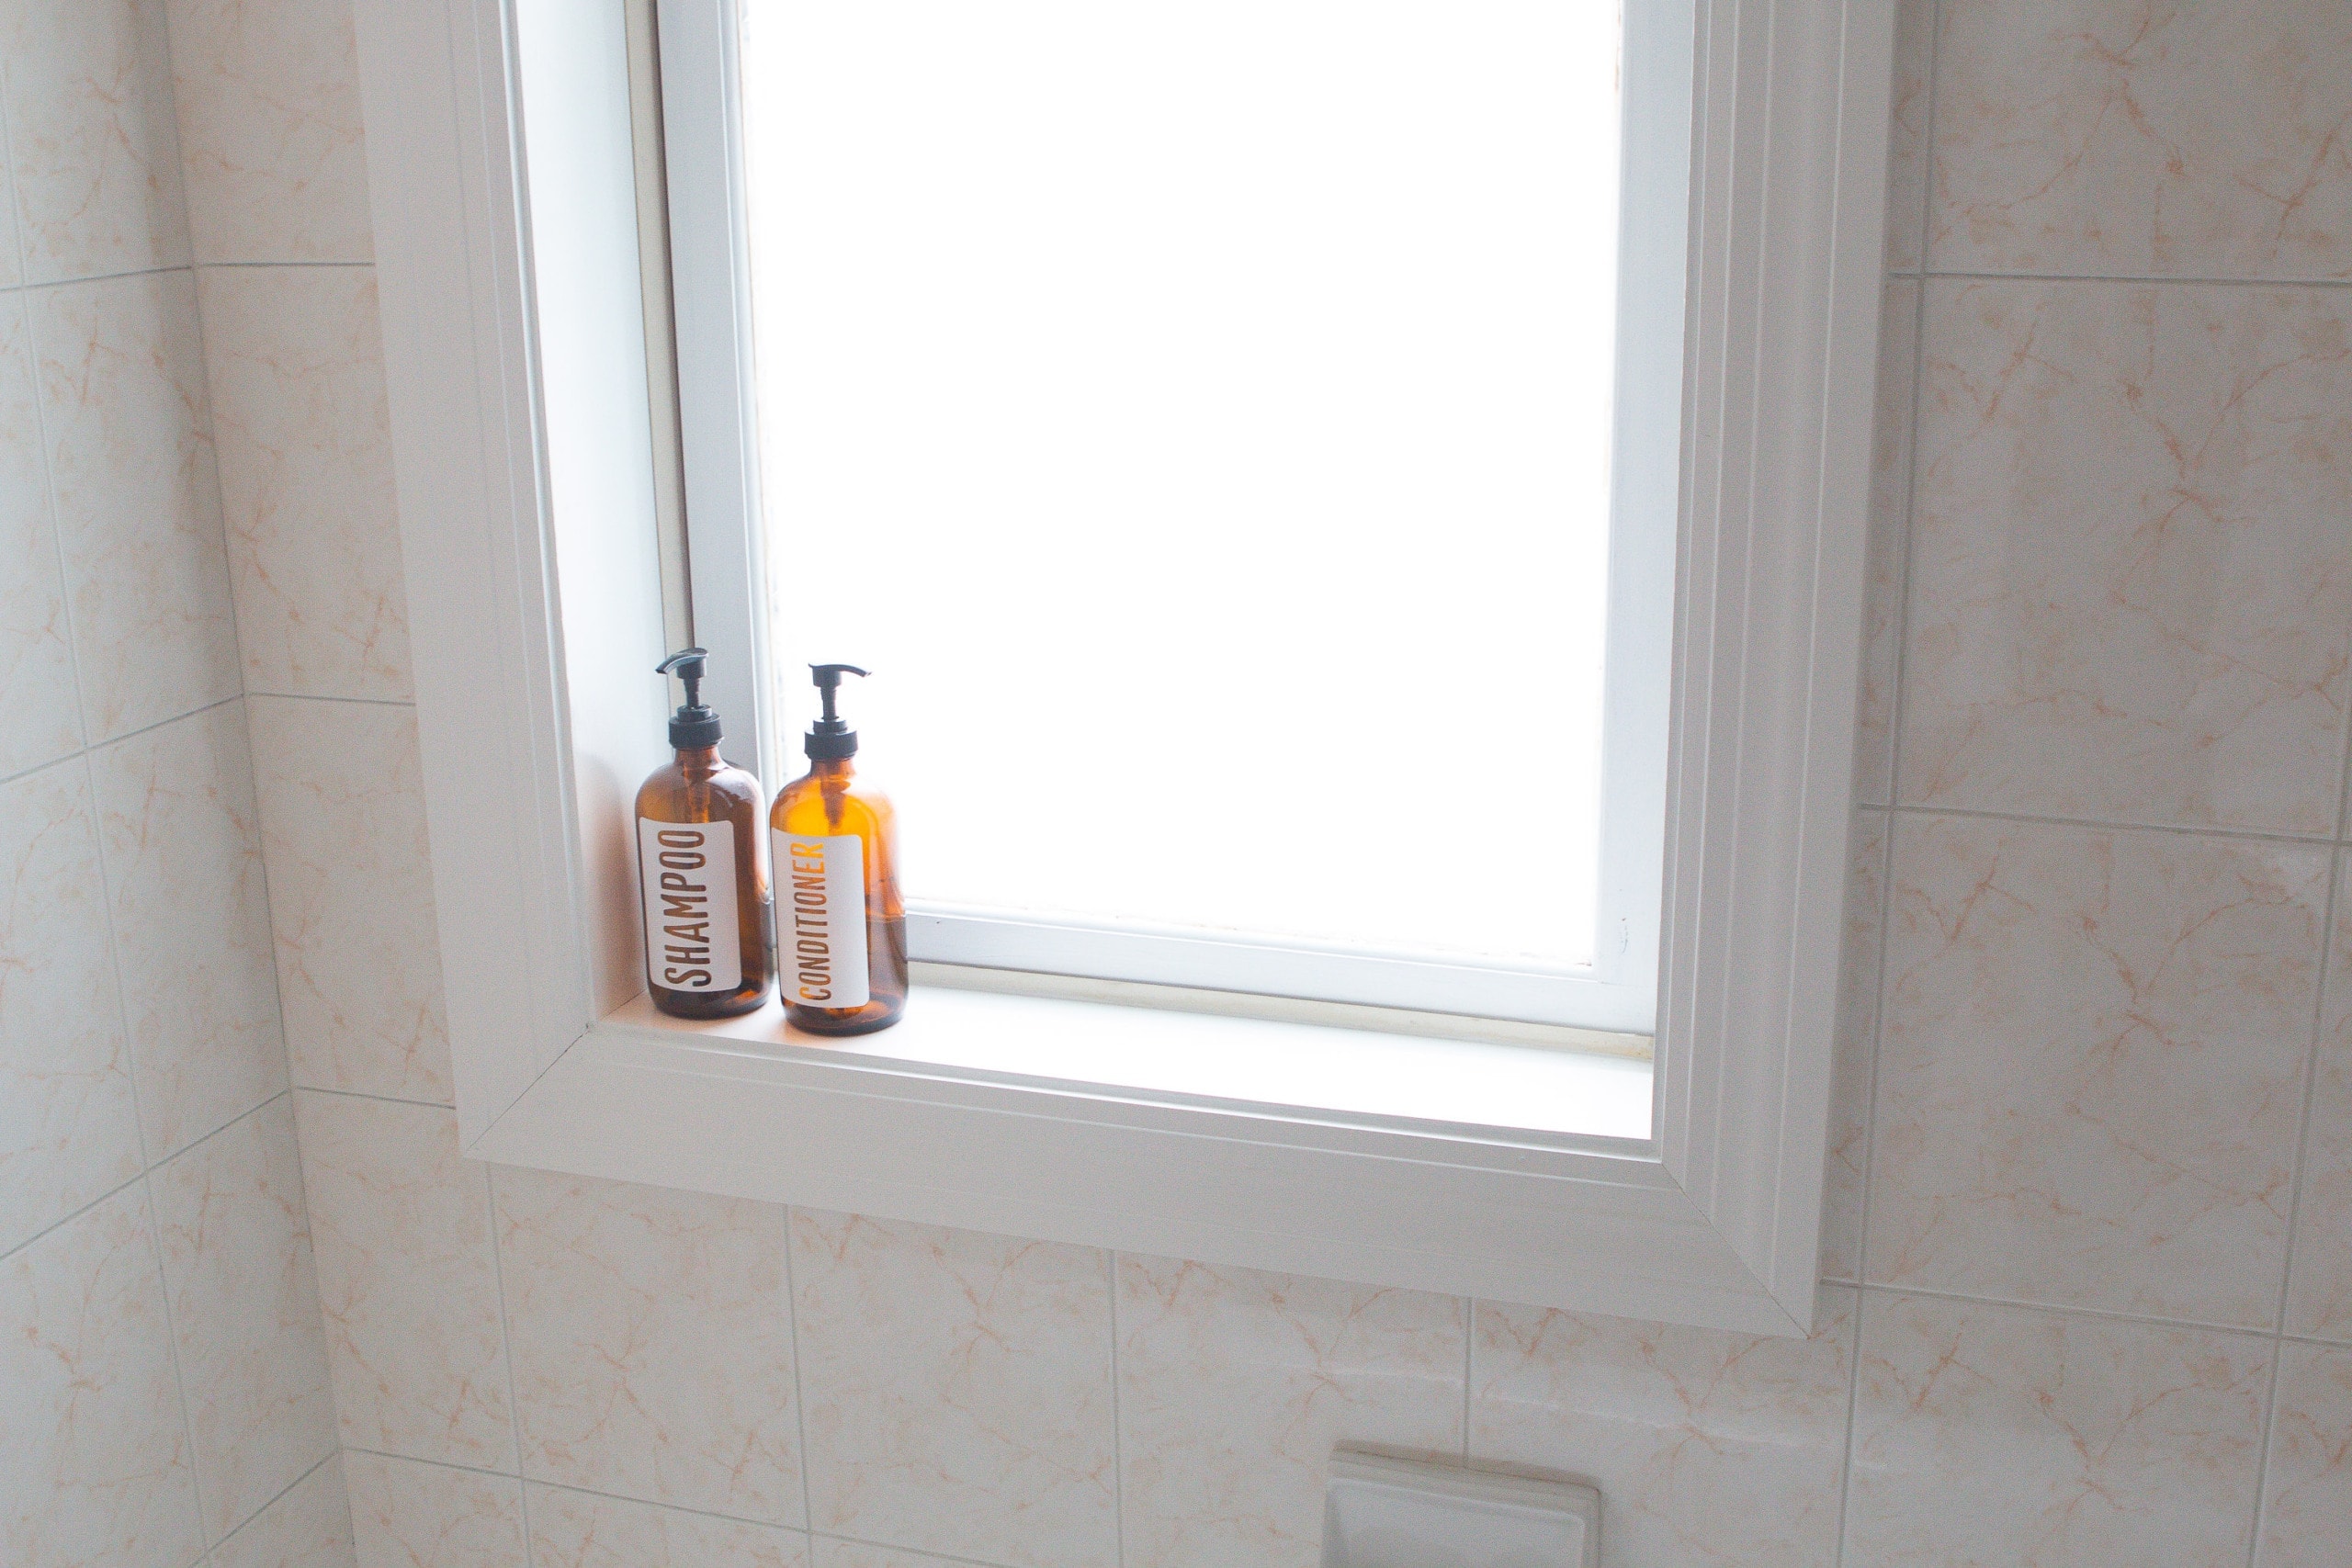
My contractor brought the tile all the way up to the window. The window is still wood ( it wasn’t in the budget to replace the window too), but I think it should be a-okay because it’s set back so deep. Water won’t directly stream onto it from the showerhead and if any gets on there, it will just take a quick wipe down to dry it off. 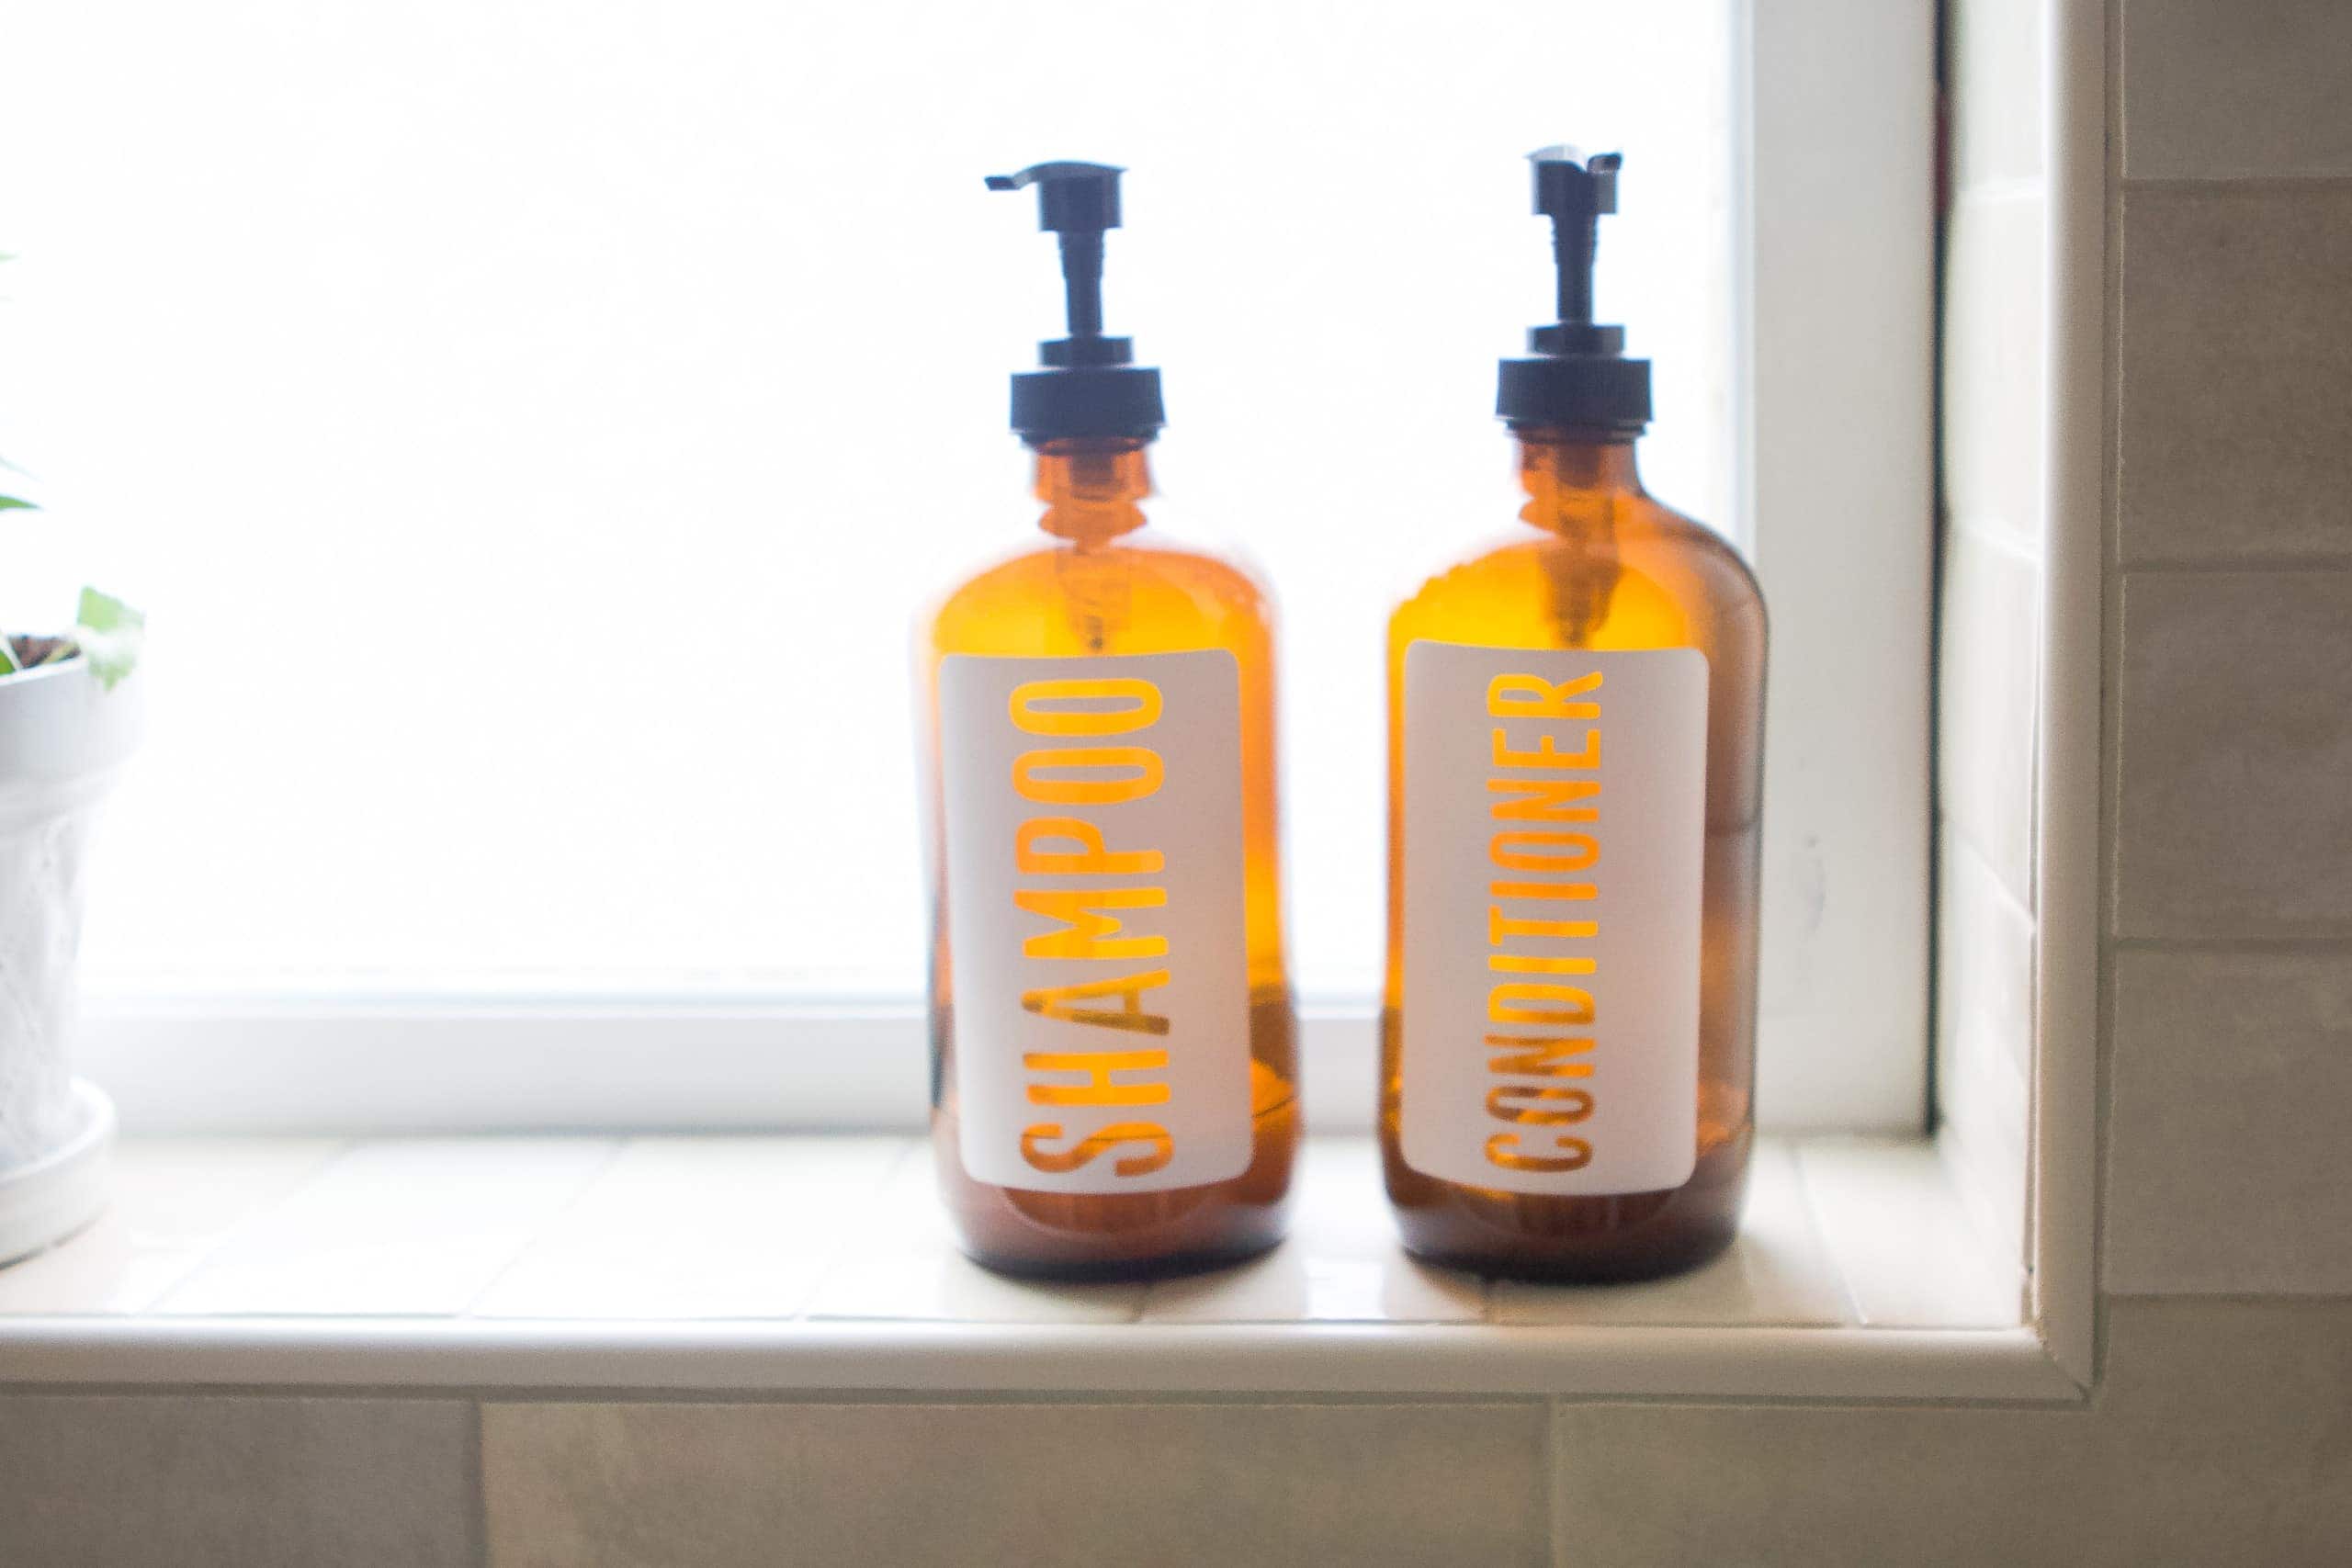
While there is a matching tile trim that goes with the Cloe tile, I ended up using regular plastic schluter in an almond color instead. This saved a lot of money (those trim pieces are pricey) and it matches wonderfully. The schluter was used both around the window and on the edges of the shower.
Black Shower Hardware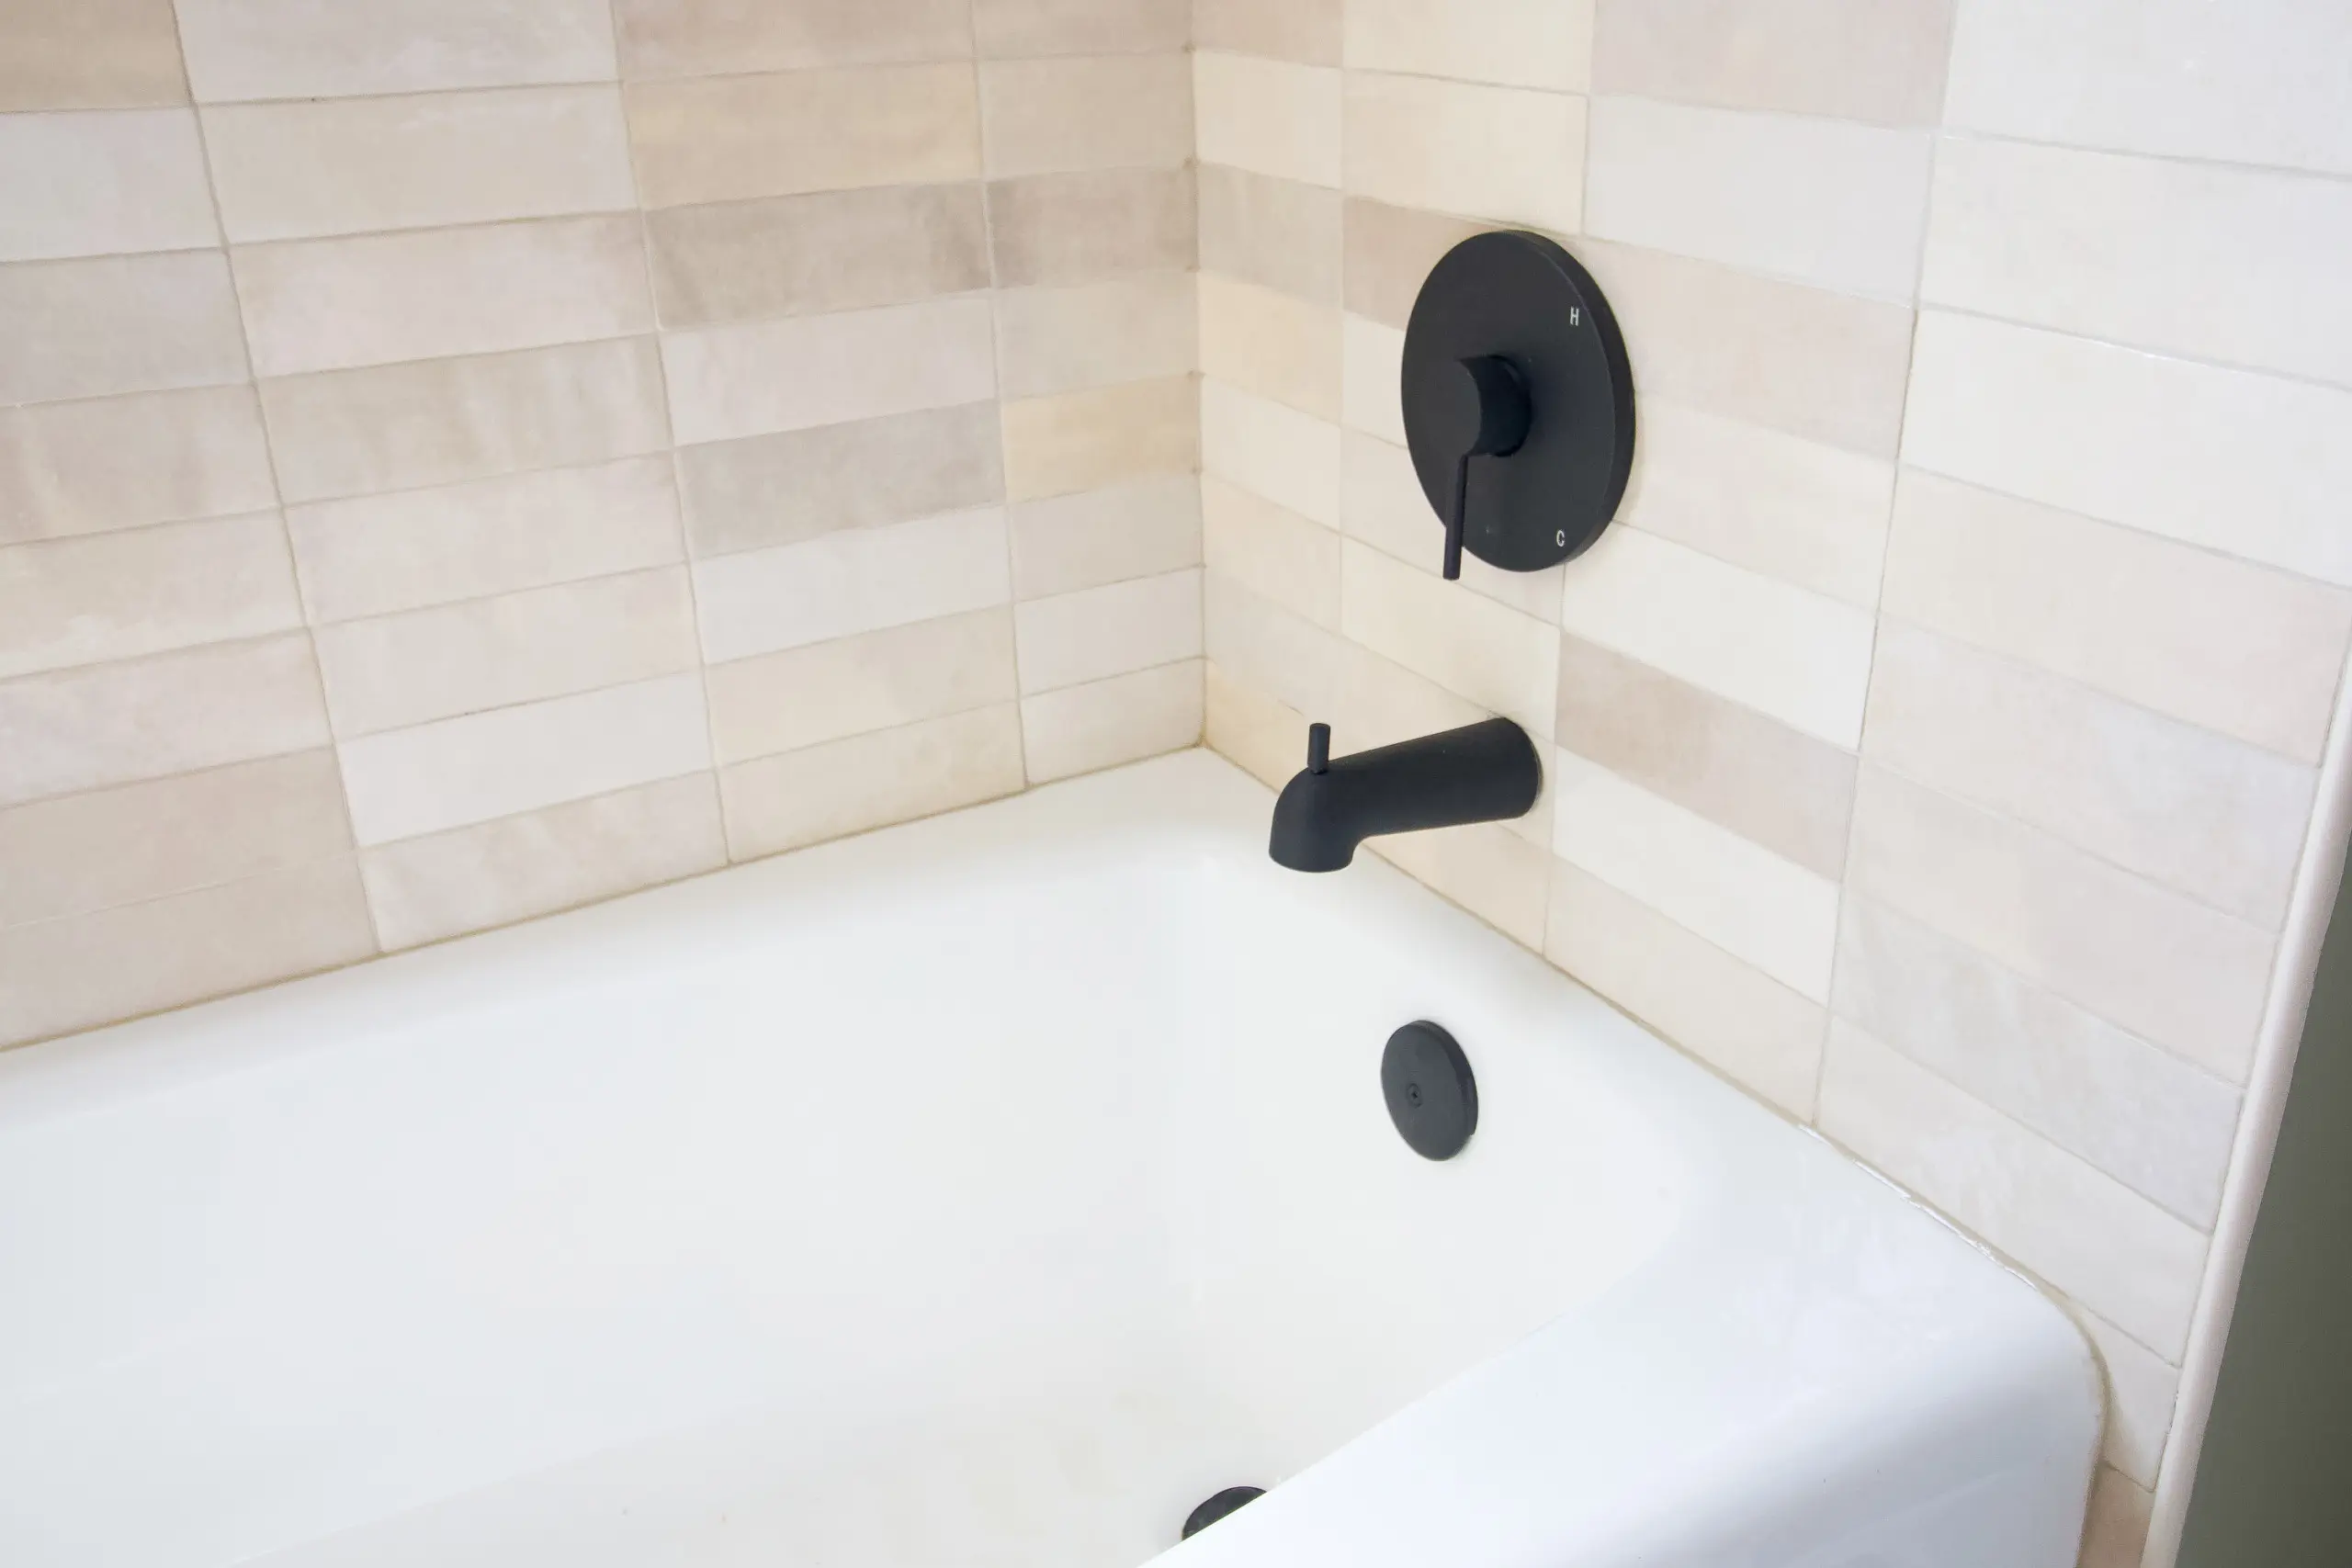
As long as the team was ripping everything out, I figured I might as well replace the shower hardware. I decided to go with matte black to match the vanity faucet. I chose this shower trim package and a new black drain kit! 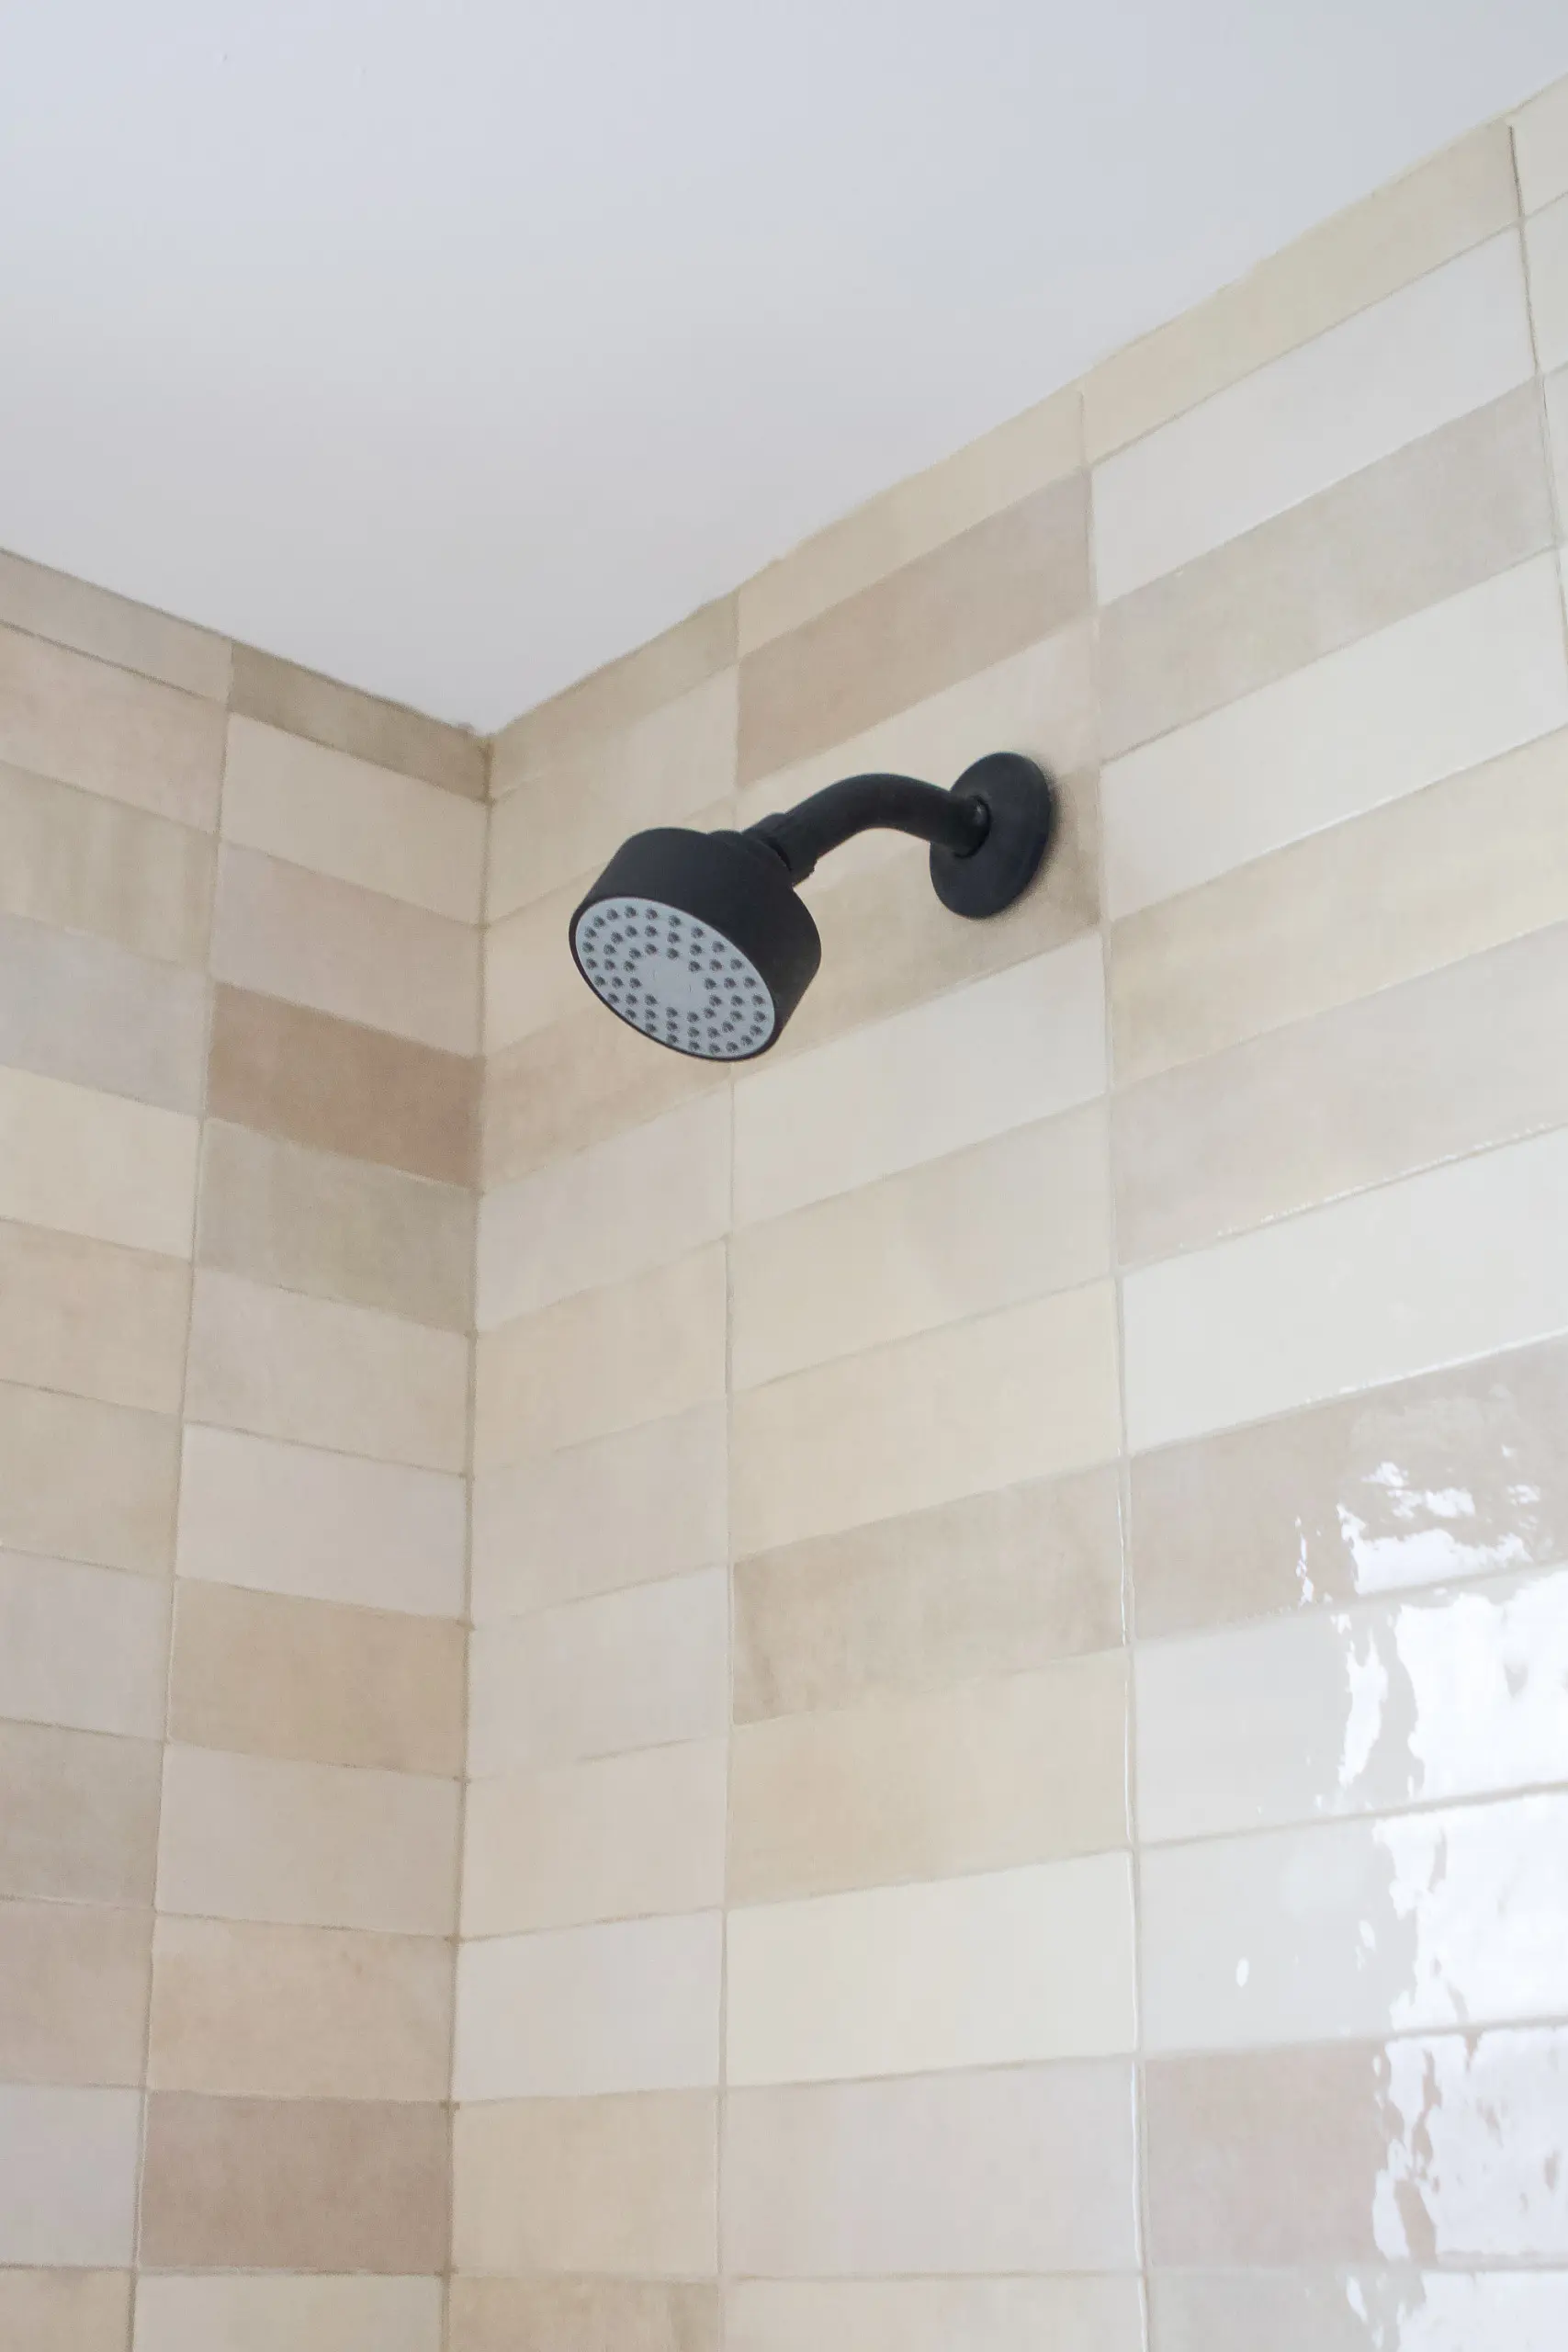 I thought the price was pretty good for the trim package, considering it comes with the shower head, tub filler, lever handle, and the pressure balance valve. The bathtub was still in great shape (probably because no one ever used it!), so we kept it in there to save some time and money.
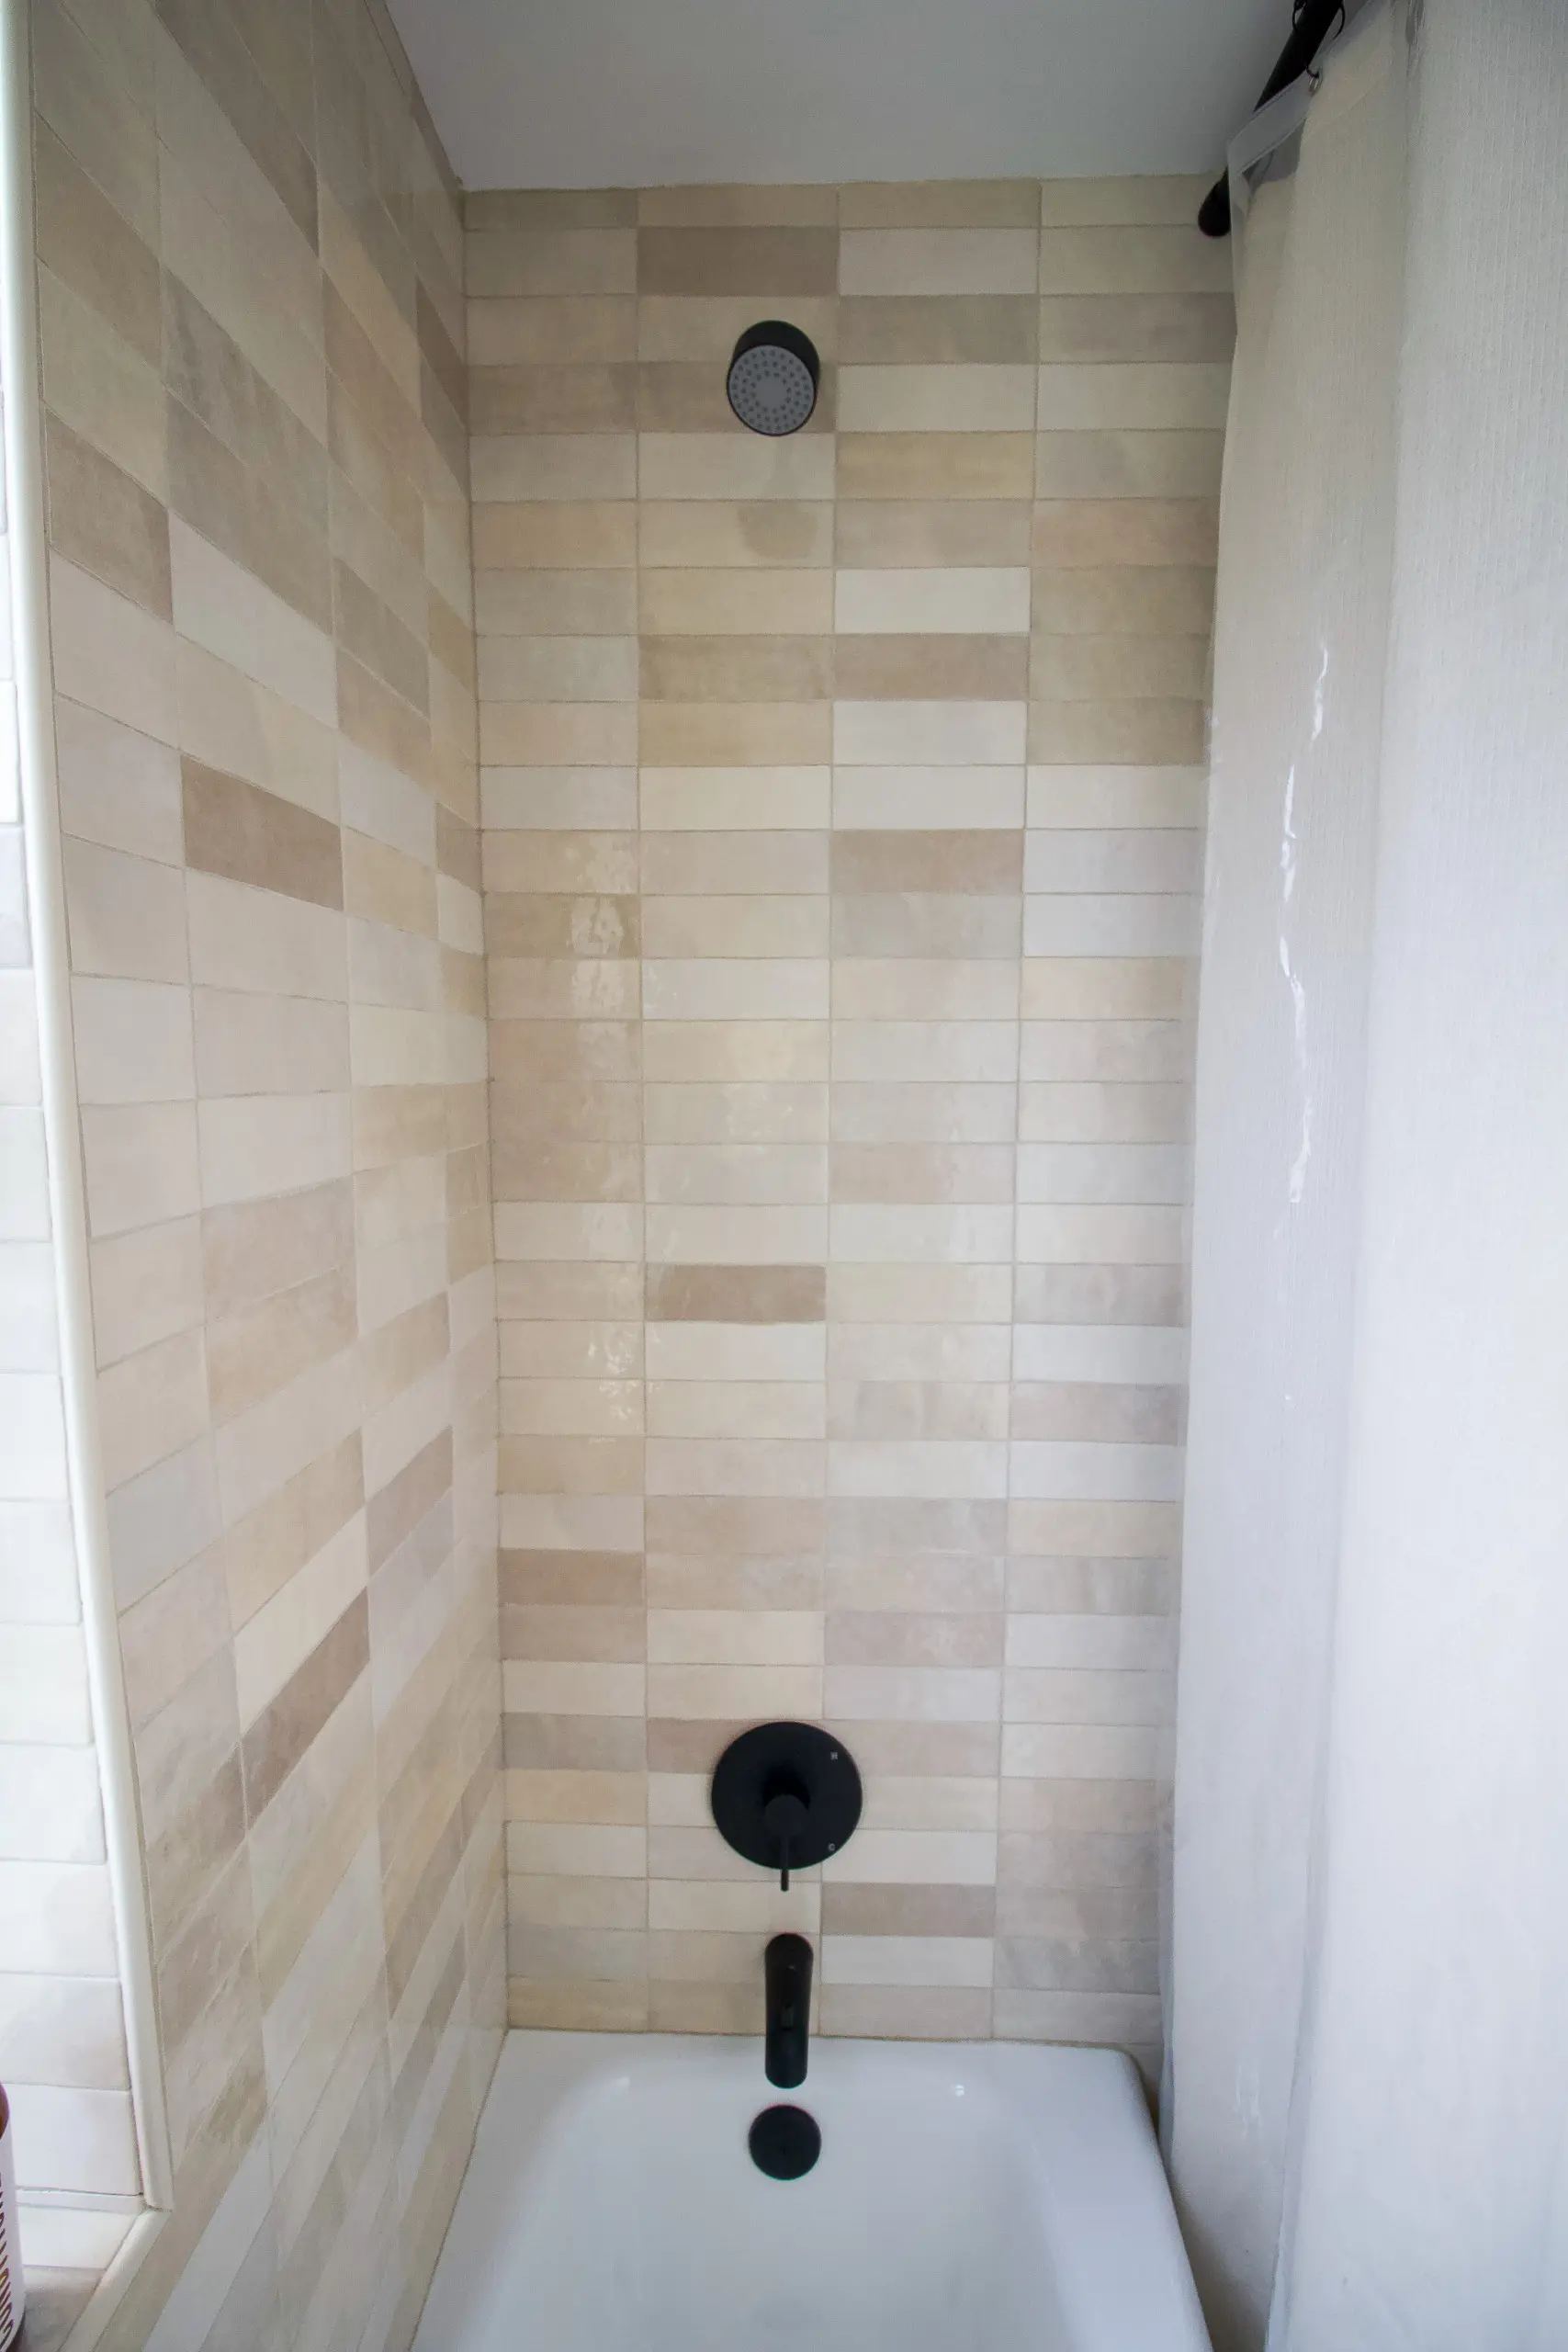
We also had them move the shower head up higher. We’re both tall people and we find that older homes have the shower heads incredibly low. If Finn ever showers in here (he’s 6’2″) he will be a happy guy with the shower head height!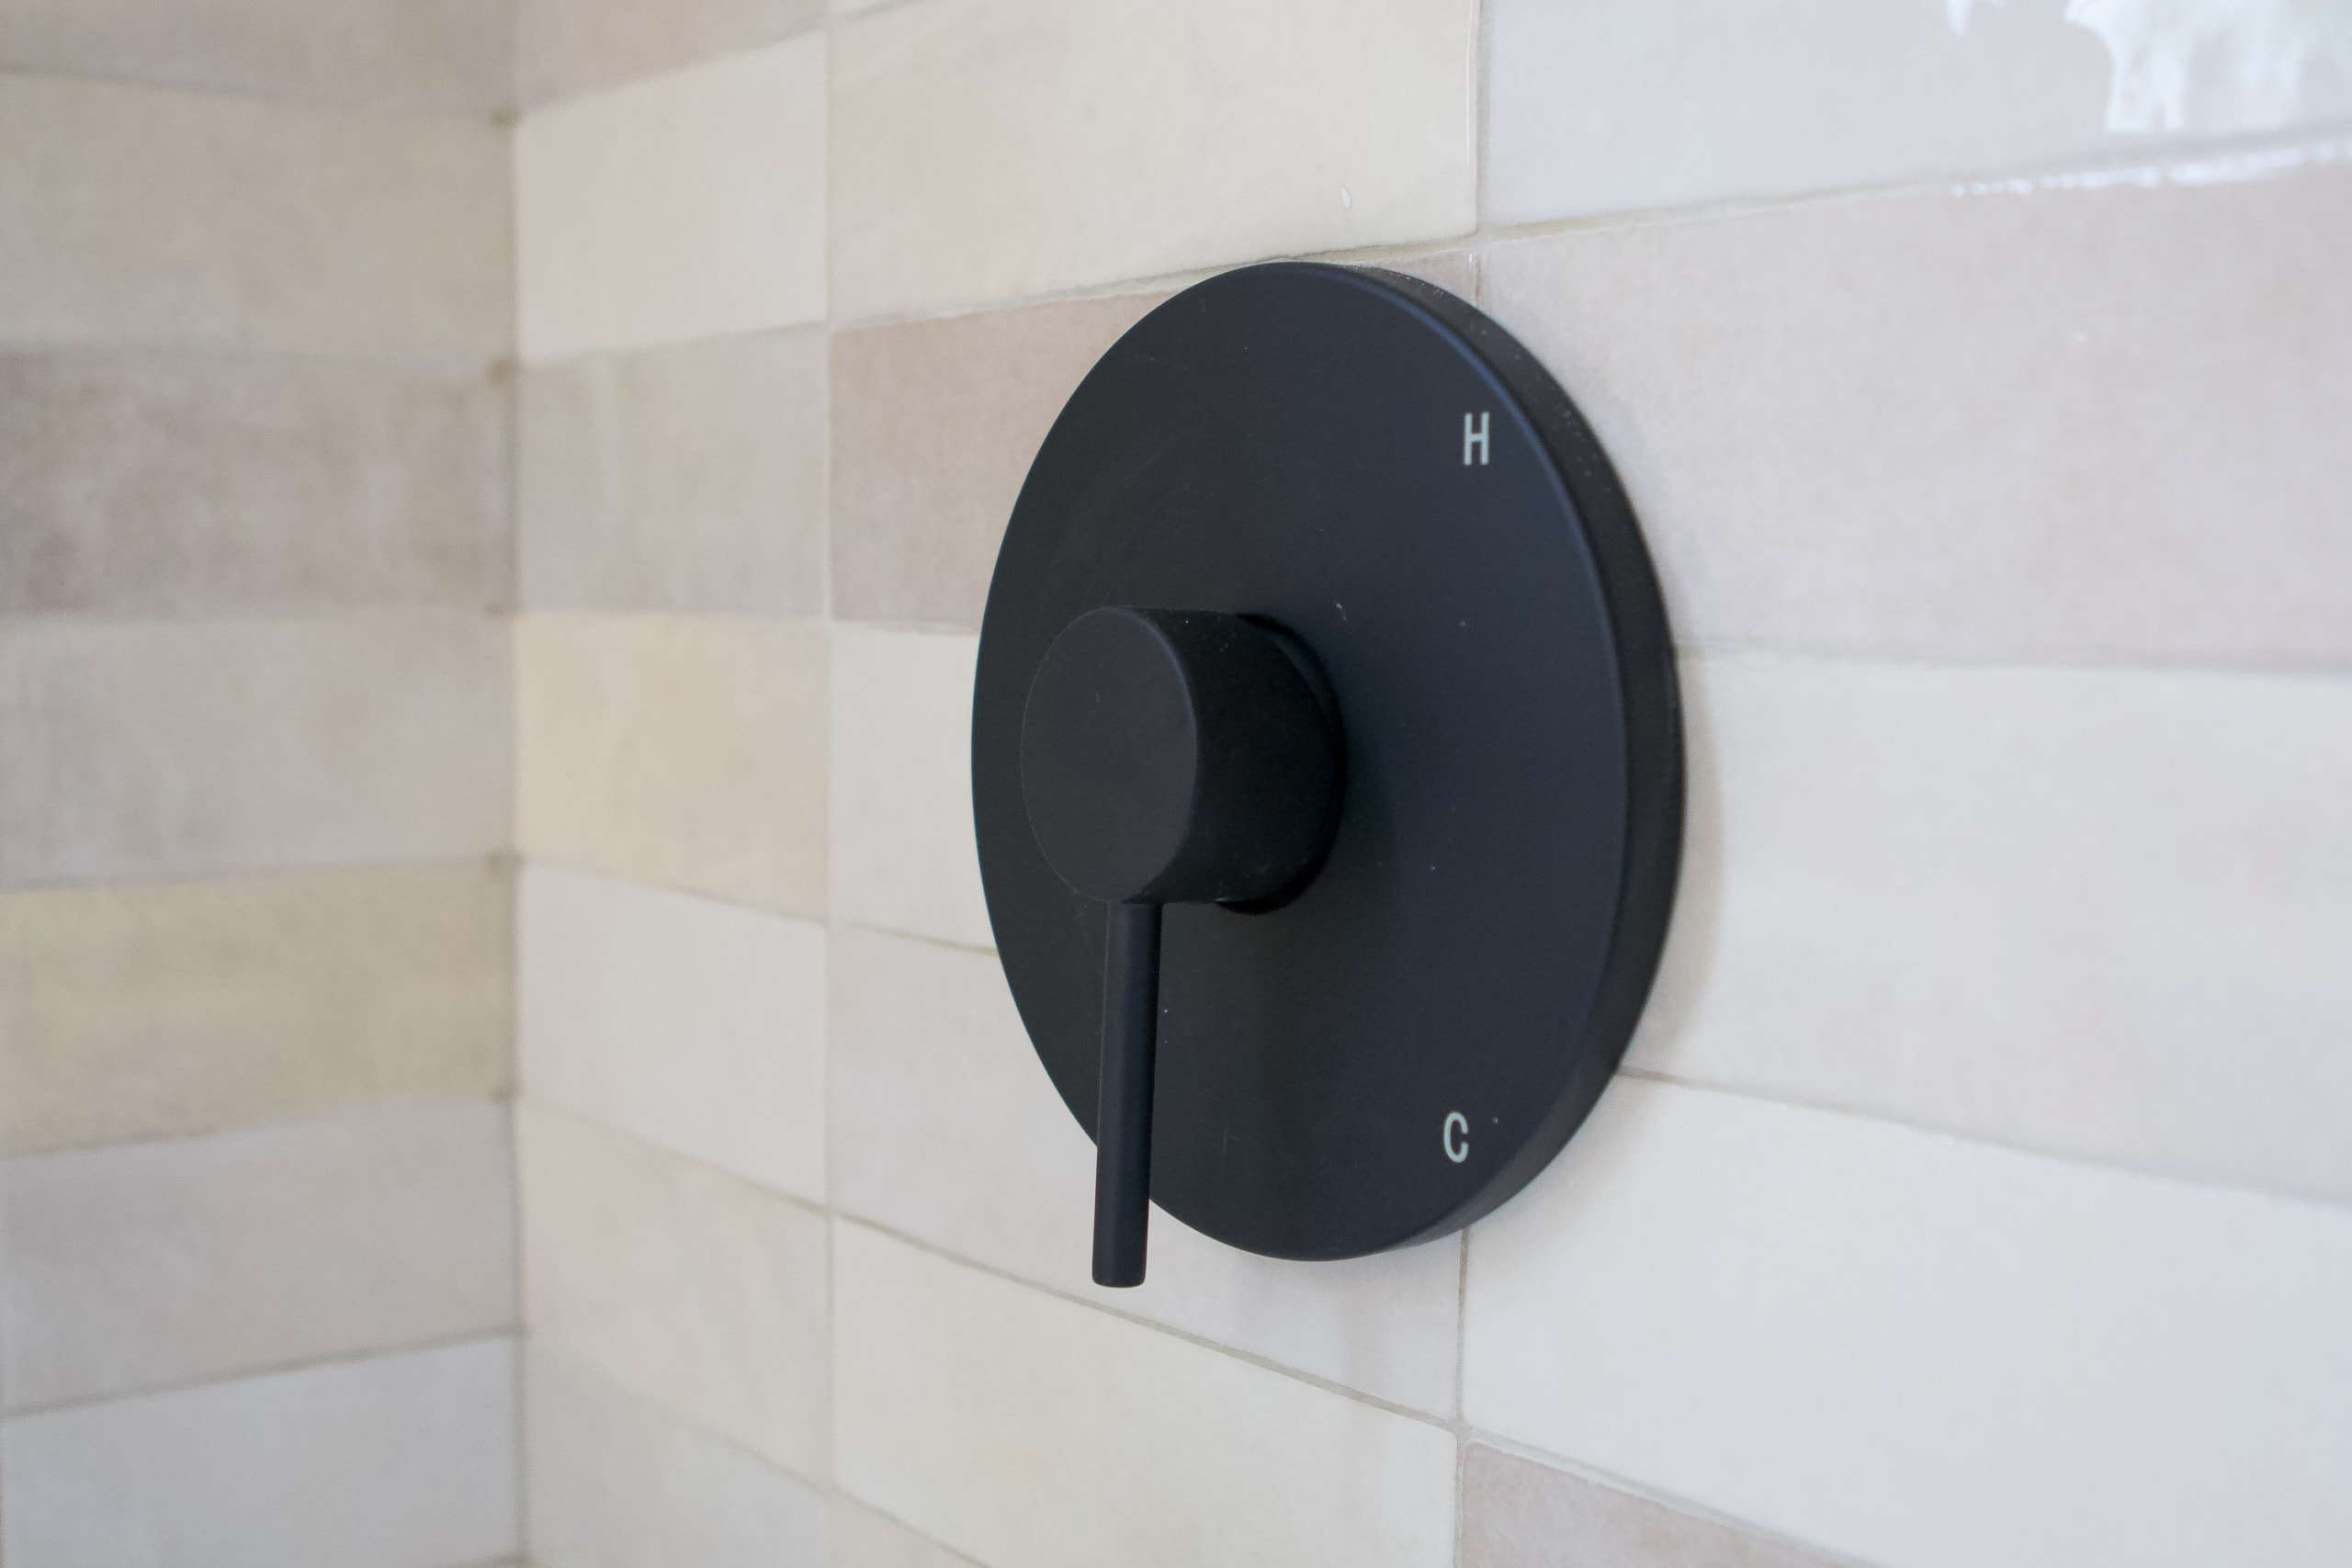
The matte black next to the cream really looks striking.
Bathroom Shower – Before & After
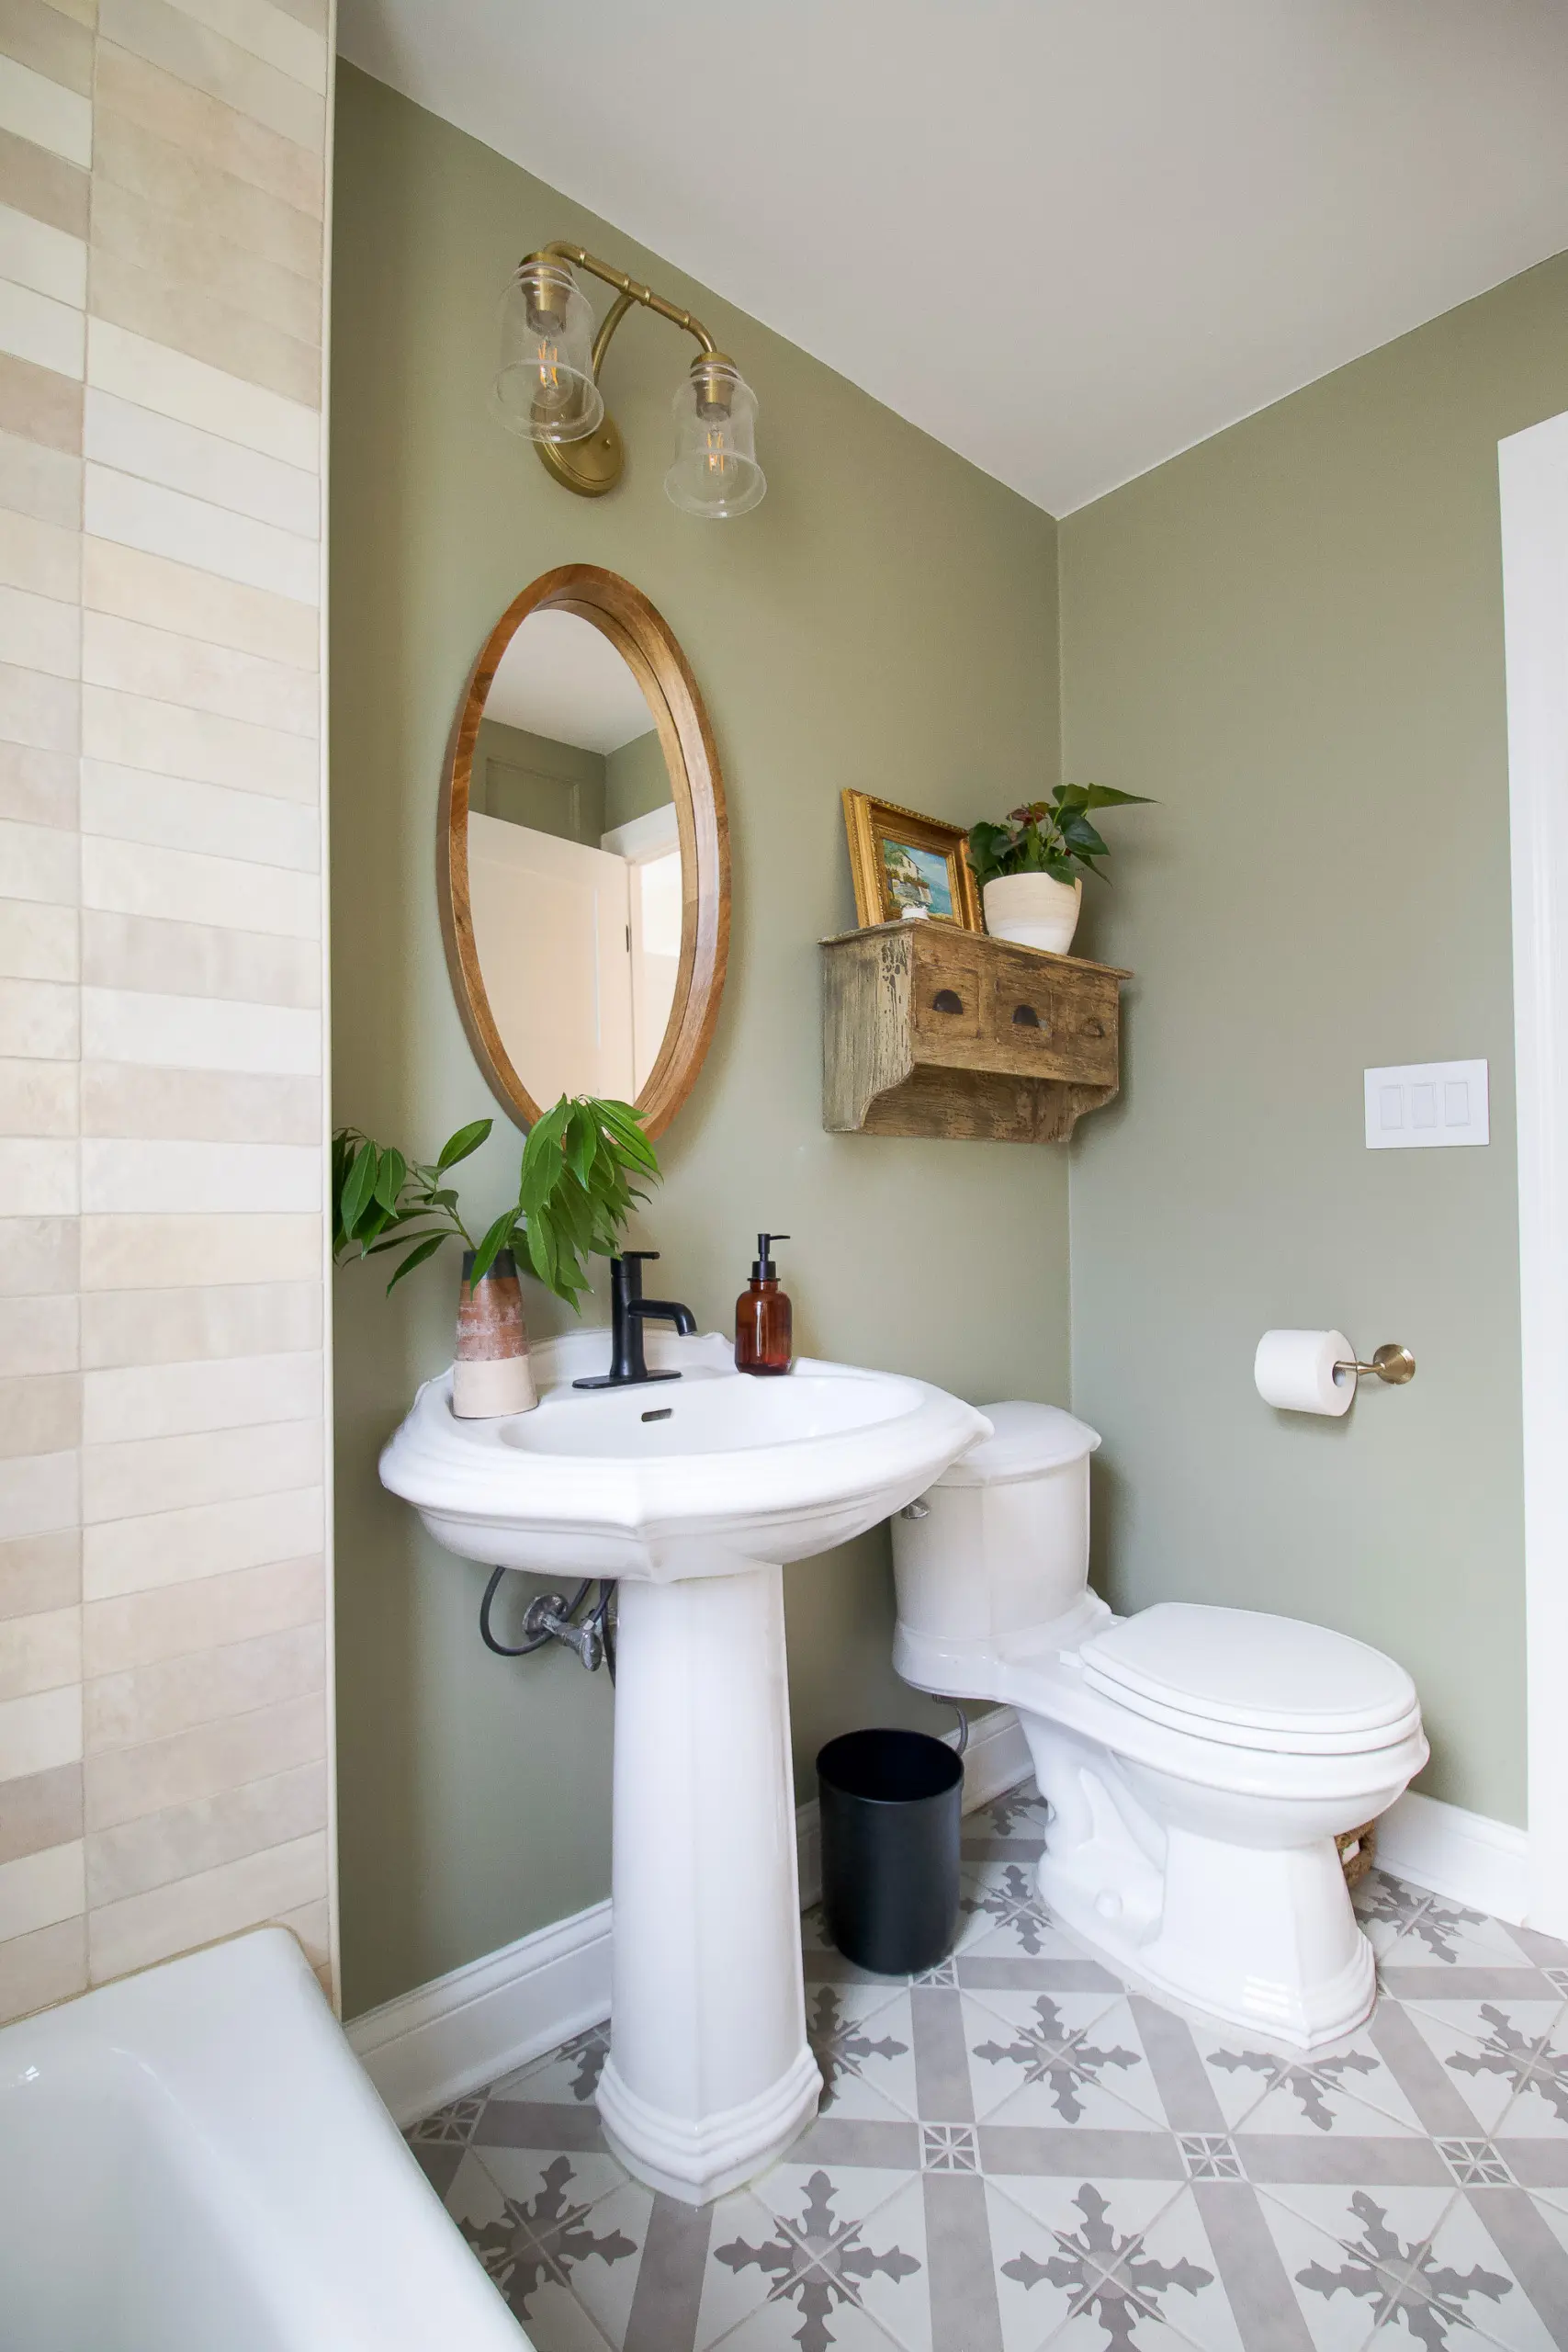
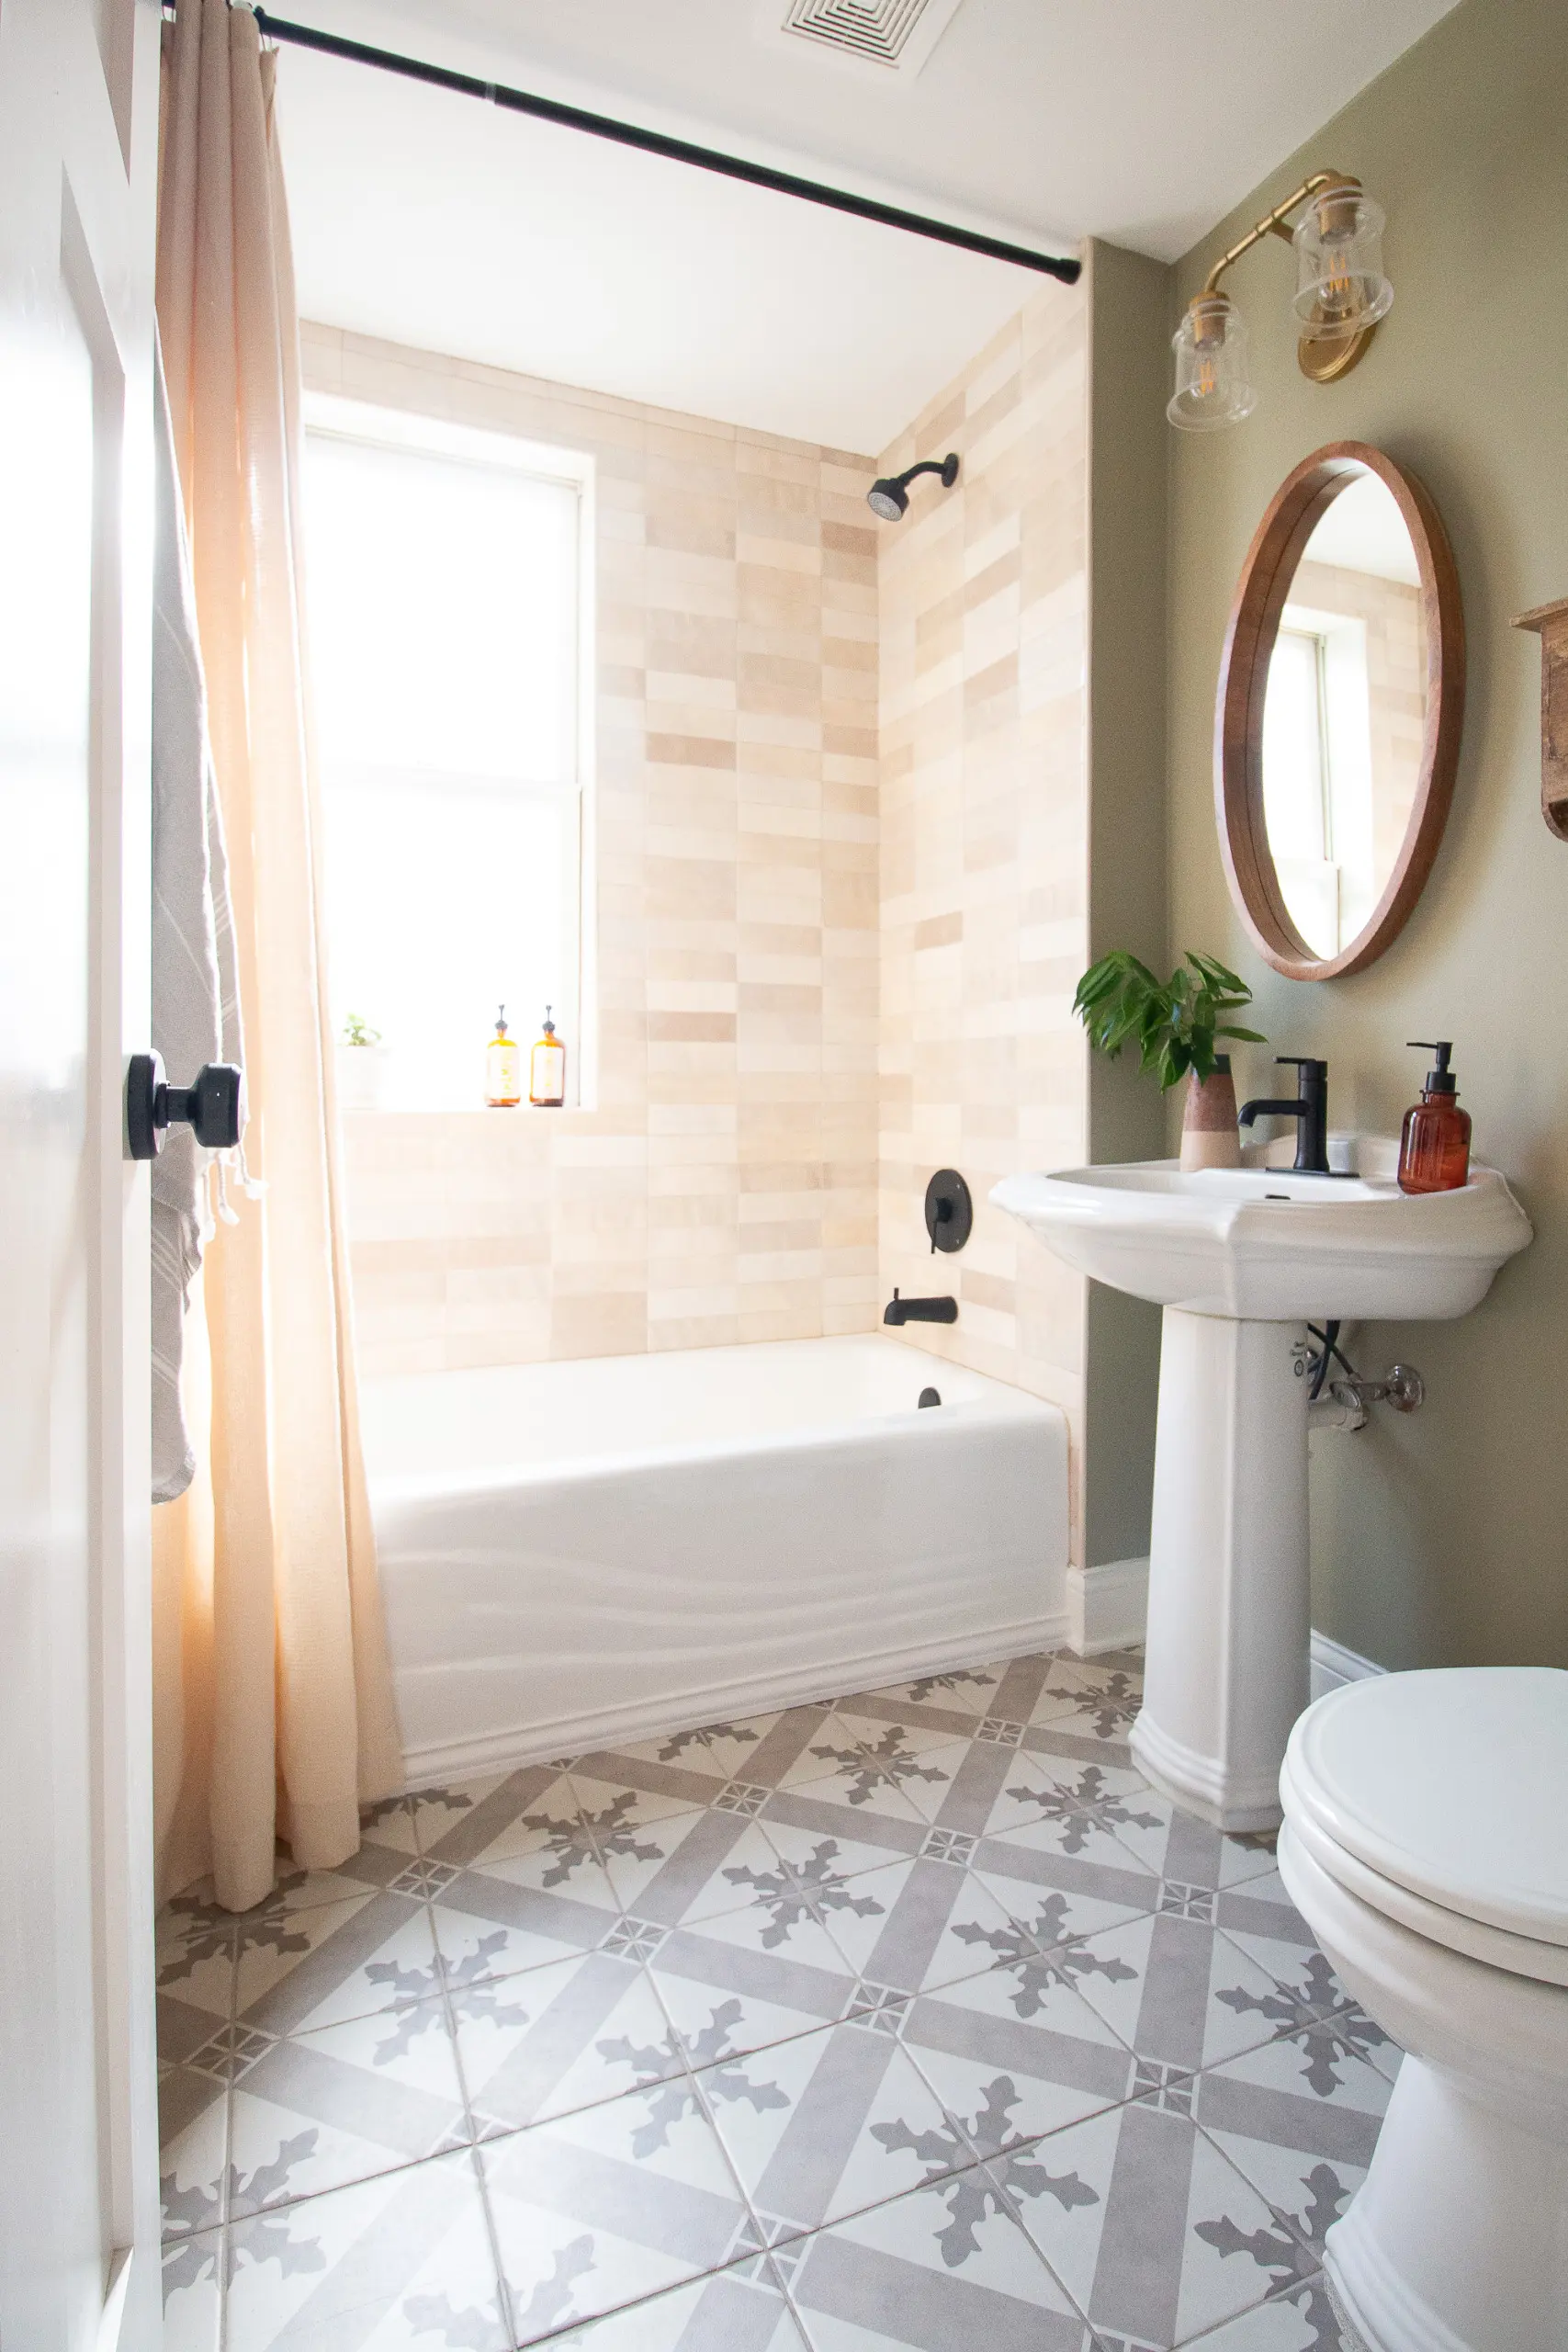
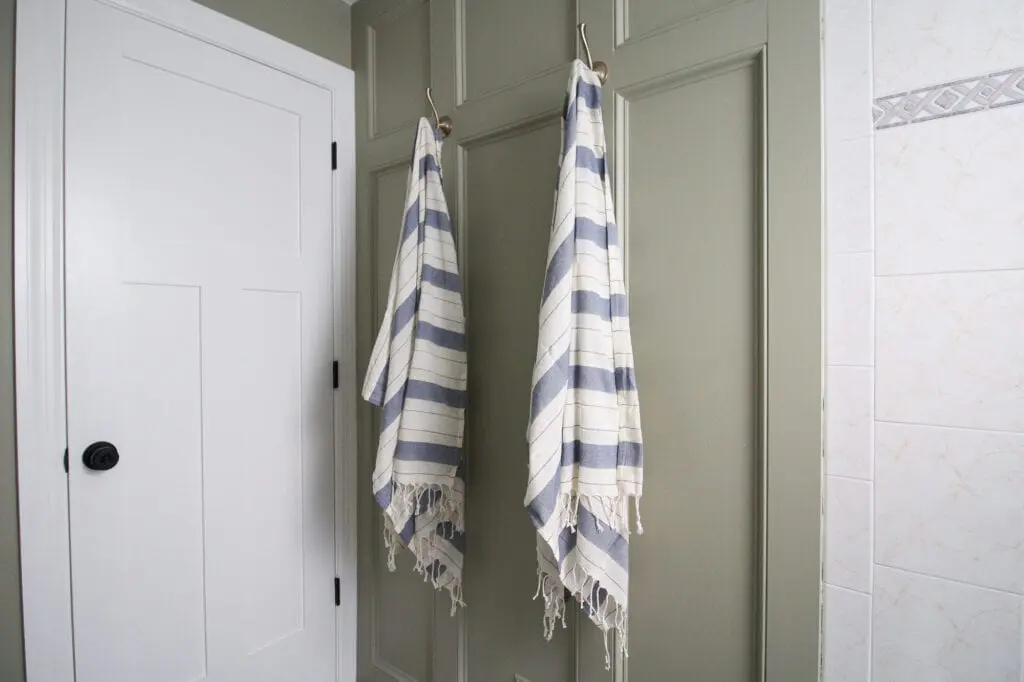
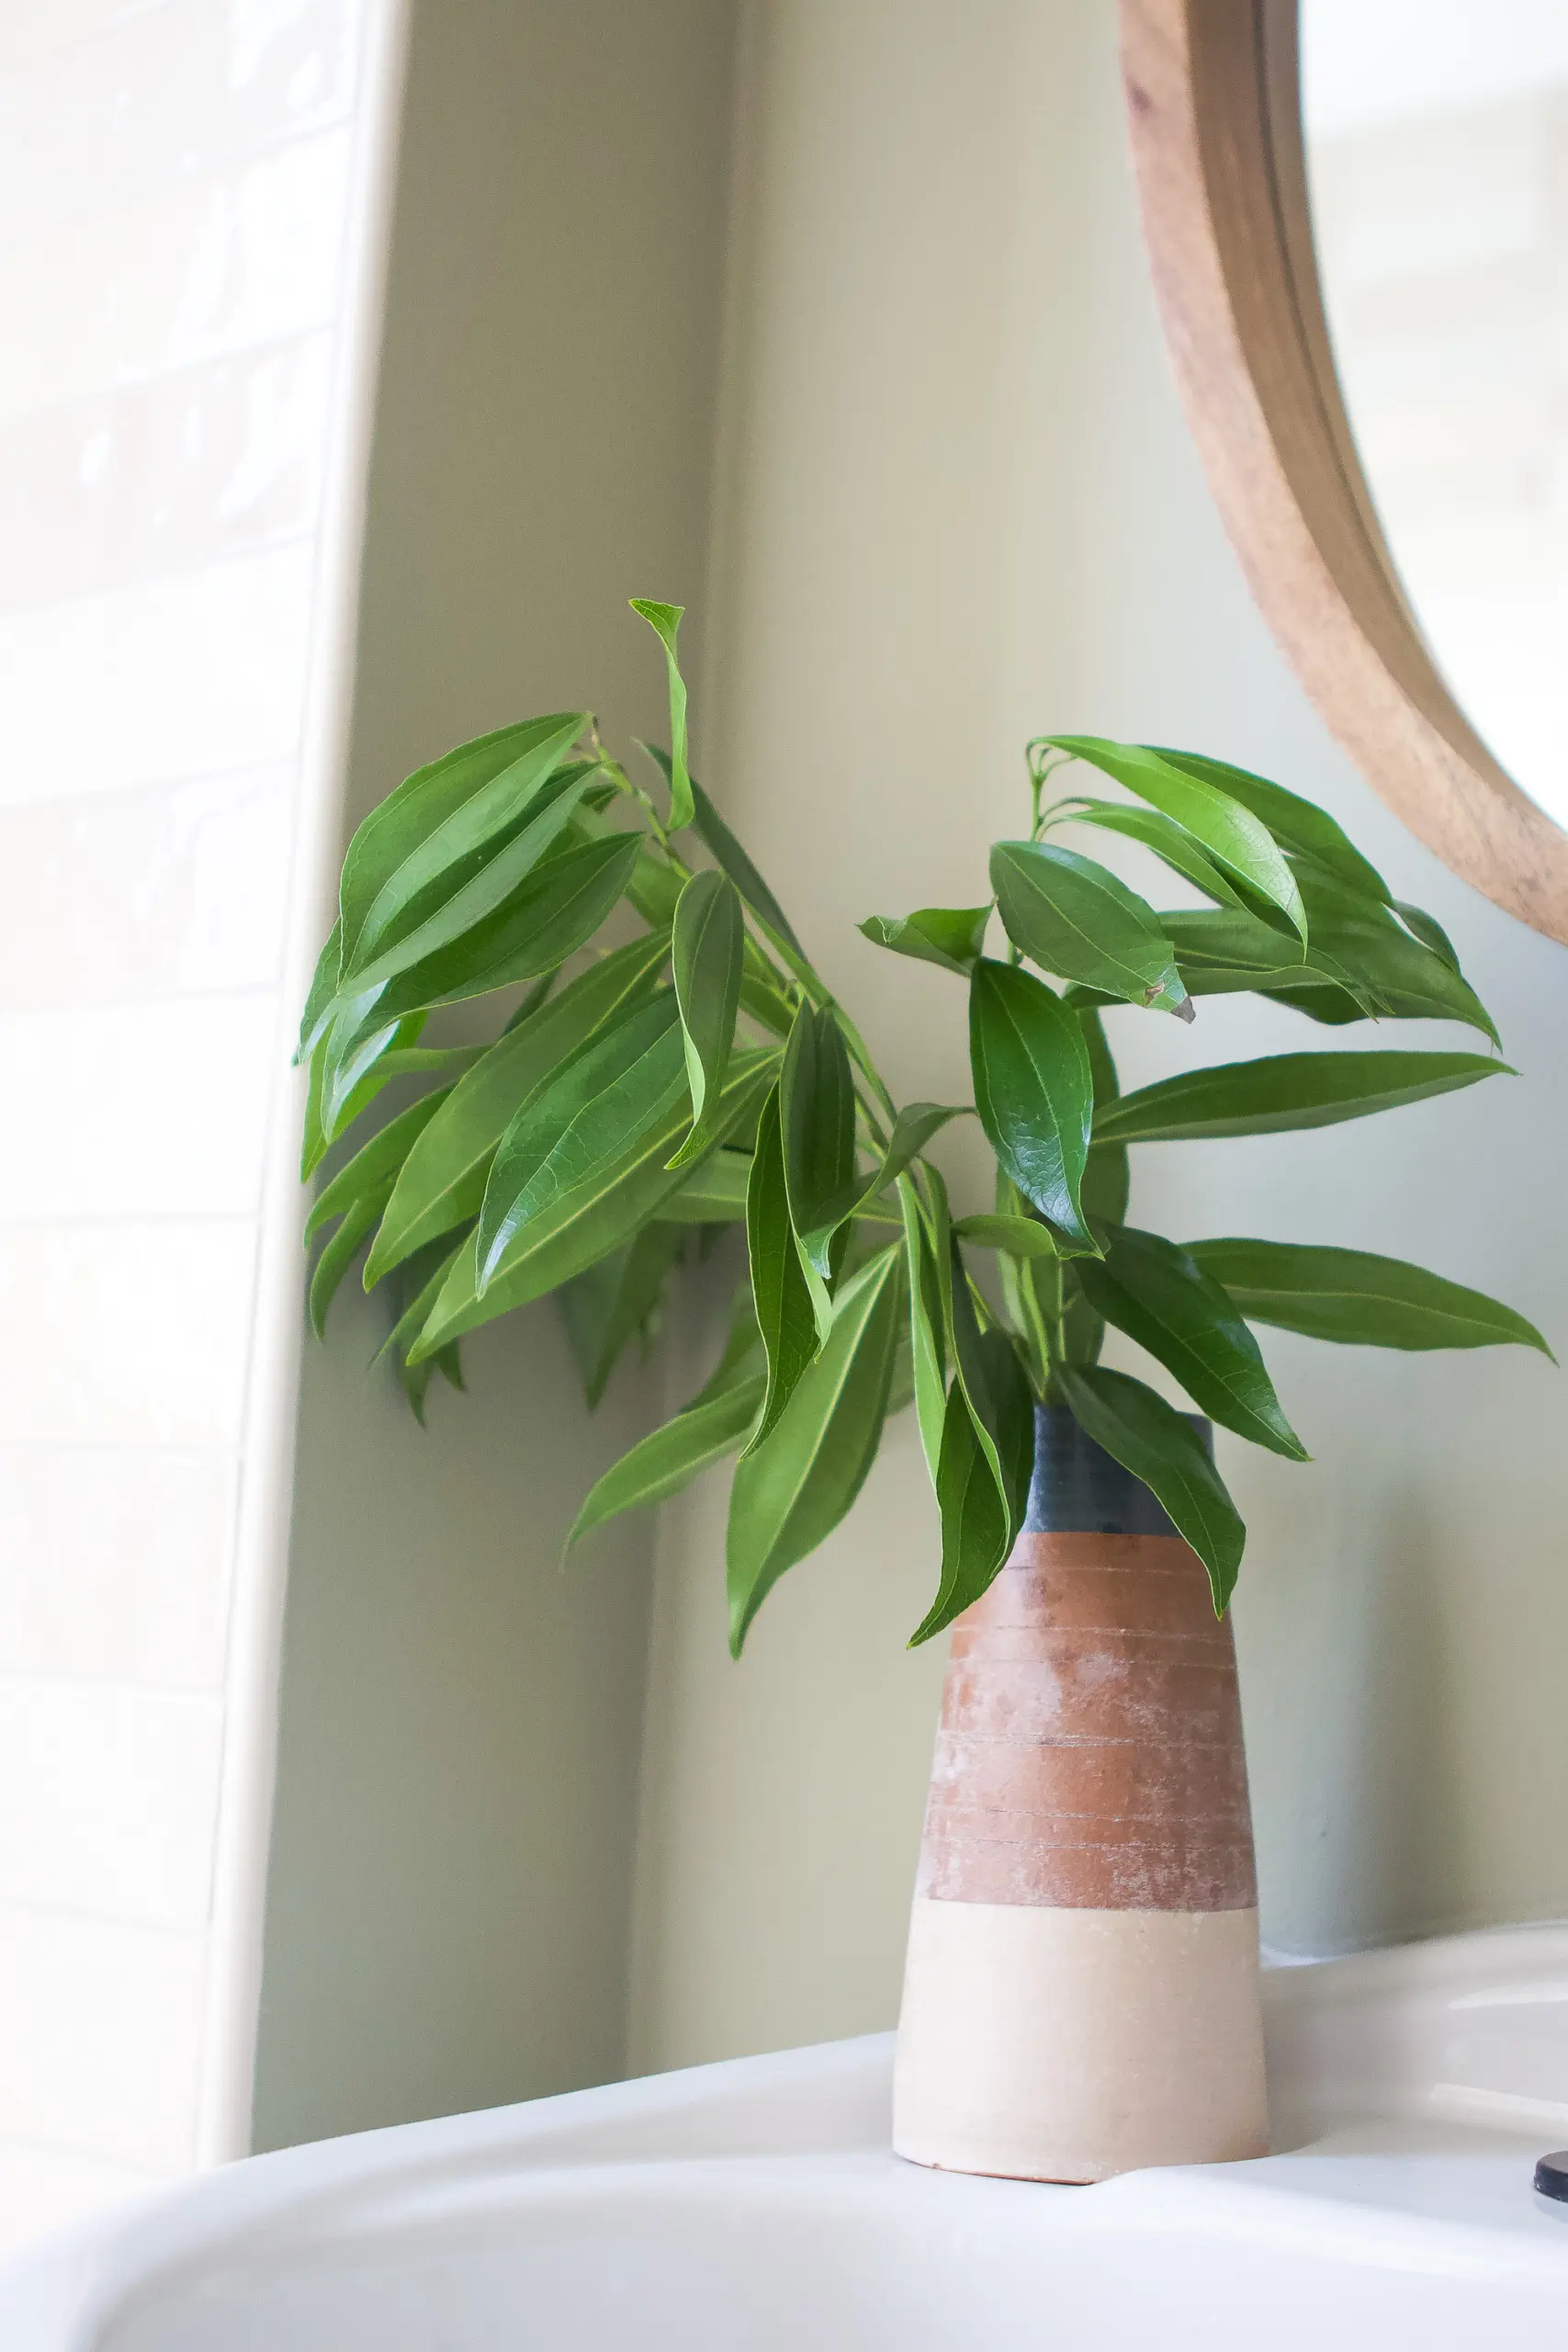
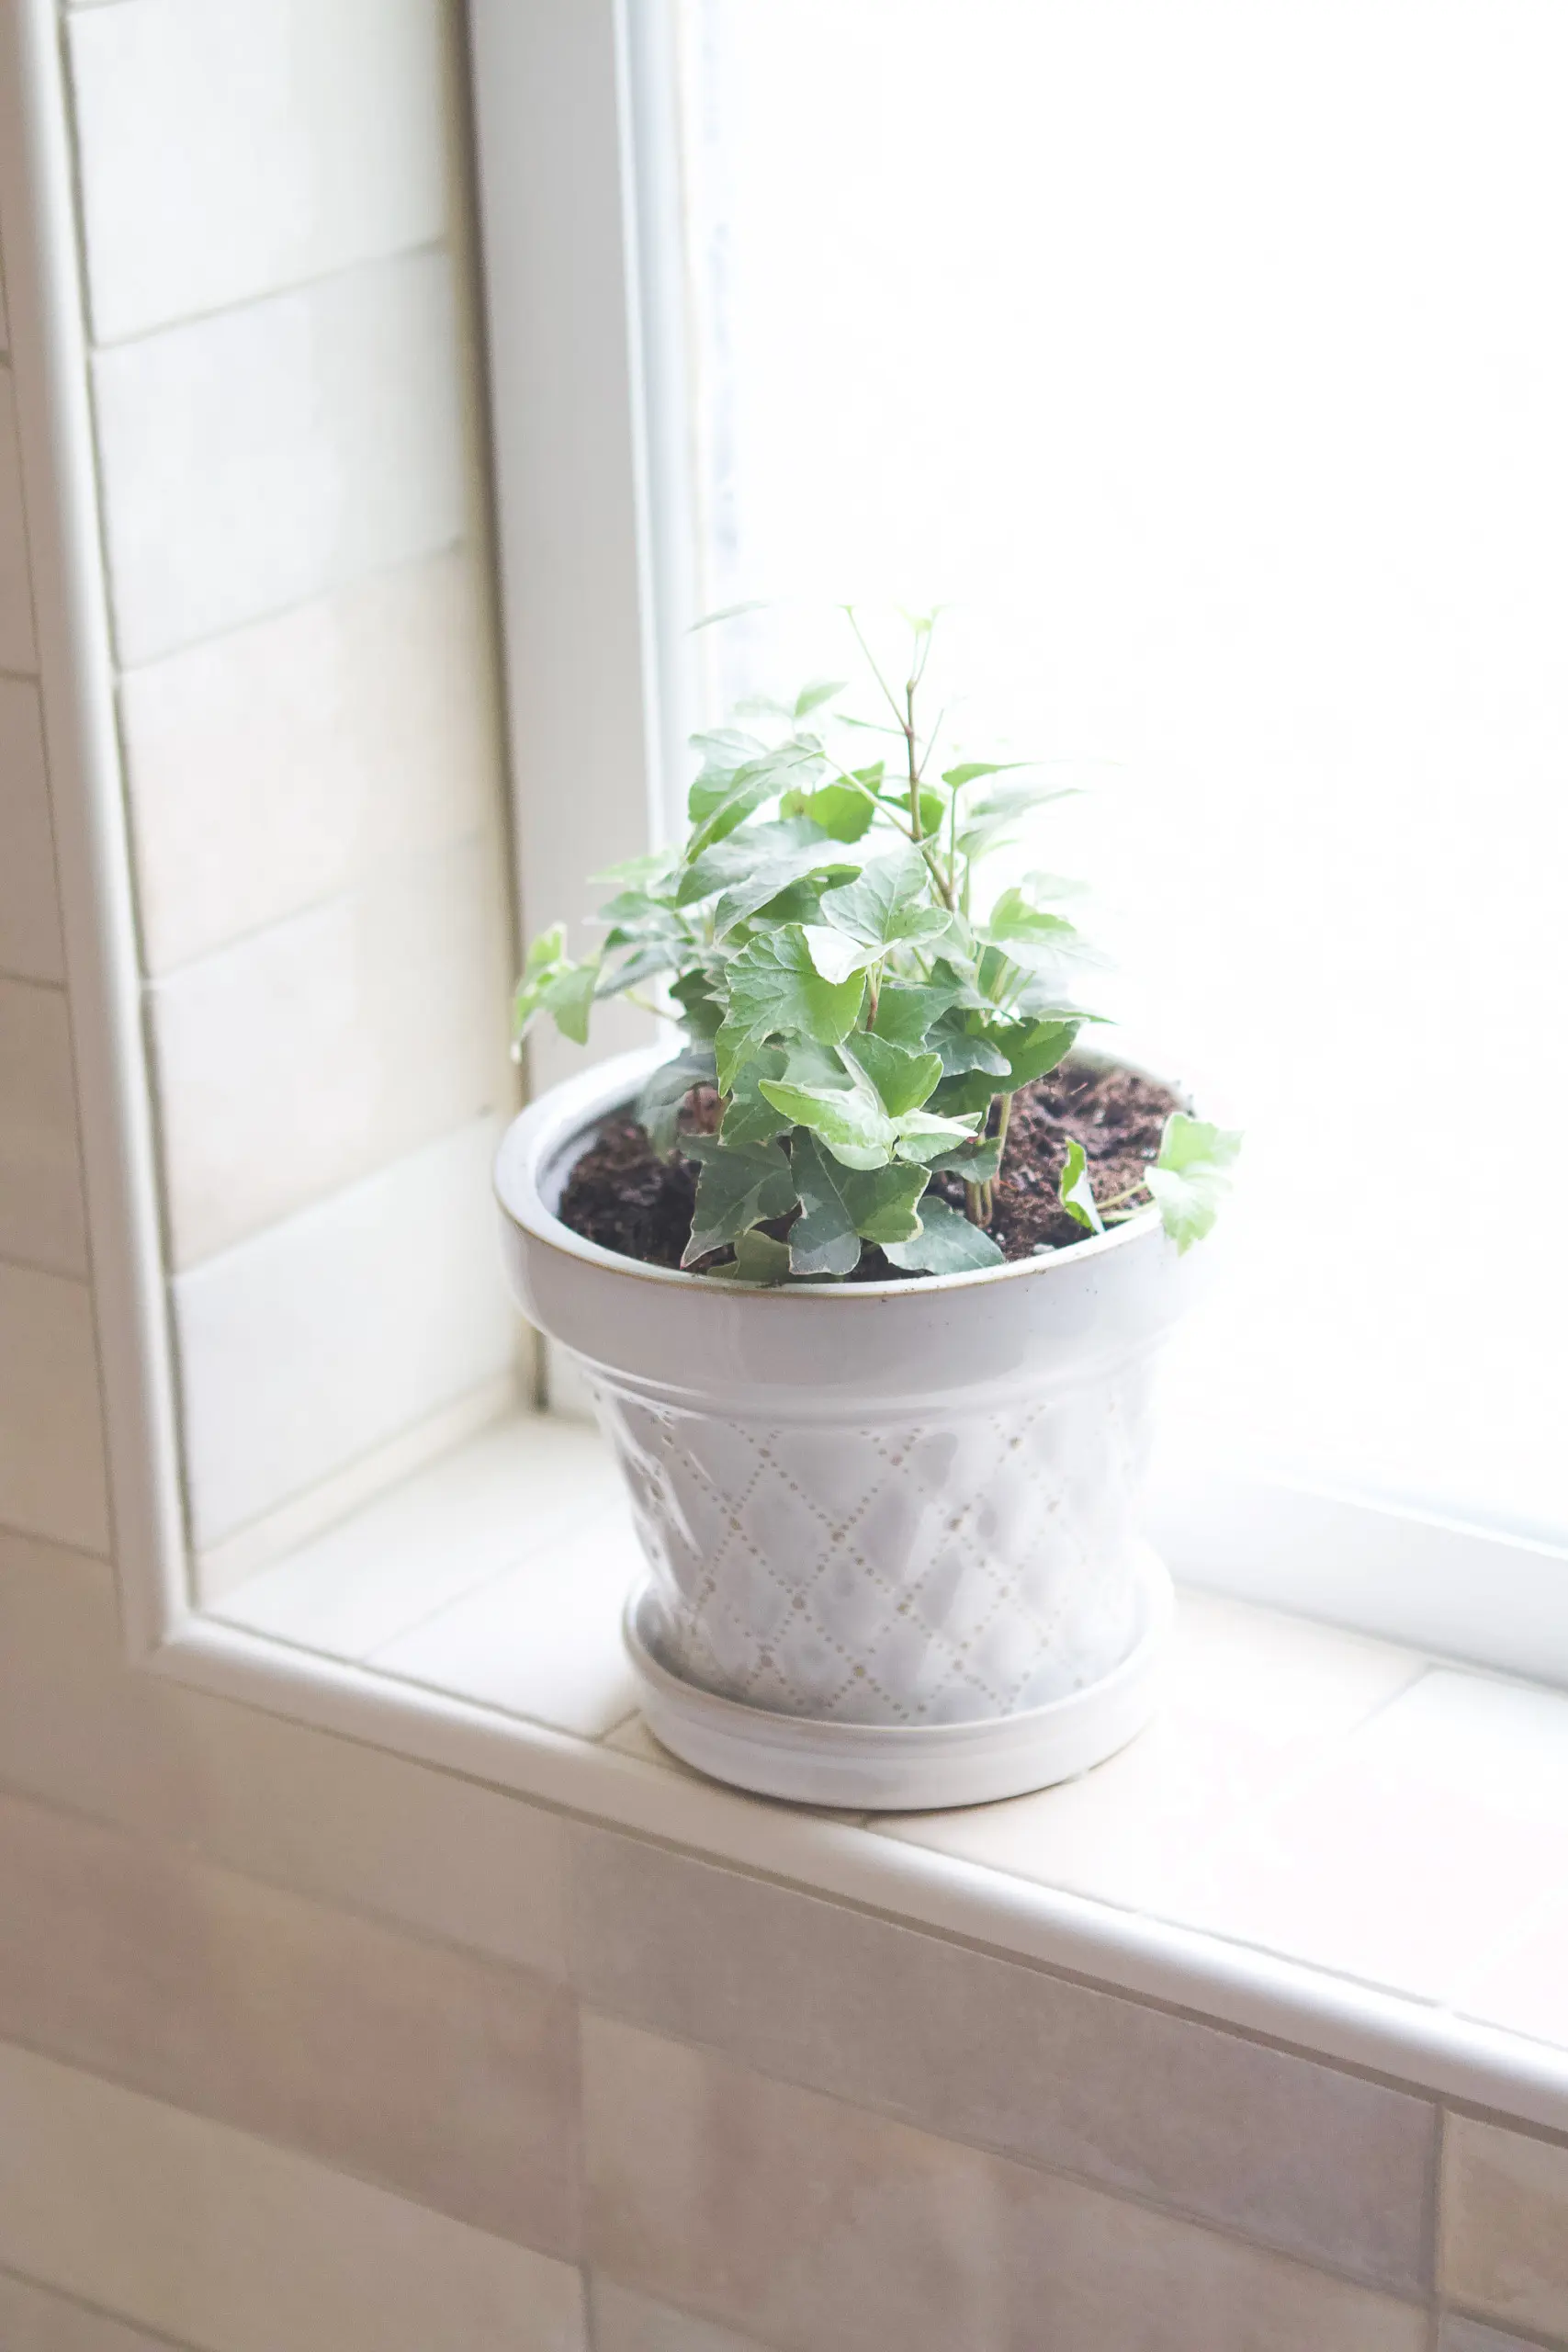
And here are a few more photos of the rest of this space…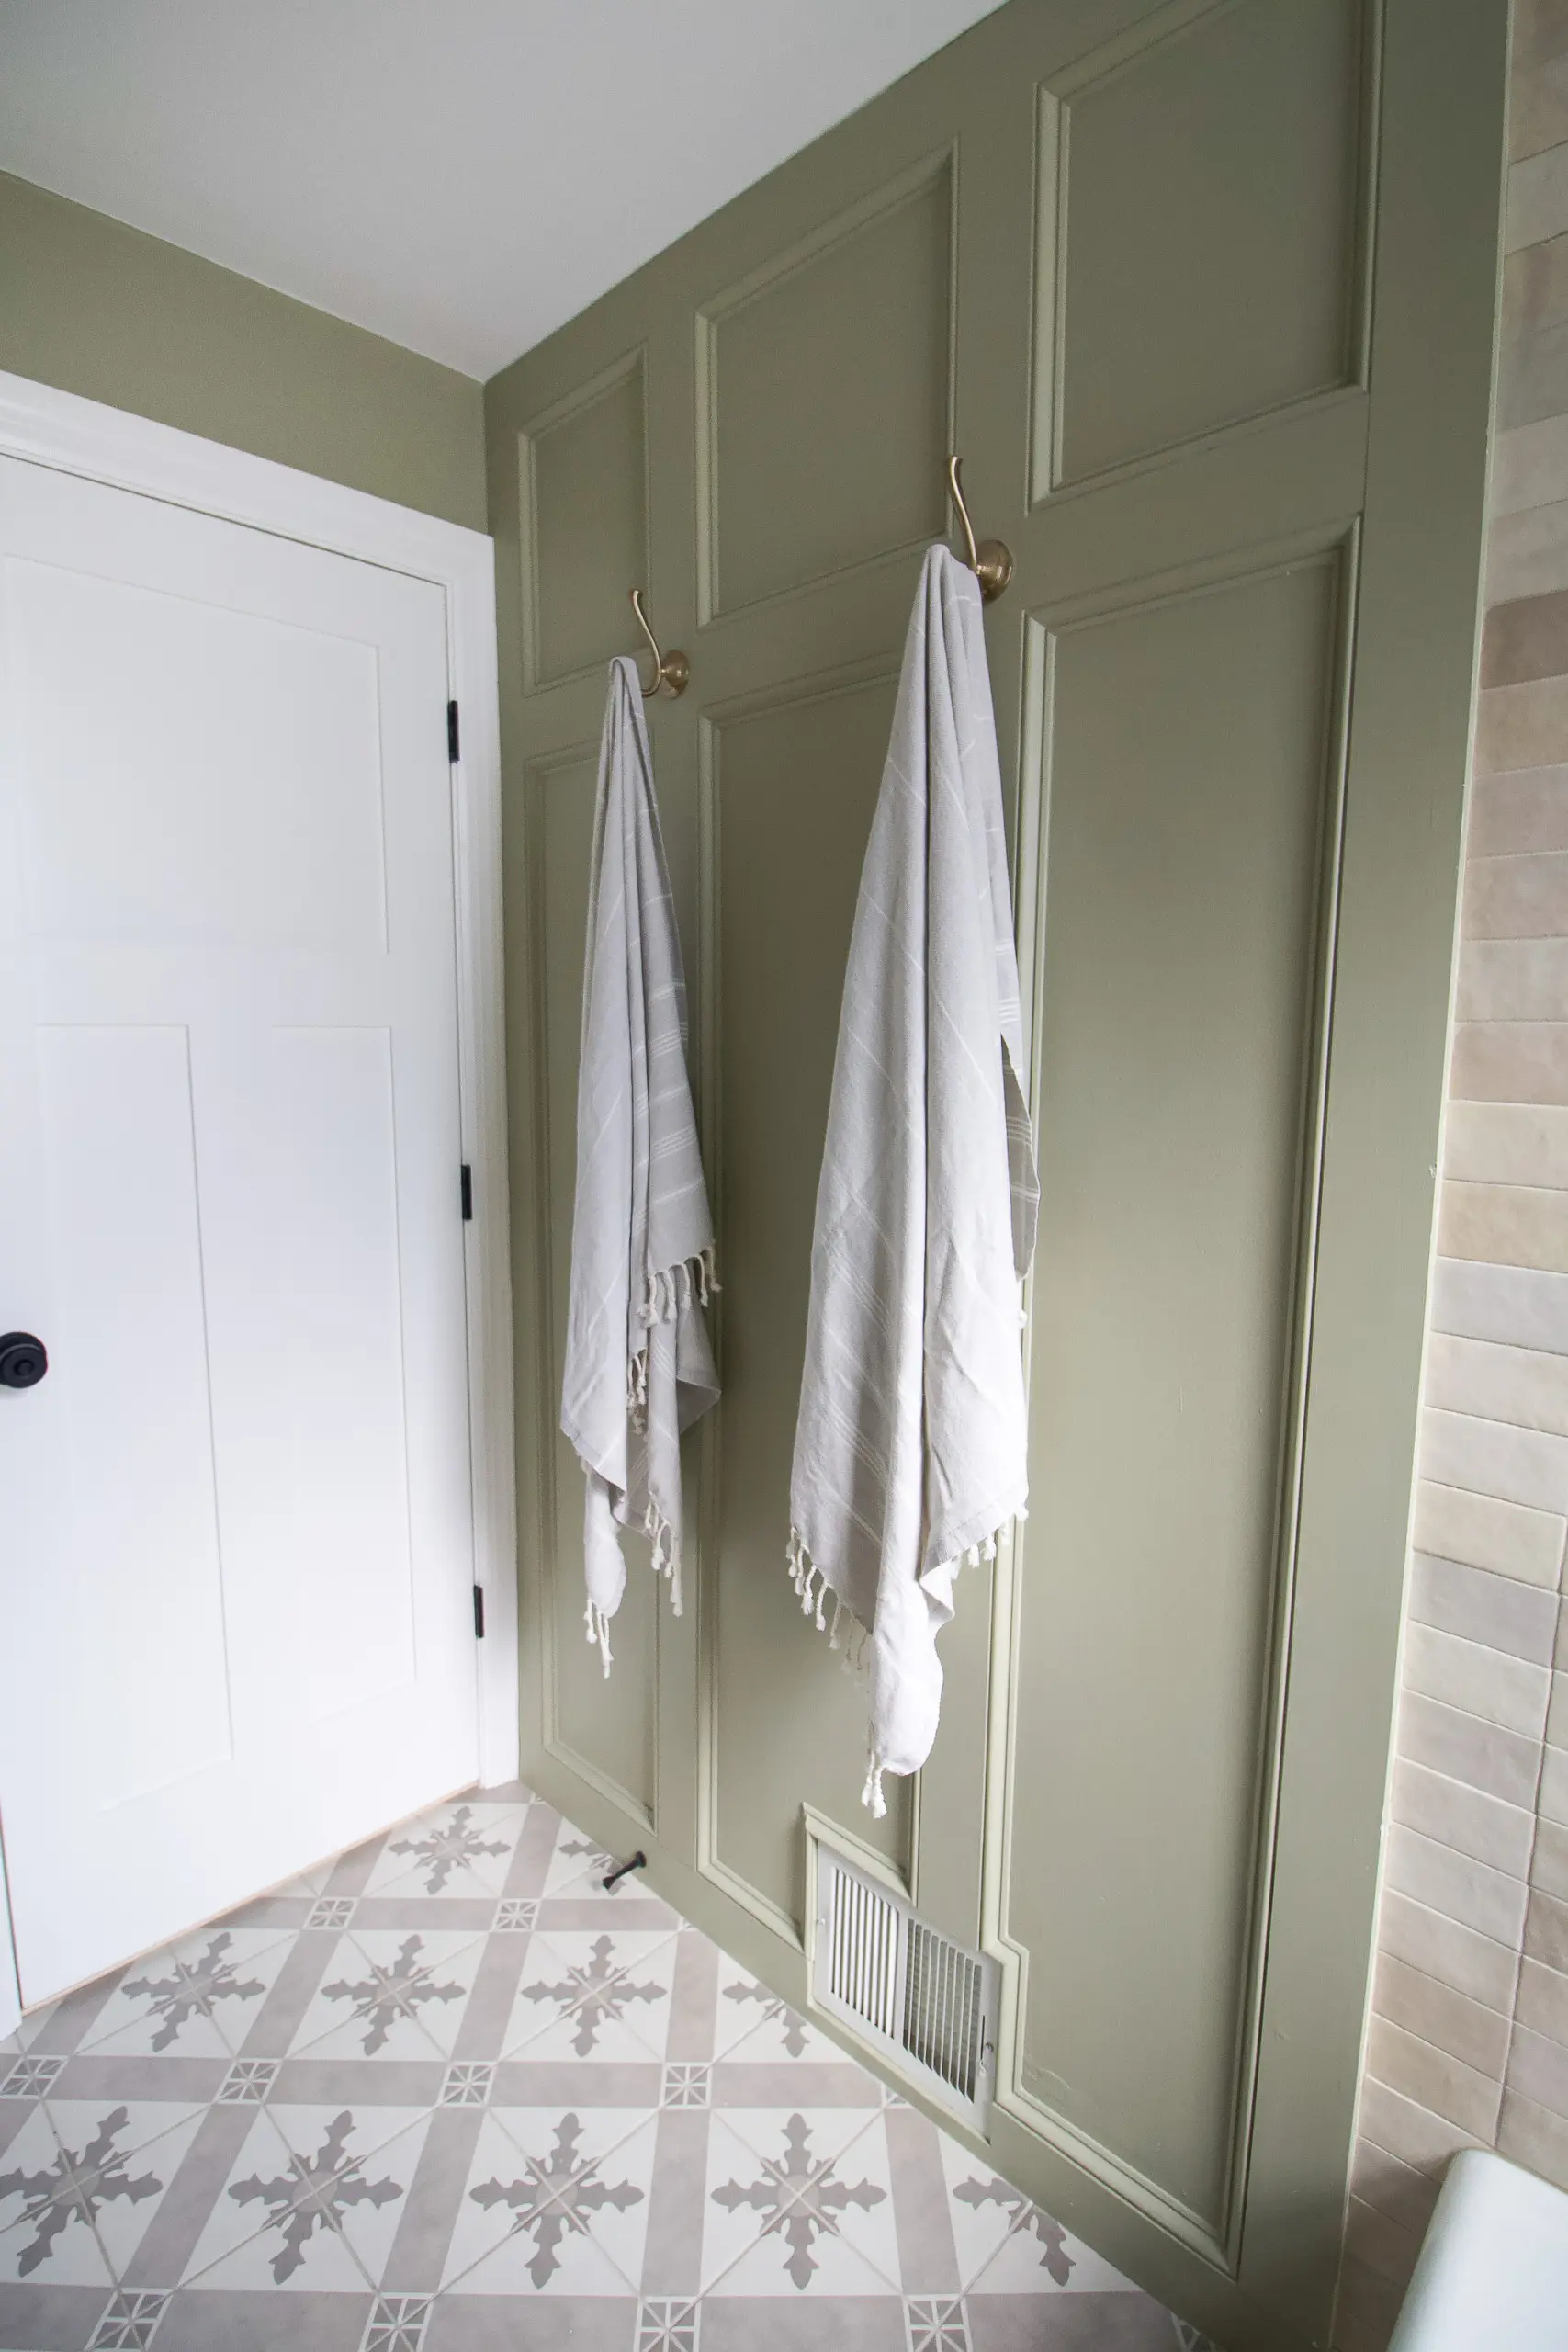


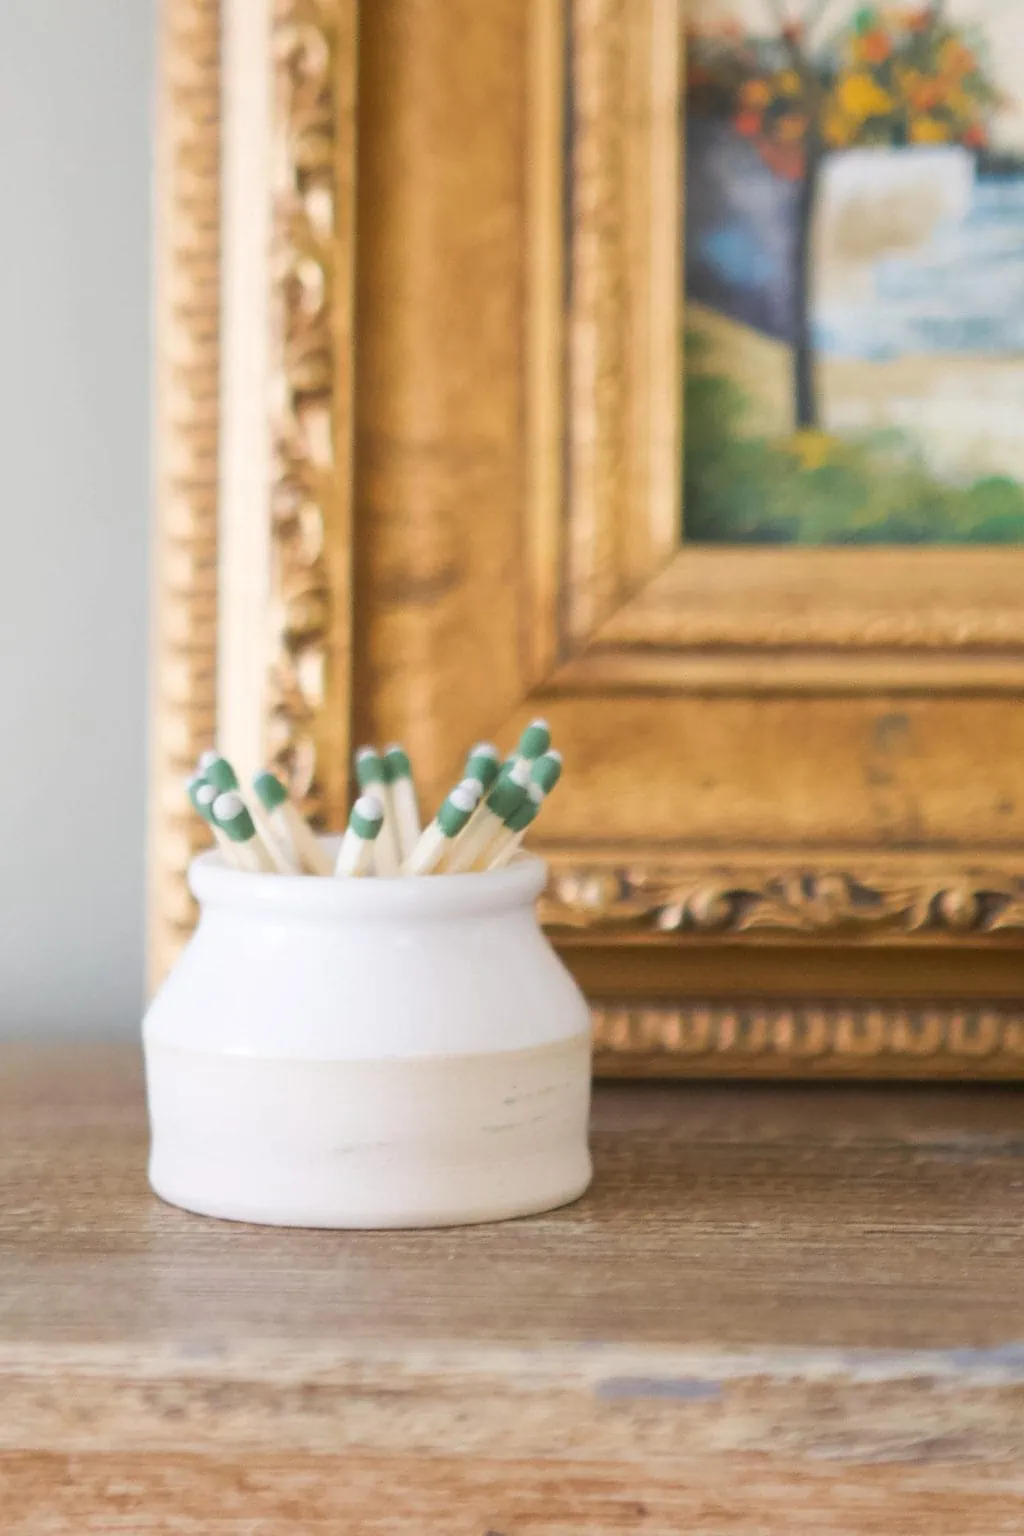
Bathroom Sources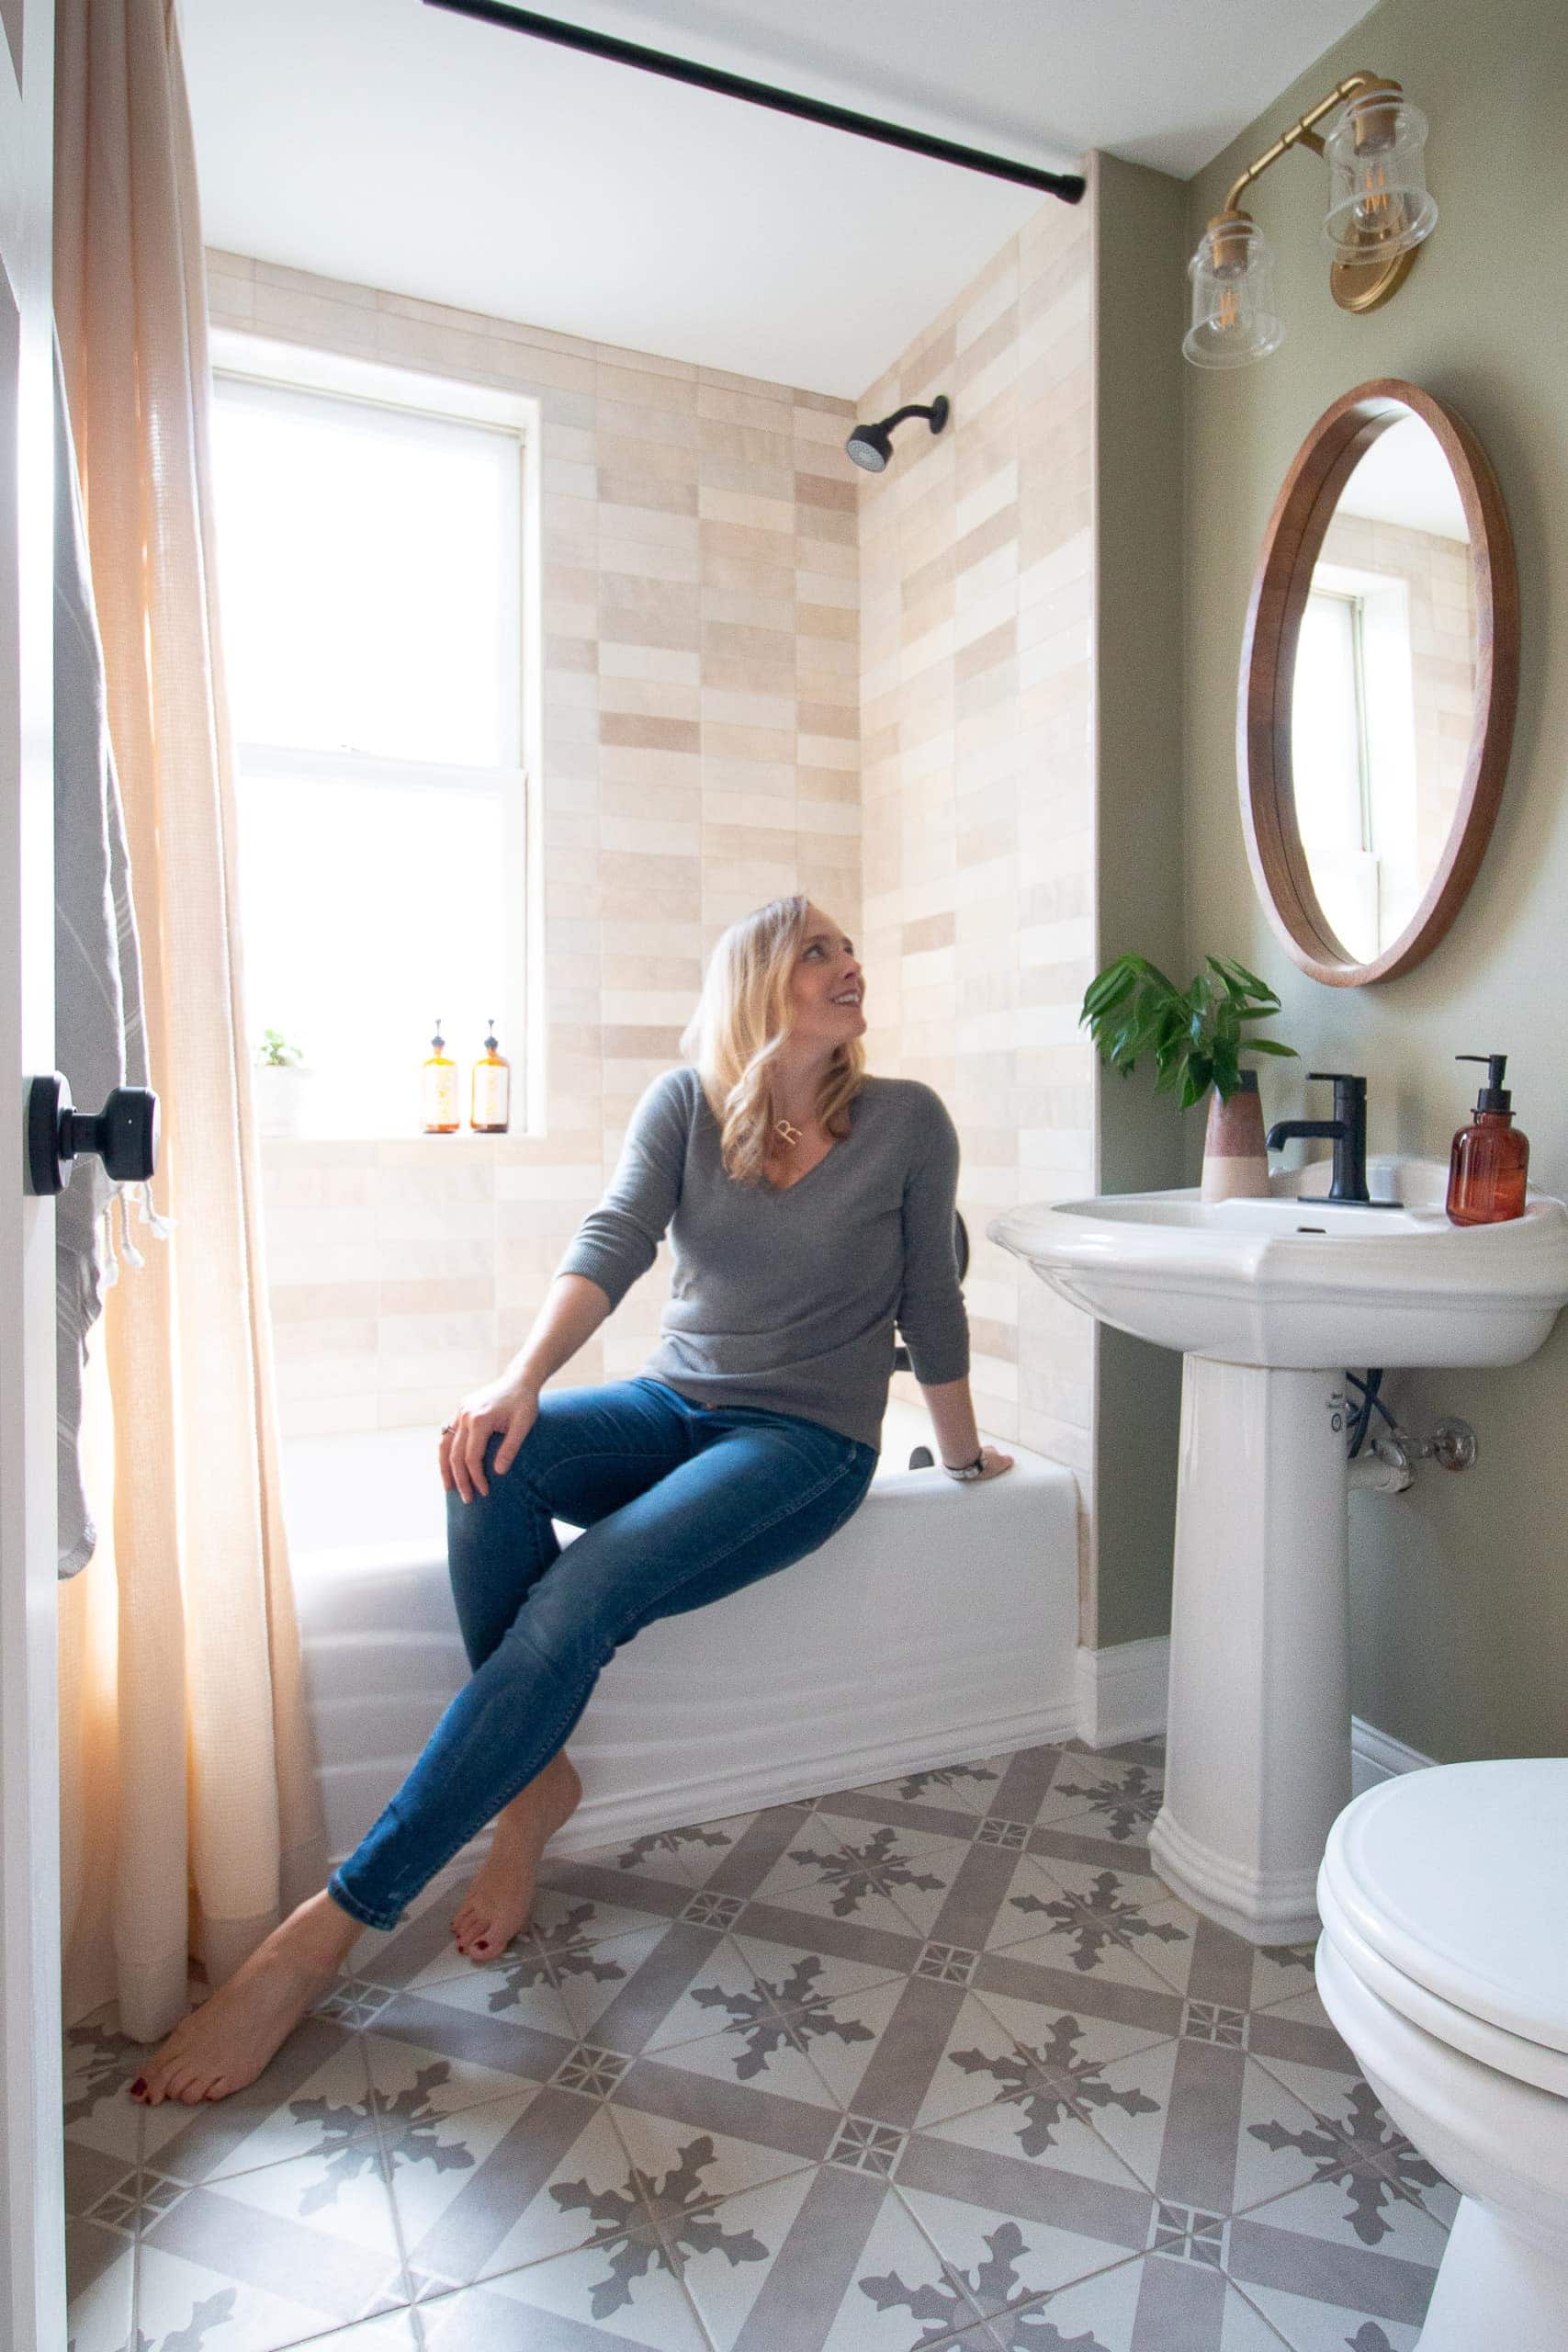
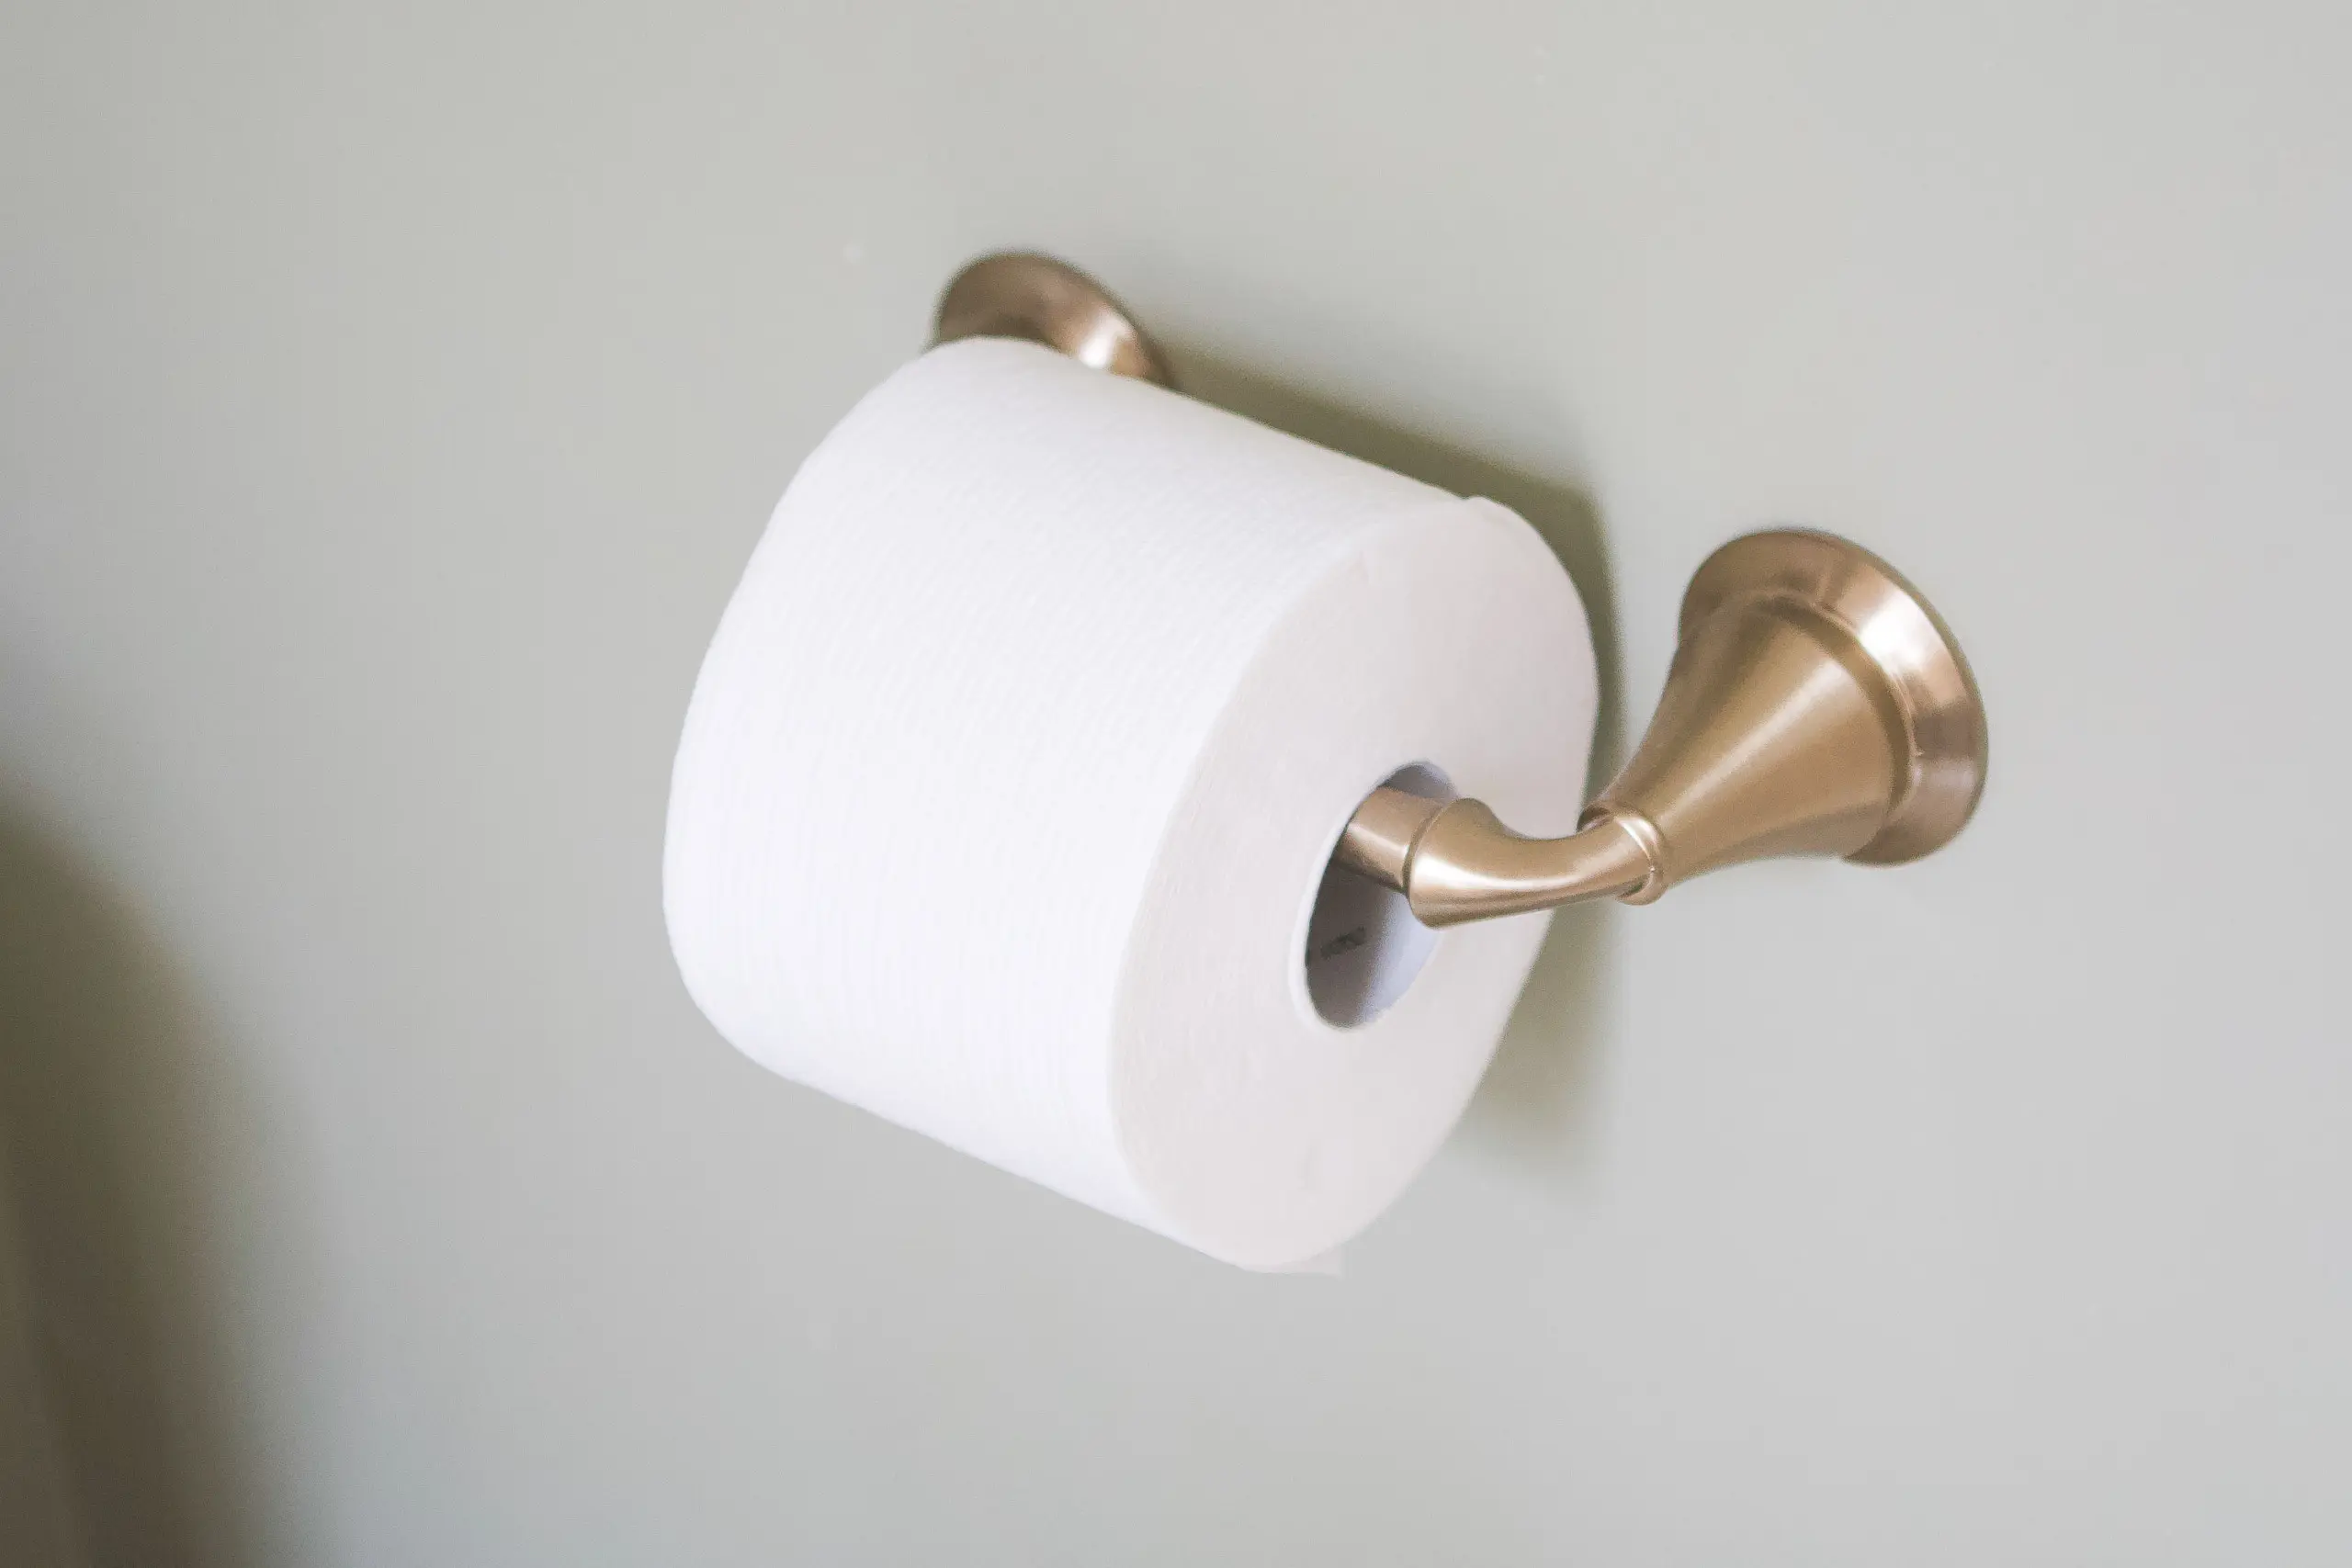
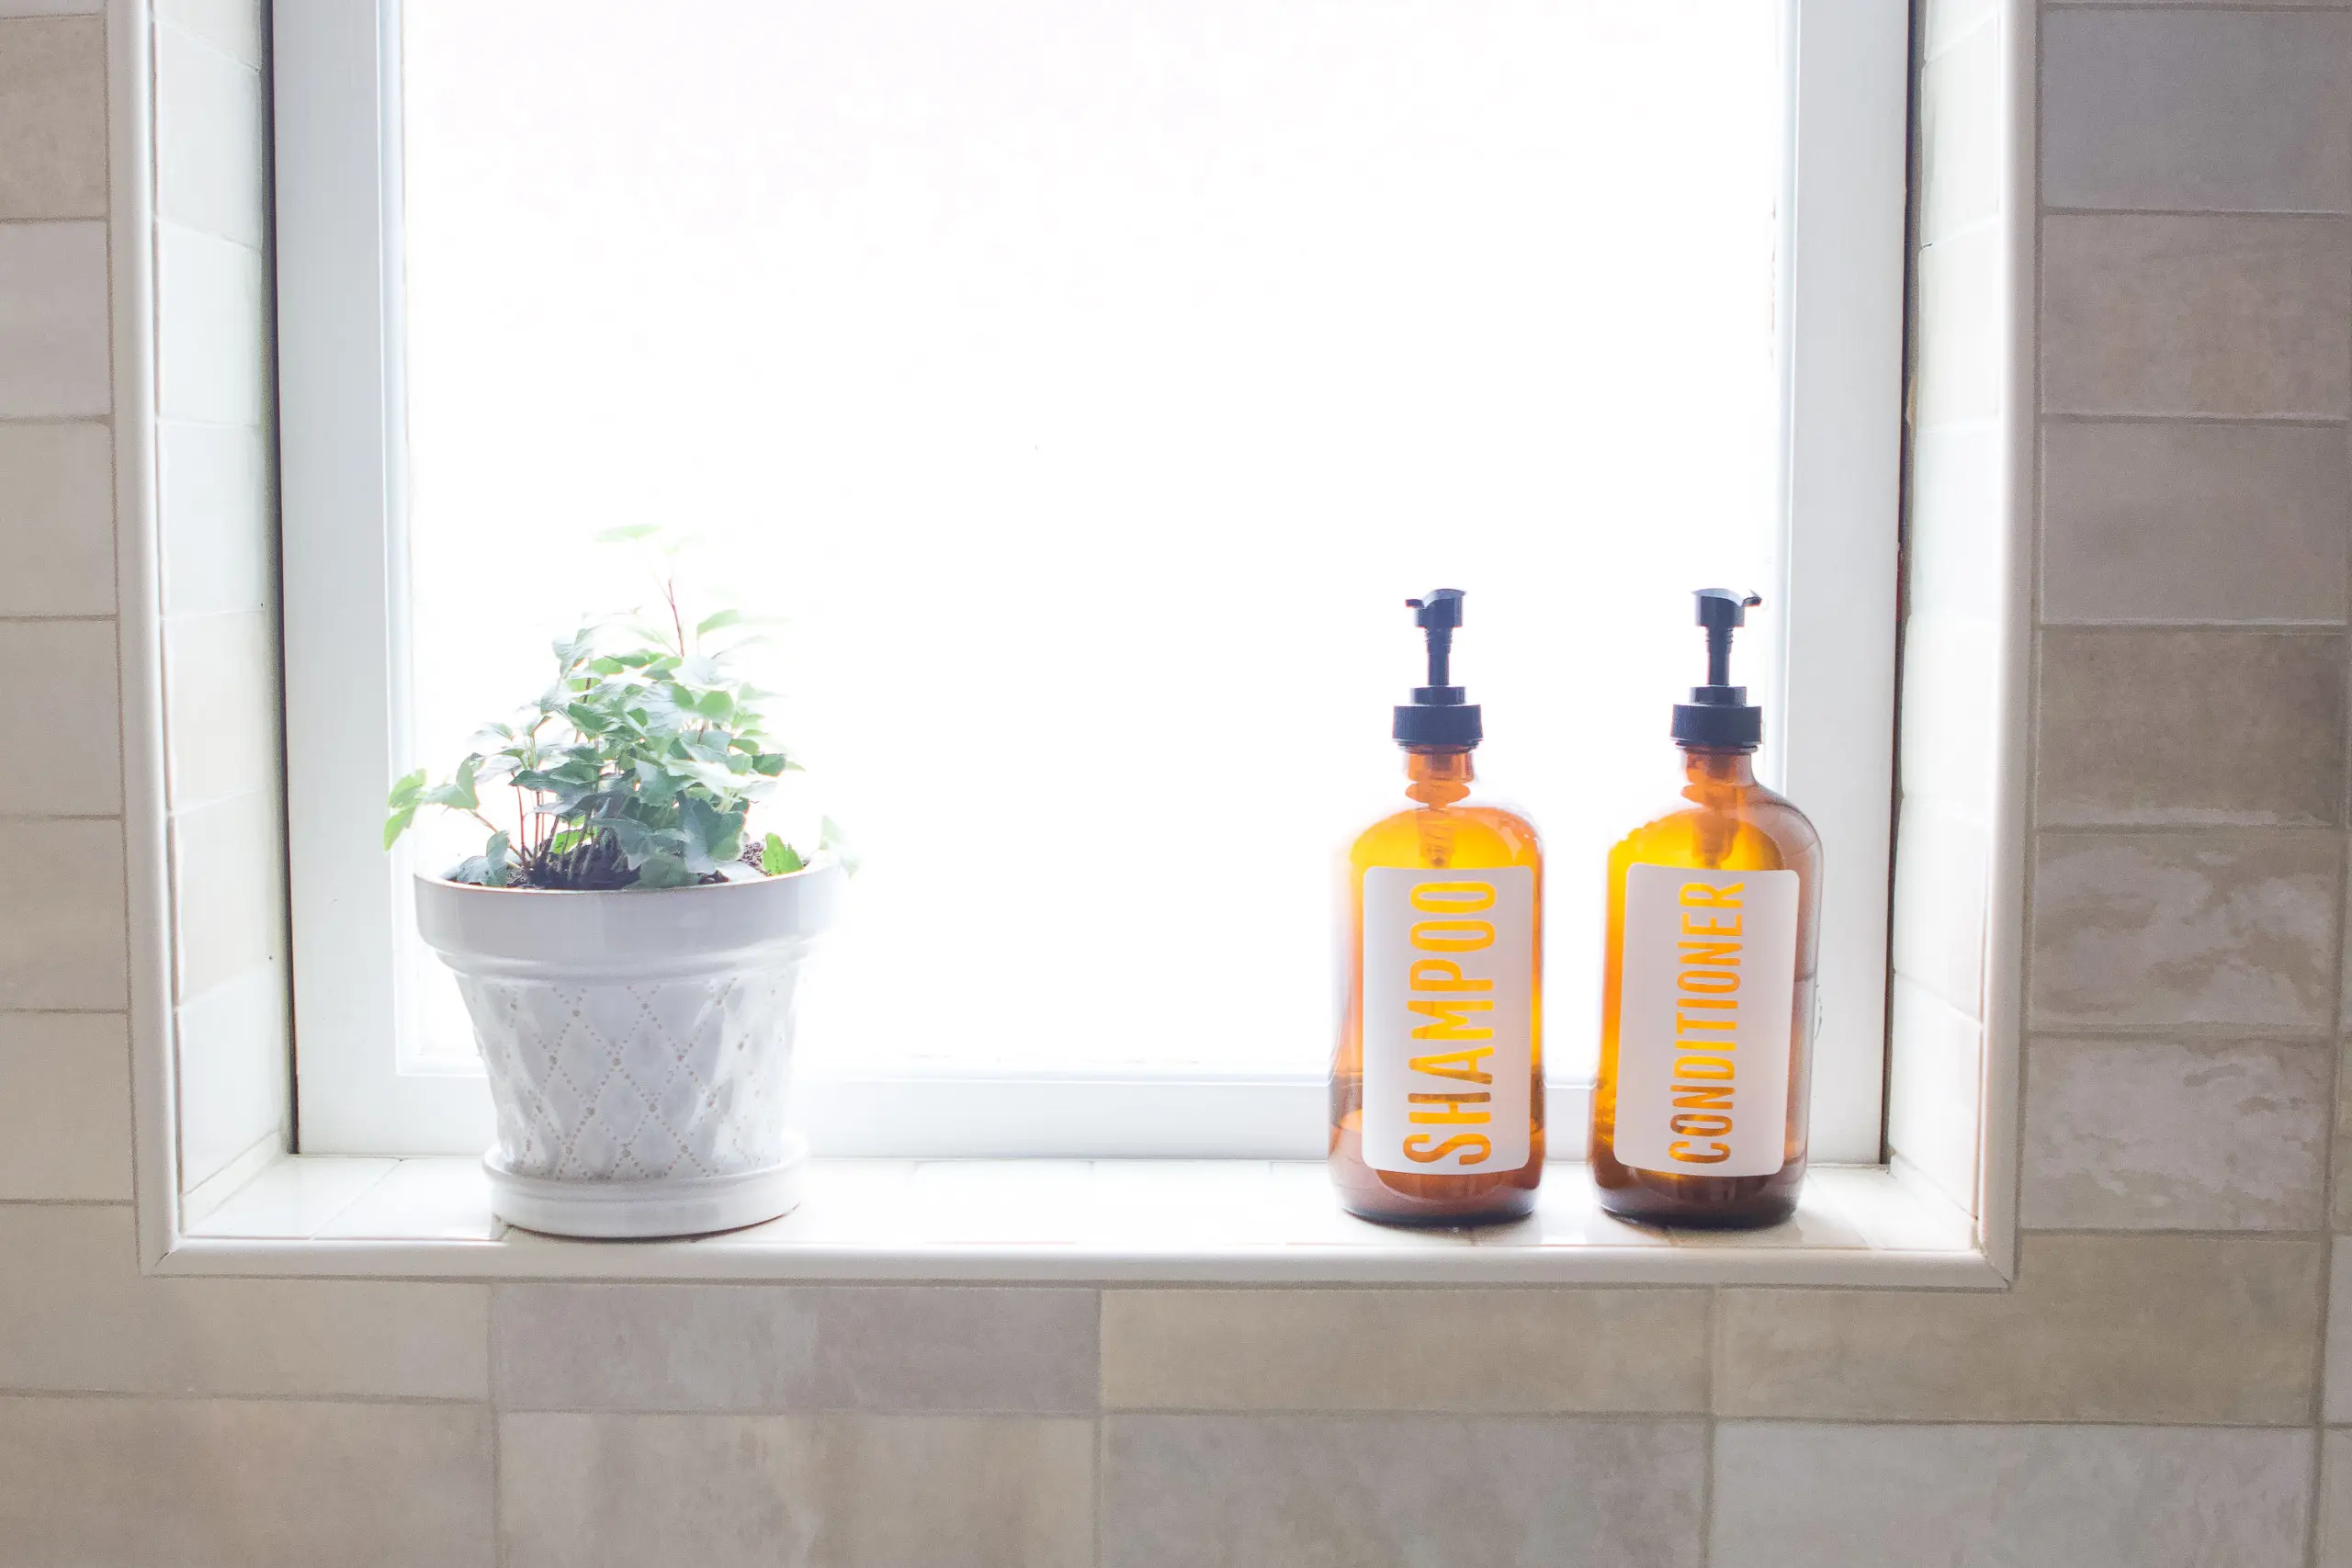
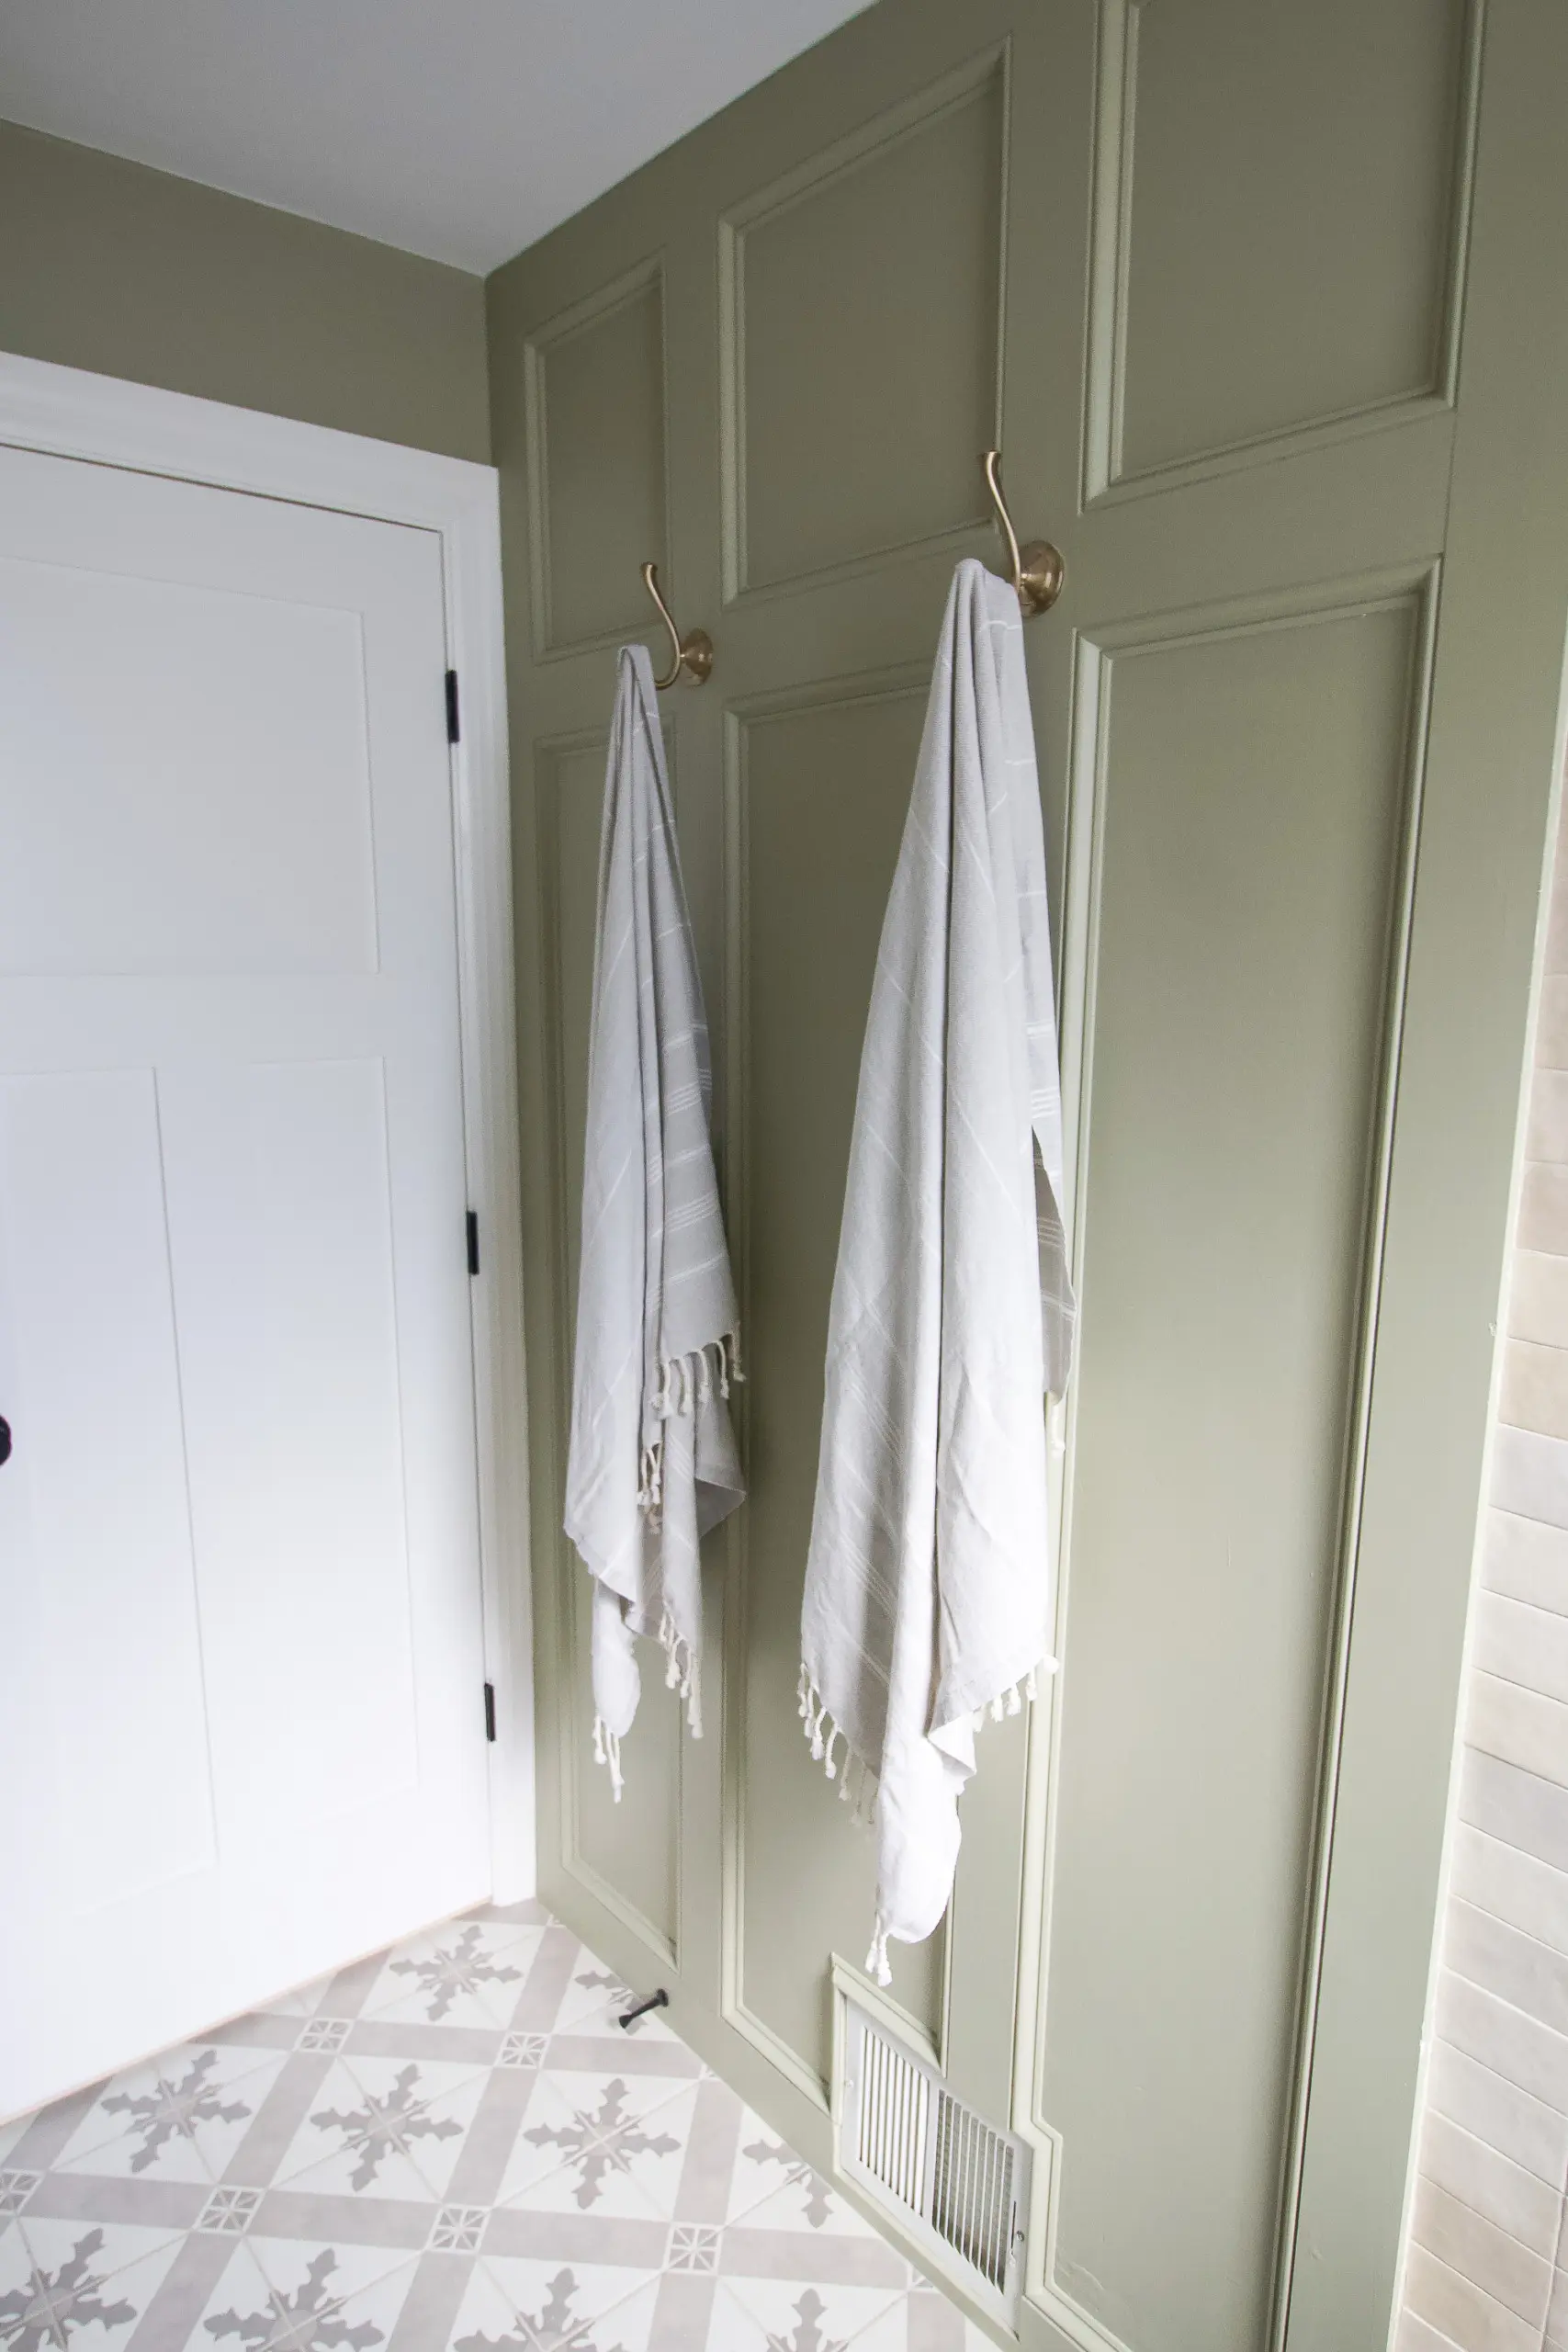 Paint Color: Sherwin Williams HGTV Home “Clary Sage” // Floor Tile // Black Faucet // Brass Vanity Light // Flushmount Fixture // Towel Hook // Toilet Paper Roll Holder // Shower Curtain // Shelf (vintage) // Art (vintage) // Match Stick Holder // Towels // DIY Wood Wall // Wood Mirror // Soap Dispenser // Cloe Tile // Shower Trim Package // Black Drain Kit // Shampoo & Conditioner Bottles // Plants & Planters (Lowe’s)
This is now the nicest shower in the house! So I’m eager to give it a try…
Casey
Catch Up on This Bathroom Makeover
You may also like…


Hey there!
I’m Casey Finn, the voice behind The DIY Playbook. I’m married to Finn & mom to Rory and Ellis. Together we’re creating our dream home in Chicago, one DIY project at a time.