Our Wallpapered Ceiling in Our Bedroom
Our bedroom ceiling is wallpapered and I can’t get over how freakin’ cool it is. I’ve stared at the tray ceiling in our bedroom for a year and a half now, trying to visualize something really fun up there. Once I finally settled on wallpaper, I couldn’t “unsee” it. I just wanted a bit of color, pattern, and texture up there in the big sea of white drywall. So I went for it and it was the best.decision.ever.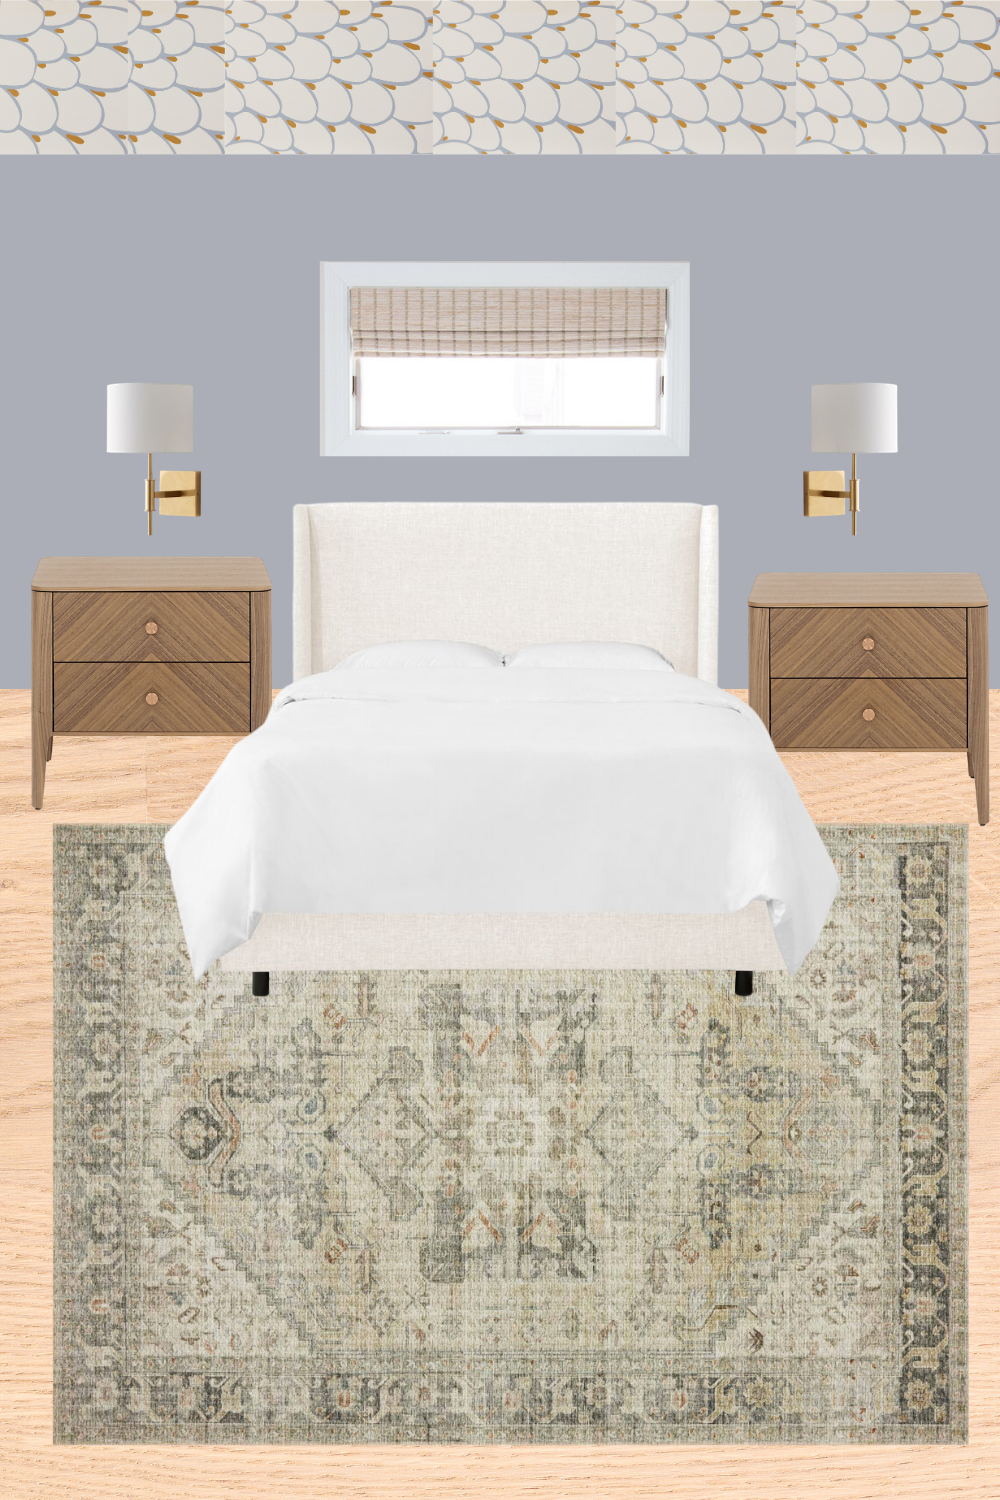
9×12 Rug // Cream Bed // Gold Sconces // Wallpaper
Yesterday, I shared the design plan for our bedroom and told you how wallpaper on the ceiling was the first big DIY project for the space. Today, let’s dive into the step-by-step for this DIY project. Now, I know not everyone is going to go out and wallpaper their ceiling, although, I think it’s a fantastic idea for any of your homes! So, just know that most of these tips apply even if you’re just wallpapering a normal wall.
I’ve wallpapered a few times over the years (Rory’s closet, Jan’s closet, and my office wall) and each time I get a tiny bit better. (Practice makes perfect!) Erin, from Relativity Textiles, knows everything there is to know about wallpaper and installing it, so I learned so much during our day together. Let’s dive into her professional tips…
Wallpaper Supplies
- Wallpaper
- Wallpaper Adhesive
- Smooth Roller & Paint Tray
- Work Table
- Paint Brush
- Tape Measure & Pencil
- Straight Edge
- Level or Laser Level
- Smoothing Tool
- Metal Smoothing Tool
- Utility Knife
- Sponge & Bucket
- Seam Roller
- Step Ladder (Many of them if you’re doing a ceiling!)
- Primer
- Drop Cloths
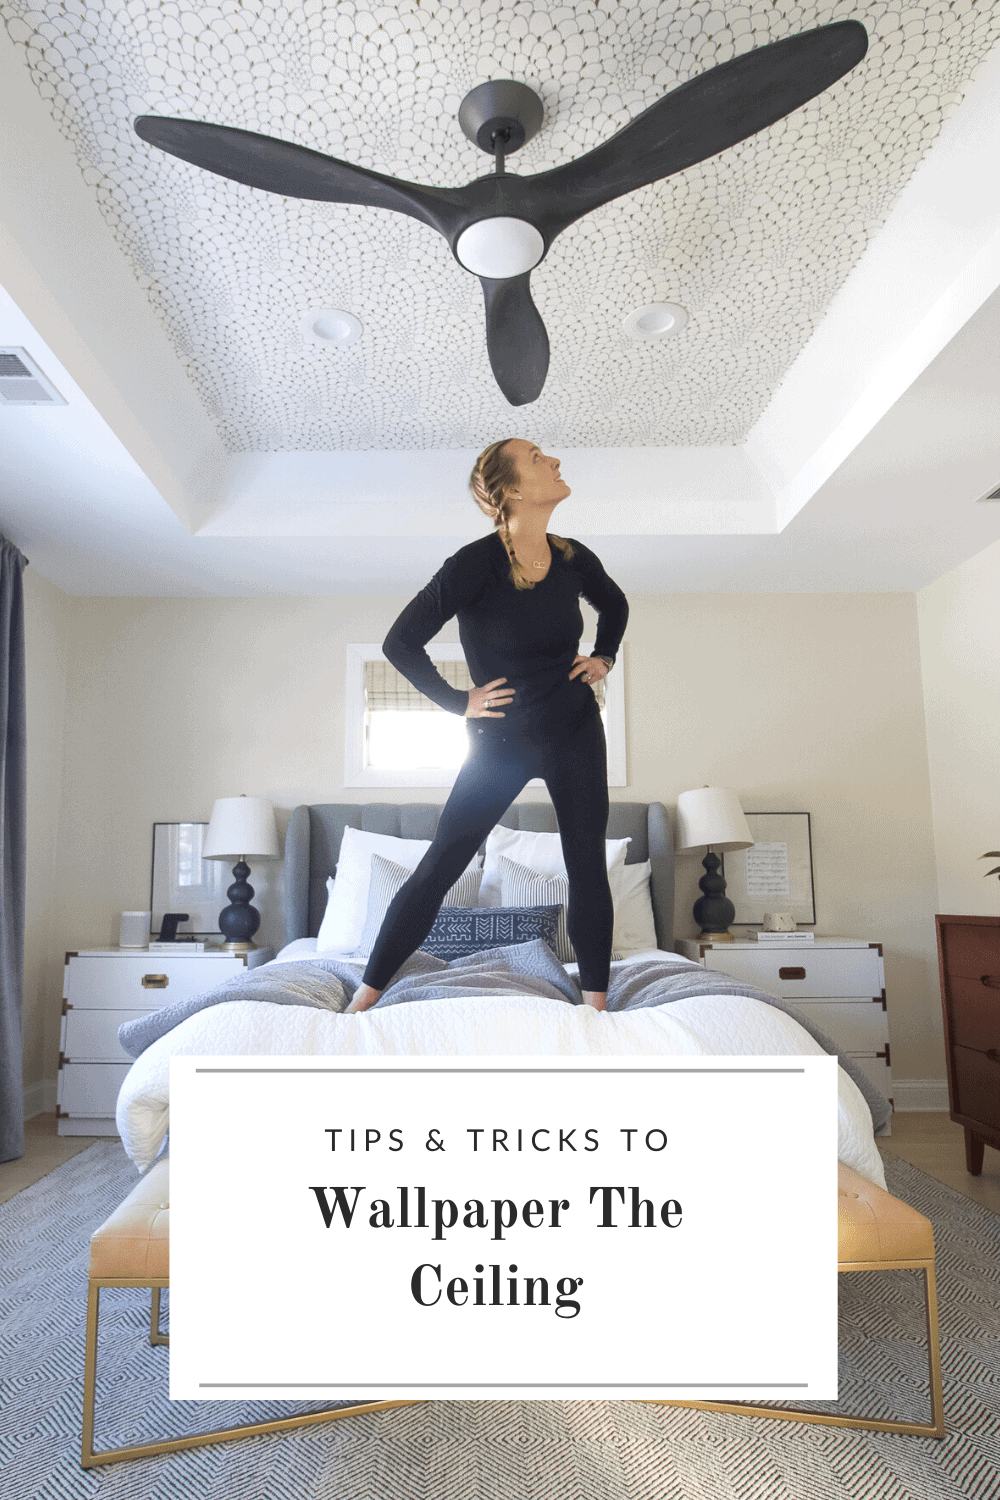
Tips to Wallpaper the Ceiling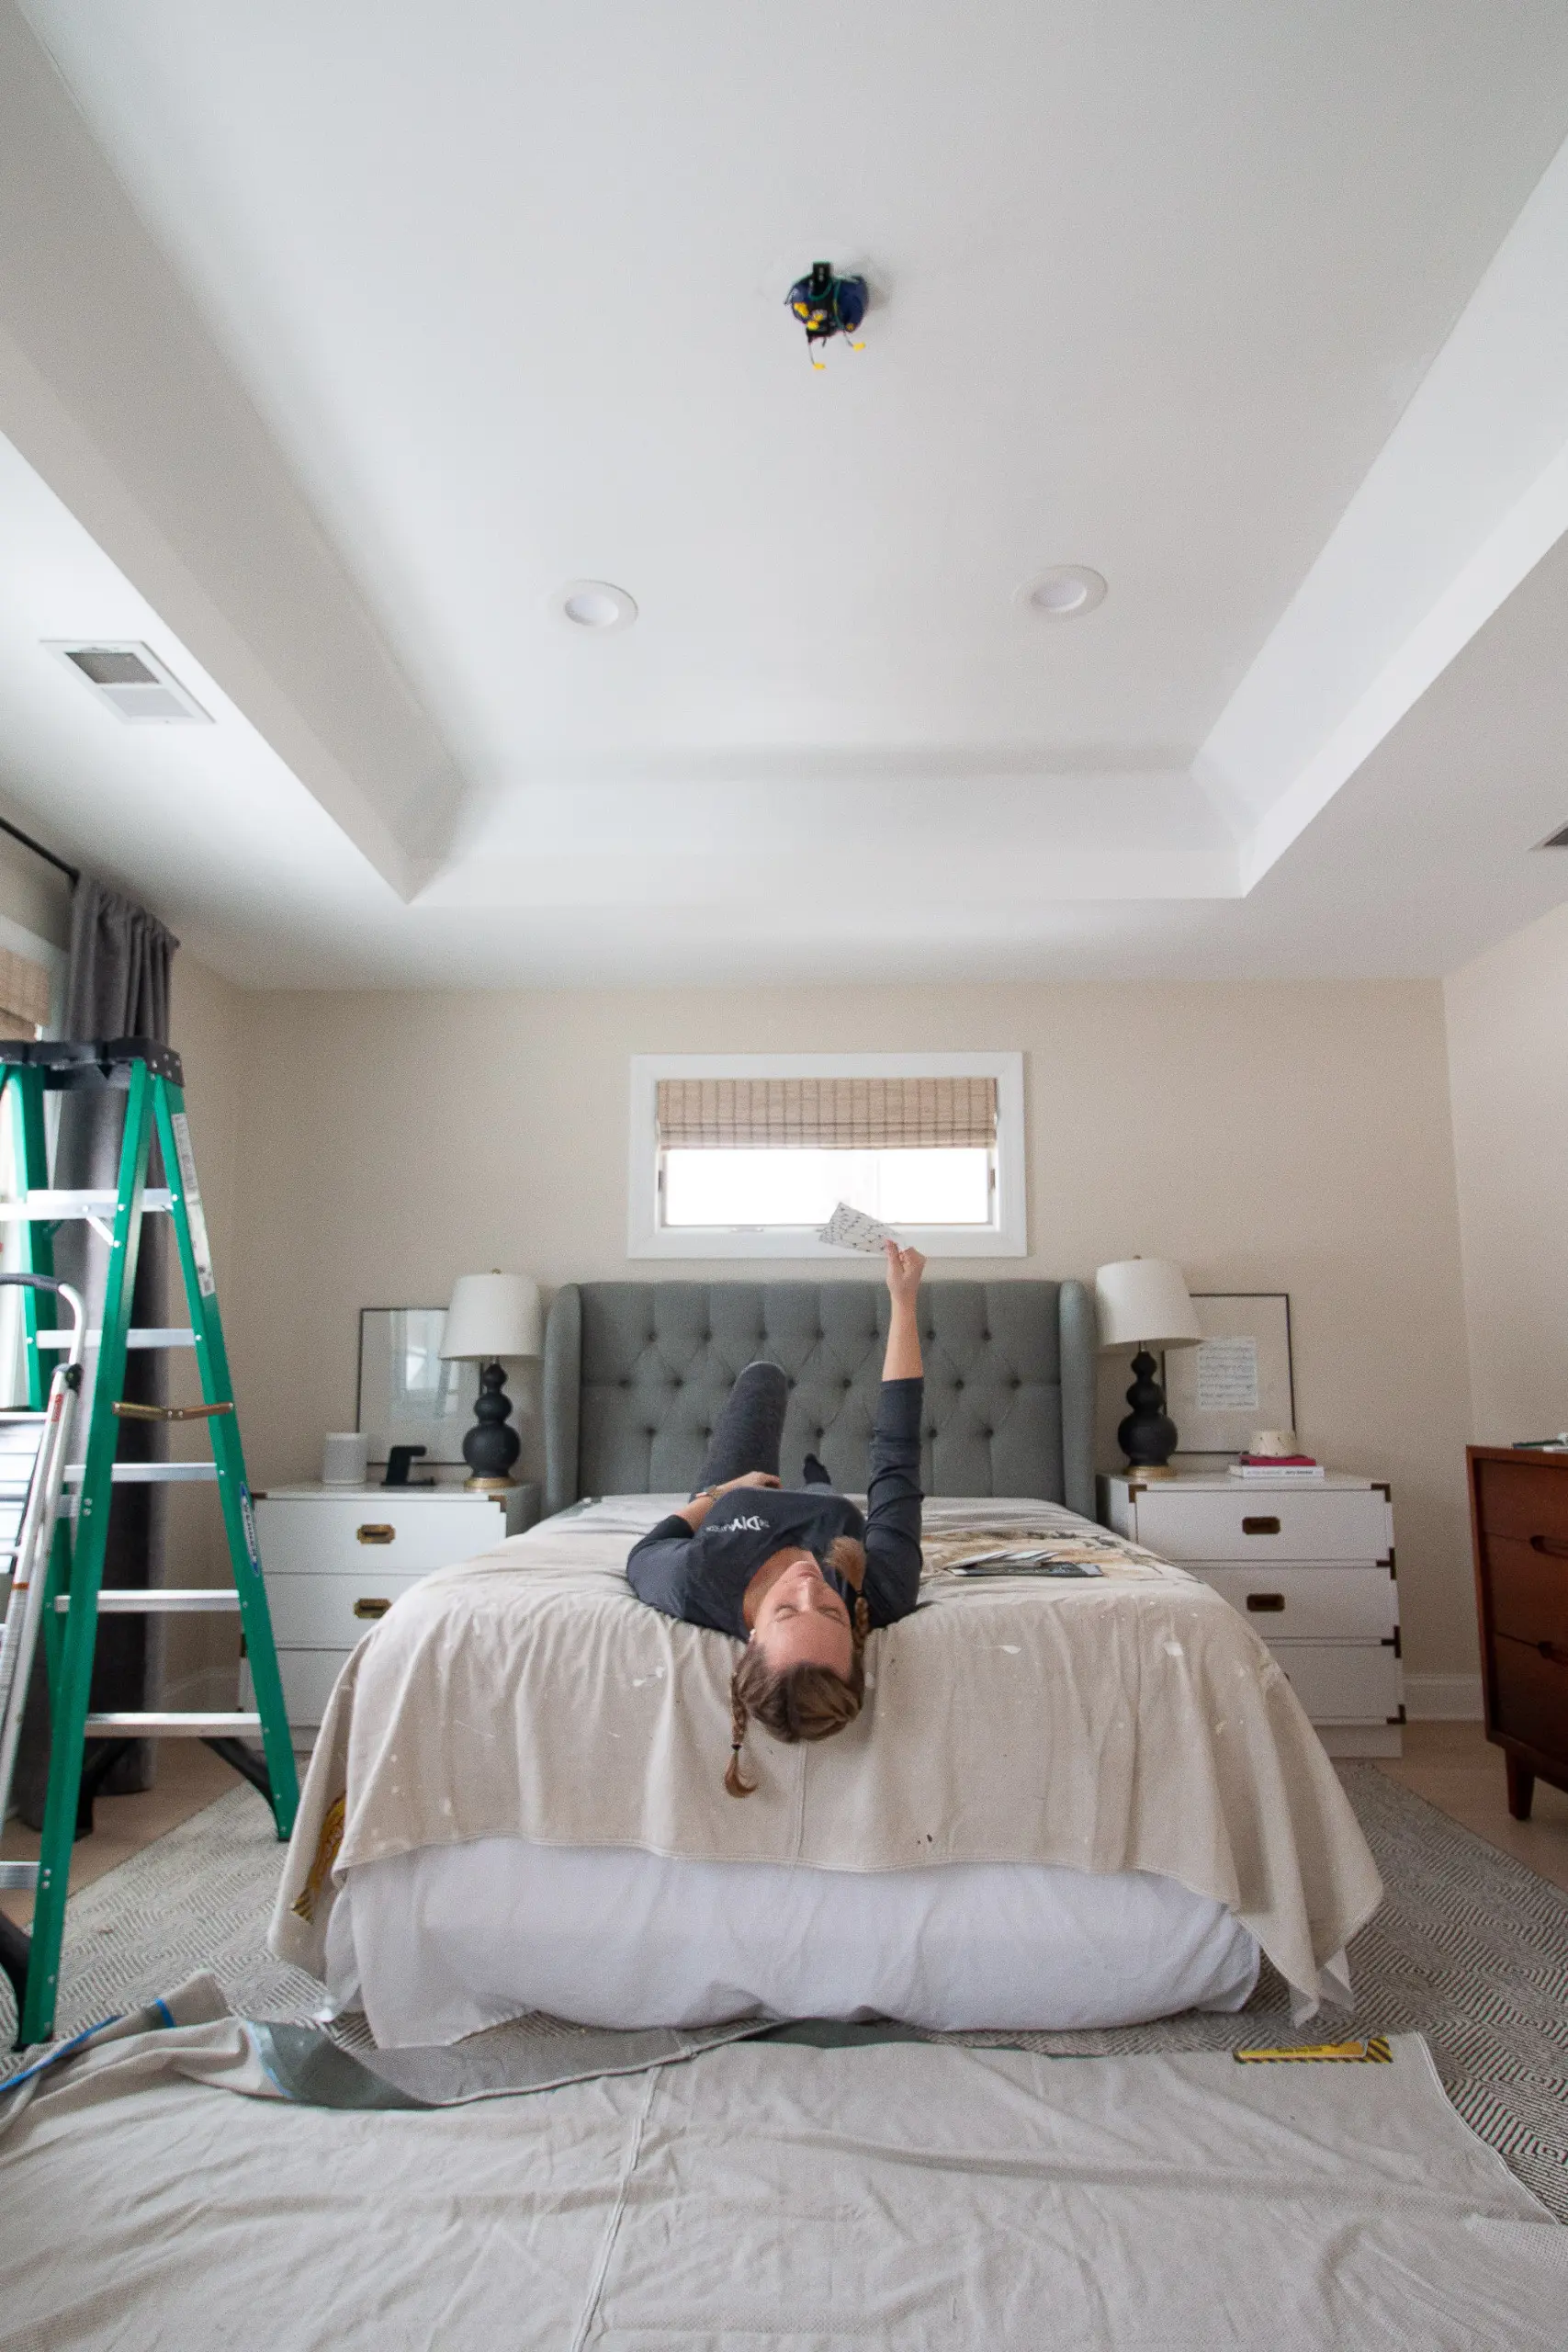
I ended up carving out an entire day for this project and I’d say it took about five to six hours, total. The ceiling made things a lot trickier and more time-consuming, so if you’re wallpapering a regular wall I don’t think it would take quite that long. But, I think it’s best to set aside an entire day for this DIY project.
I’ve never hired out a wallpaper project, so I wasn’t sure about the cost to use a pro. Erin told me that a good rule of thumb is to expect to pay the cost of the paper in labor. So if the paper is $300 total – add all of the rolls together – you could expect to pay about $300 for the install too. Oh, and I’m sure it would be a bit more for a ceiling, as opposed to a wall.
Buy Enough Wallpaper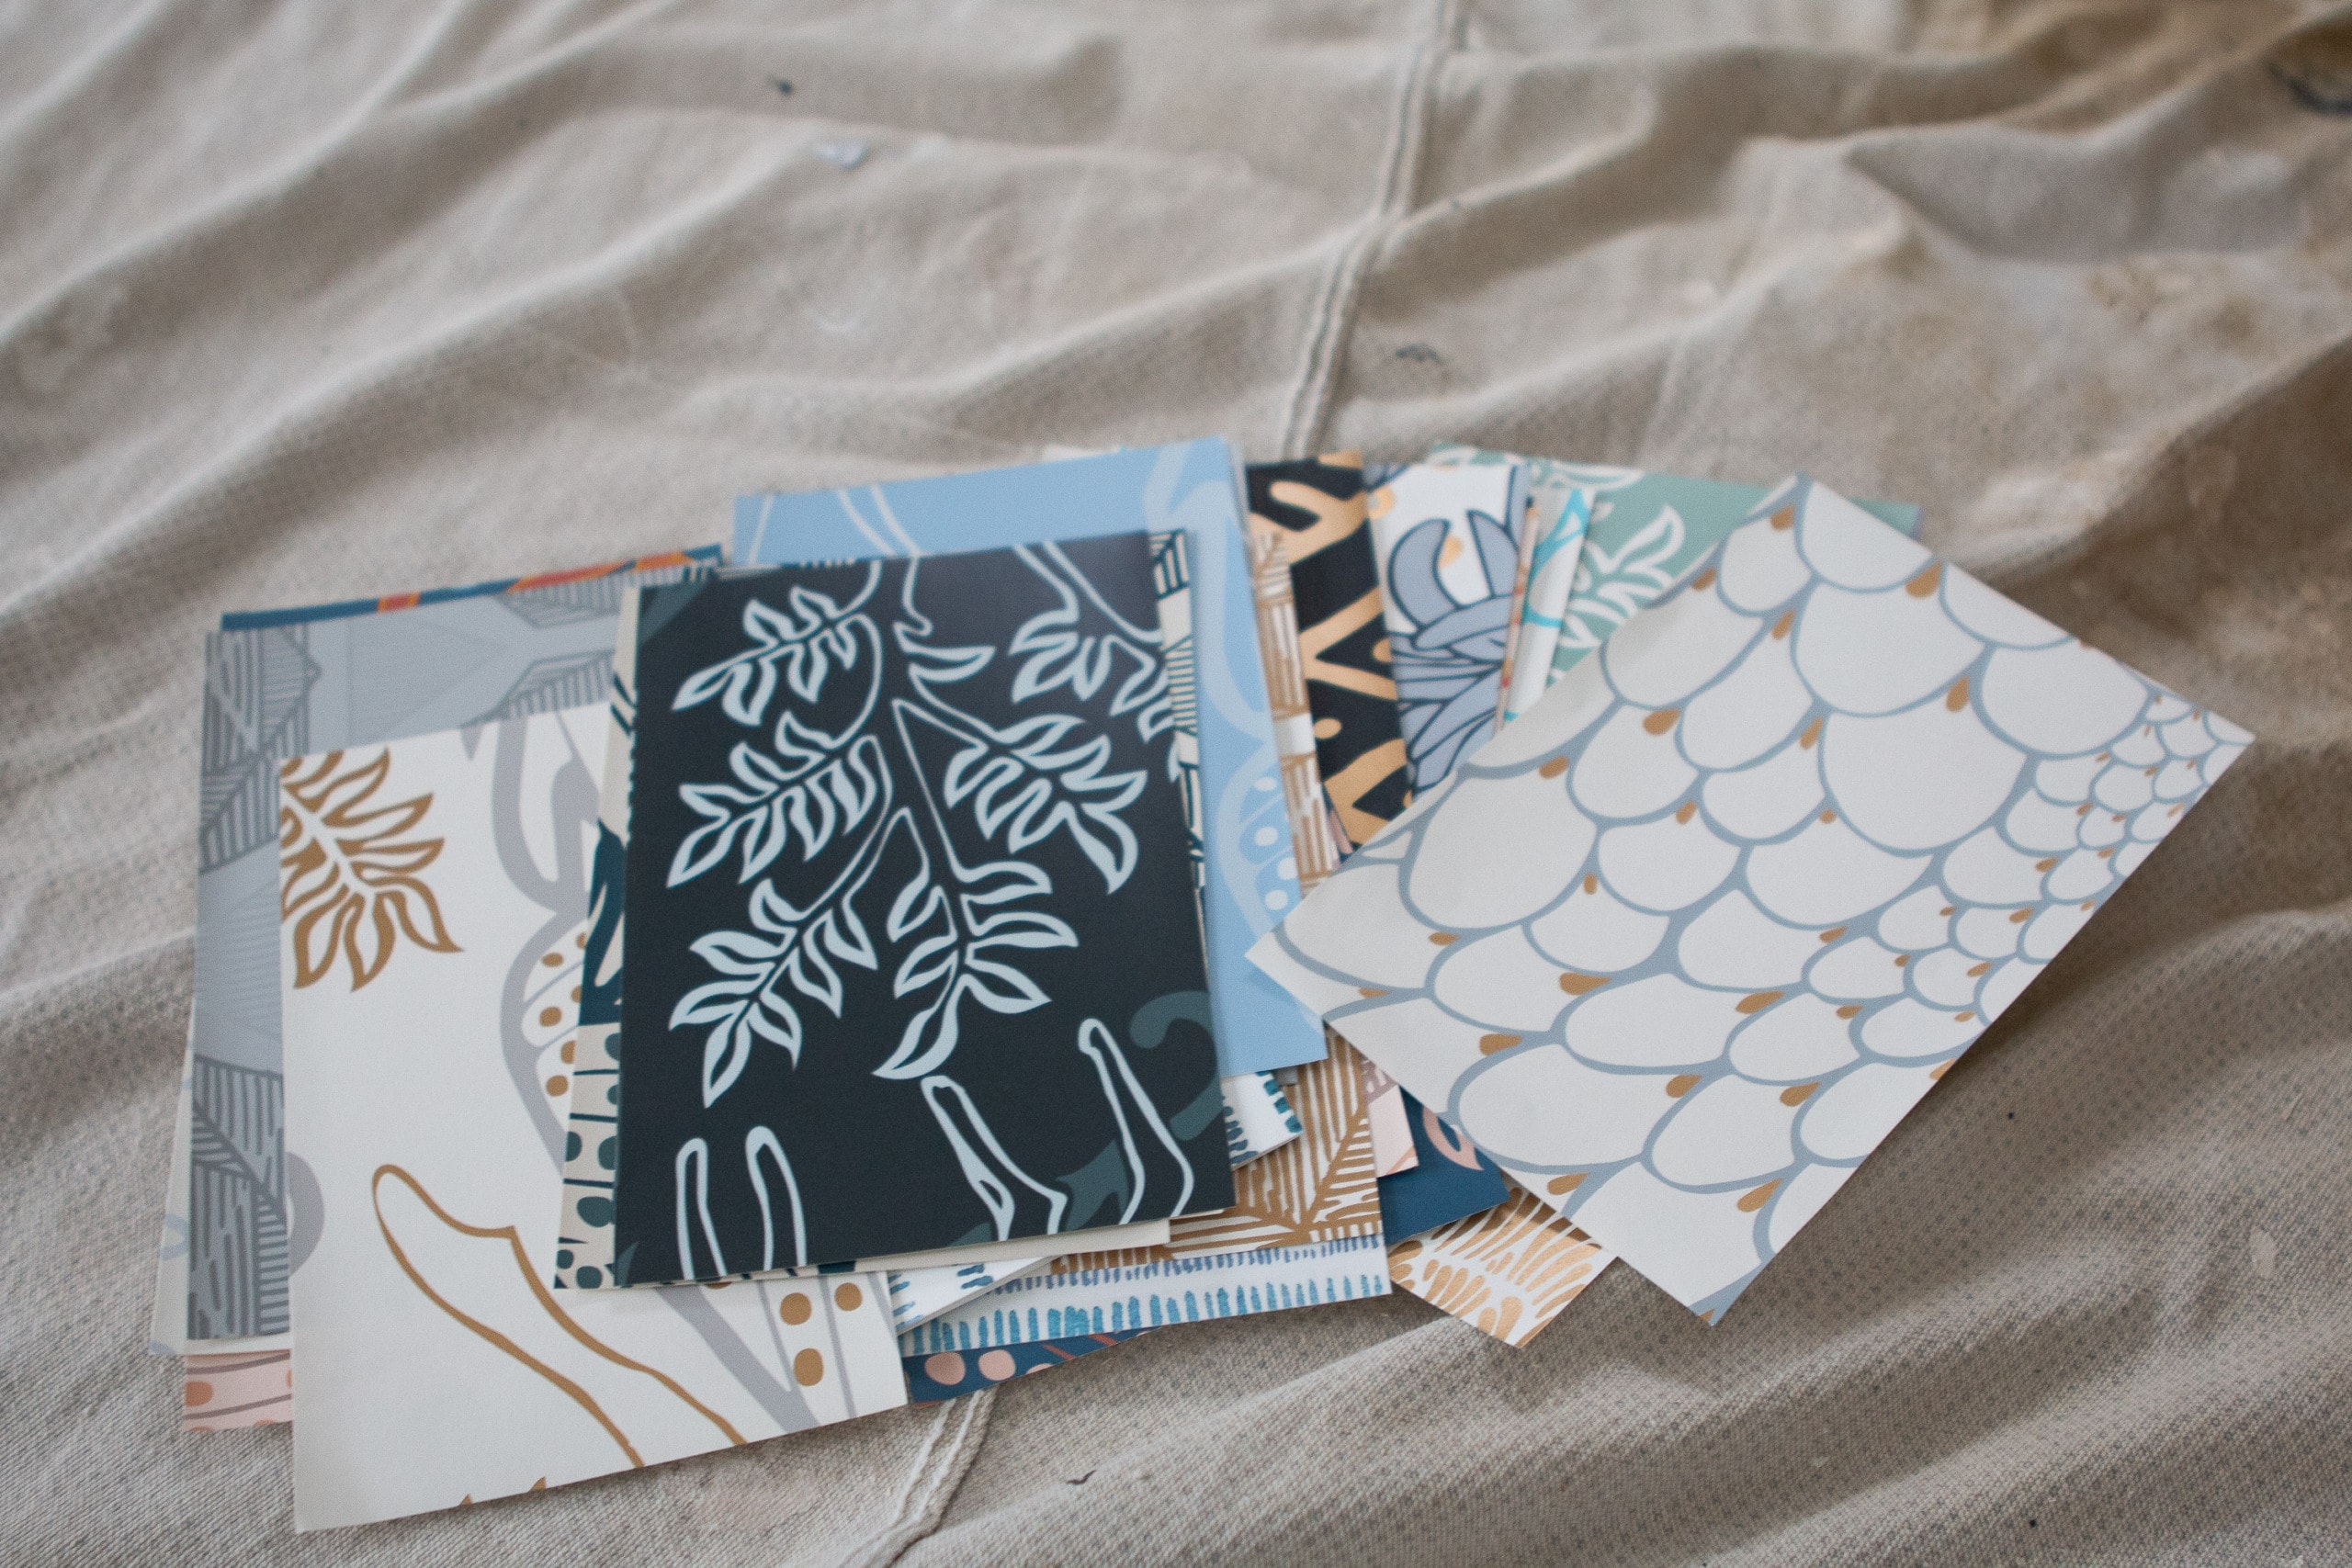
First, choose your wallpaper and buy enough of it. It was hard to narrow down all of the amazing choices from Relativity Textiles (I’m already eyeing other patterns for a future project!), but in the end, I settled on “Peacock” in gold. The cream, blue, and gold really sold me and I adore the organic shapes in the pattern. I highly recommend ordering samples if you’re trying to decide between a few patterns. It helped me narrow things down. 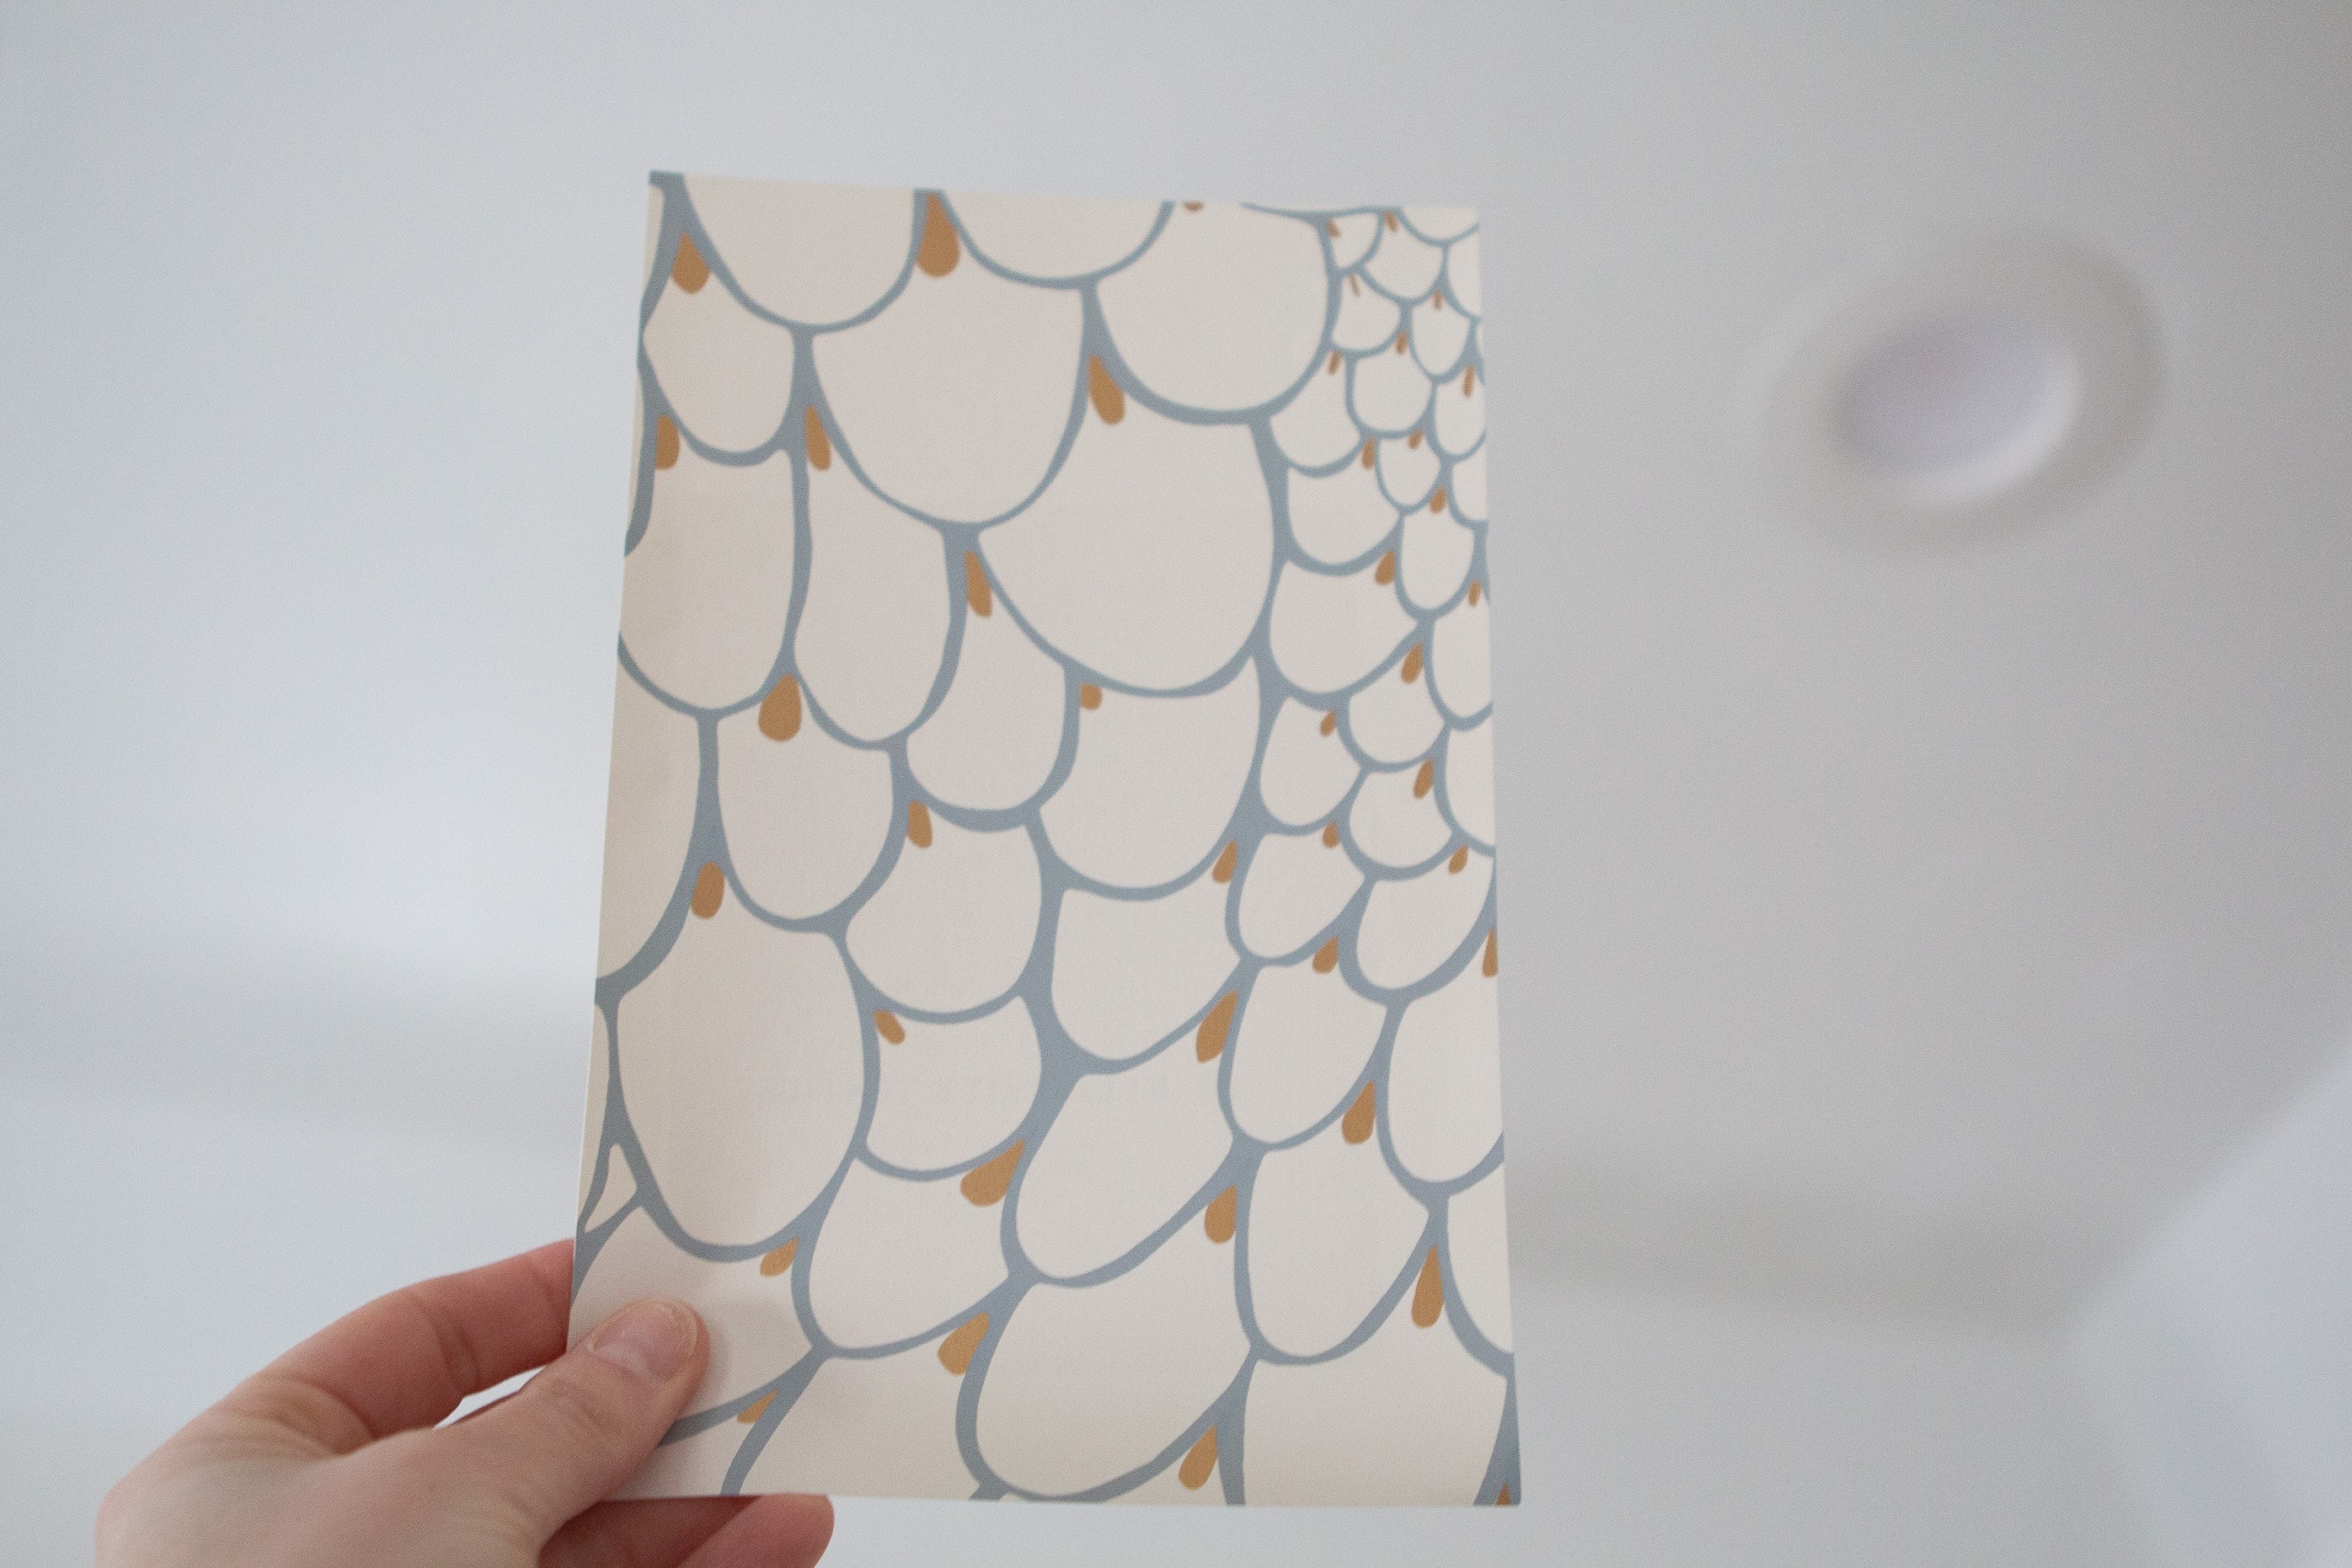
Wallpaper rolls from Relativity Textiles are sold in double rolls, which means they’re 30 feet long and 27 inches wide. My ceiling is about 7 feet by 10 feet, so I ended up using two rolls for my project. Keep in mind, there will be waste from having to match up the patterns. So you’ll need more than you think! This is a great wallpaper calculator that can help you figure out how much to buy.
If you have questions before you start your wallpaper project, Erin recommends calling the wallpaper manufacturer. She said she is often fielding lots of questions every day over the phone…so don’t be afraid to call the shop where you buy your paper for tips!
Primer First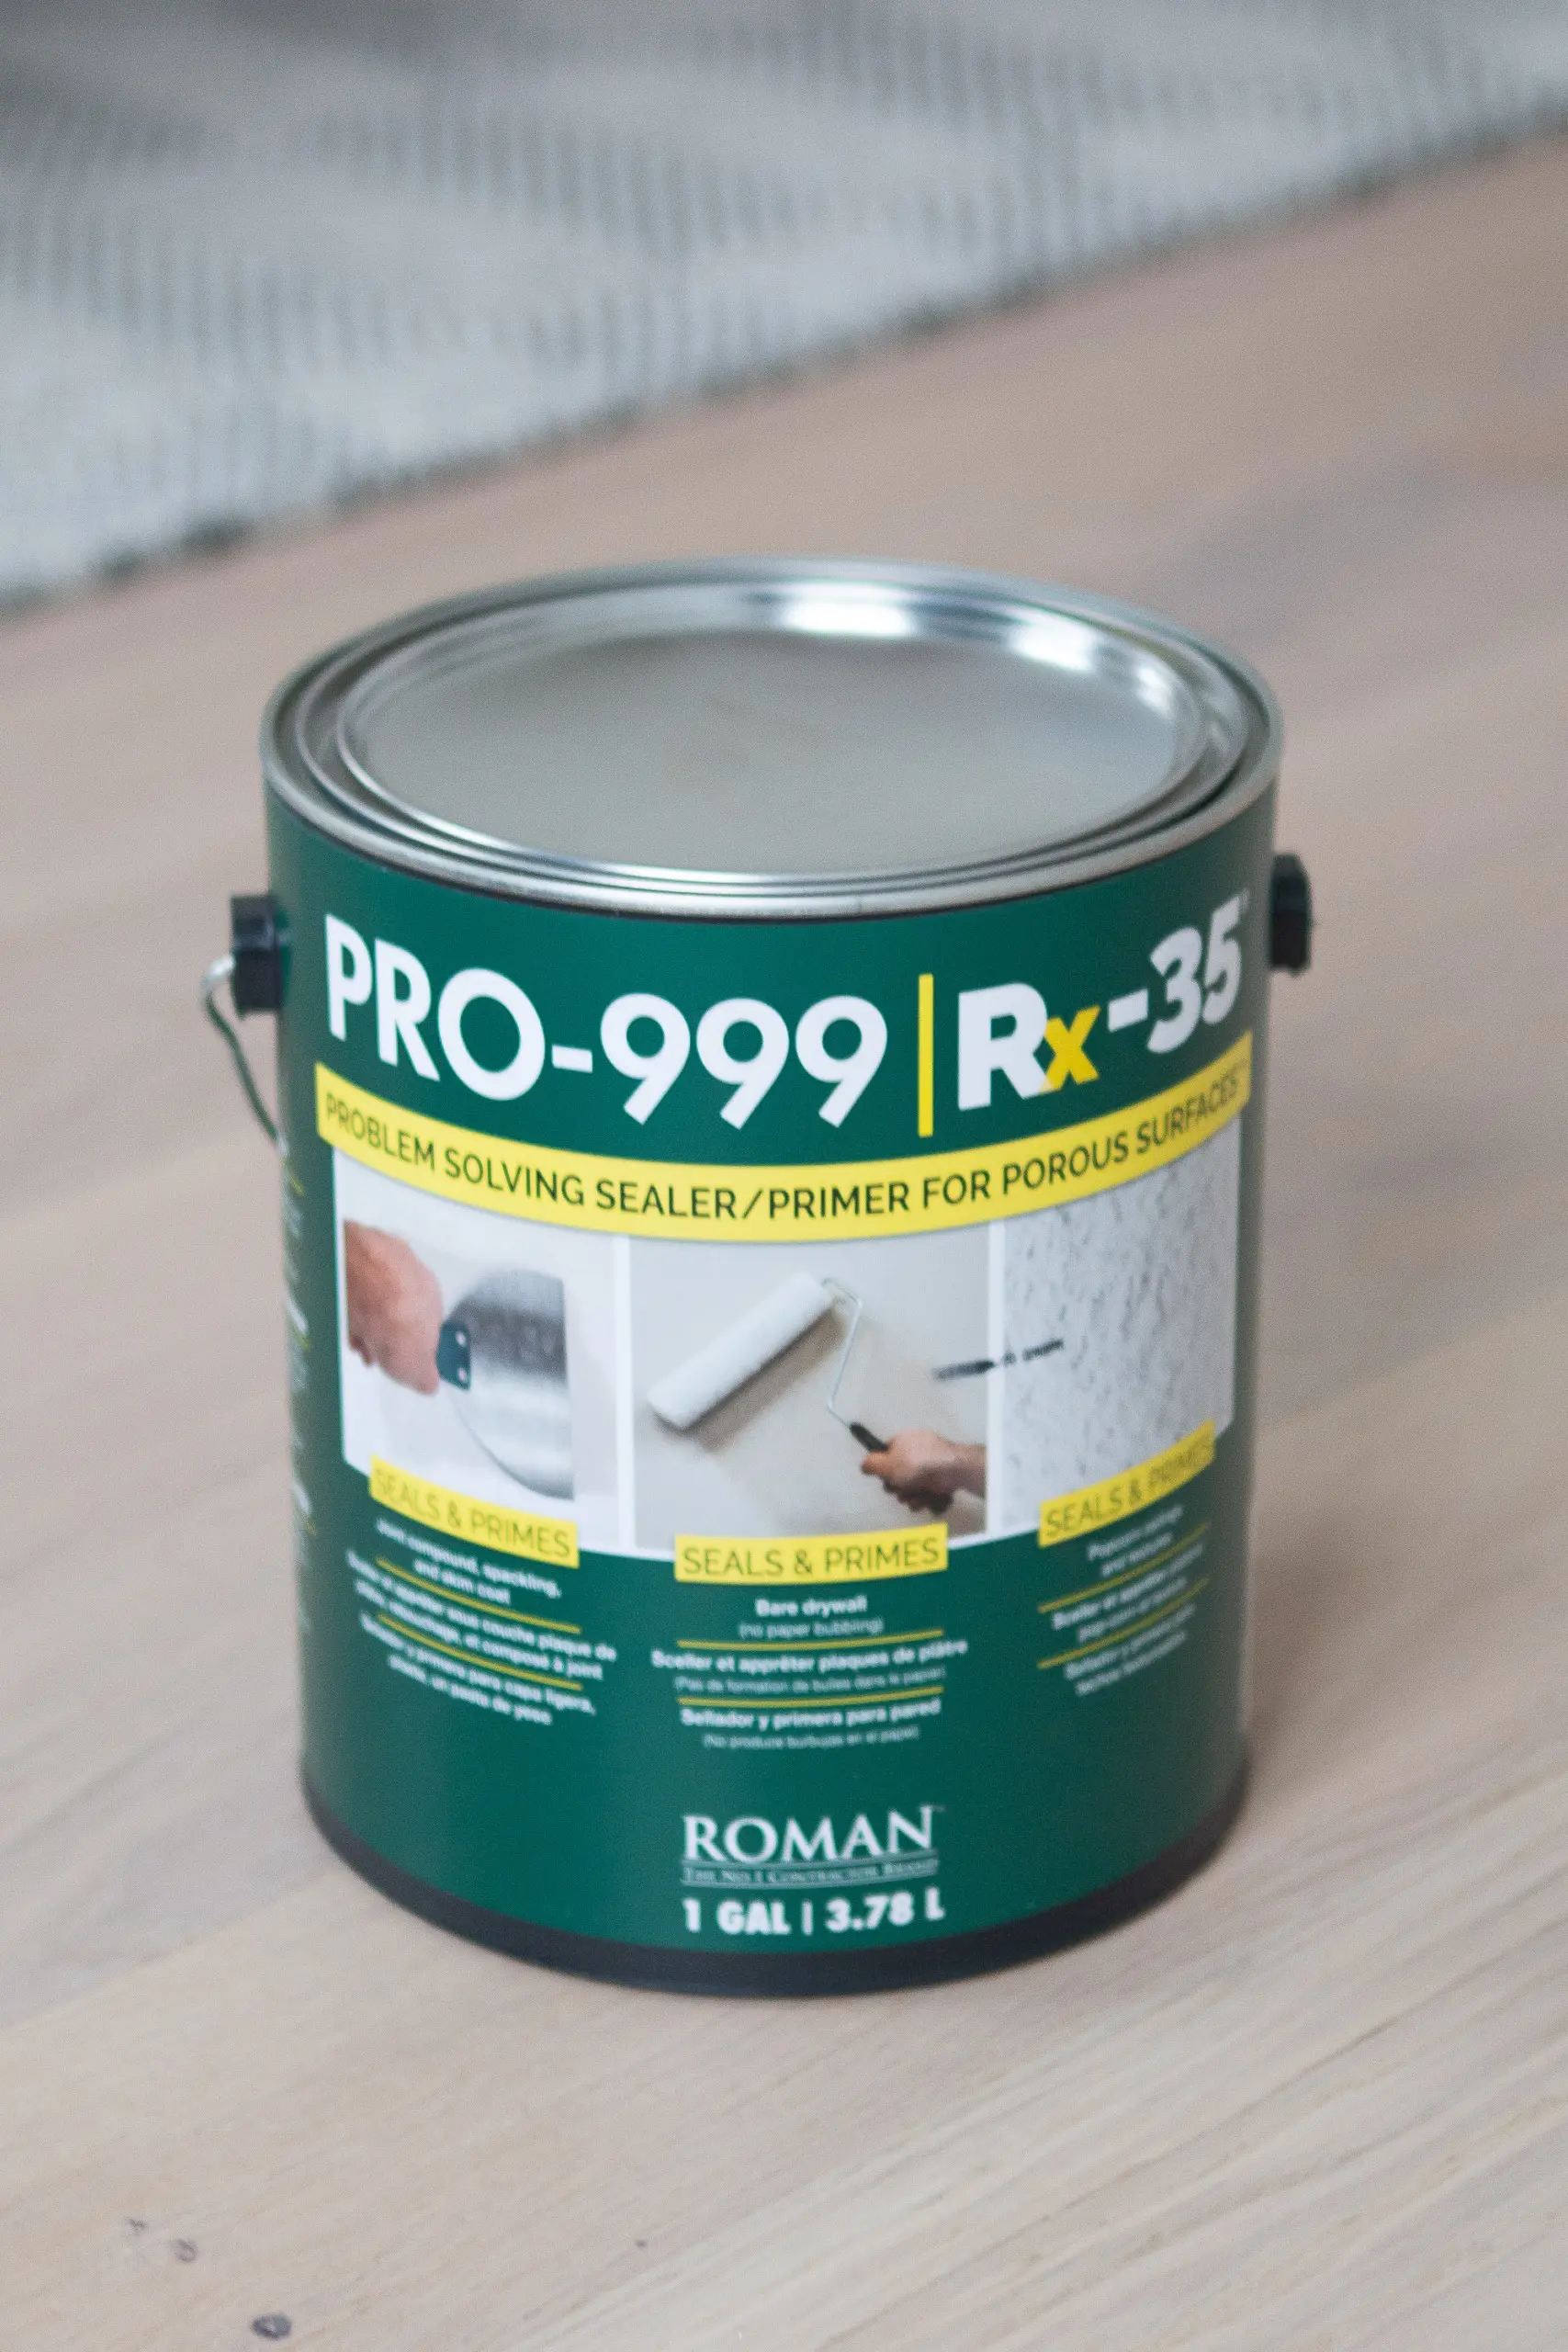
Before our day of wallpapering, Erin instructed me to use this specific primer on the ceiling. (Don’t use a regular primer that you would use before painting!) She said that it helps the wallpaper stick and creates a smooth surface for the paper to adhere. About a week before we installed the wallpaper, I painted the entire ceiling. The primer is a lot thinner than paint and it’s clear, so it was actually really easy to use. I probably got the entire ceiling done in about 25 minutes.
I also removed our canned lights and ceiling fan at this time so we could have an empty canvas for the wallpaper installation.
Recruit Some Friends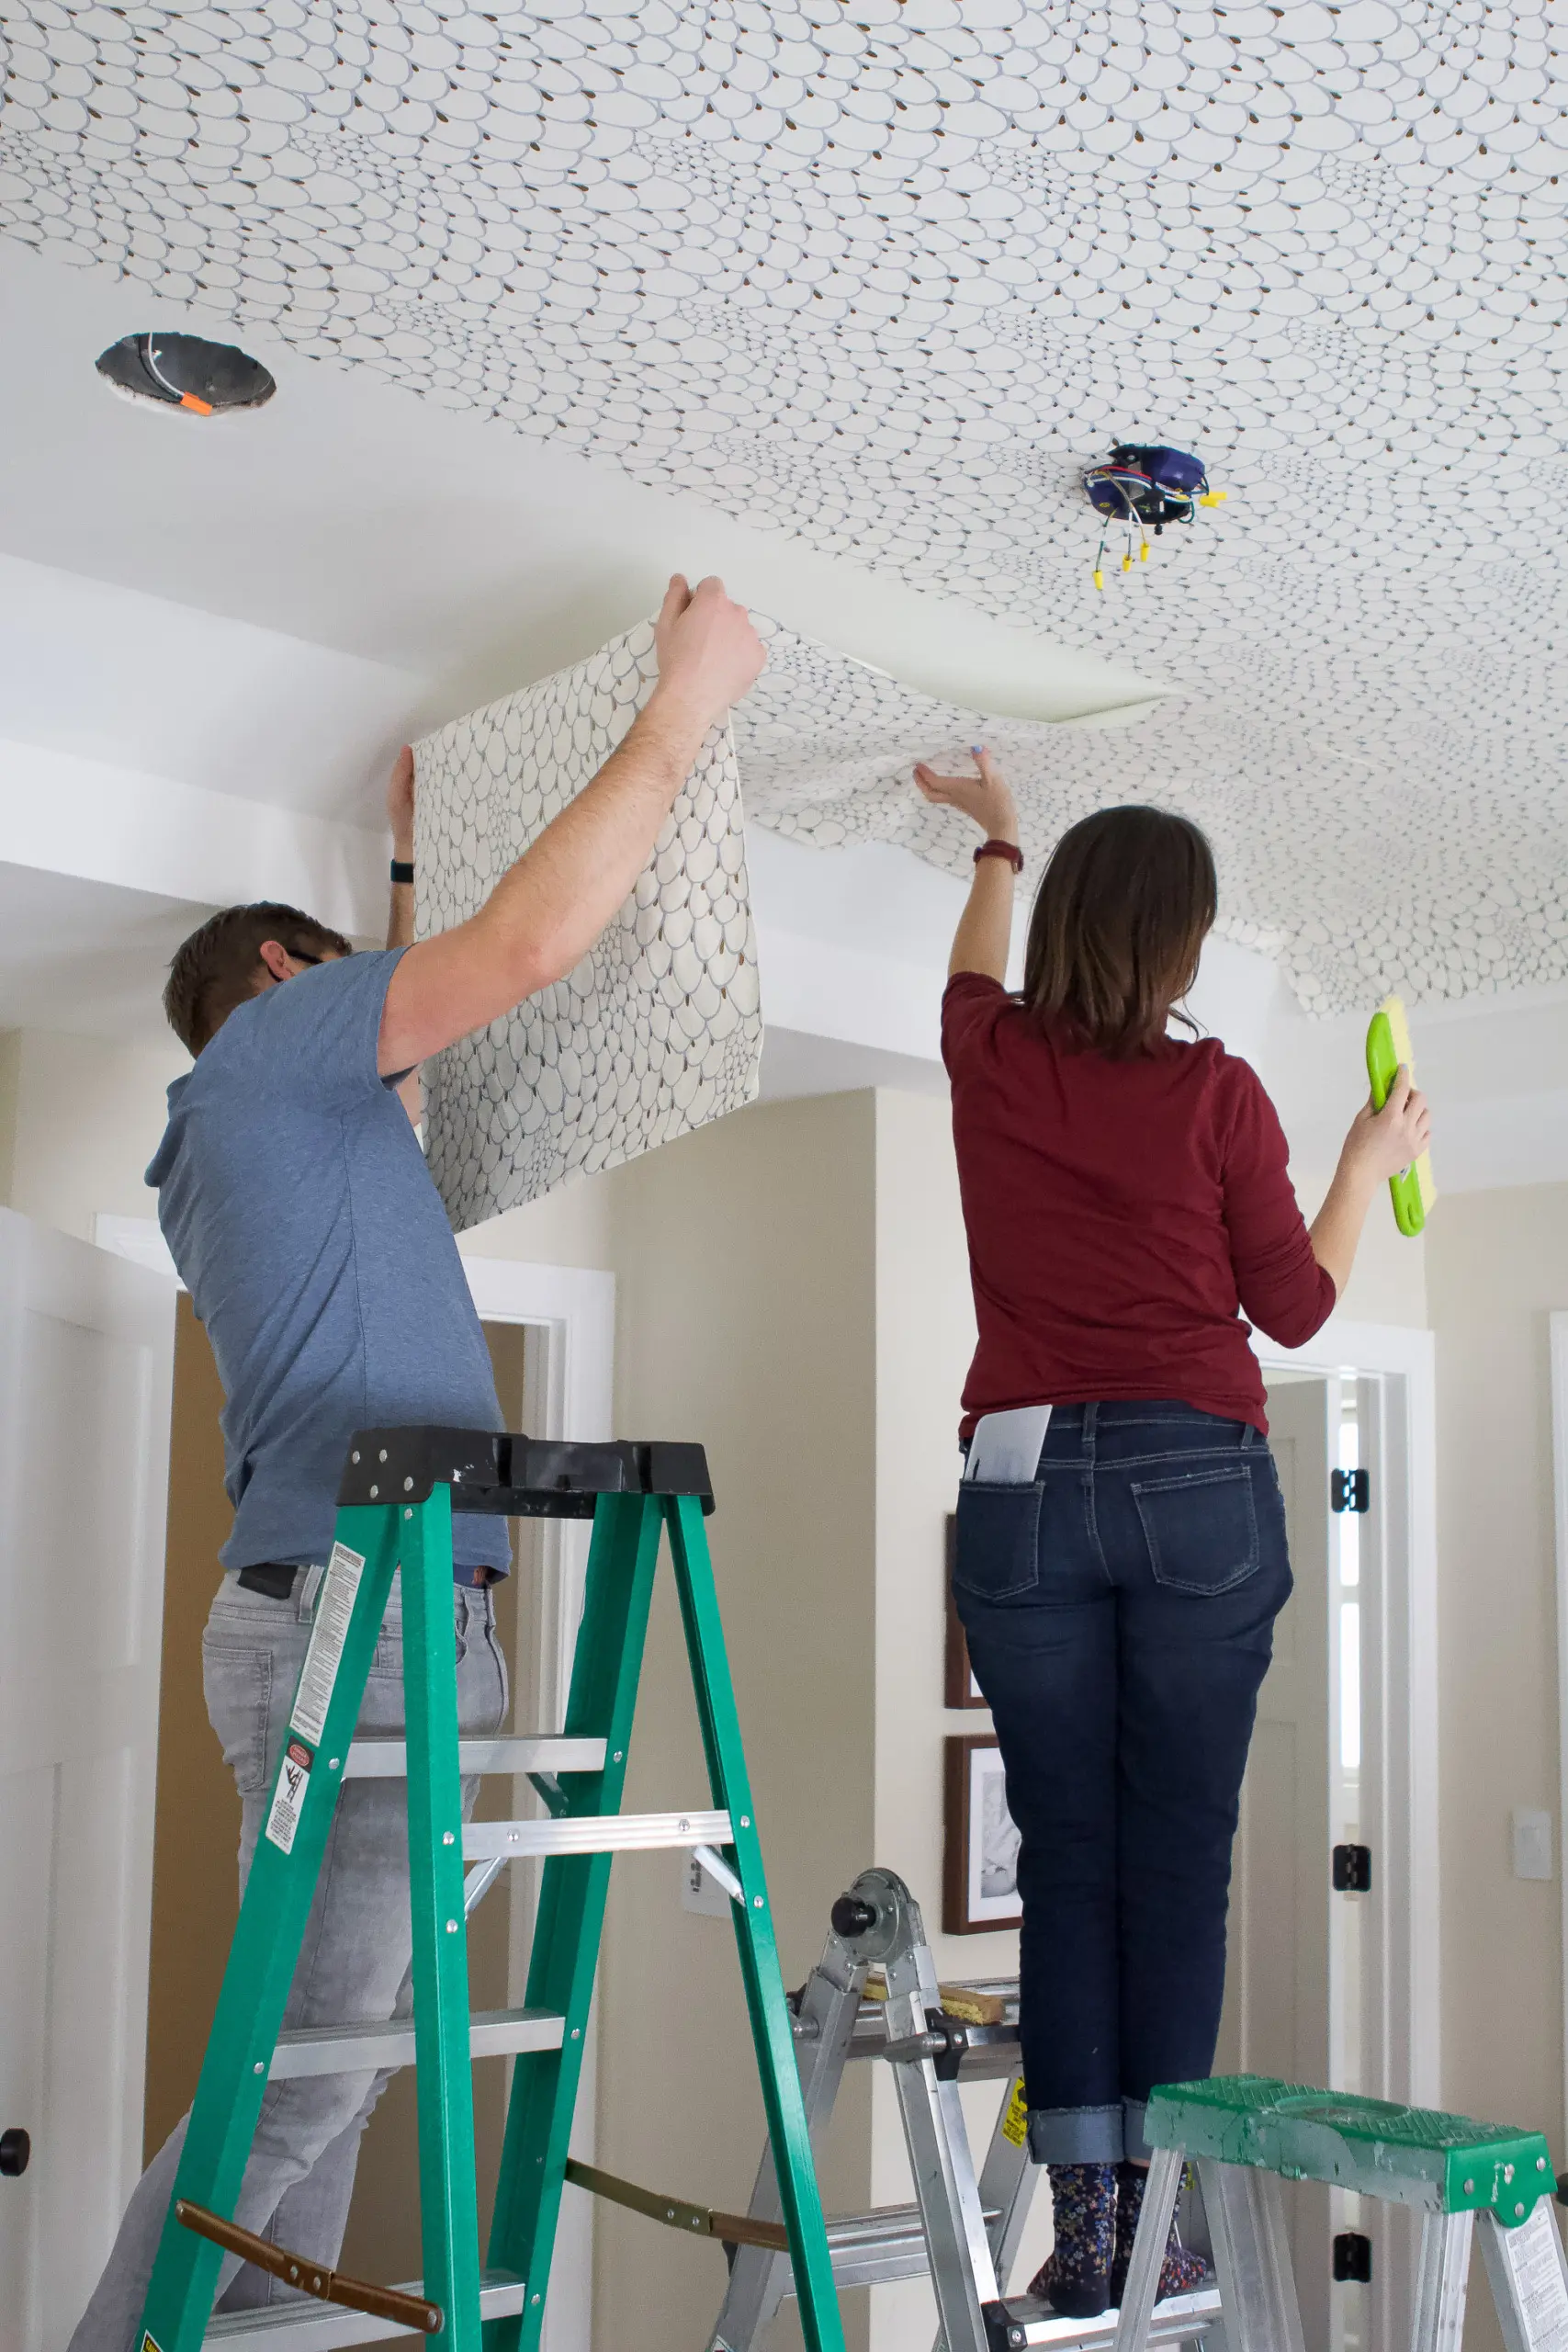
I thought that Erin and I would be able to tackle this project together as a duo, but she mentioned that another set of hands might be helpful. I had Finn block off his calendar so he could help us out. Three people ended up being much-needed for this DIY project. So grab some friends and get to work! Oh, and wear crappy clothes because you’re bound to get glue on them. Bonus points for wearing an apron (it’s a good spot to hold your supplies when you’re up on a ladder!).
Set up a Table & Lots of Ladders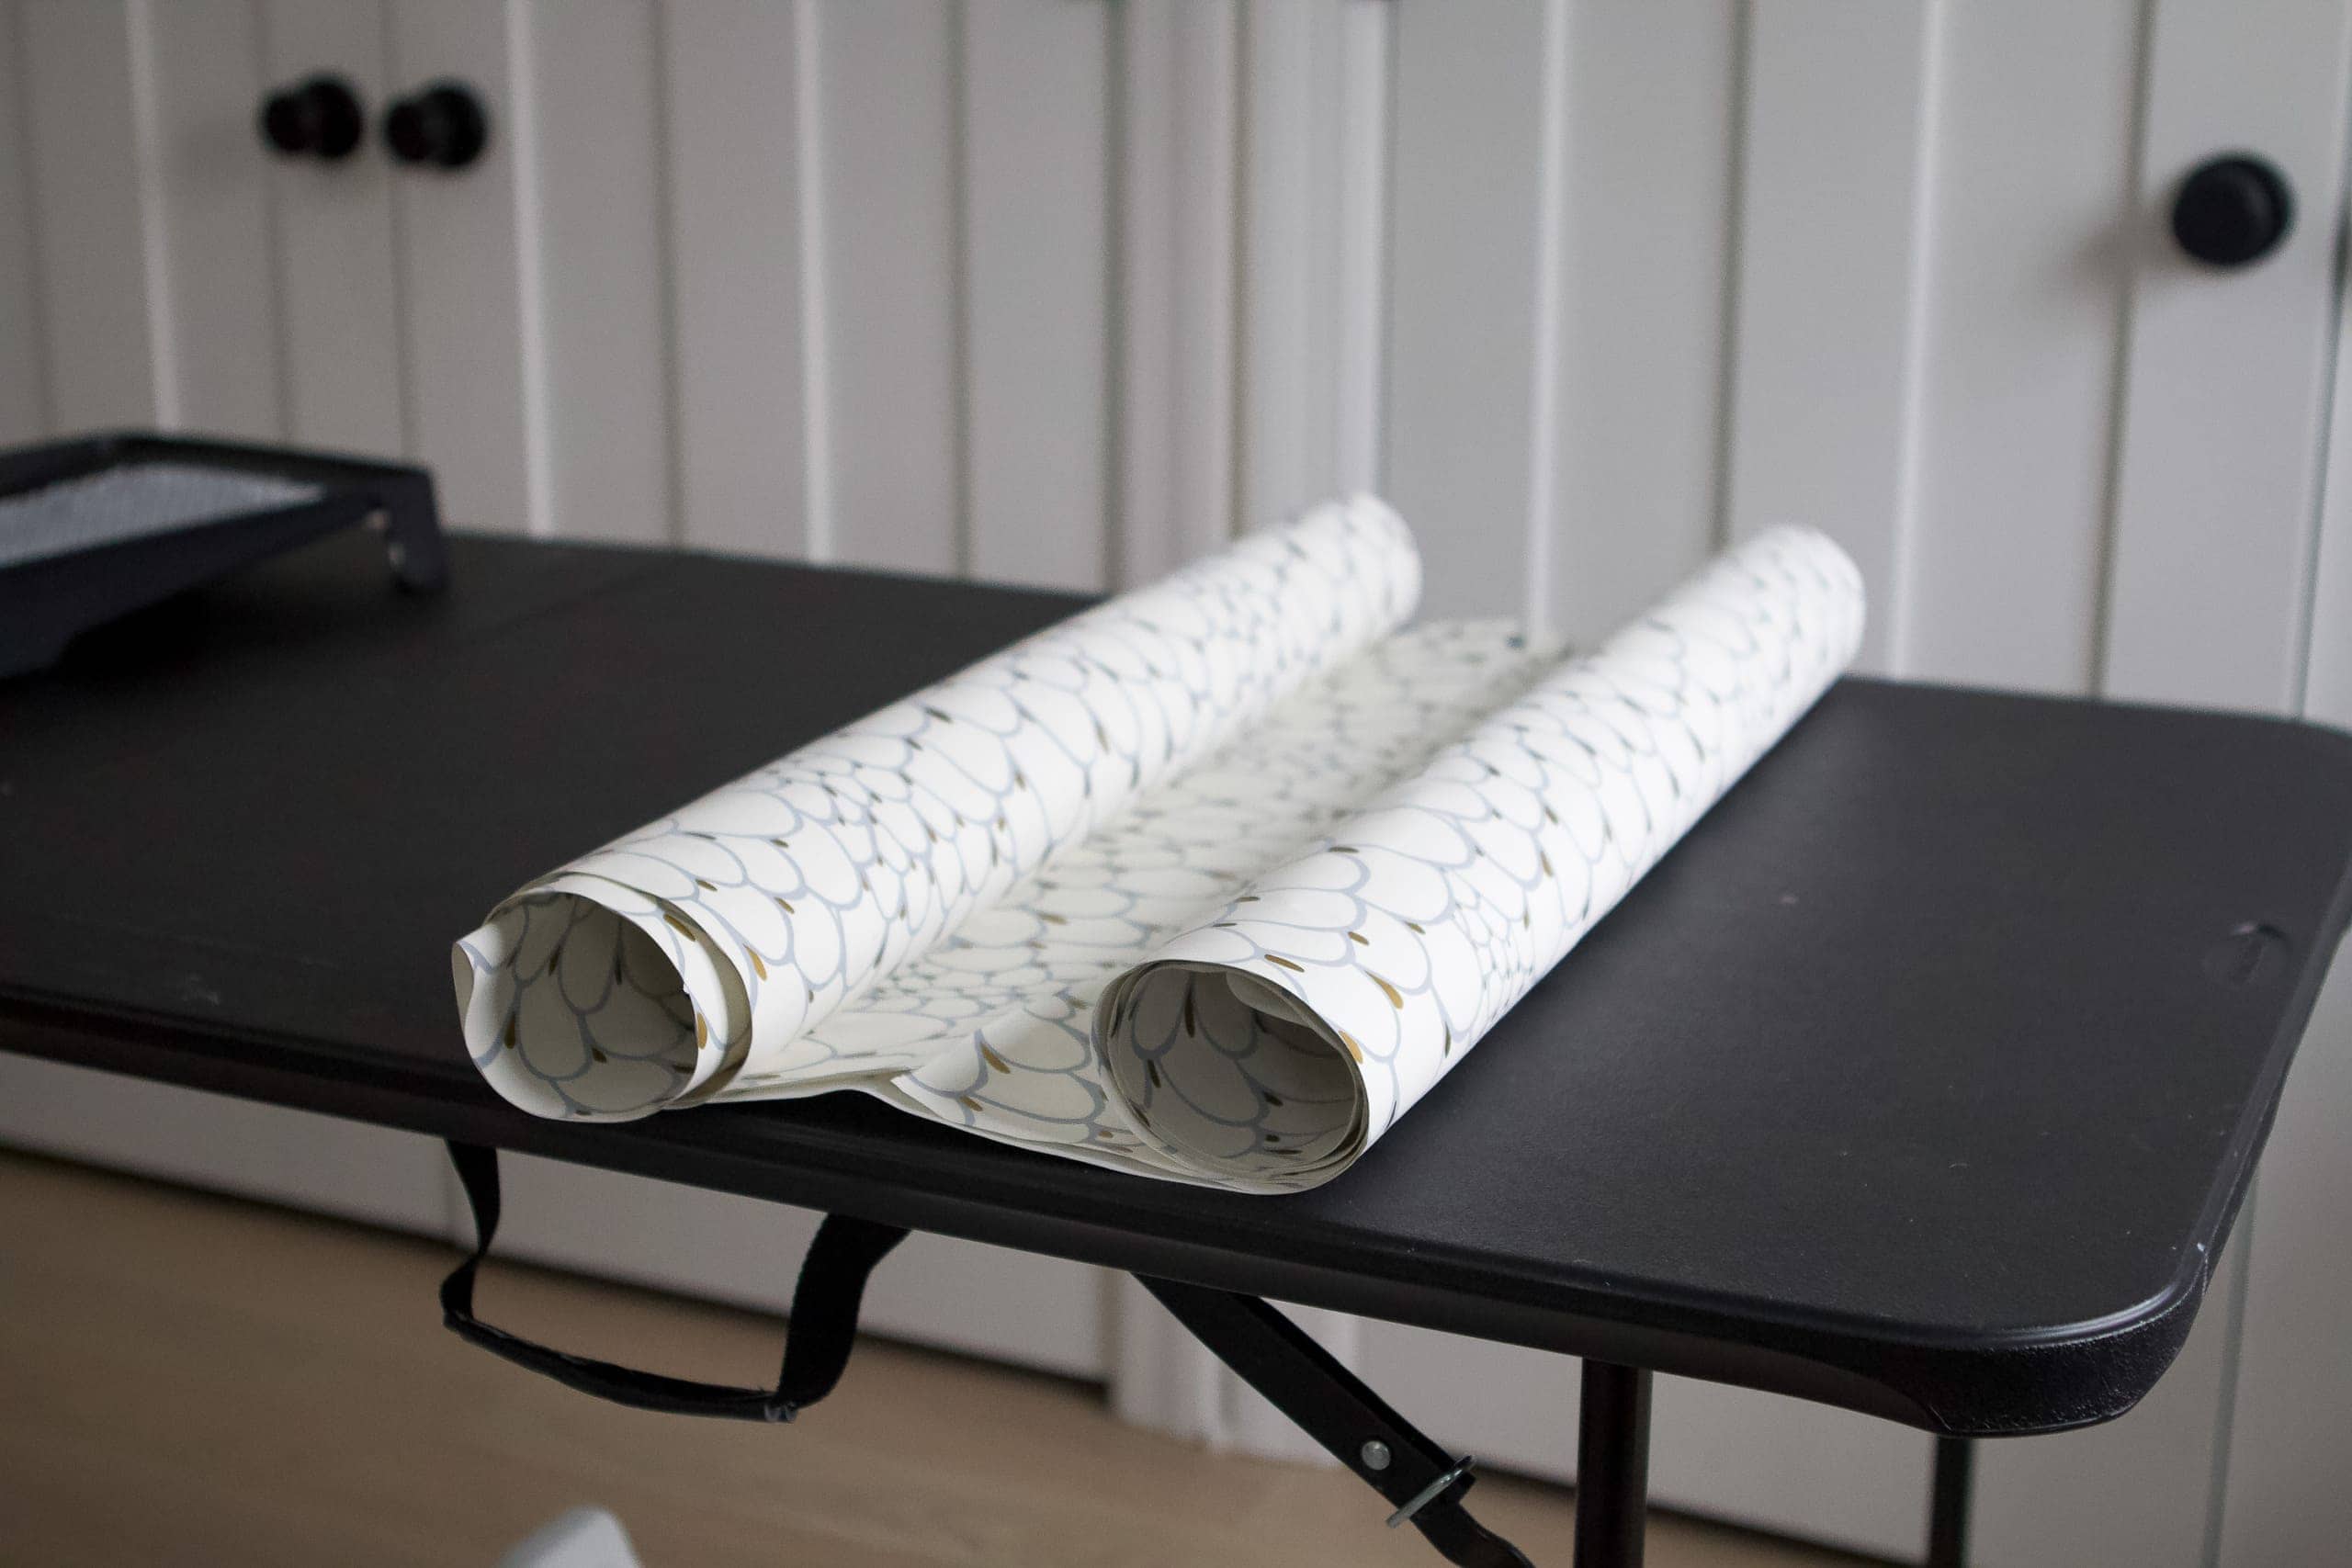
Because this paper calls for the “paste the paper” technique (more on that below), we needed a work surface to cut and paste on. We ended up setting up a folding table right in our bedroom and it worked out great. This was not something I anticipated needing, so we had to dig it out of storage. Learn from me and have it on hand. 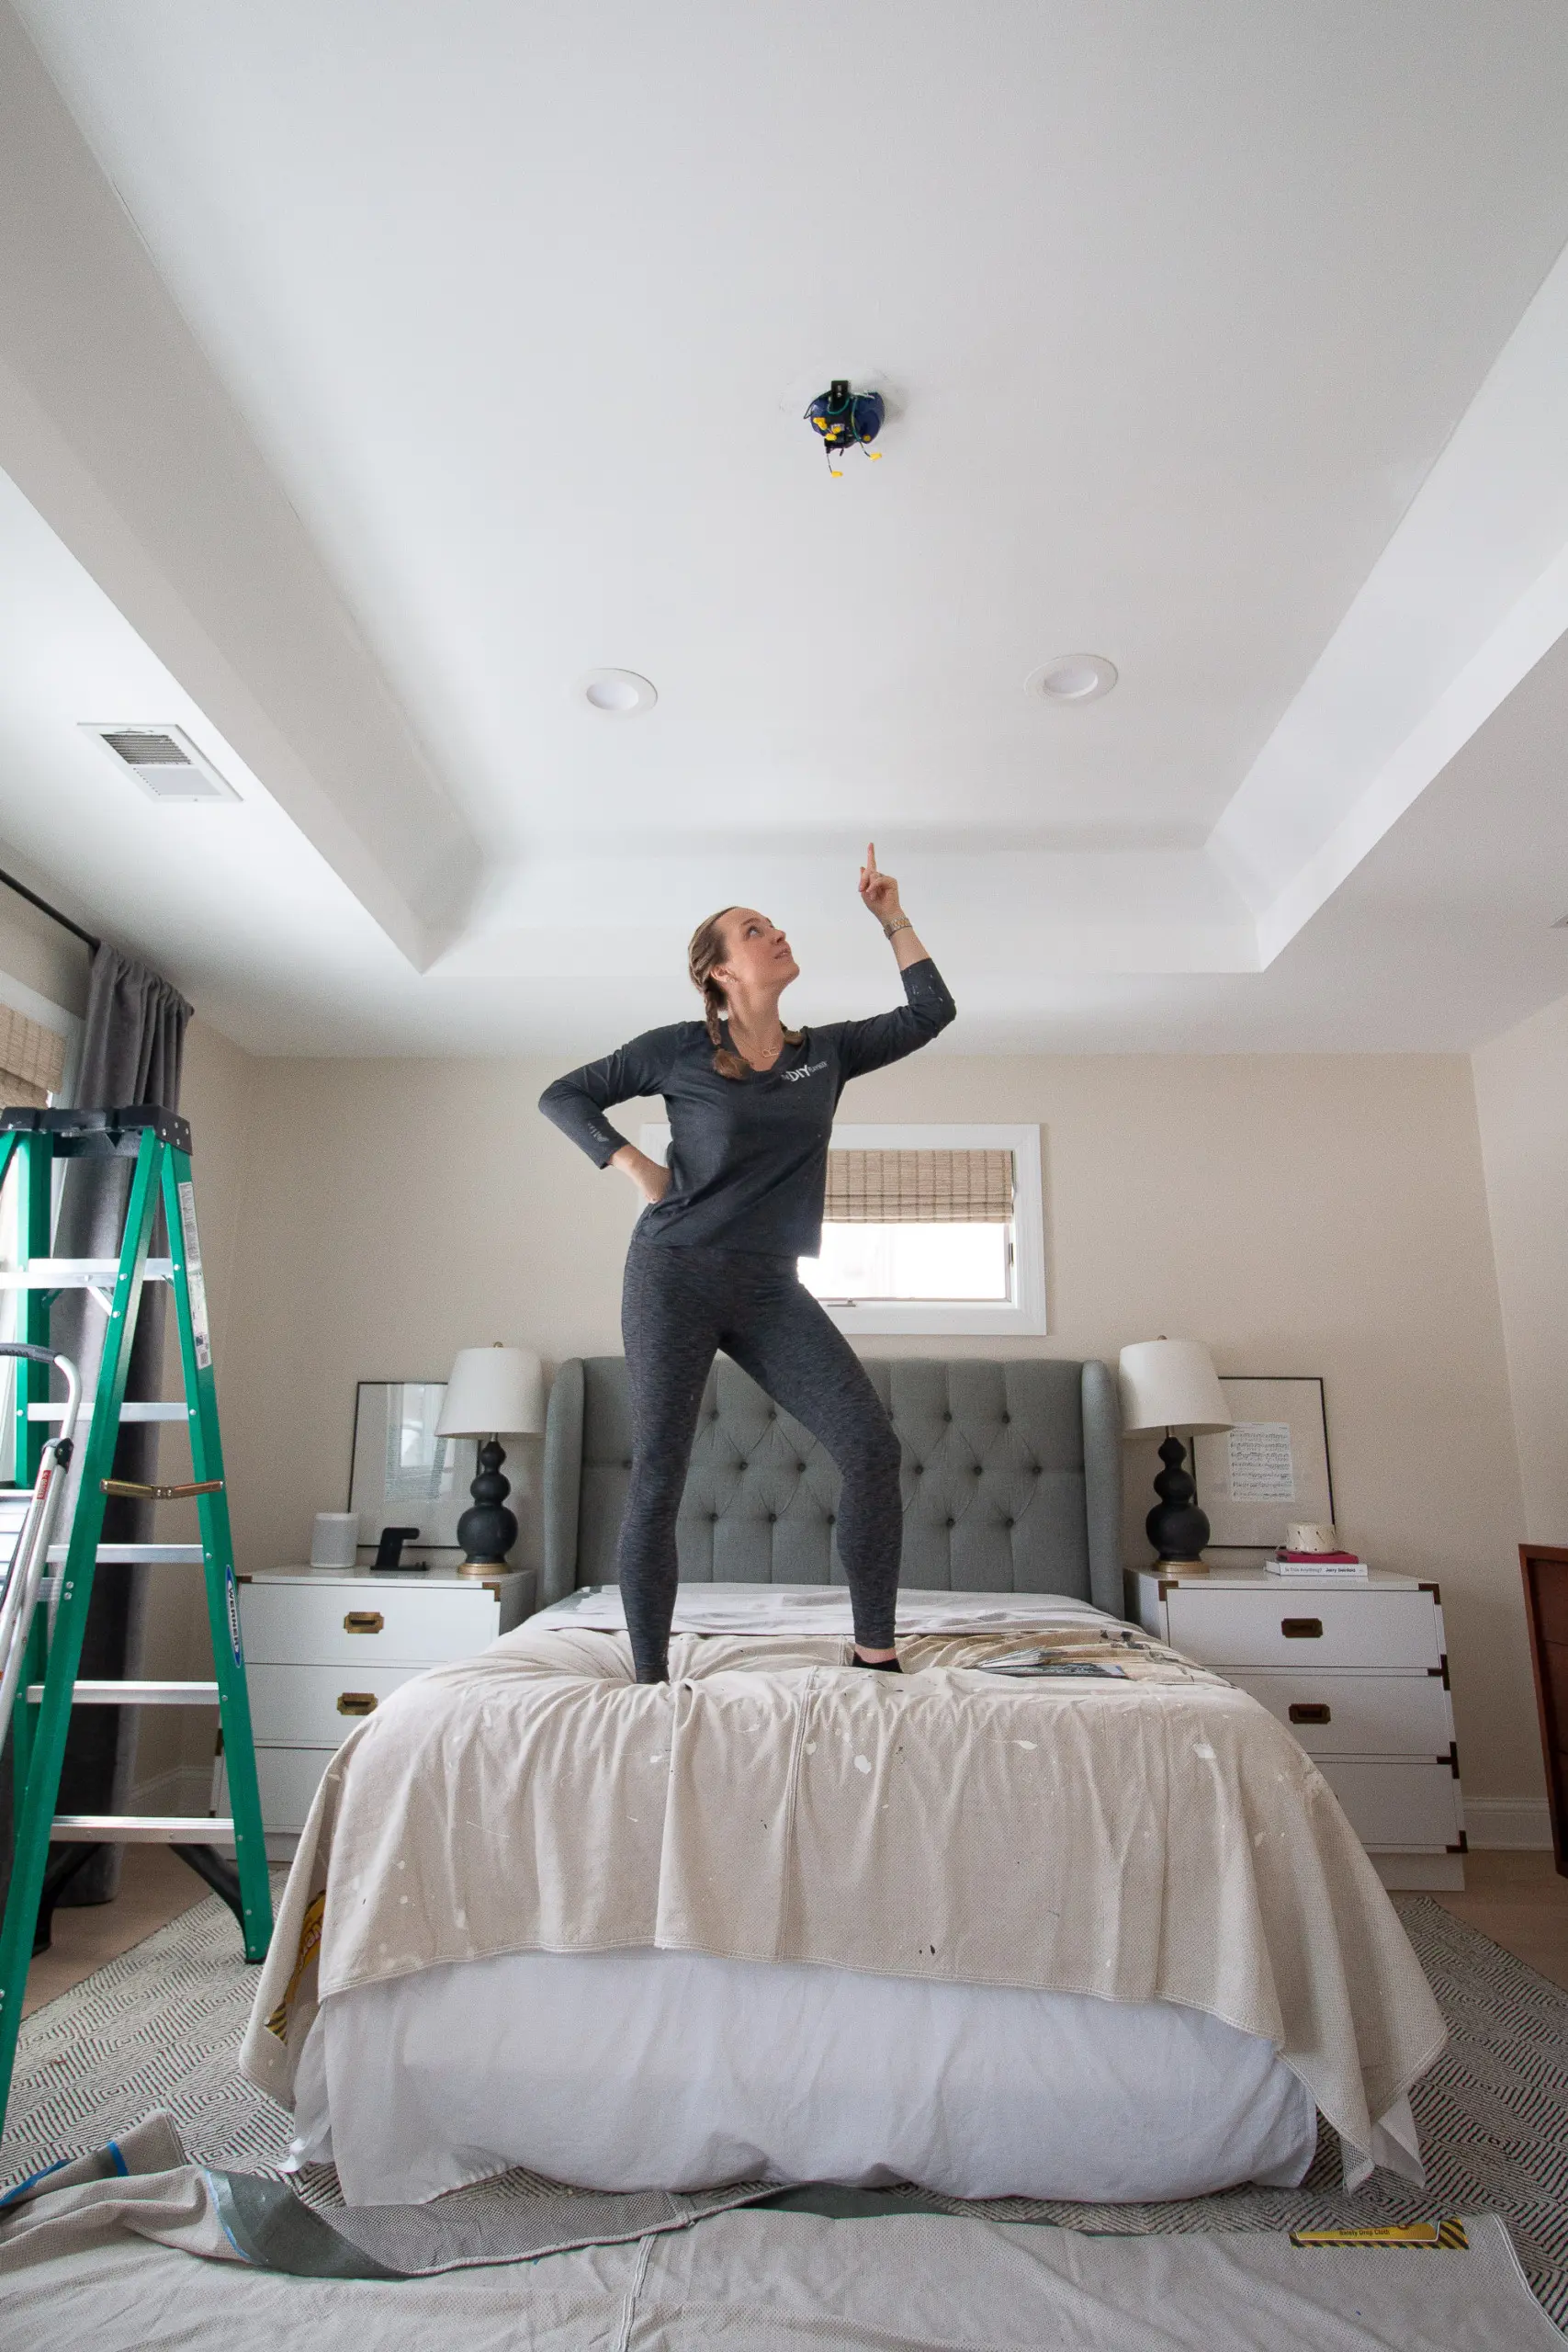
If you’re wallpapering the ceiling, also be sure to have lots of ladders and stepstools on hand. At first, we kept the bed in place and stood on that, but we quickly realized that we needed to be closer to the ceiling. I think we had about four ladders and step stools in place for this project. Better yet? Rent some scaffolding so you can all be on the same level with your tools!
Figure Out Your Pattern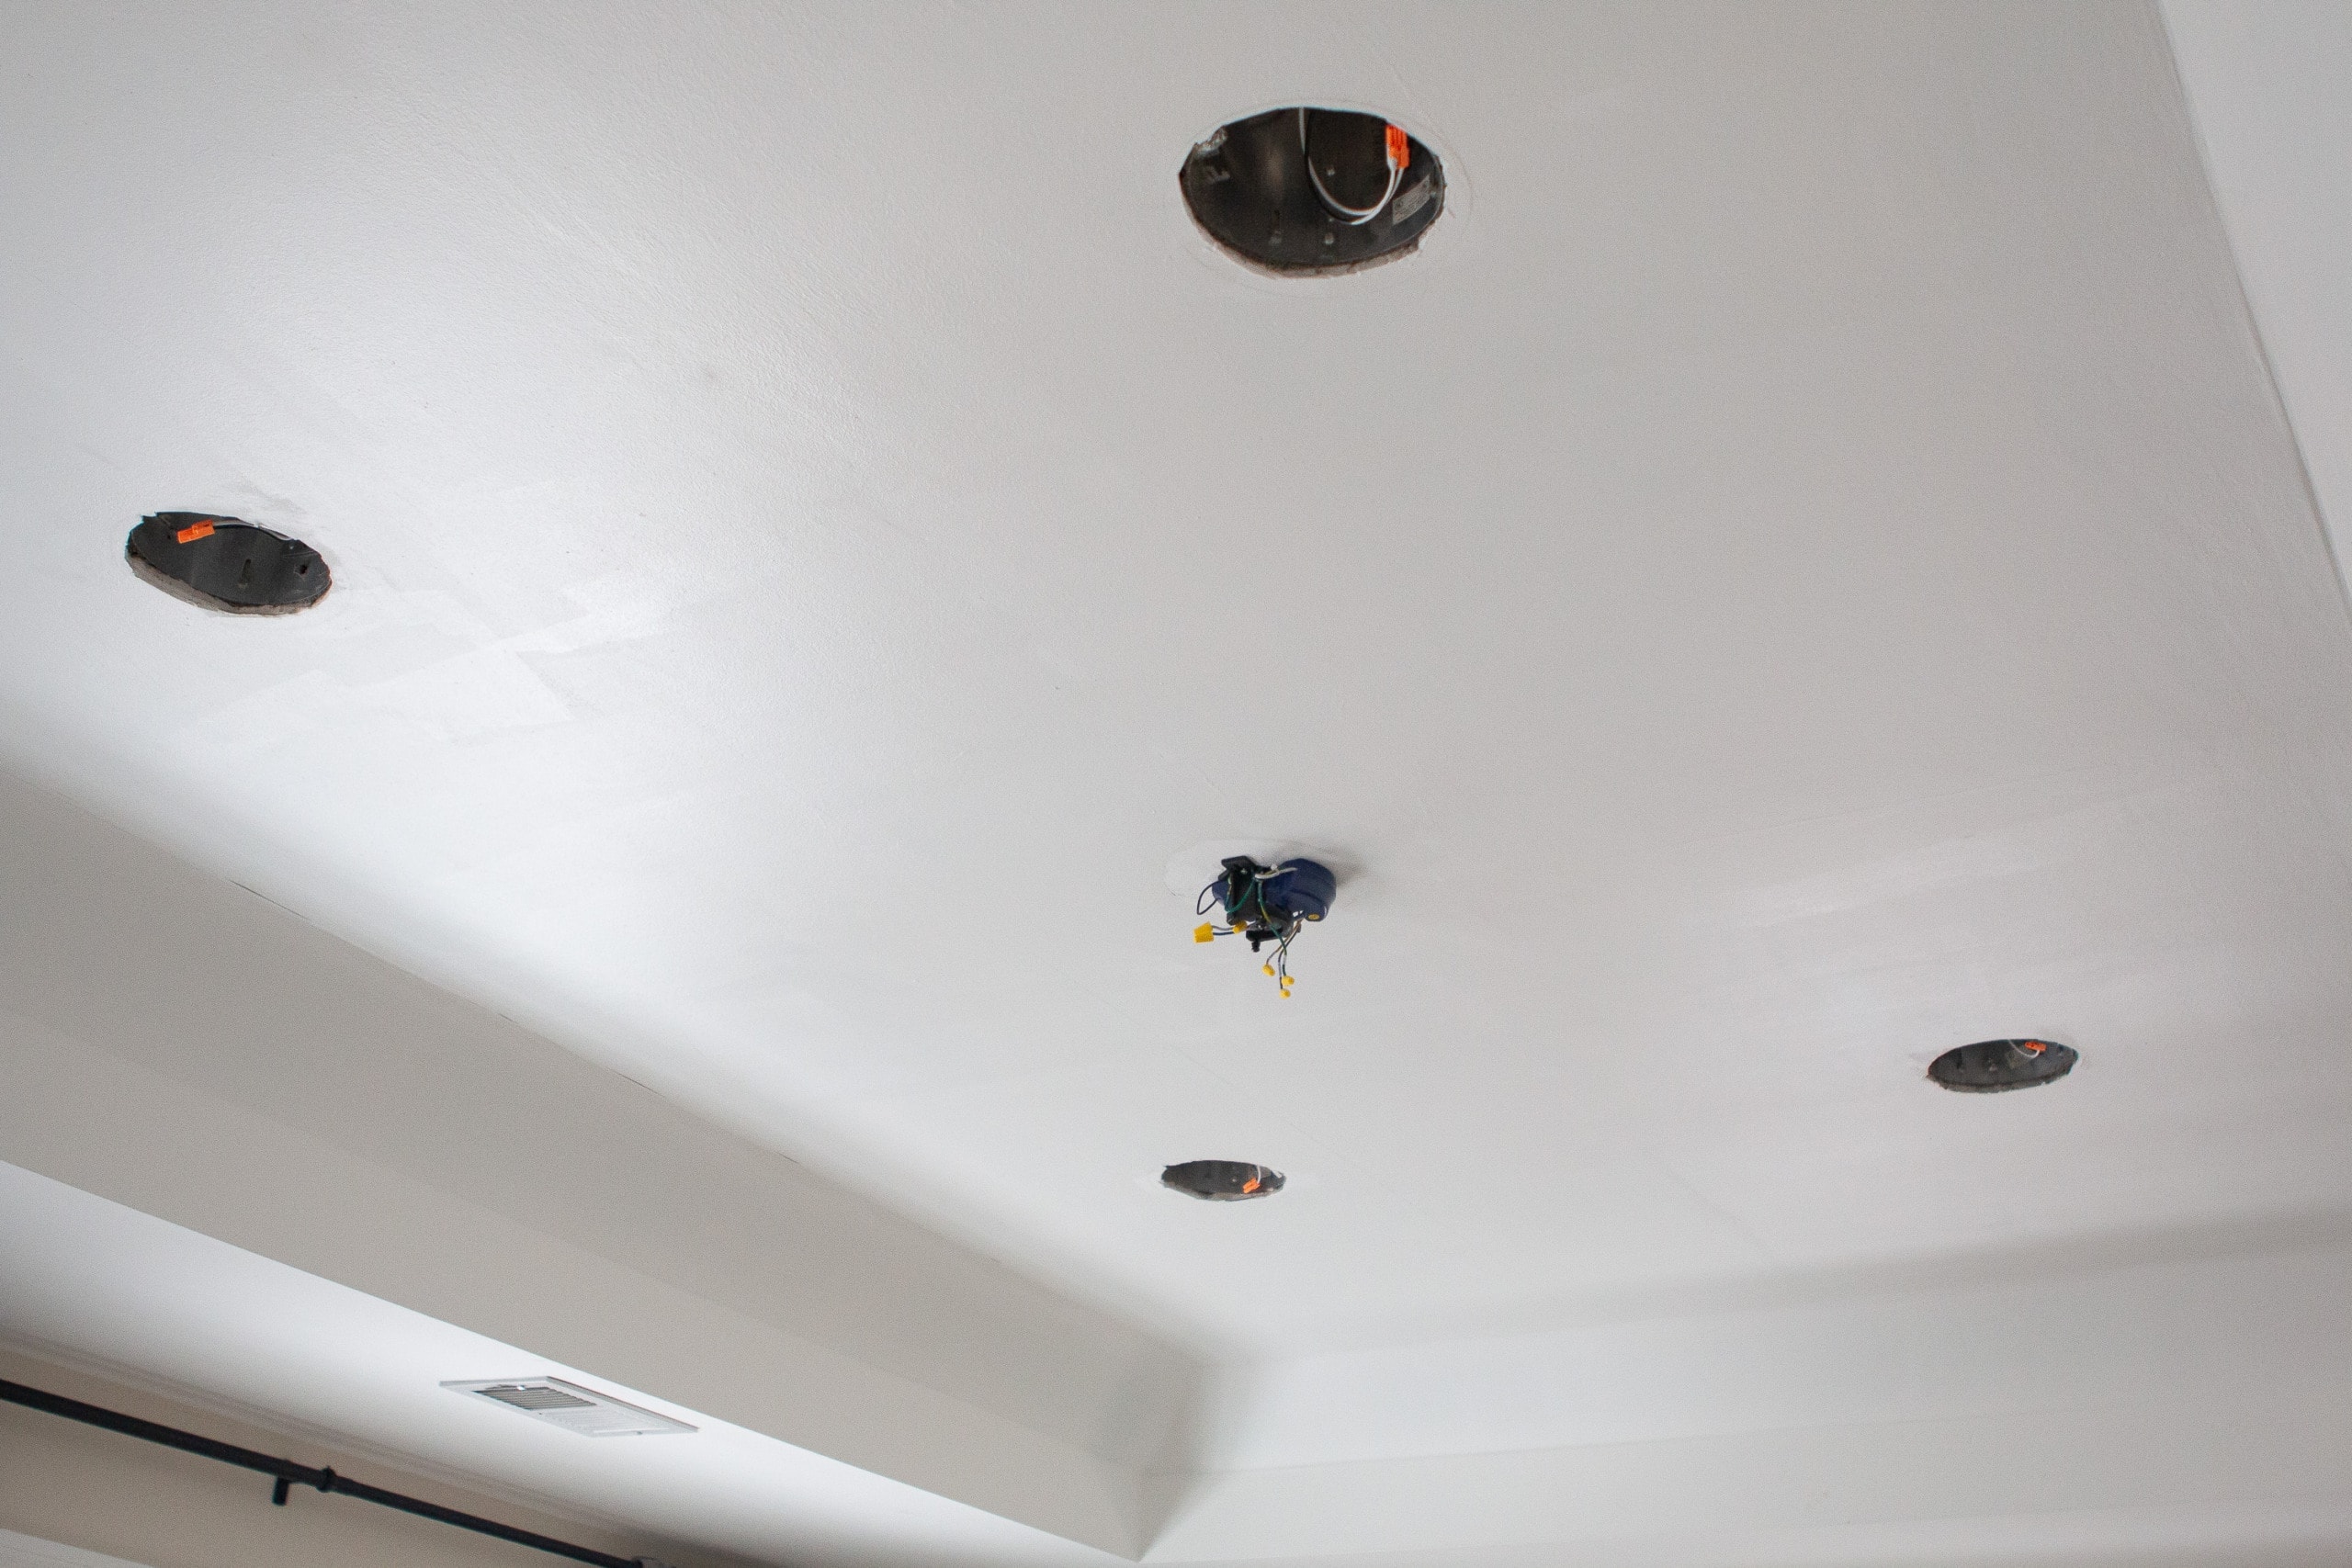
Because we were wallpapering the ceiling and not a wall, we had to figure out how exactly we wanted to lay the paper. Which way was up? Finn and I went back and forth and we finally decided that we wanted it to look best when we were laying in bed. So that way, when we looked up, it was like we were looking at a wall straight on. Once we had that figured out, we could plan how to install it up there. 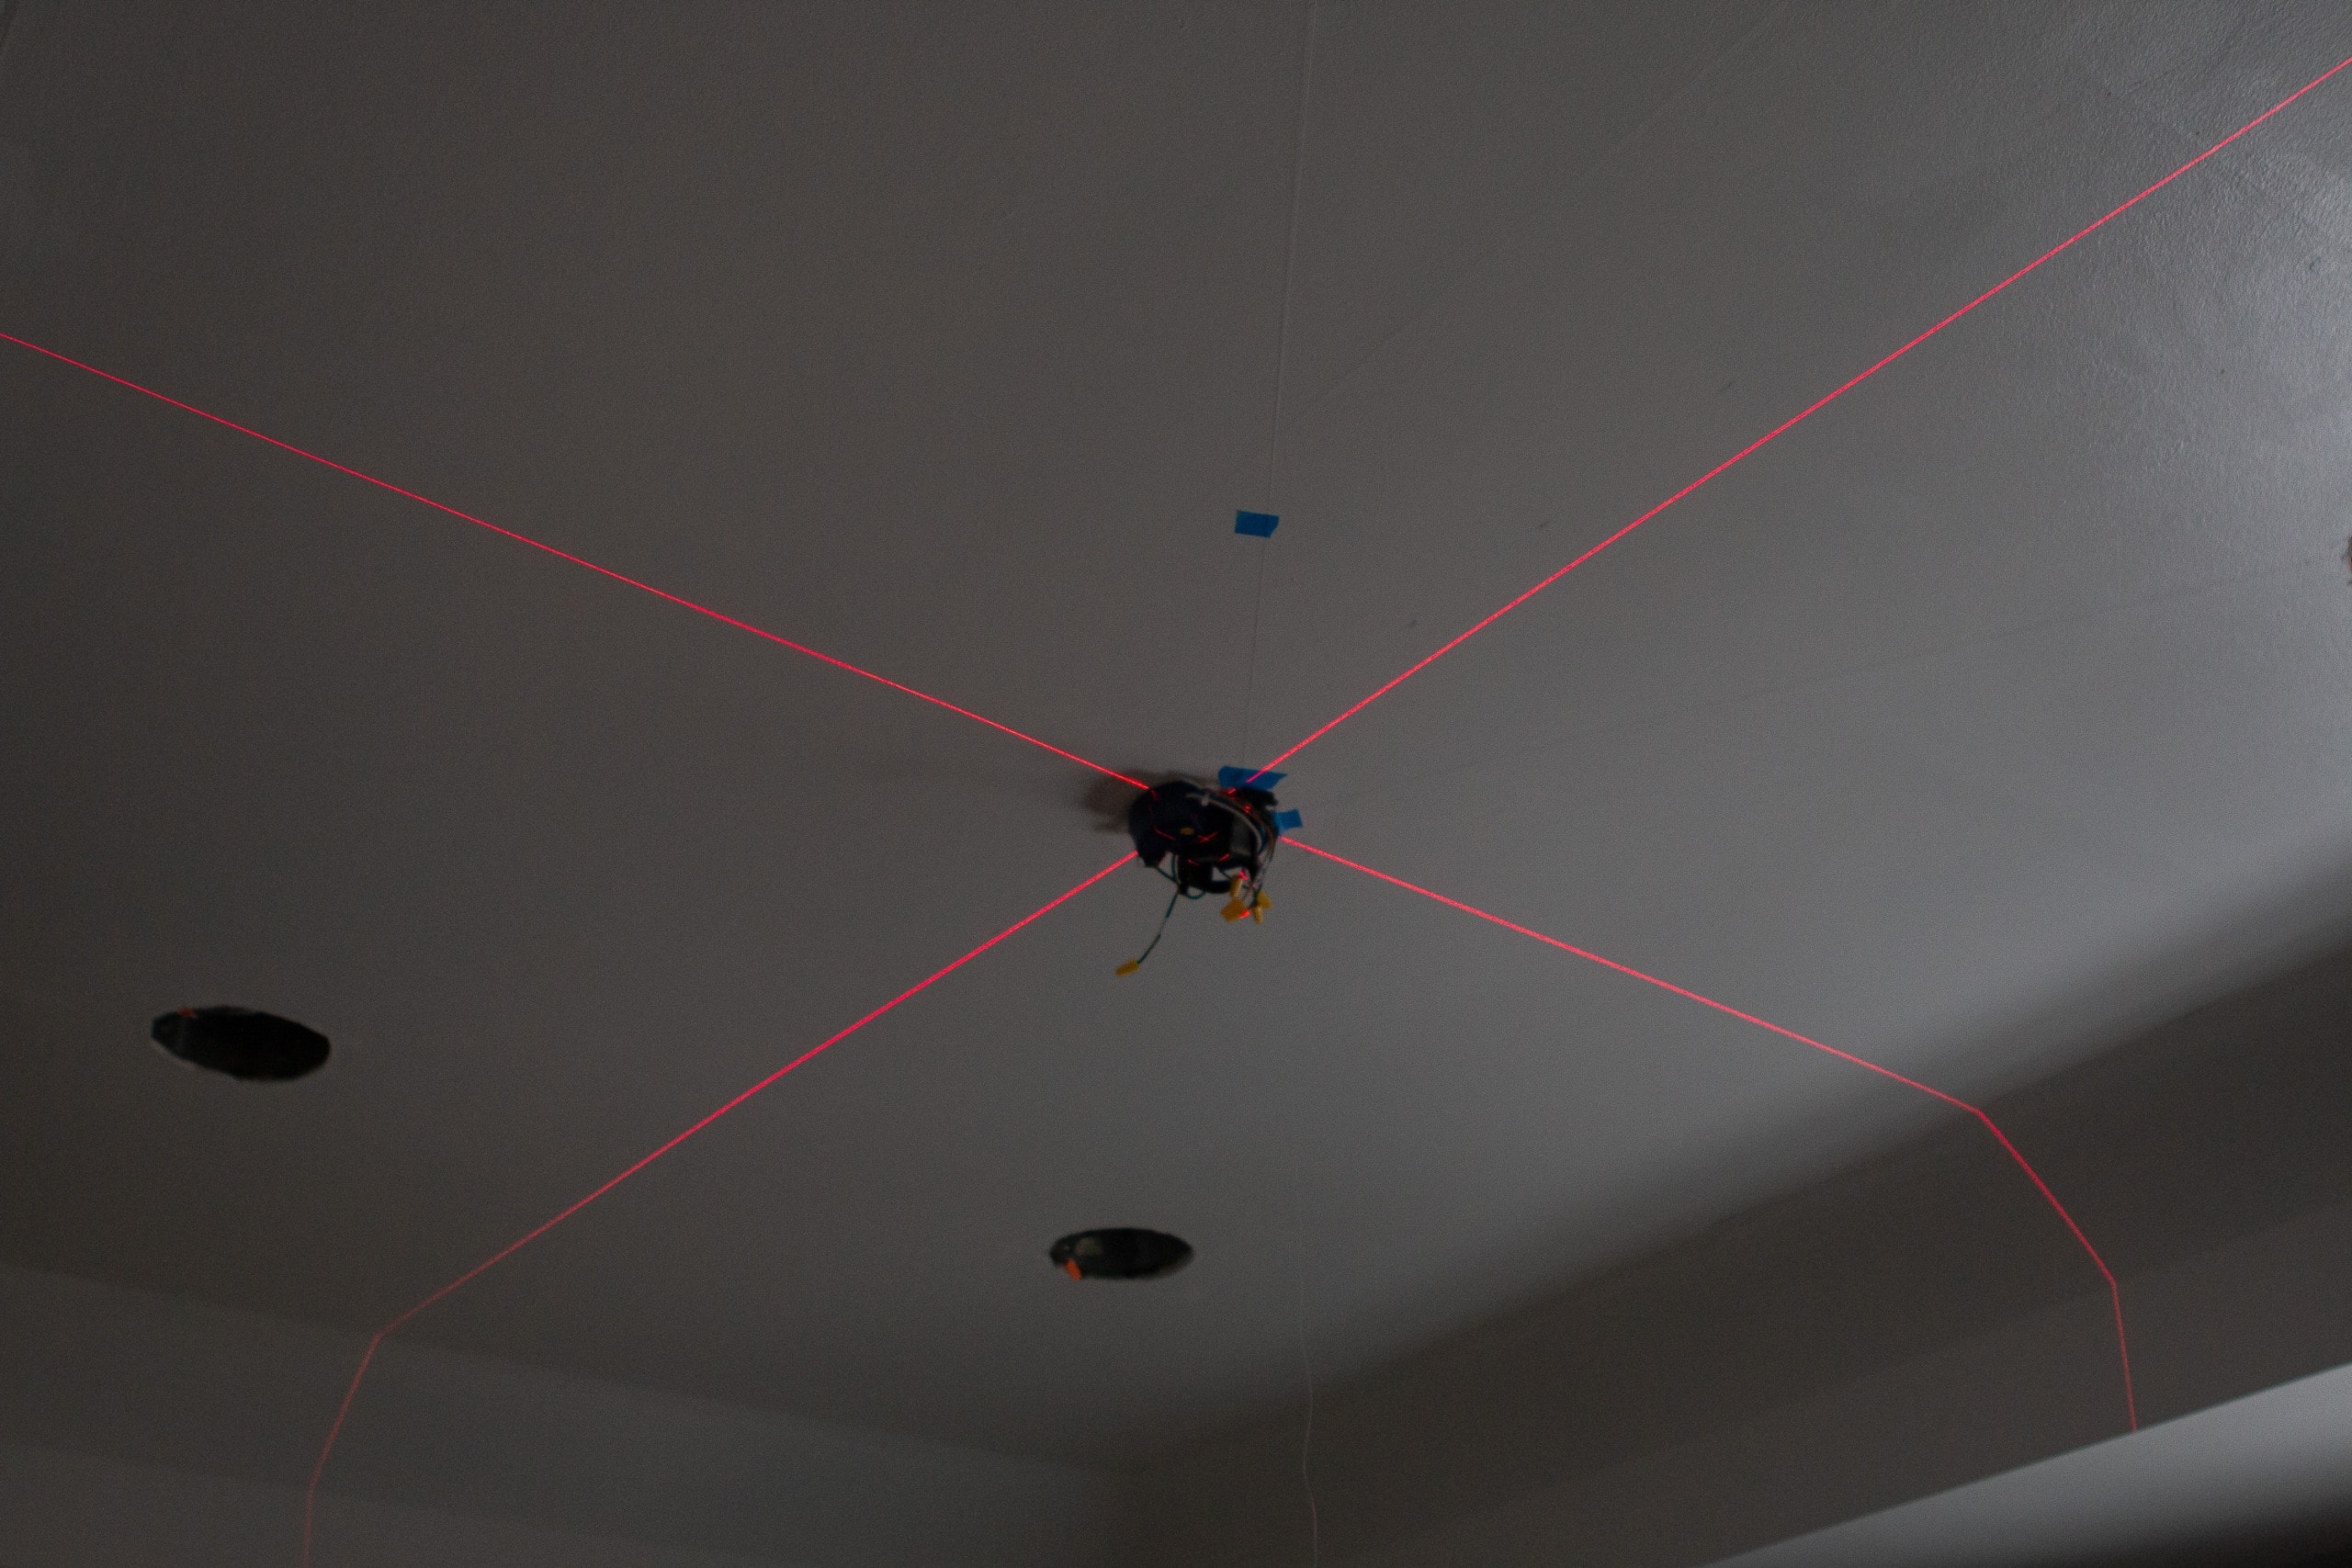
Okay, so here’s the tough part – figuring out all of the math and how the heck to get your paper straight. When the paper goes on a wall, it’s a lot easier because you can use a level and gravity! With a ceiling, it’s a lot tougher to make a level line. Our ceiling is far from even and straight, as most ceilings are, so we ended up using a laser level to visualize the long line across the ceiling.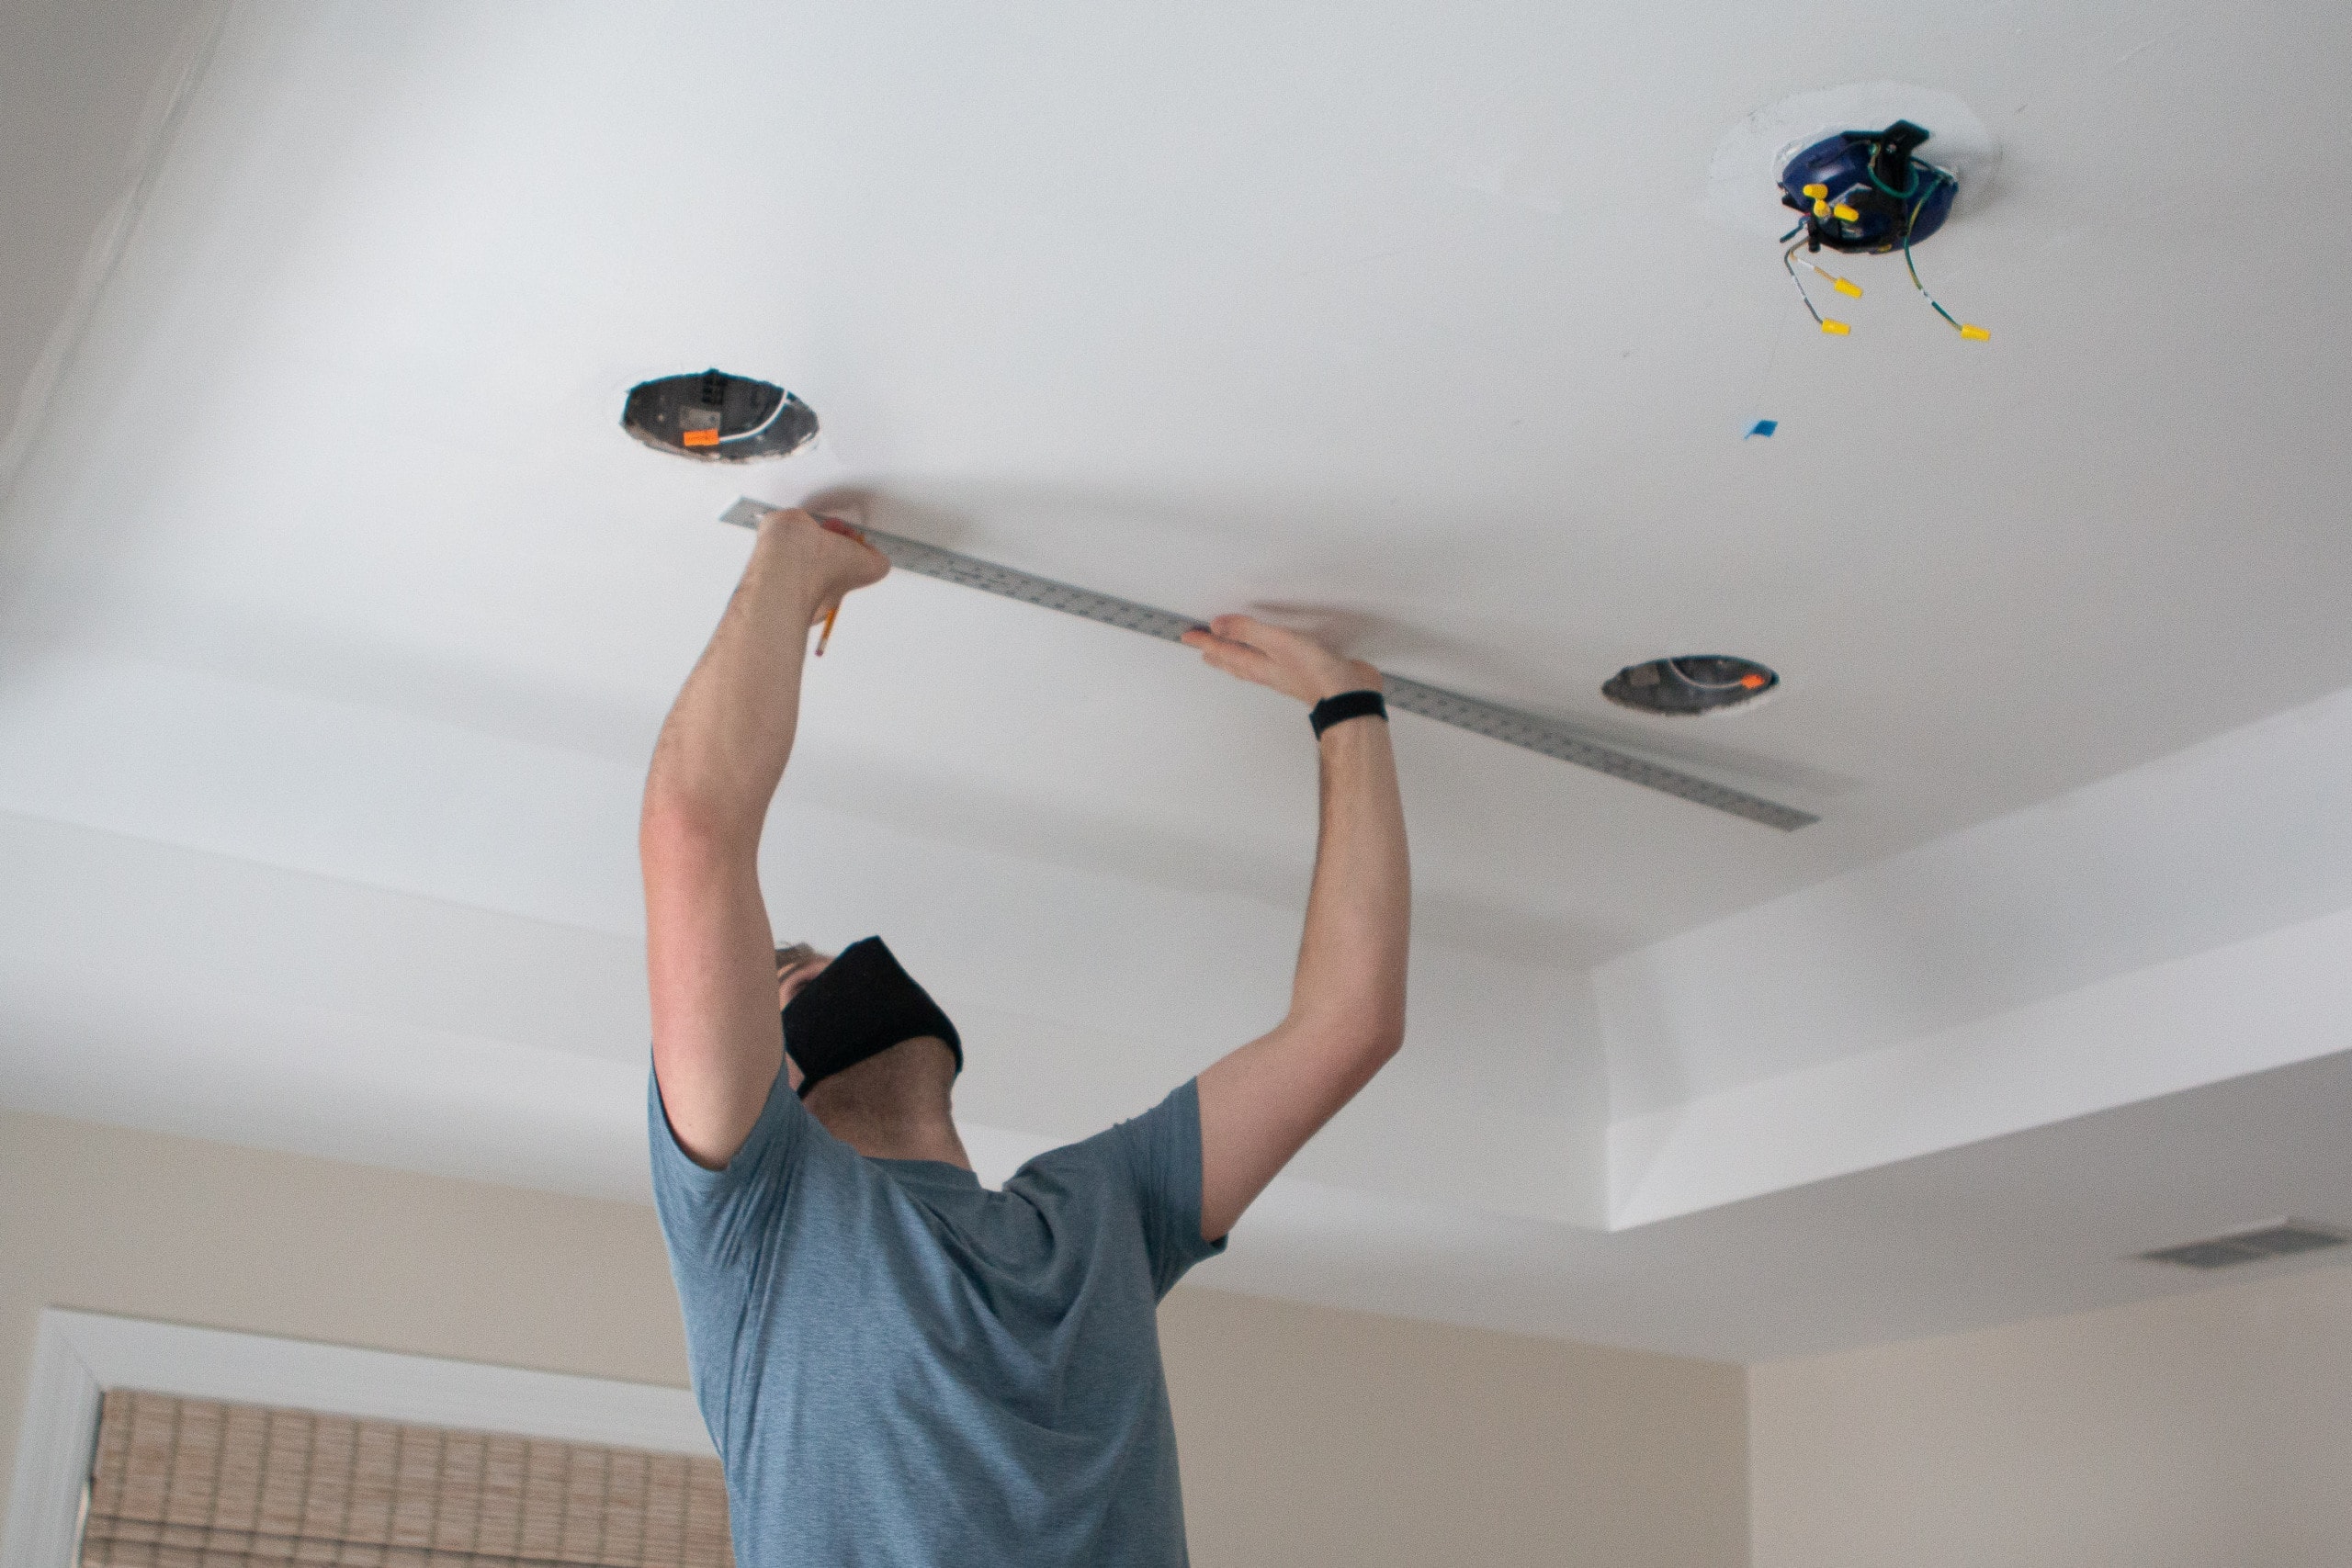
We then went 13.5 inches off of that center line, which is half the width of the wallpaper, and drew a straight line all the way across the ceiling. This would be our guide for the first strip of wallpaper. As long as that first strip was aligned with the line we drew, it would be straight and the rest of the strips could follow suit.
Cut Each Panel First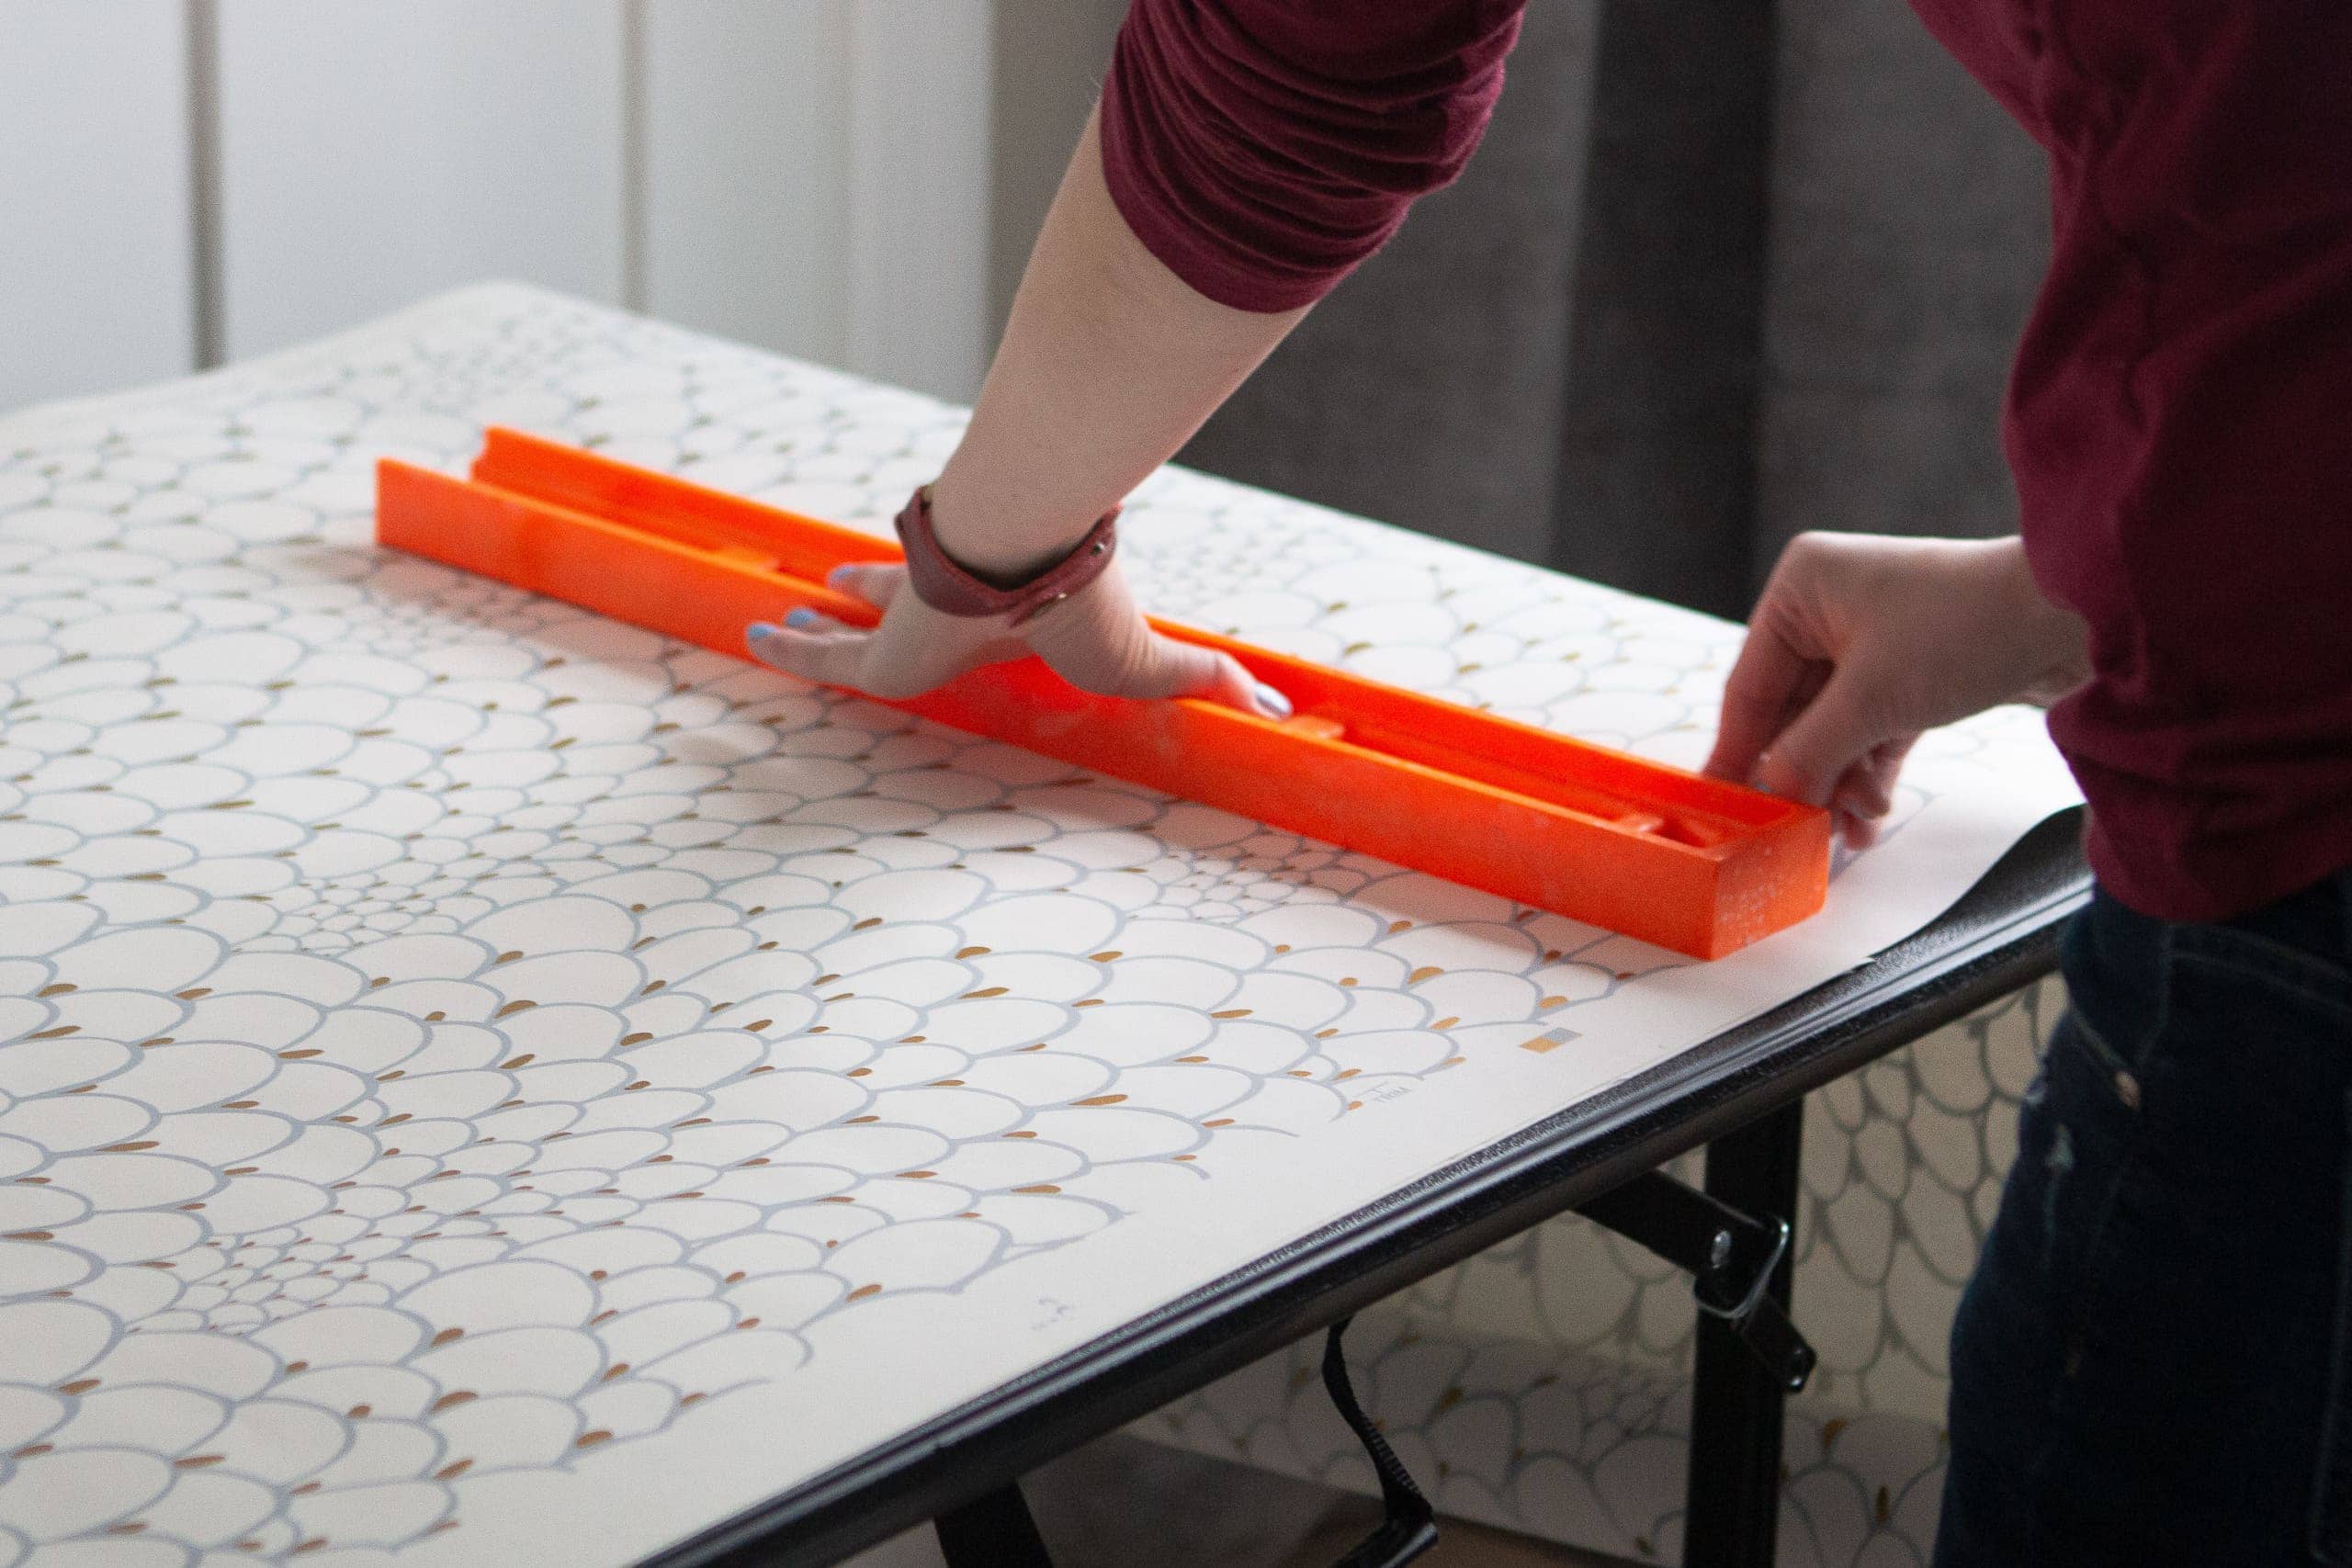
With our gameplan marked on the ceiling, it was time to get to work on the wallpaper. We measured the length of the ceiling and added a few inches on each side, just in case. Erin then used a razor and a straight edge to cut that first strip. Now, instead of going ahead and putting that piece up on the ceiling, we decided to cut the rest of our strips. It’s a heck of a lot easier to match the patterns on the ground than it is up high near the ceiling, so we were able to cut strips two and three right then and there. This is key!
Paste the Paper & “Book It”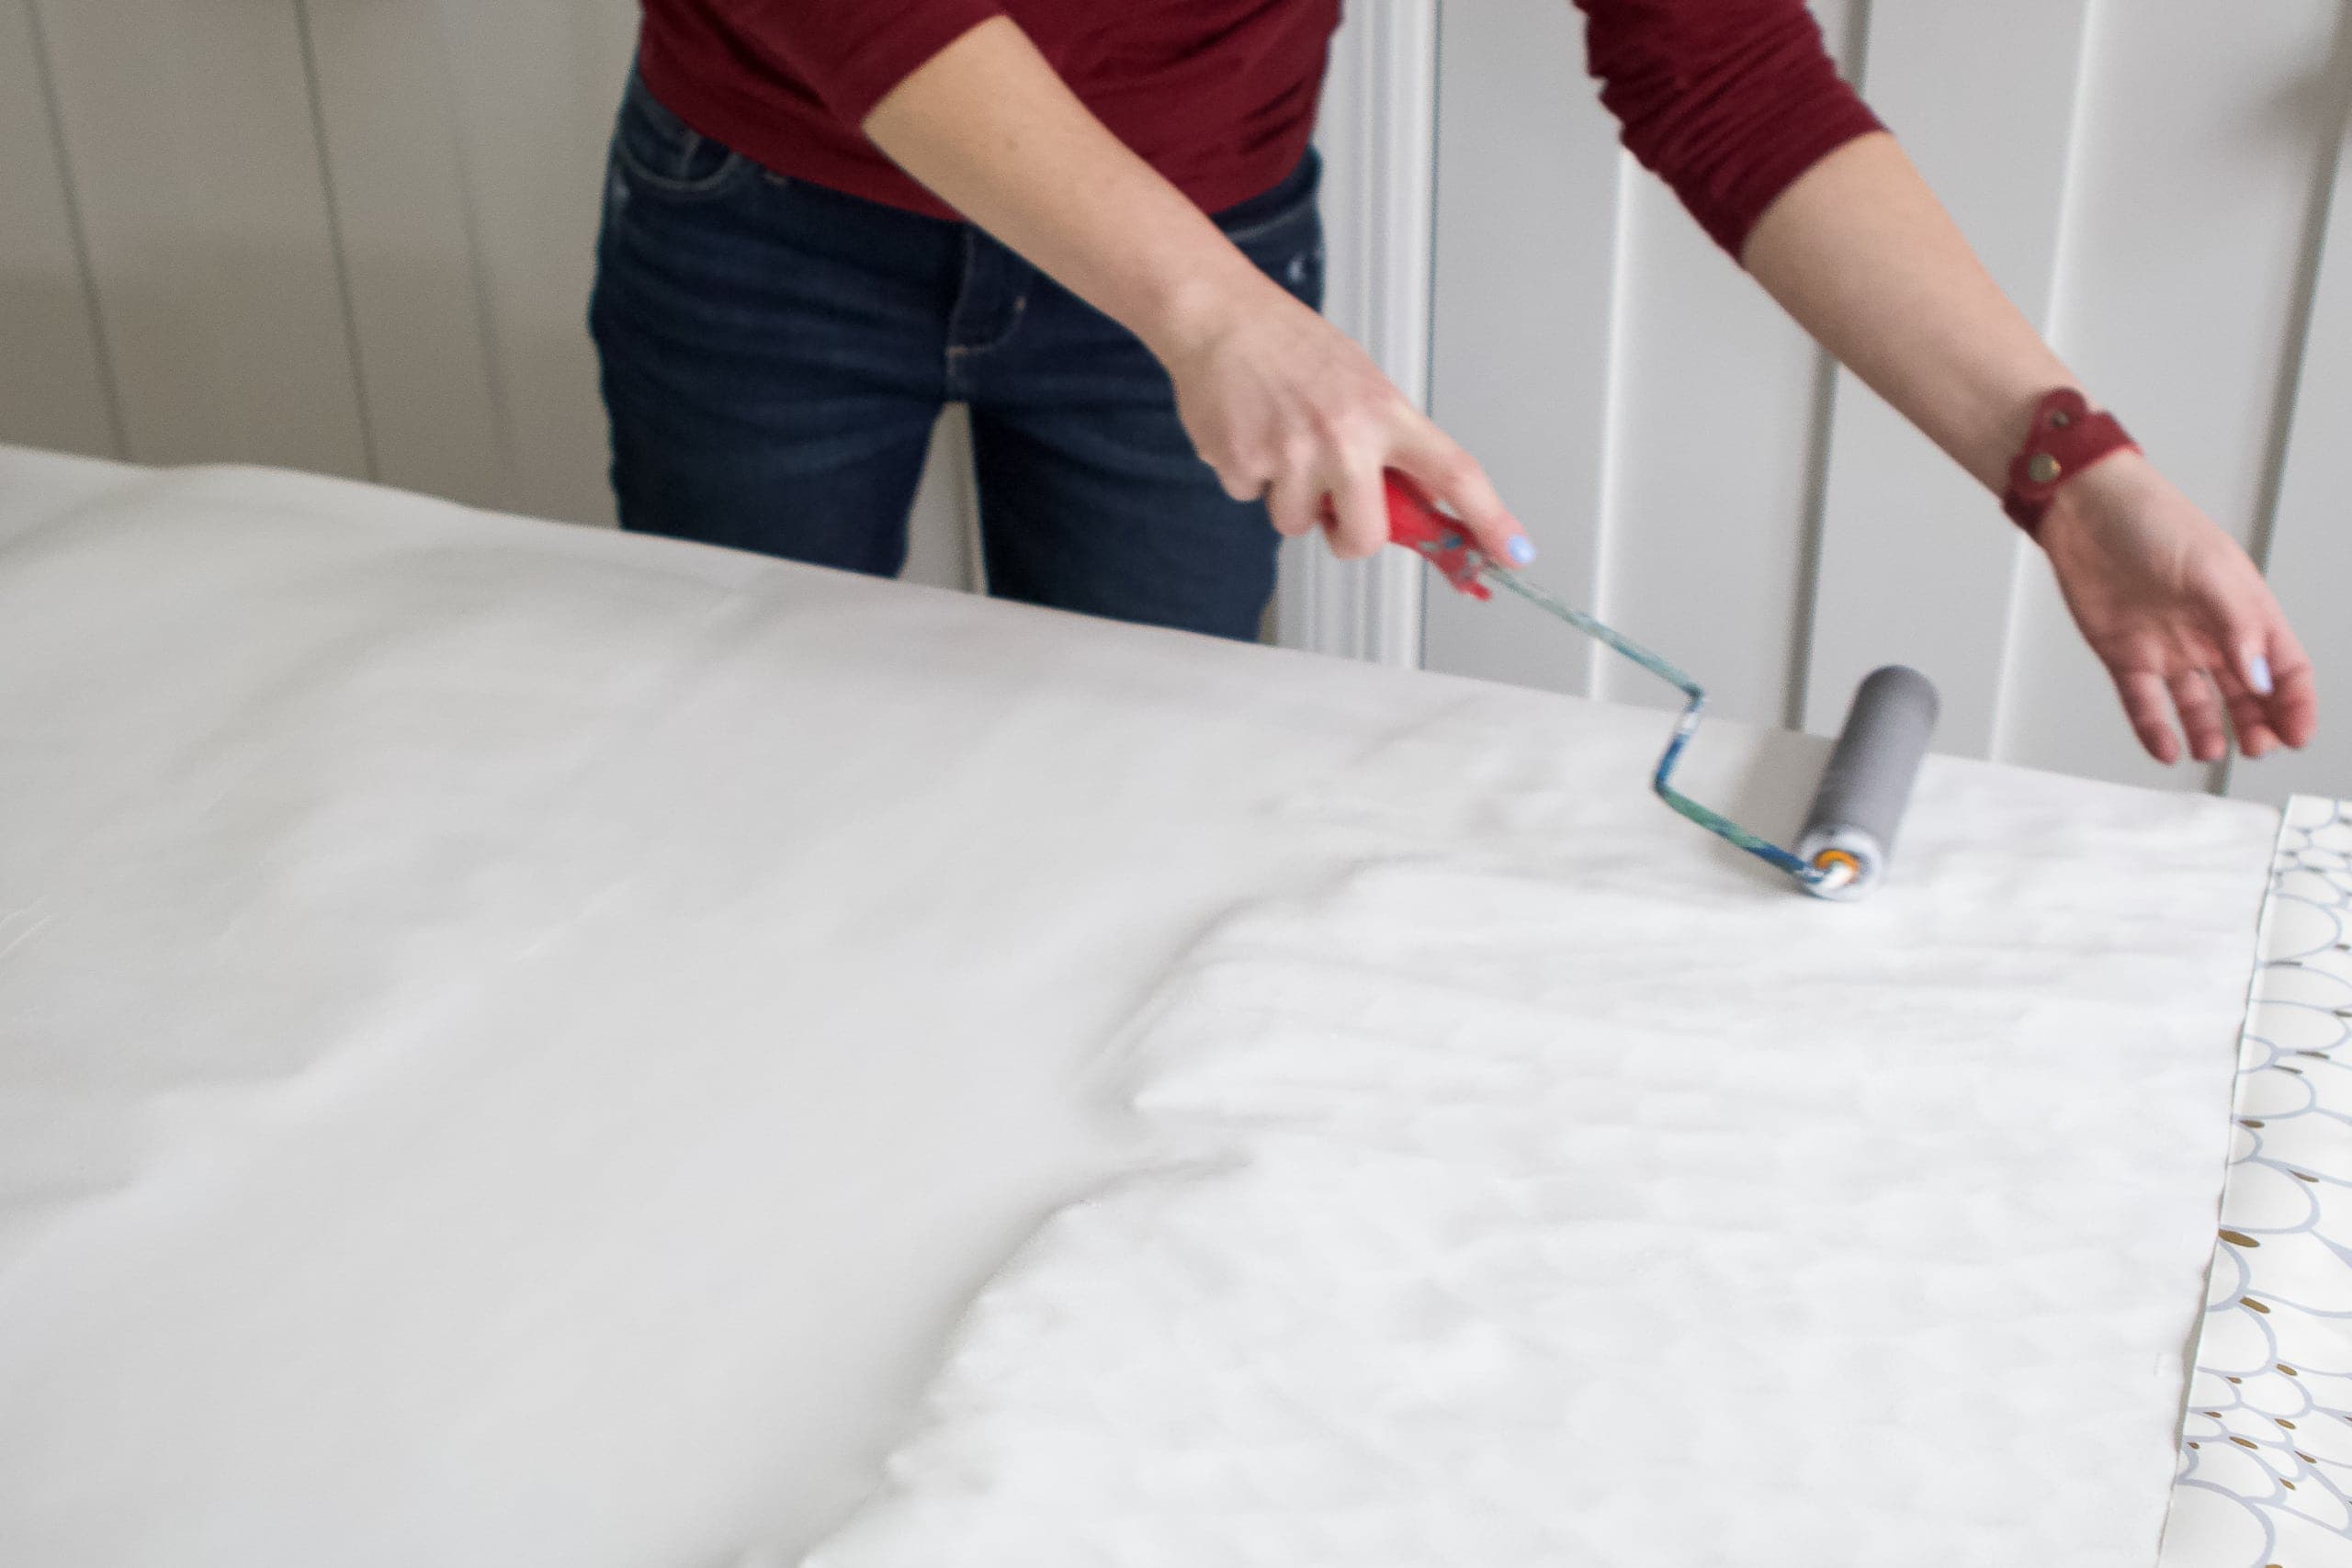
This next step was new to me. I’ve only used peel and stick wallpaper or “paste the wall” wallpaper, where you put the glue on the wall and then apply the dry wallpaper. This wallpaper calls for a “paste the paper” technique, where you put all of the glue on the back of the paper first, “book it”, and then apply it to the dry ceiling. We went ahead and poured the glue into a paint tray and then rolled it onto the back of the wallpaper with a smooth foam roller, being pretty generous with the glue and making sure the edges were covered. Here is the exact glue that Erin recommends for this particular wallpaper. 
Okay, so what the heck is “booking the paper”? Essentially, you fold the paper onto itself for about five minutes to allow the paper to relax before applying it to the wall. We brought the end of each sheet into the middle and let it hang like that for five minutes before adding it to the wall. Don’t wait longer than that! Erin warned us that once the glue is on, the timer begins! You want to be ready to hang so it doesn’t book for too long.
Apply Your First Strip 
With the clock ticking, the three of us got up on our ladders and started from the “top” to apply the paper, smoothing it the best we could with the brush. Gravity did make this a bit trickier, but with six hands we were able to keep the paper from falling to the ground. One person was the holder (usually me or Finn), another person worked to smooth, and the other made sure it was aligned. I’m not gonna lie, Erin did most of the hard work here! Finn and I were her assistants and we just did as we were told. Thank goodness for her expertise!
The glue should really grab the wallpaper and keep it in place. Erin recommends testing a piece first to make sure that it really holds it to the wall. That way you’ll know the glue is working properly. Also, be sure to turn off your fans or heaters as that will dry the glue out! It was a cold day when we installed, but we kept the heat off upstairs so it wasn’t blowing on the wet paper. 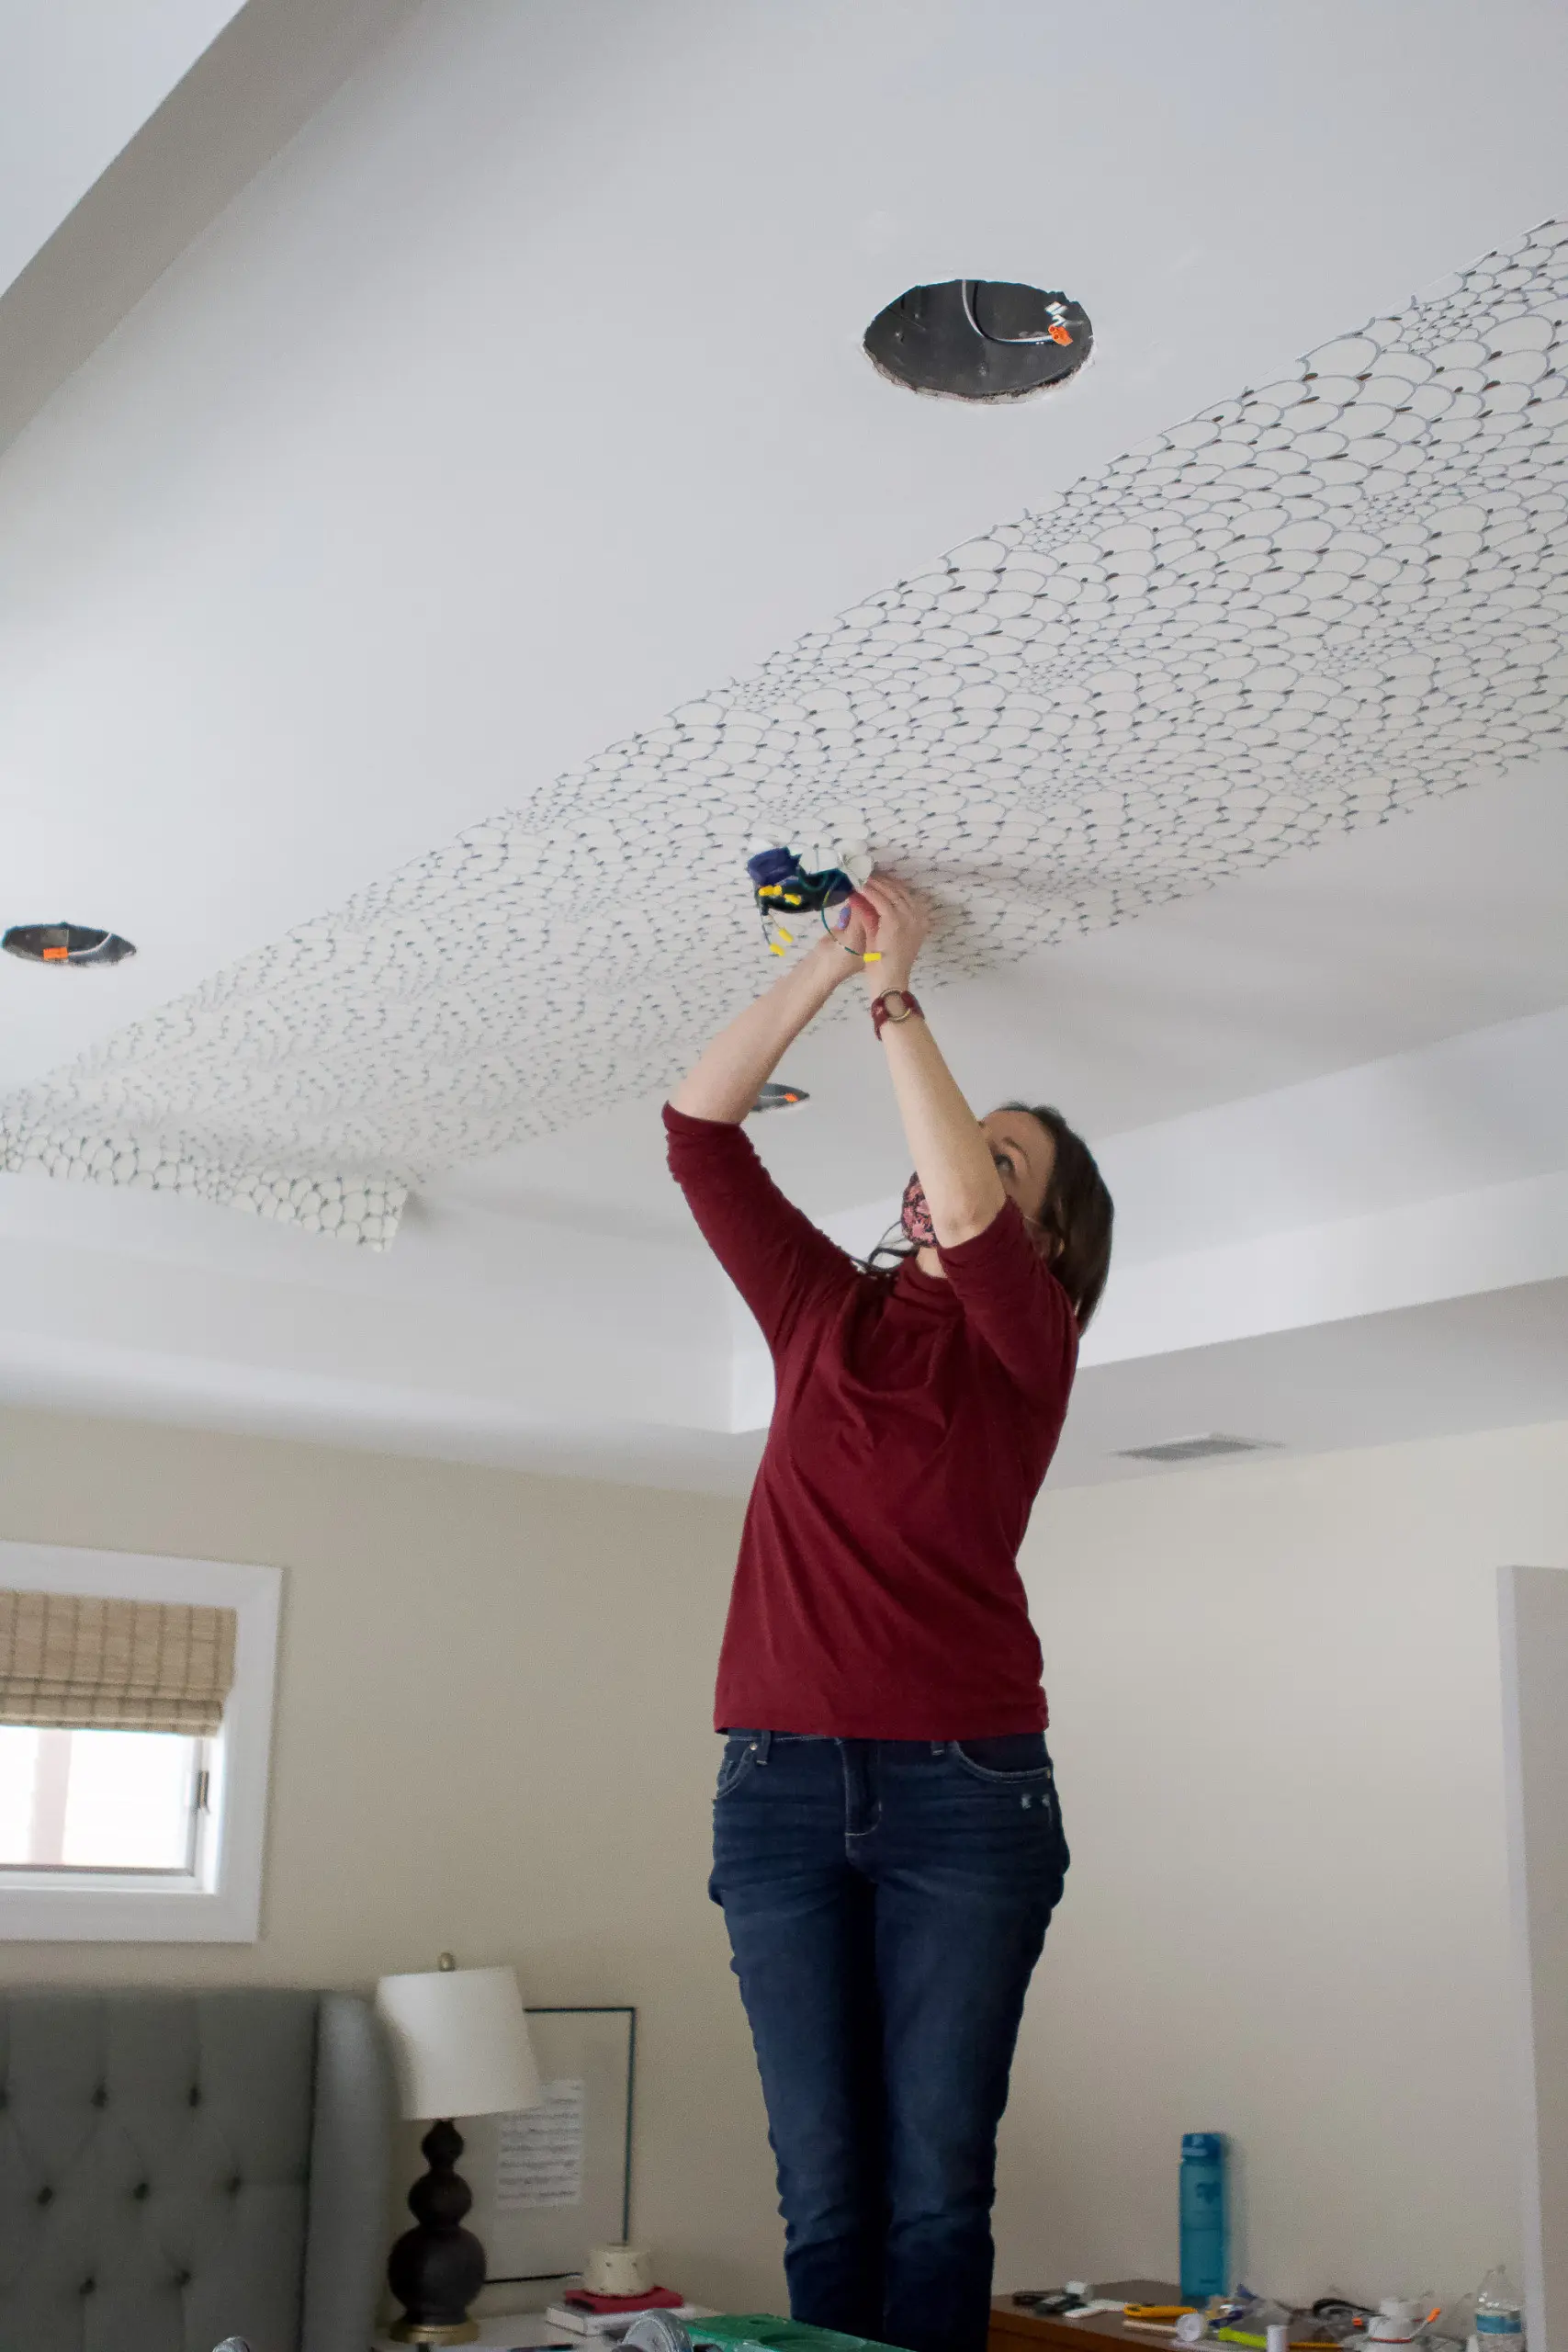 That first strip went over the ceiling fan area, so we had to cut around it the best we could. You’ll want to create little slits in the paper to fit the piece through and then you can go back over the area to cut the excess and get the wallpaper smoothed around the object.
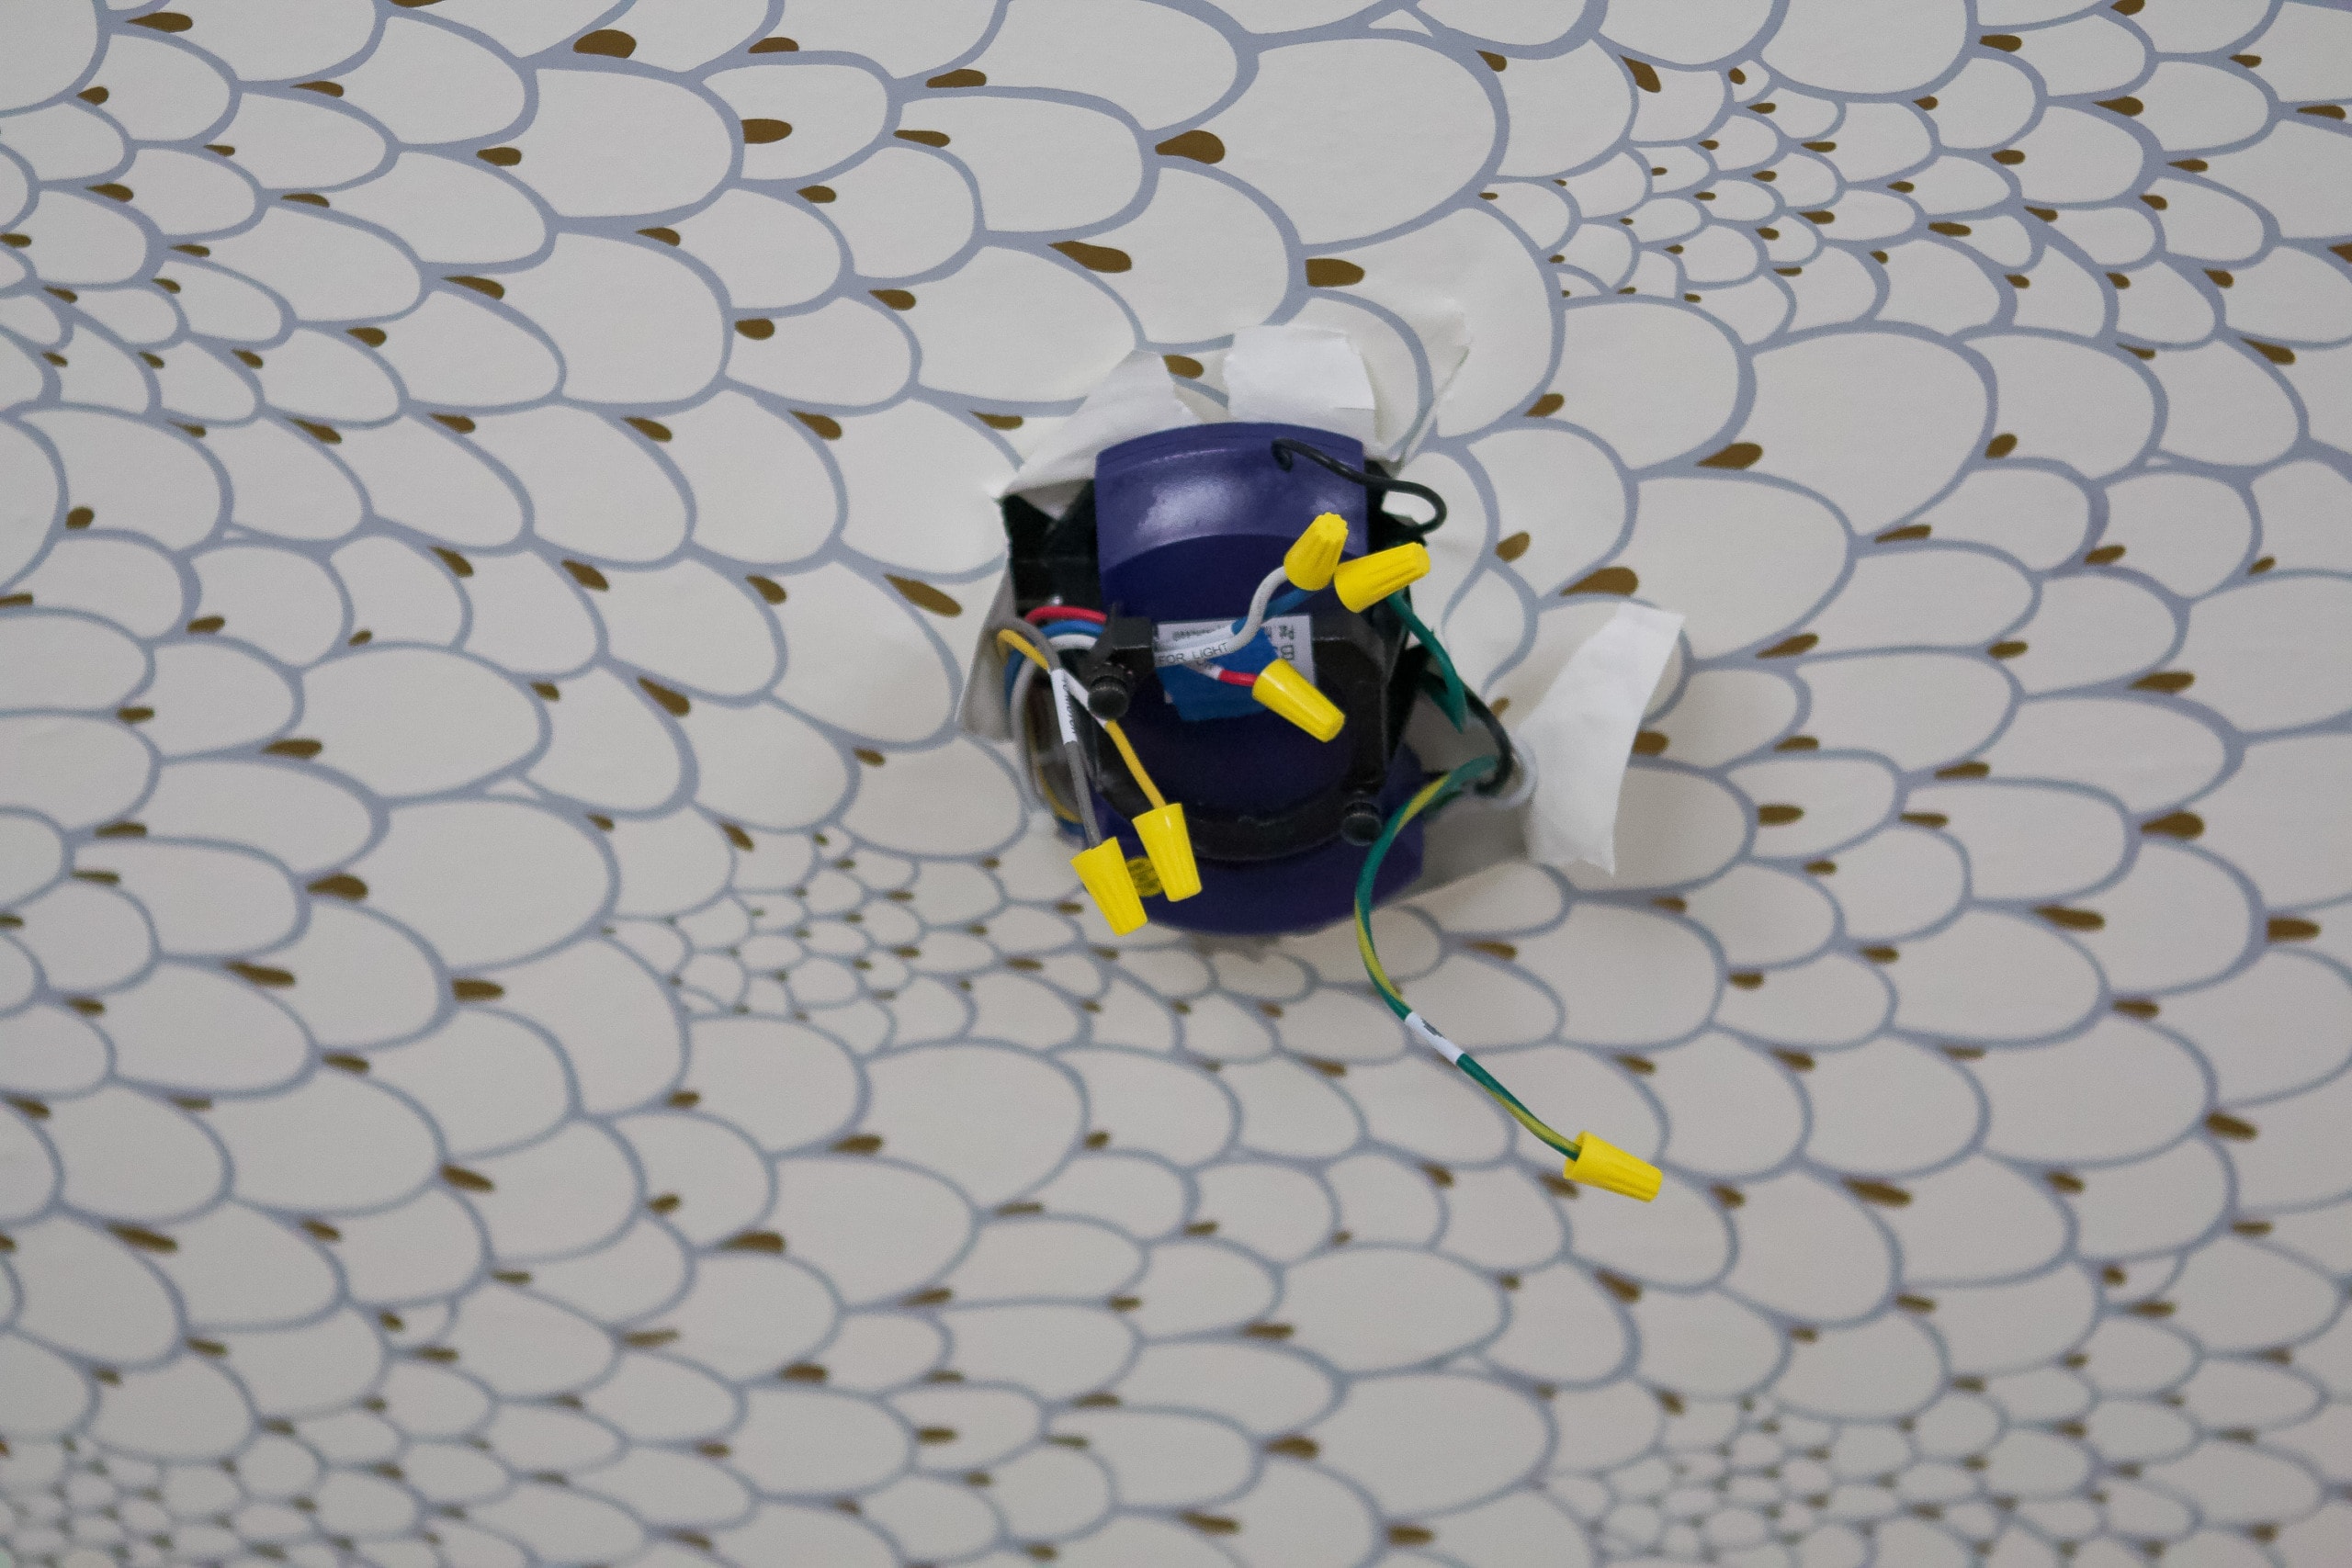
Here’s what it looked like around the ceiling fan box before we trimmed the excess and really smoothed the paper around it.
Trim Excess with a Razor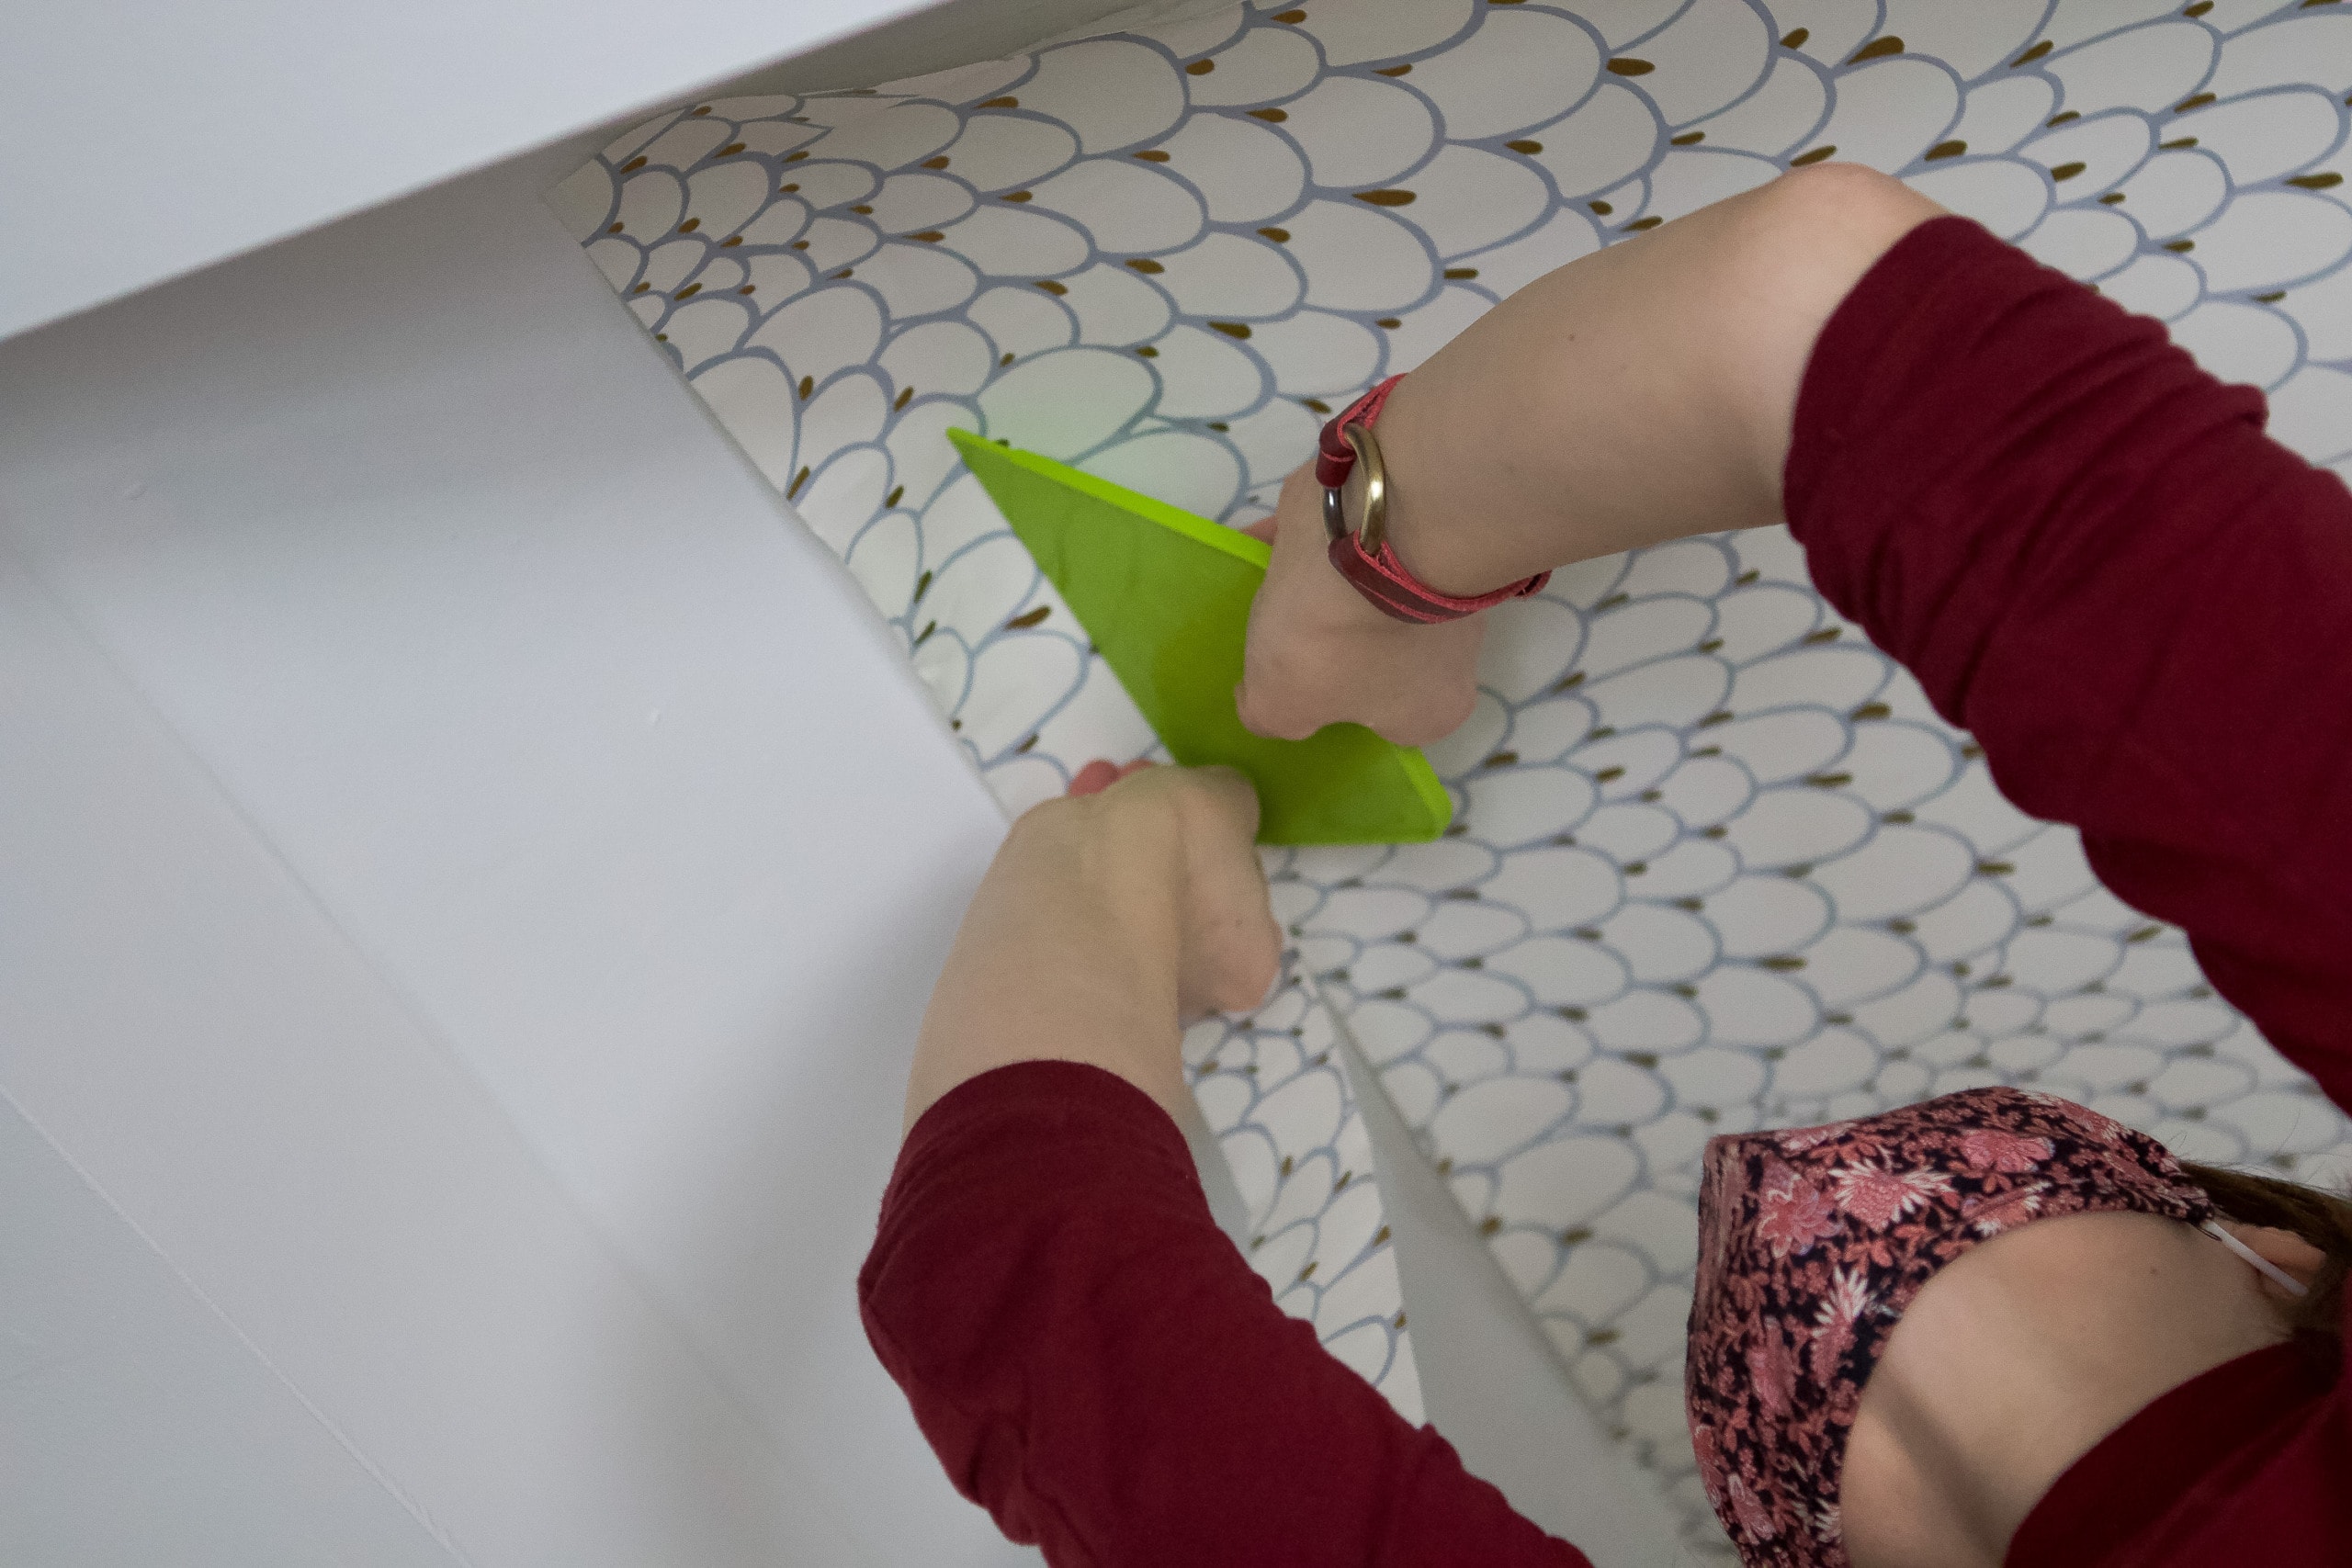
On the corners, you’ll want to use a straight edge and razor to cut the excess wallpaper on both sides. Just put the edge into the crease and run your razor across it gently. In the past, I’ve used a snap-off razor blade that worked really well. Erin just went for it with small razor blades. She is definitely a pro!
Work on the Seams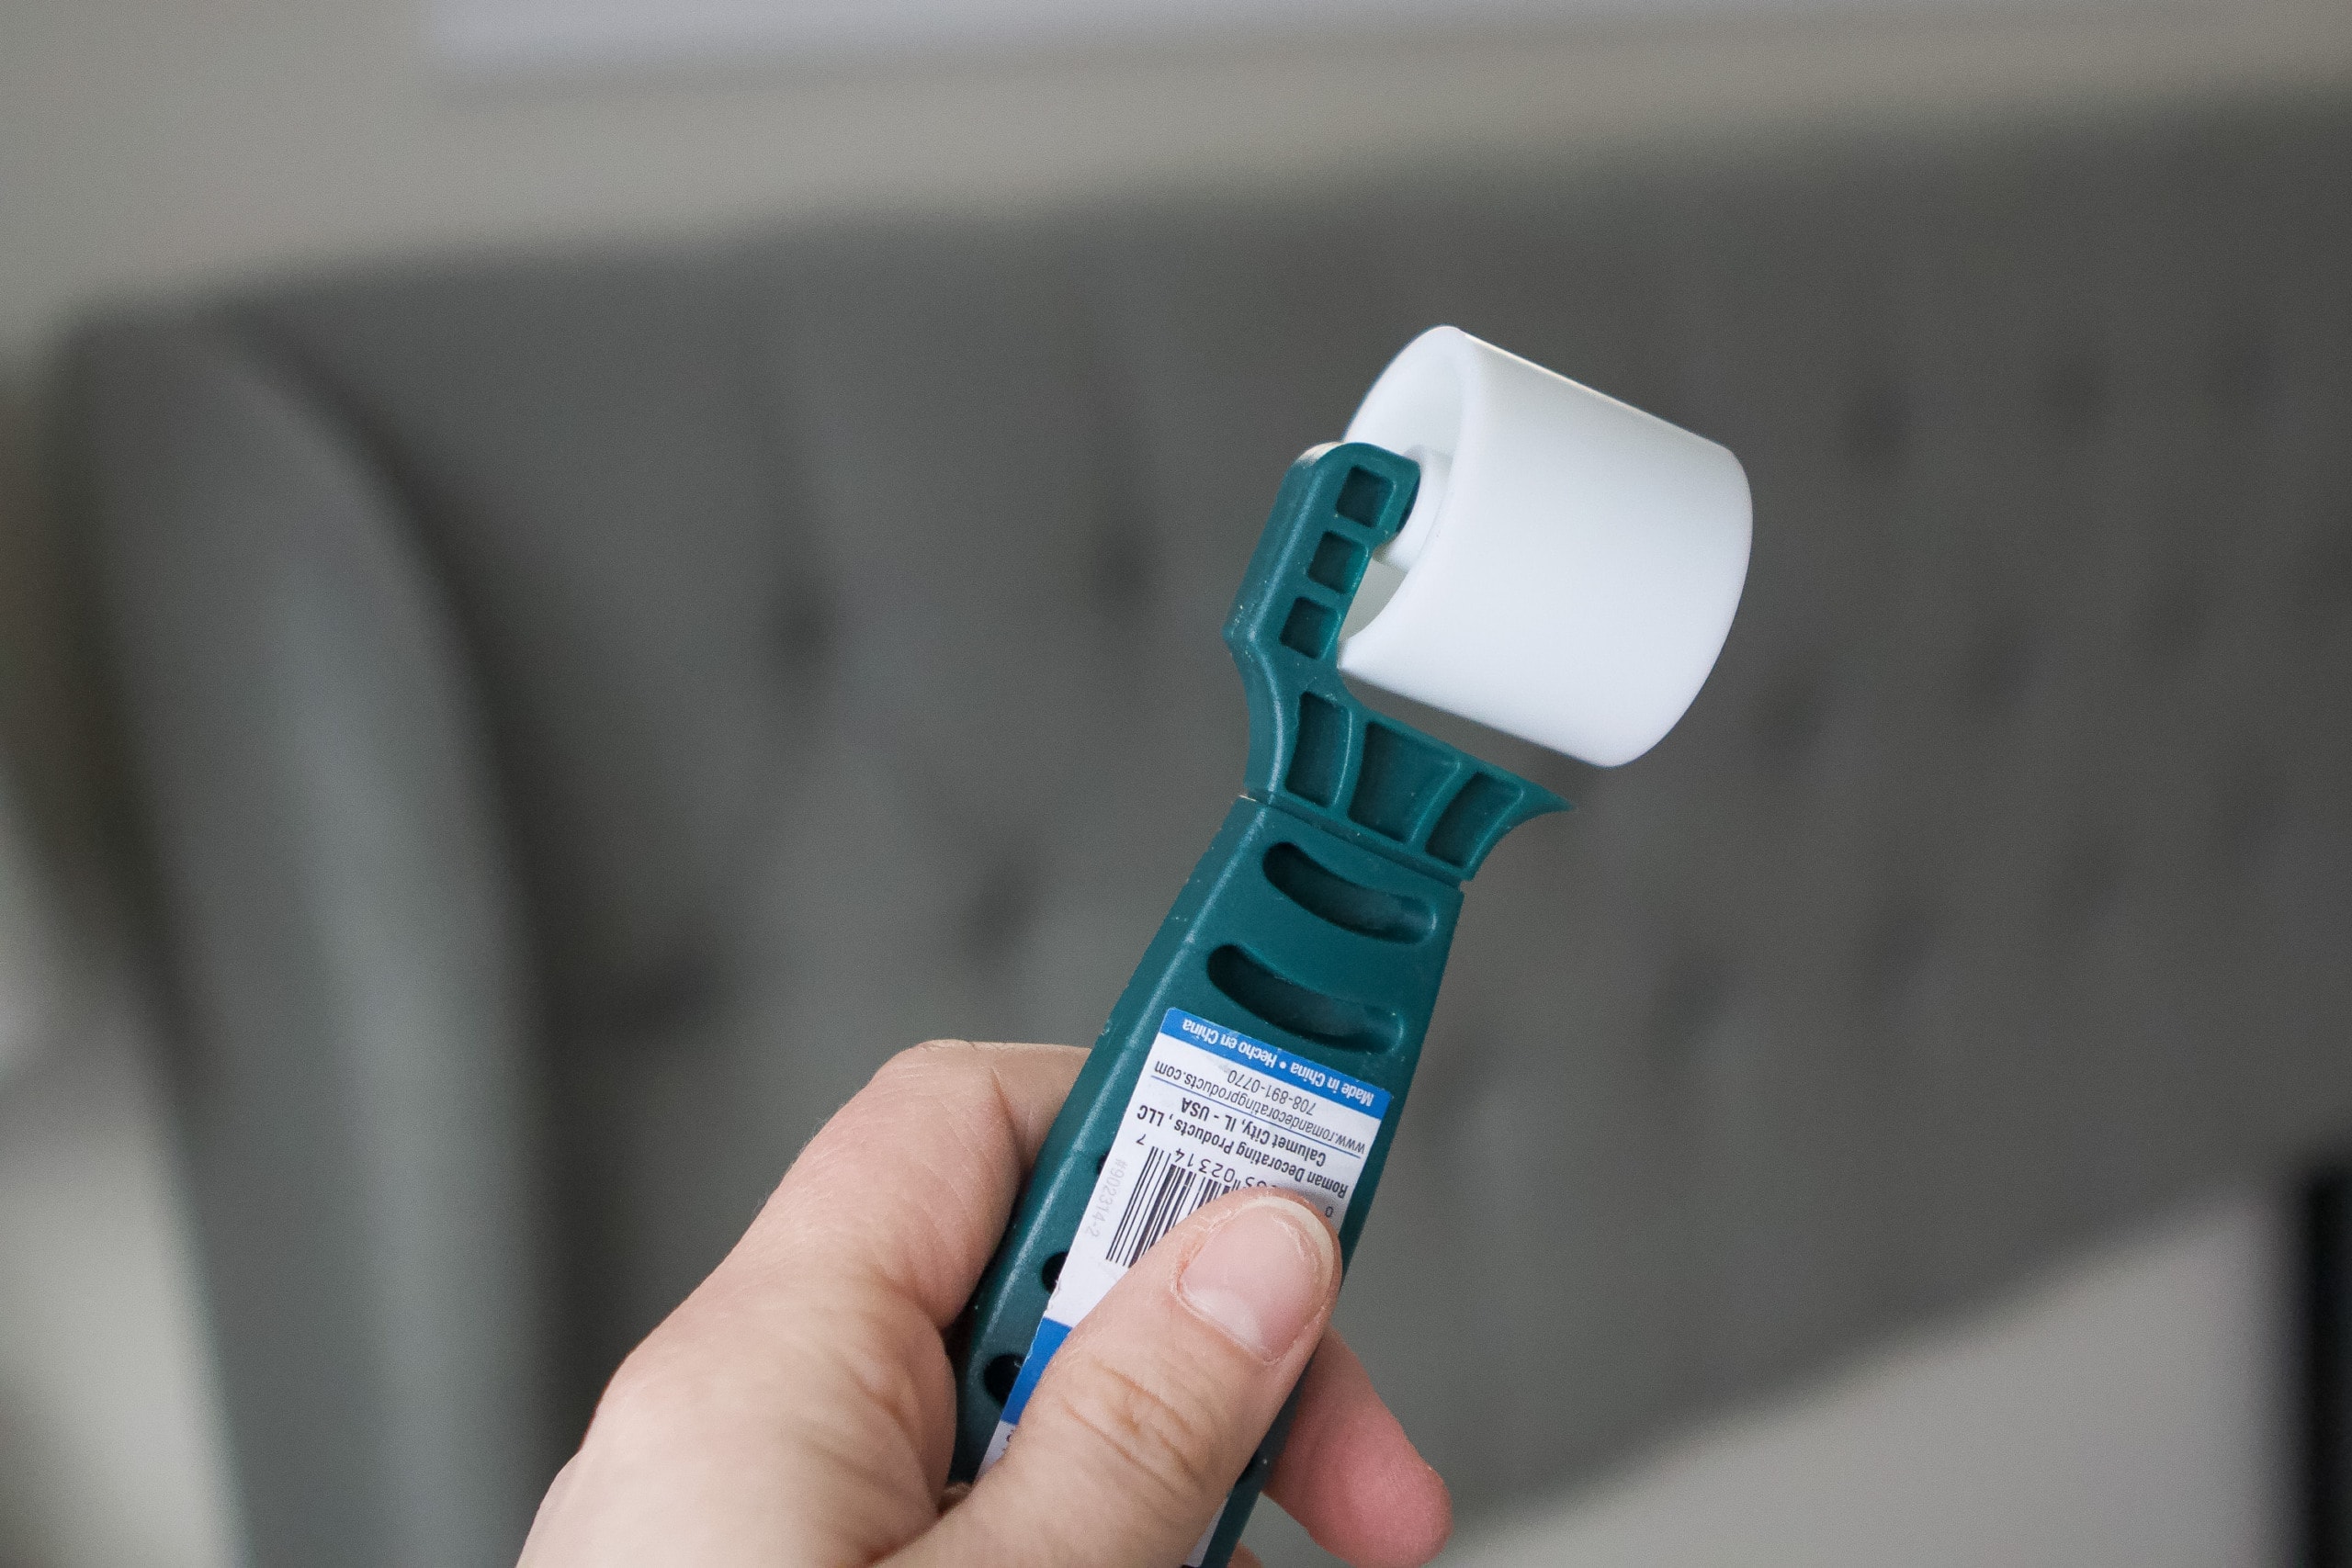
We got our second piece of wallpaper up, just as we did the first. This time, we lined up the new piece, making sure the pattern matched the first strip all along the way. There will be a seam between the two pieces, so you’ll want to use a seam roller to get the edges pushed down flat. There were a few spots where we needed to add extra glue under the edges too, so a paint brush came in handy for that. Between the extra glue and the seam roller, our seams were much less visible.
Wipe Off Extra Glue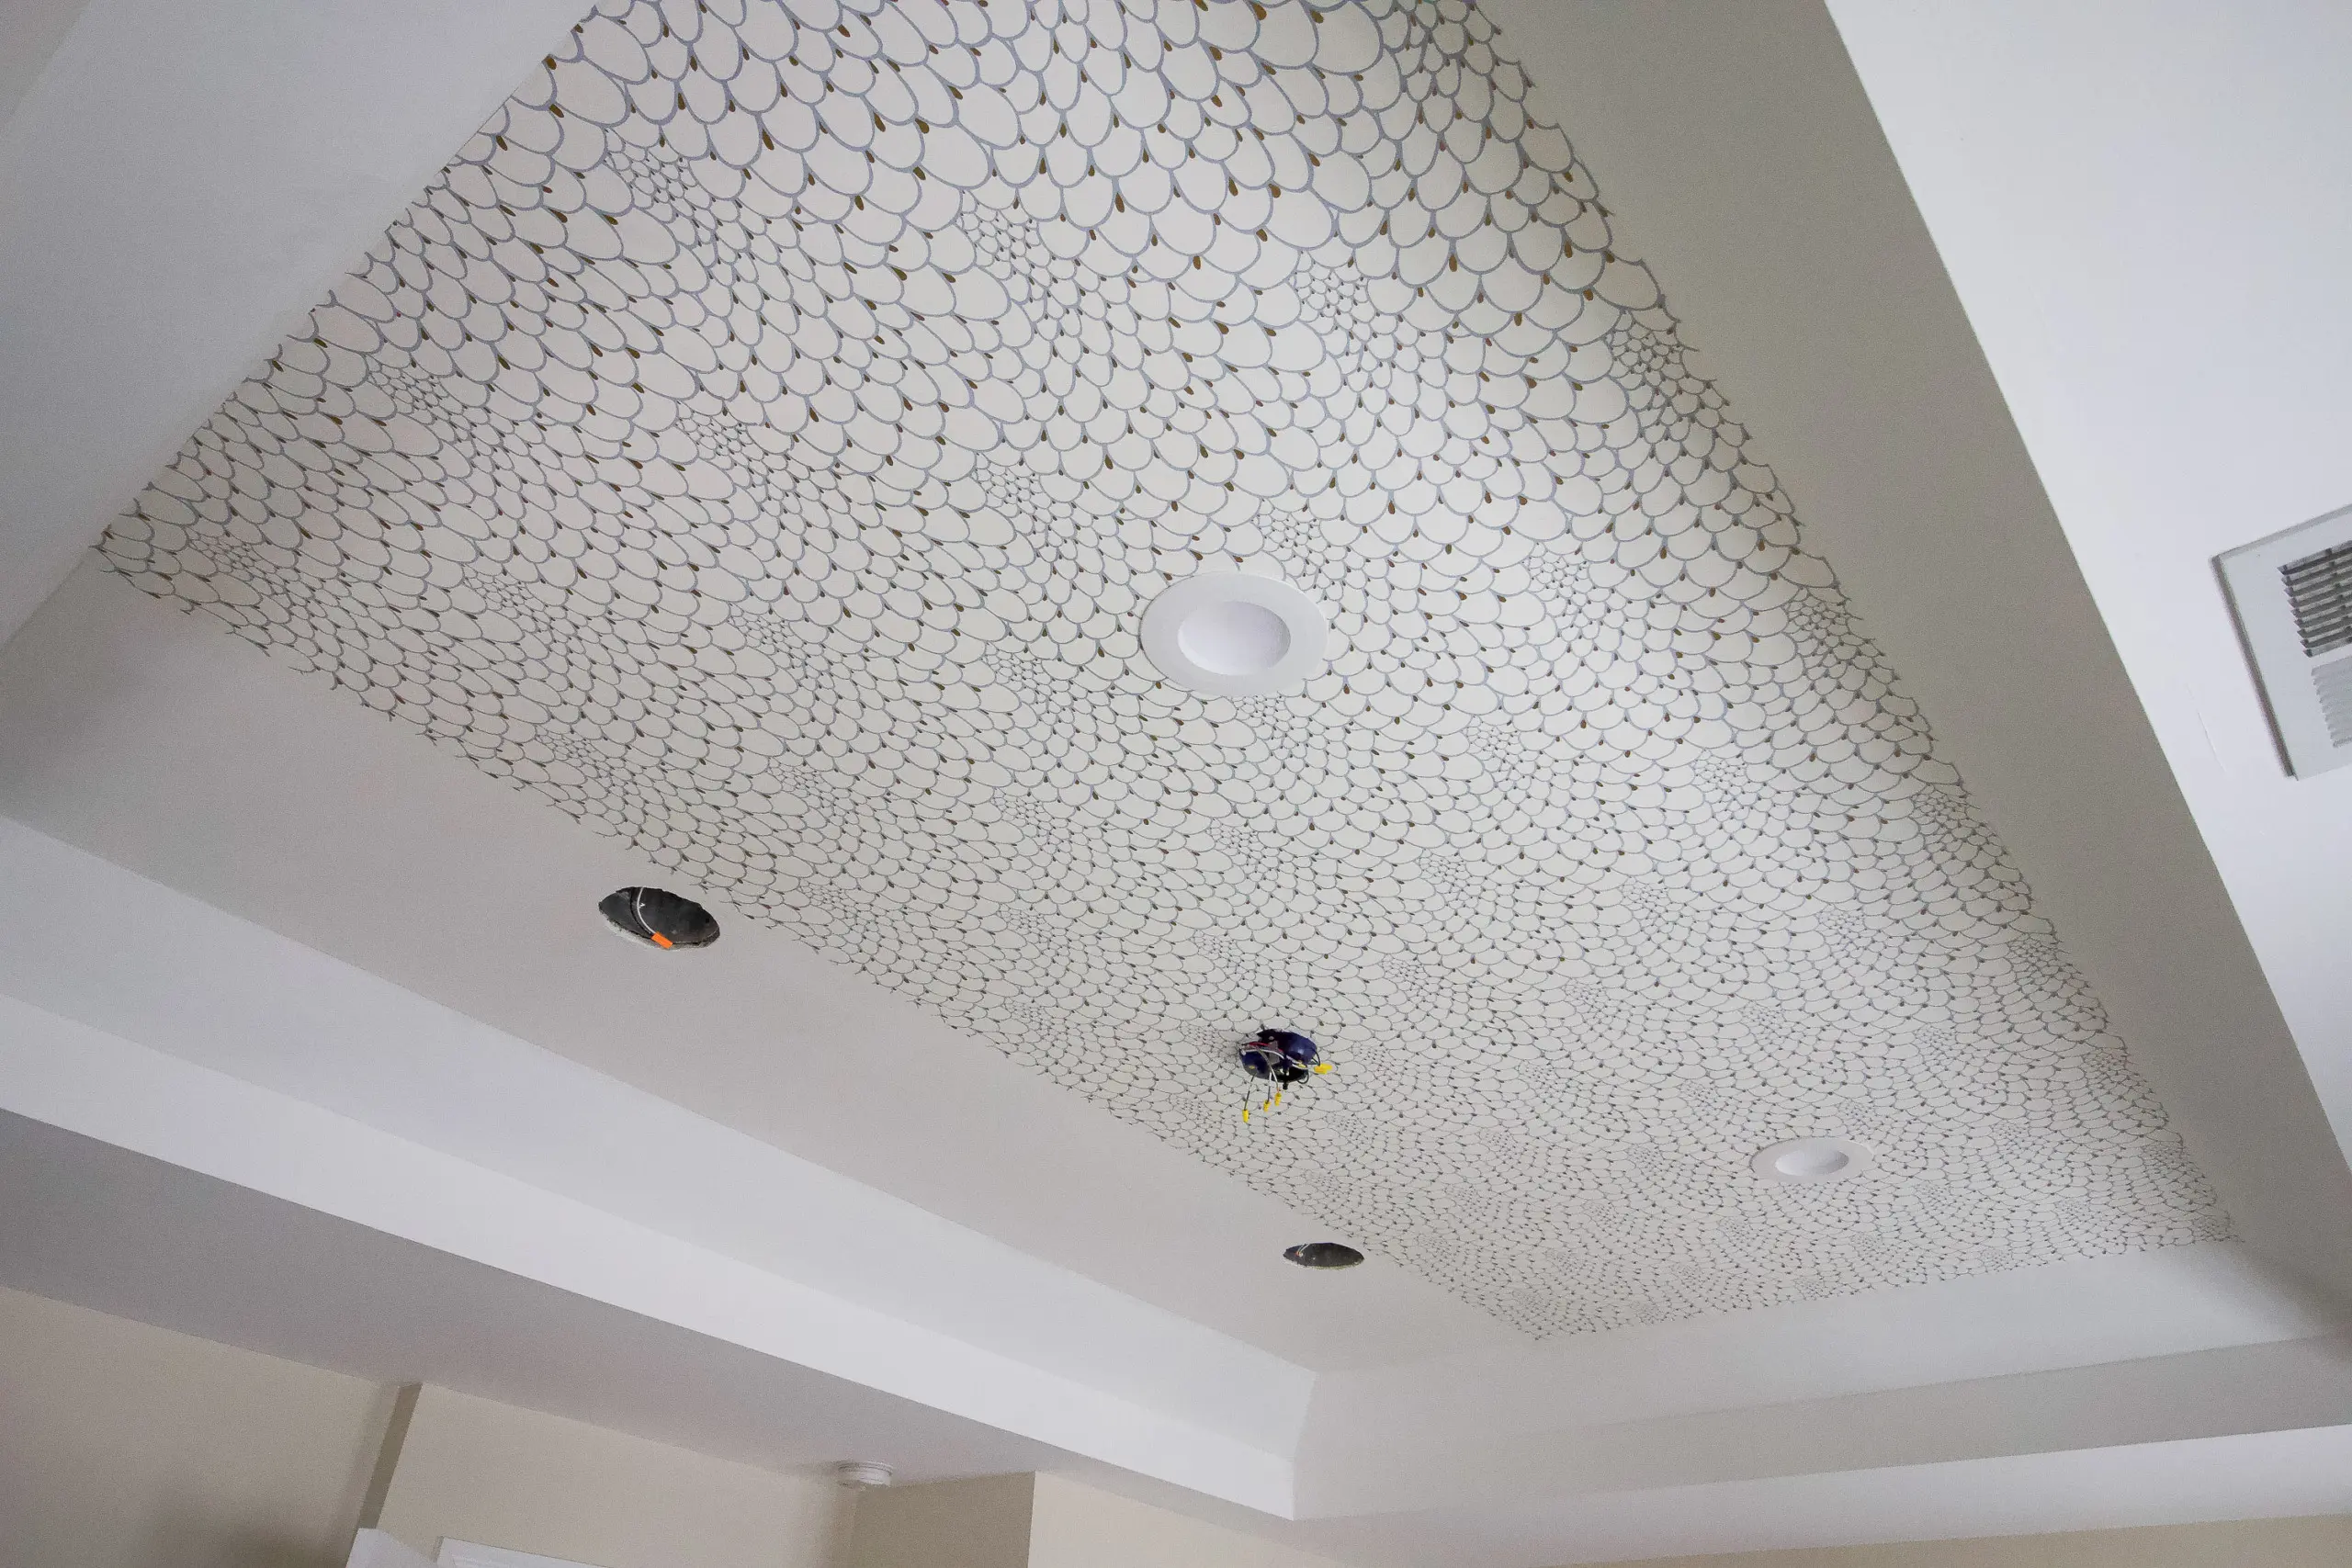
You’re bound to get some glue on the front of your wallpaper and that’s a-okay. Wallpaper is much more durable than you might think and most are wipeable. You can just take a damp sponge and wipe the glue off. I even found a few spots of glue the next day, when I was staring up at my gorgeous new ceiling, and I took a sponge and got them off long after they had dried on top.
For that third panel, we followed the same steps…glue the paper, book it, apply it to the ceiling, smooth it out, and trim!
Our New Wallpapered Ceiling
Ok, let’s take a look at the new ceiling!
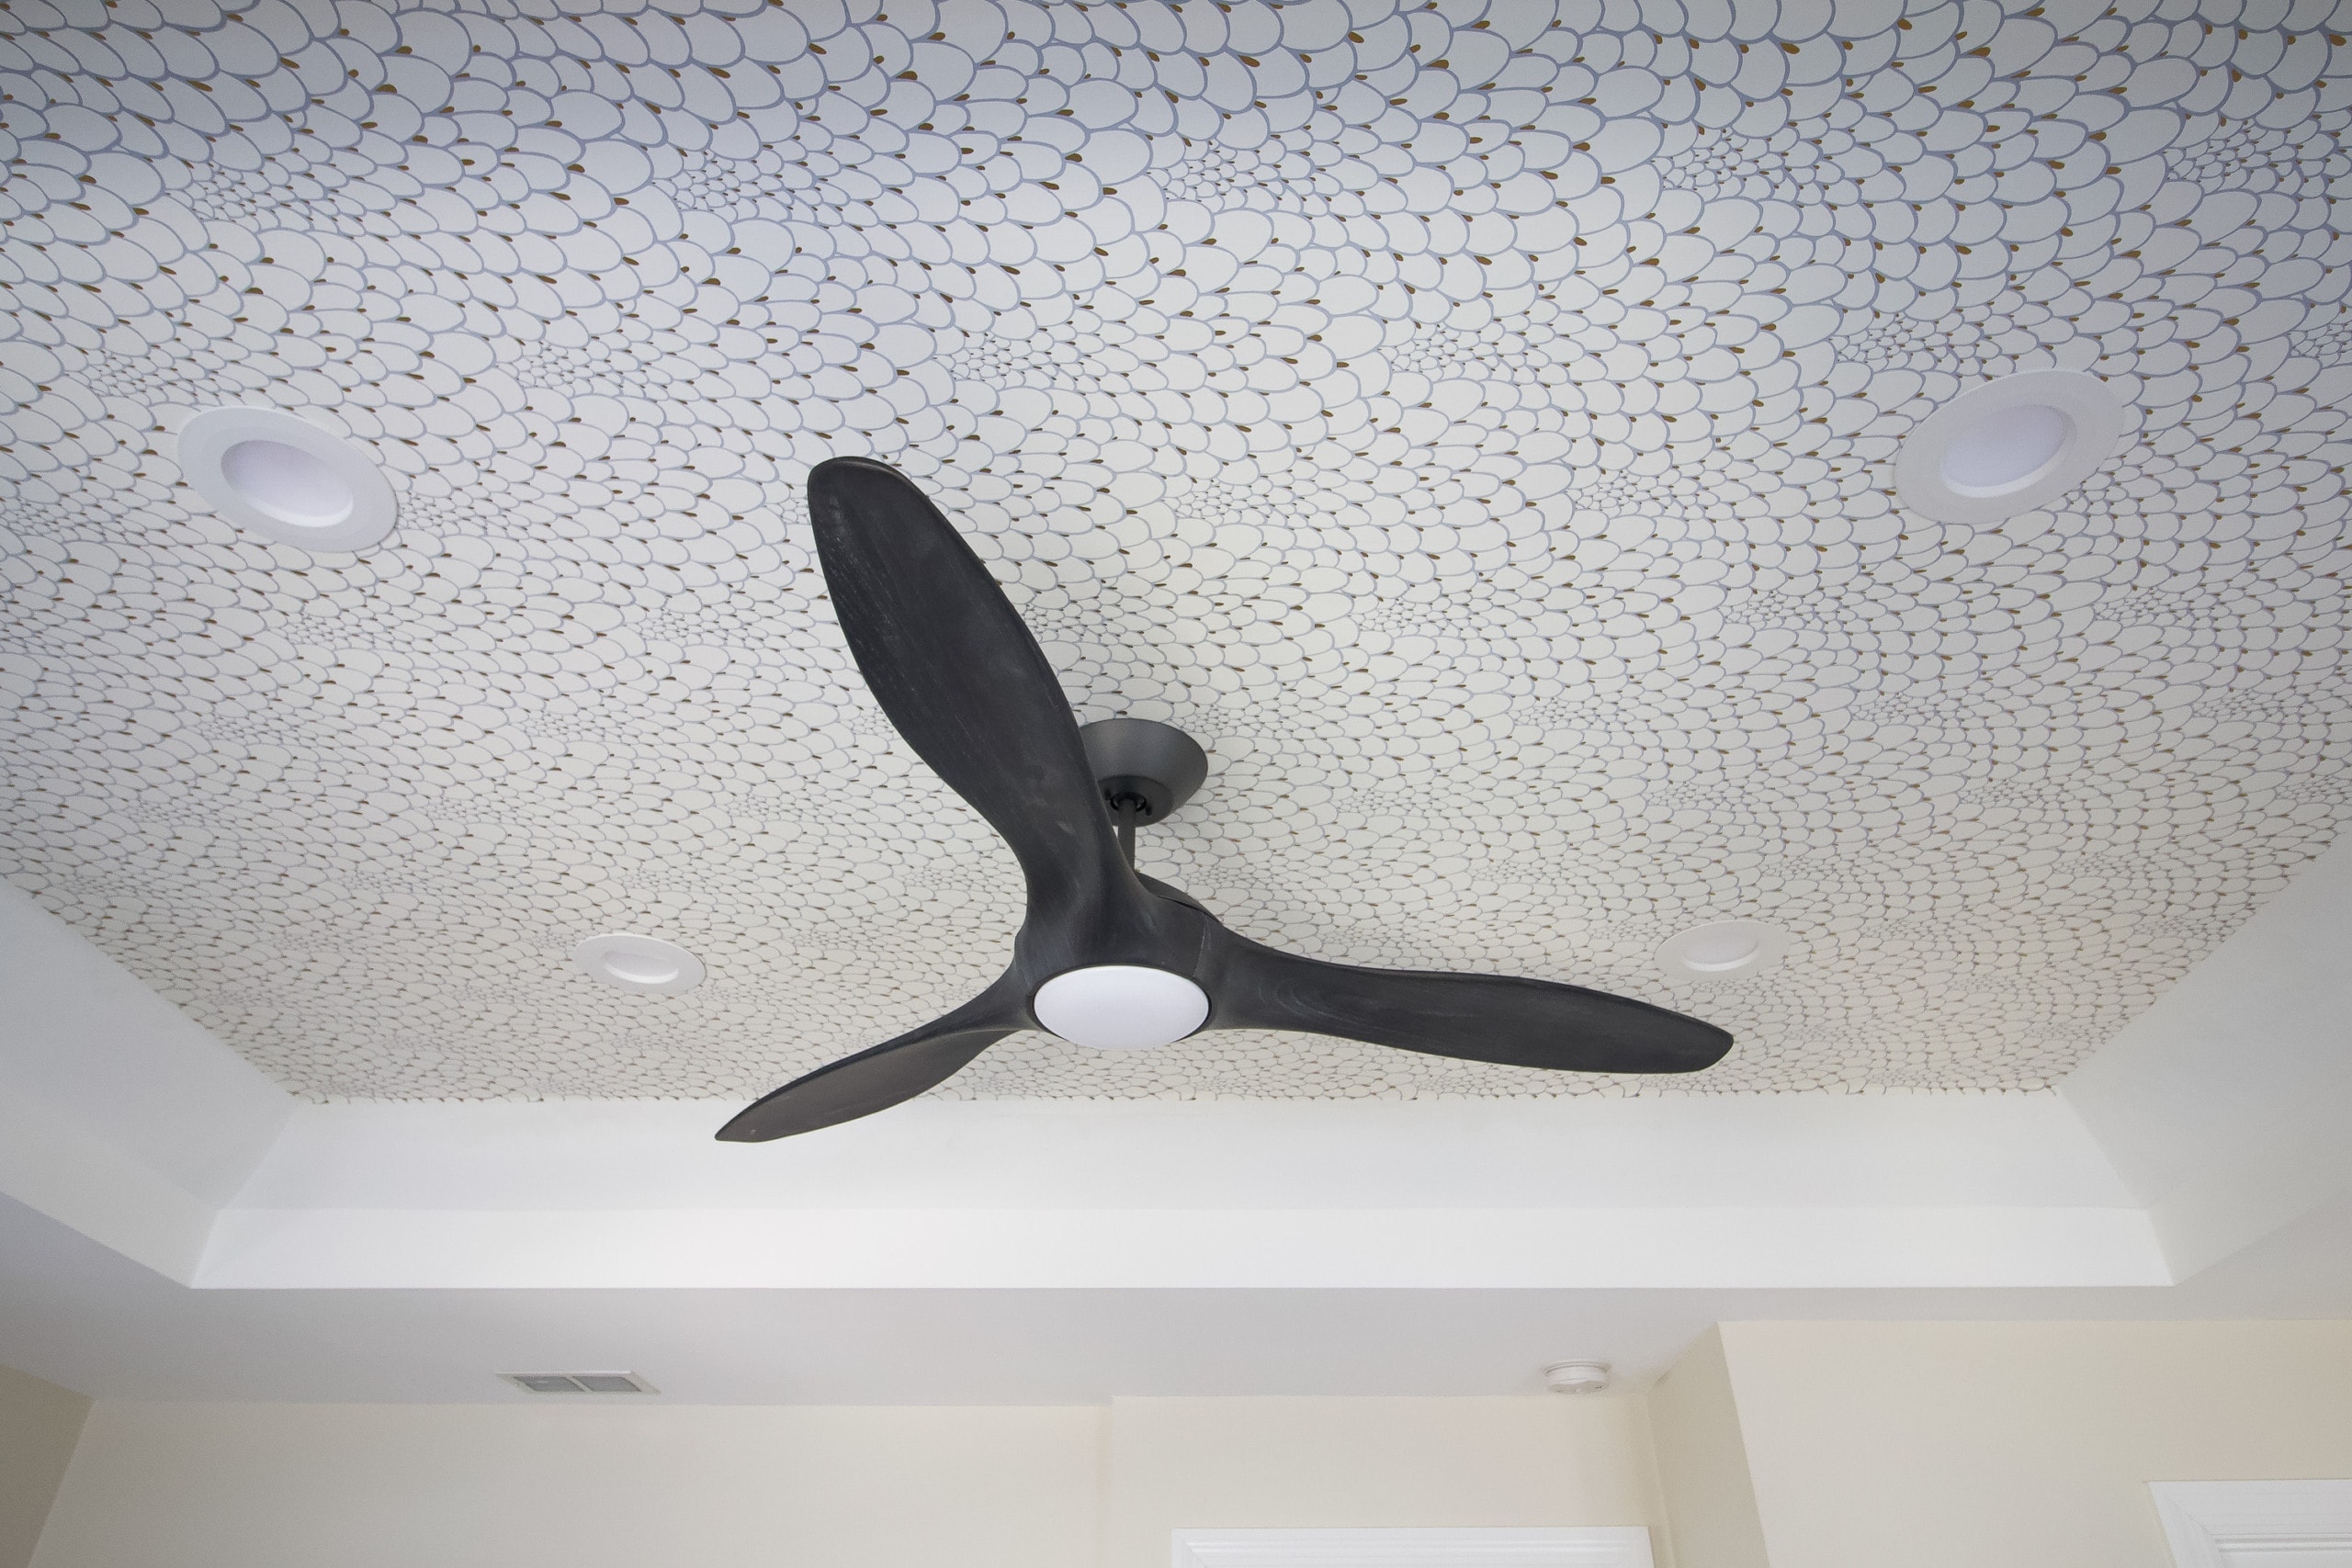
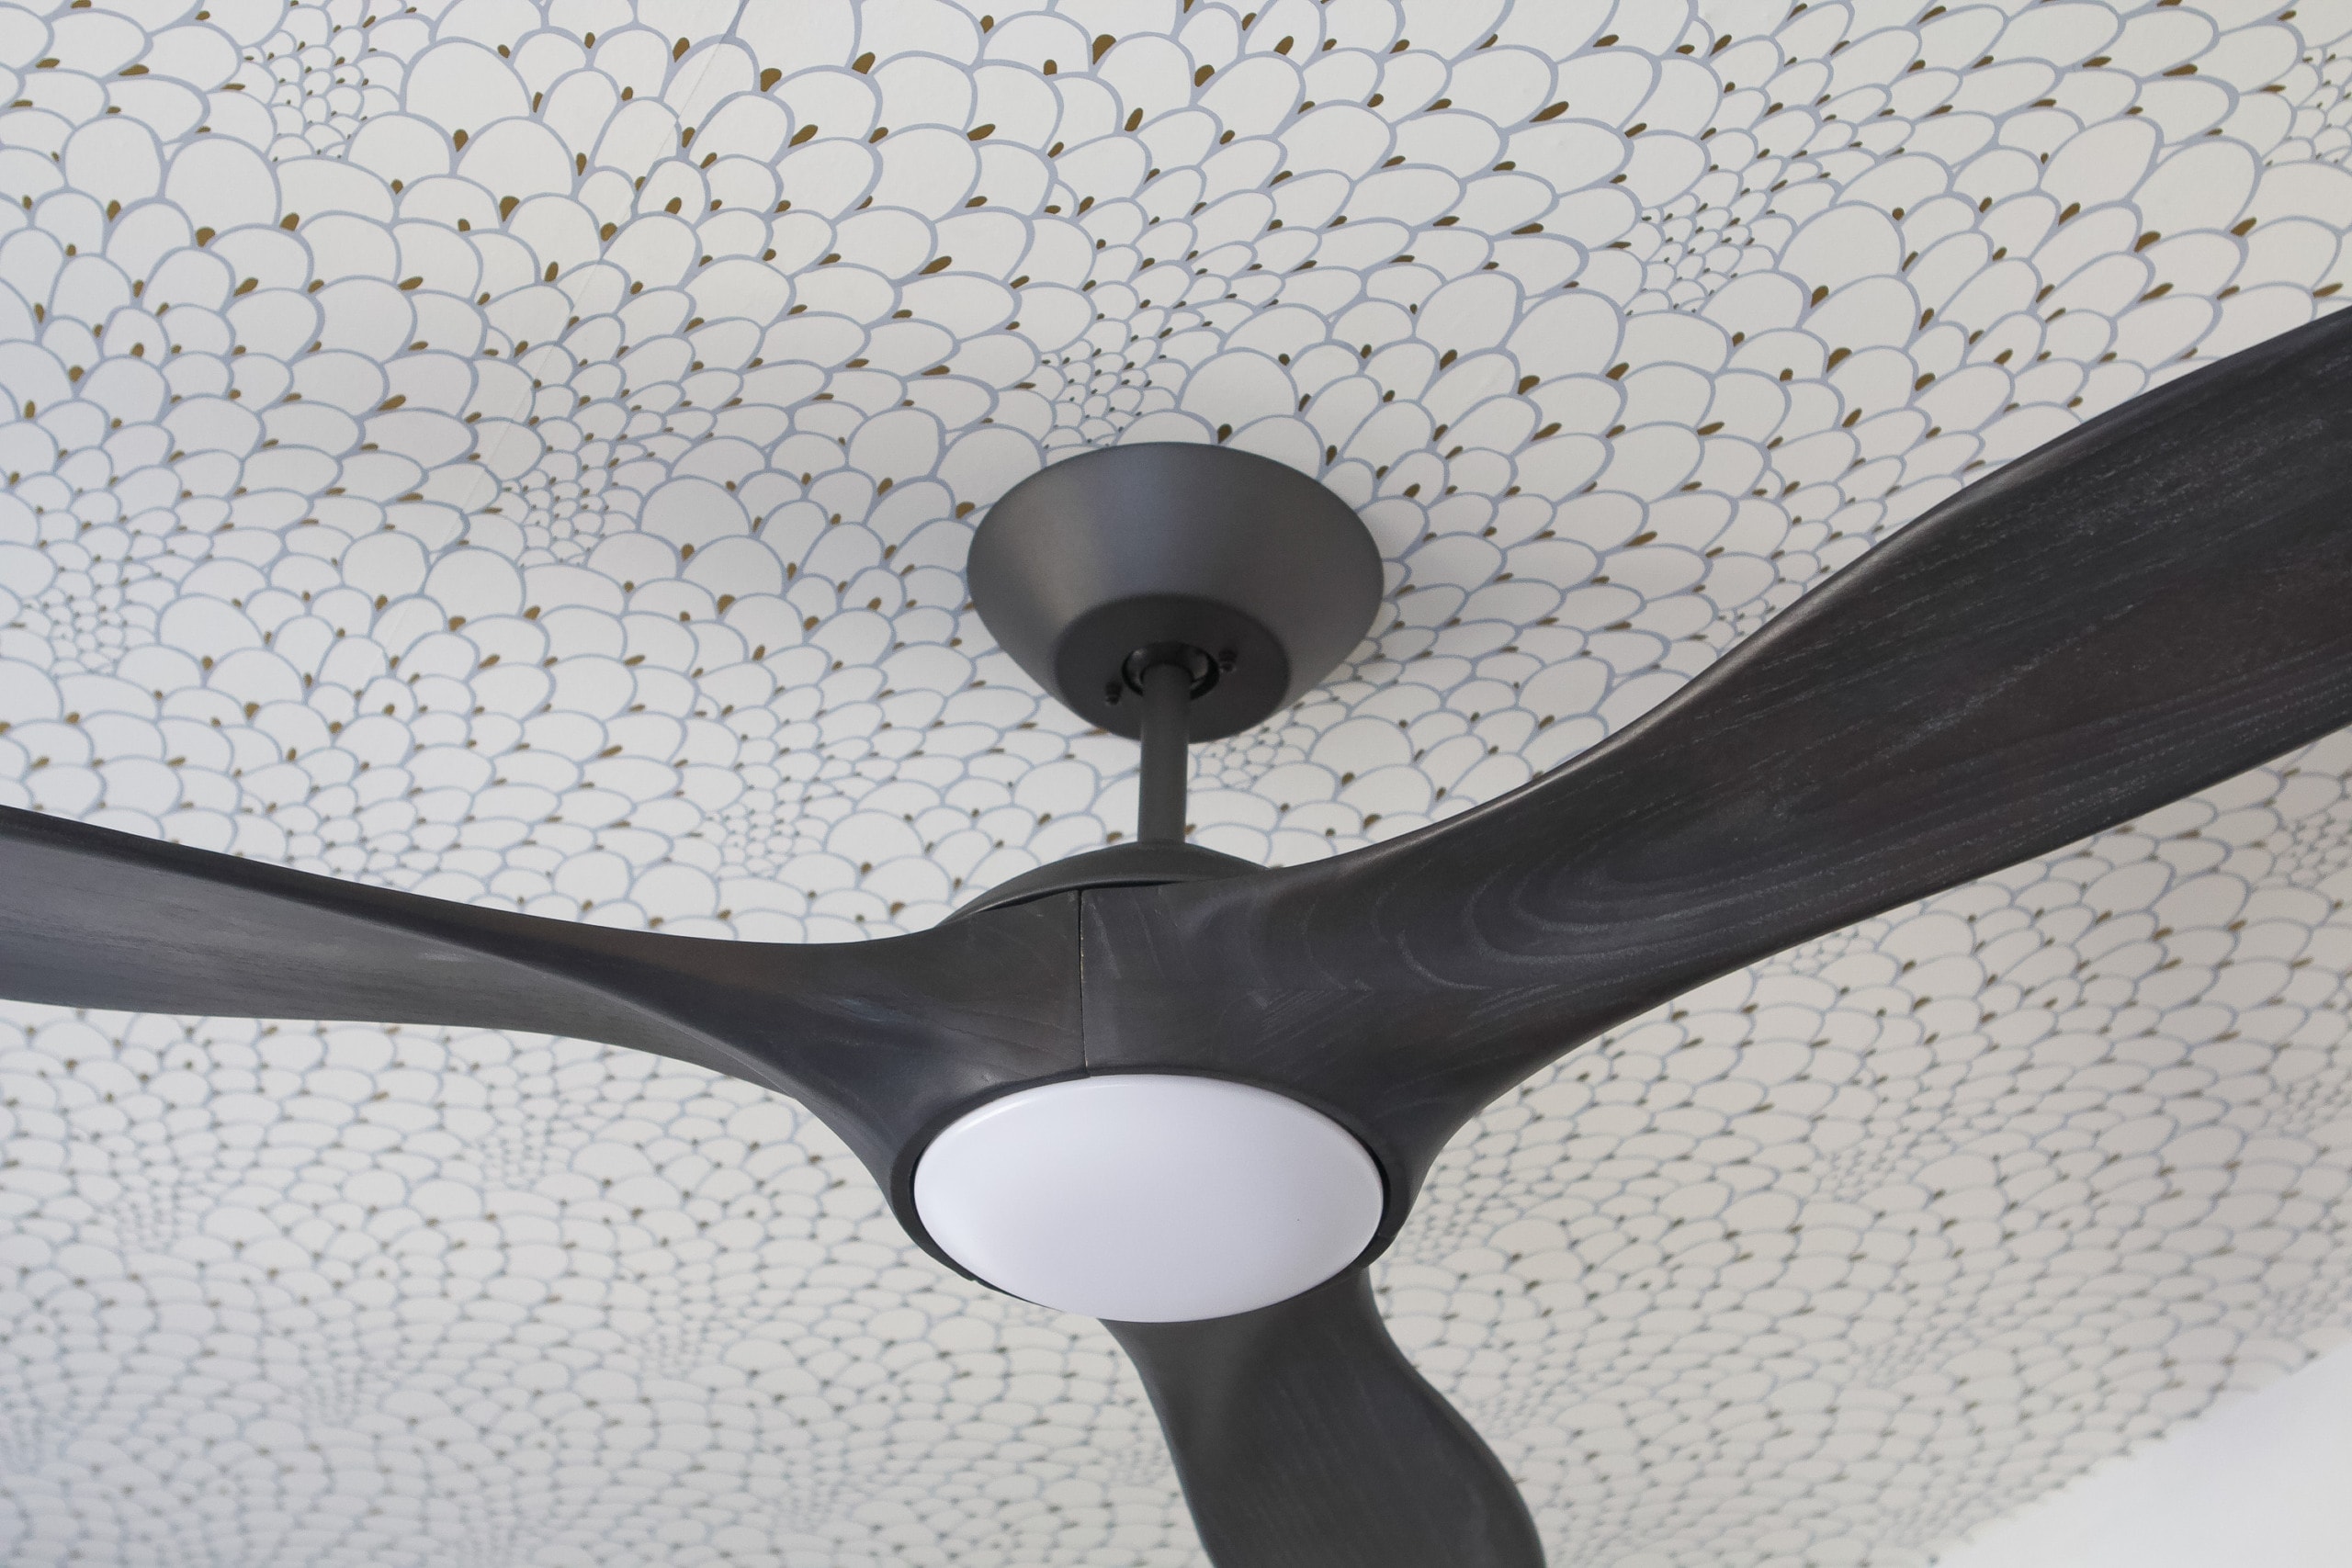
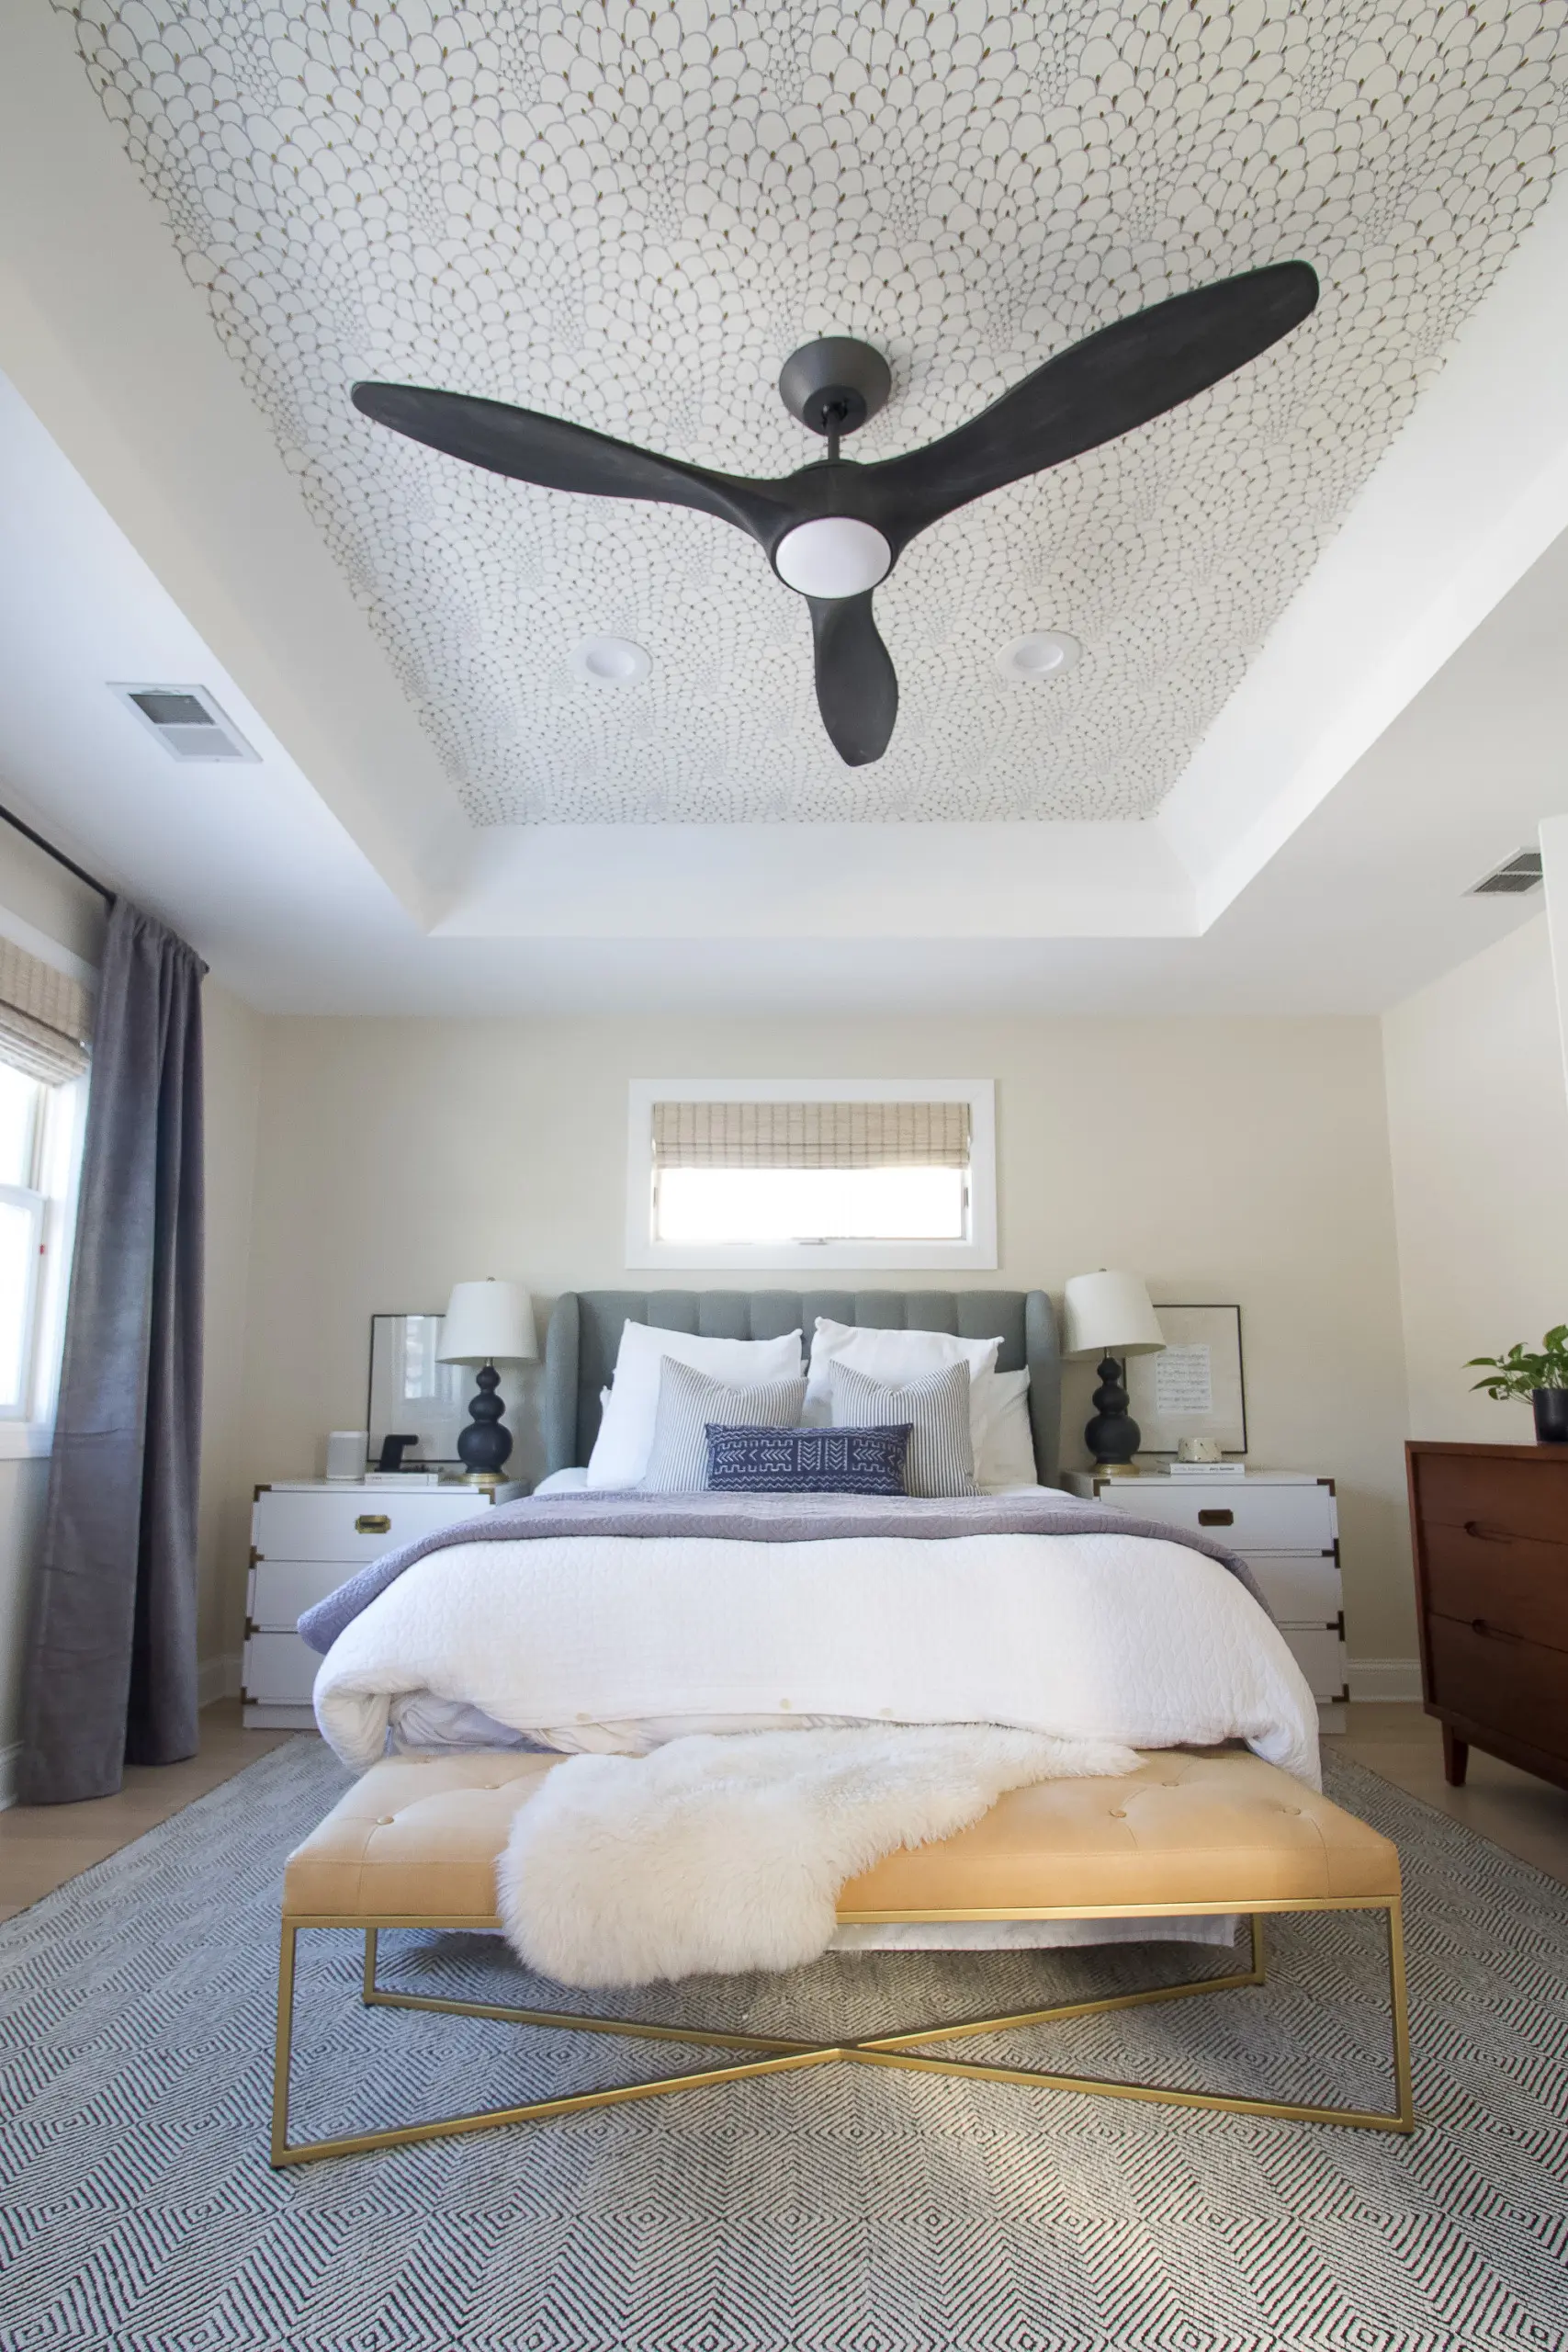 Isn’t it so cool?! Honestly, it’s much more subtle than I anticipated and I love that. The colors are perfection and it adds a great texture to the ceiling. Now, it doesn’t feel like a big sea of white up there. And my goodness, laying in bed staring up at this beauty is my new favorite past time.
What’s Next?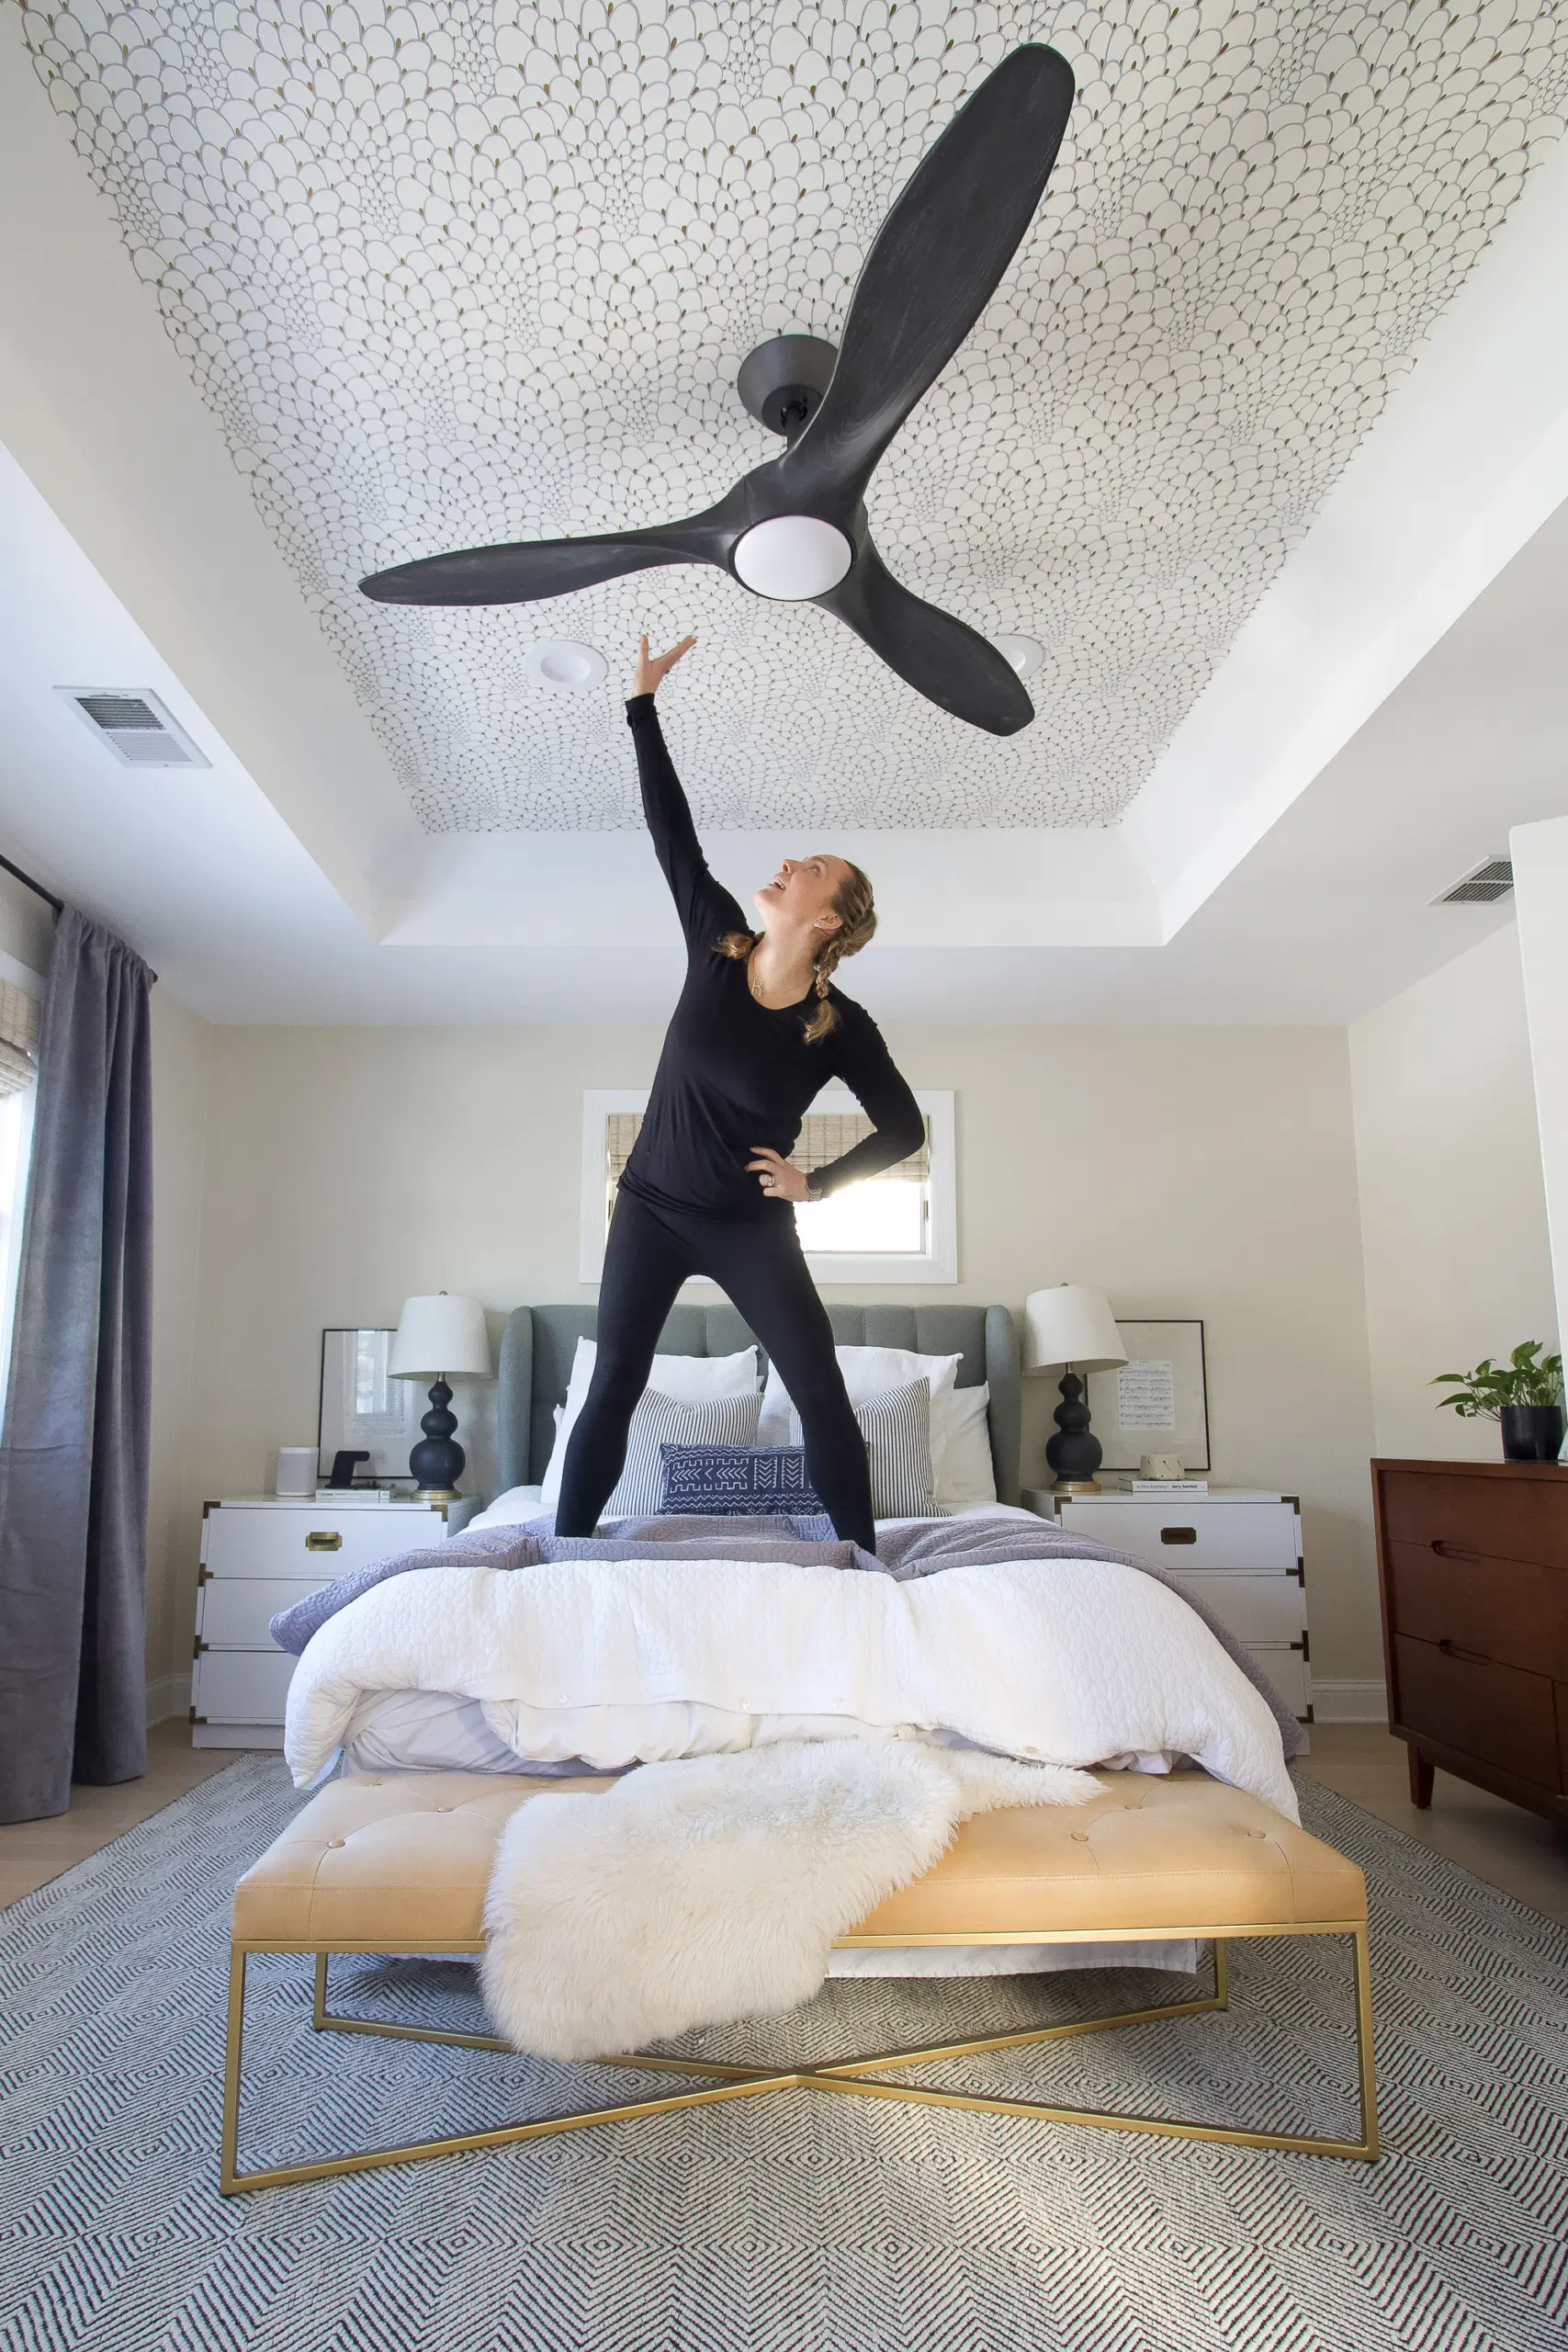
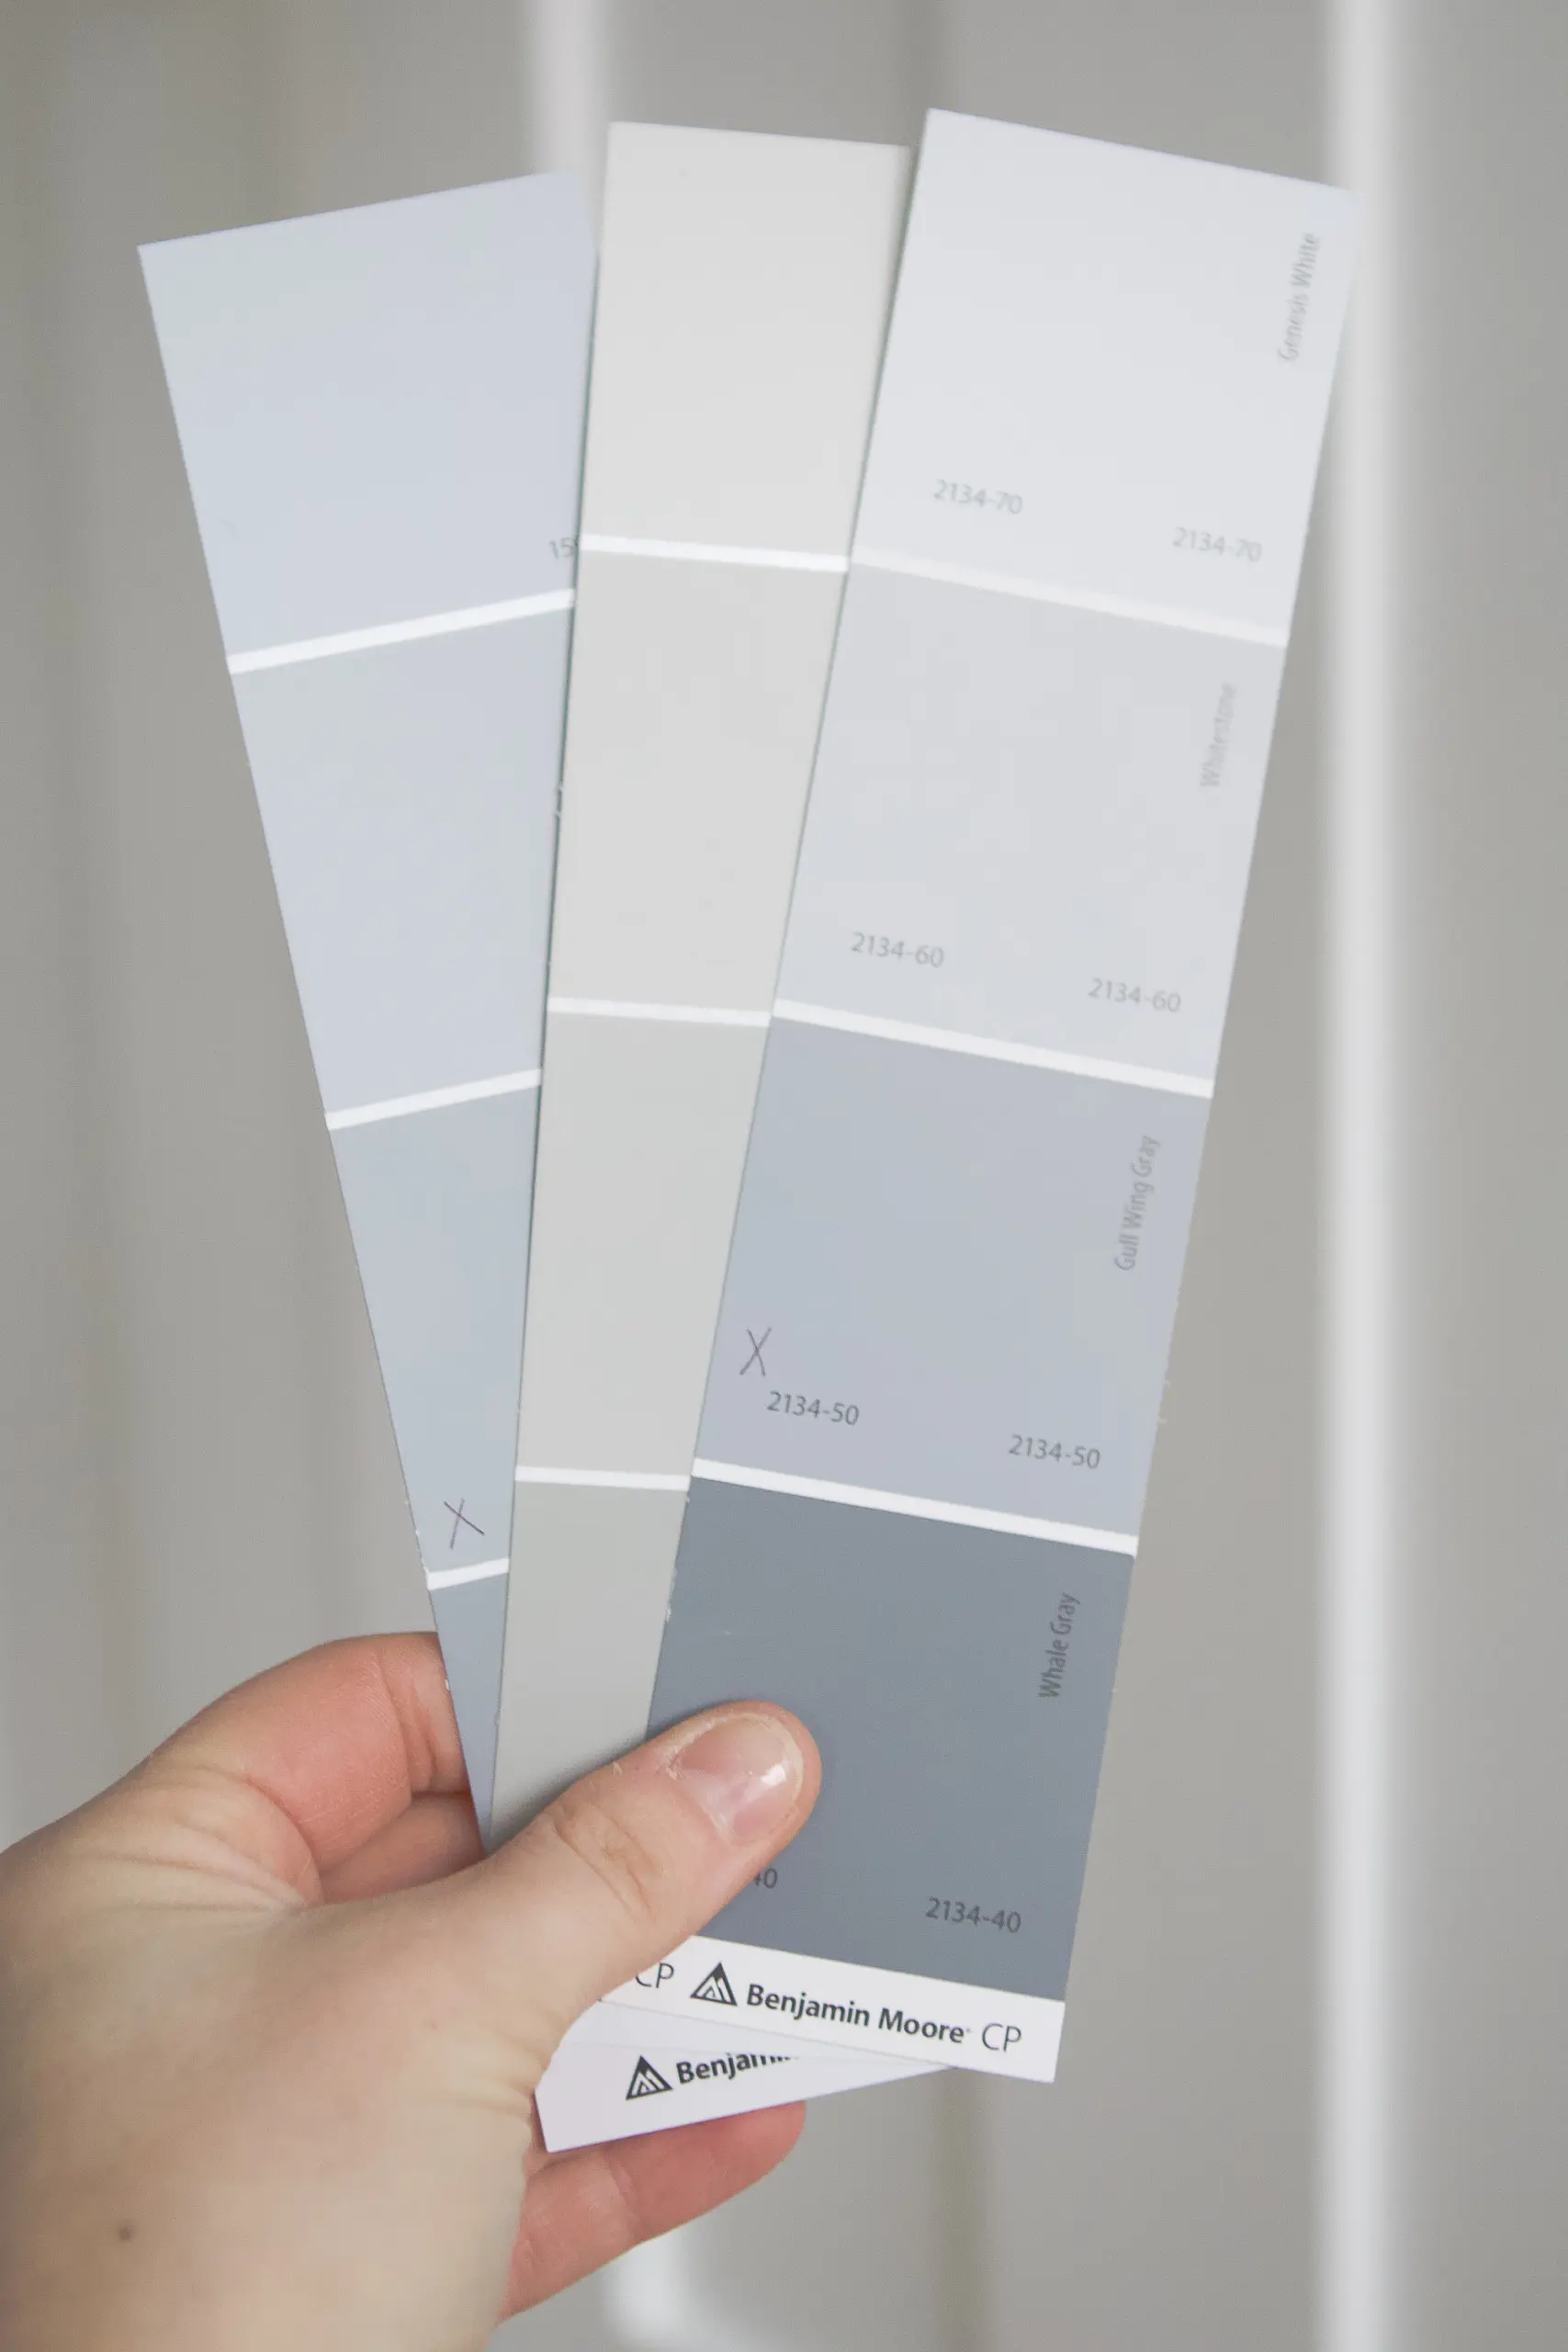
I’ve gotta say, this wallpaper makes me even more excited to paint in here. I think because the background of the wallpaper is cream, it doesn’t stand out as much with the cream walls and white ceilings. I’ll be painting the ceiling and walls all the same color in a warm grayish blue, so the paper will definitely be the star of the show. I cannot wait.
Casey
Catch Up on the Main Bedroom Makeover
You may also like…


Hey there!
I’m Casey Finn, the voice behind The DIY Playbook. I’m married to Finn & mom to Rory and Ellis. Together we’re creating our dream home in Chicago, one DIY project at a time.