Painting Our Bedroom a Blue Gray Shade
Last we chatted about the bedroom, I revealed our new wallpapered ceiling. That wallpaper was really the jumping off point for the rest of this room. With the paper up there, I could then start to envision the rest of the space. To me, the wallpaper looks bold with cream, gold, and blue, but since it was up on the ceiling, surrounded by a sea of white ceiling paint, it was getting a bit lost. I knew that a new blue gray paint color on the walls was the way to go to really make that wallpaper shine!
Choosing a Blue Gray Paint Color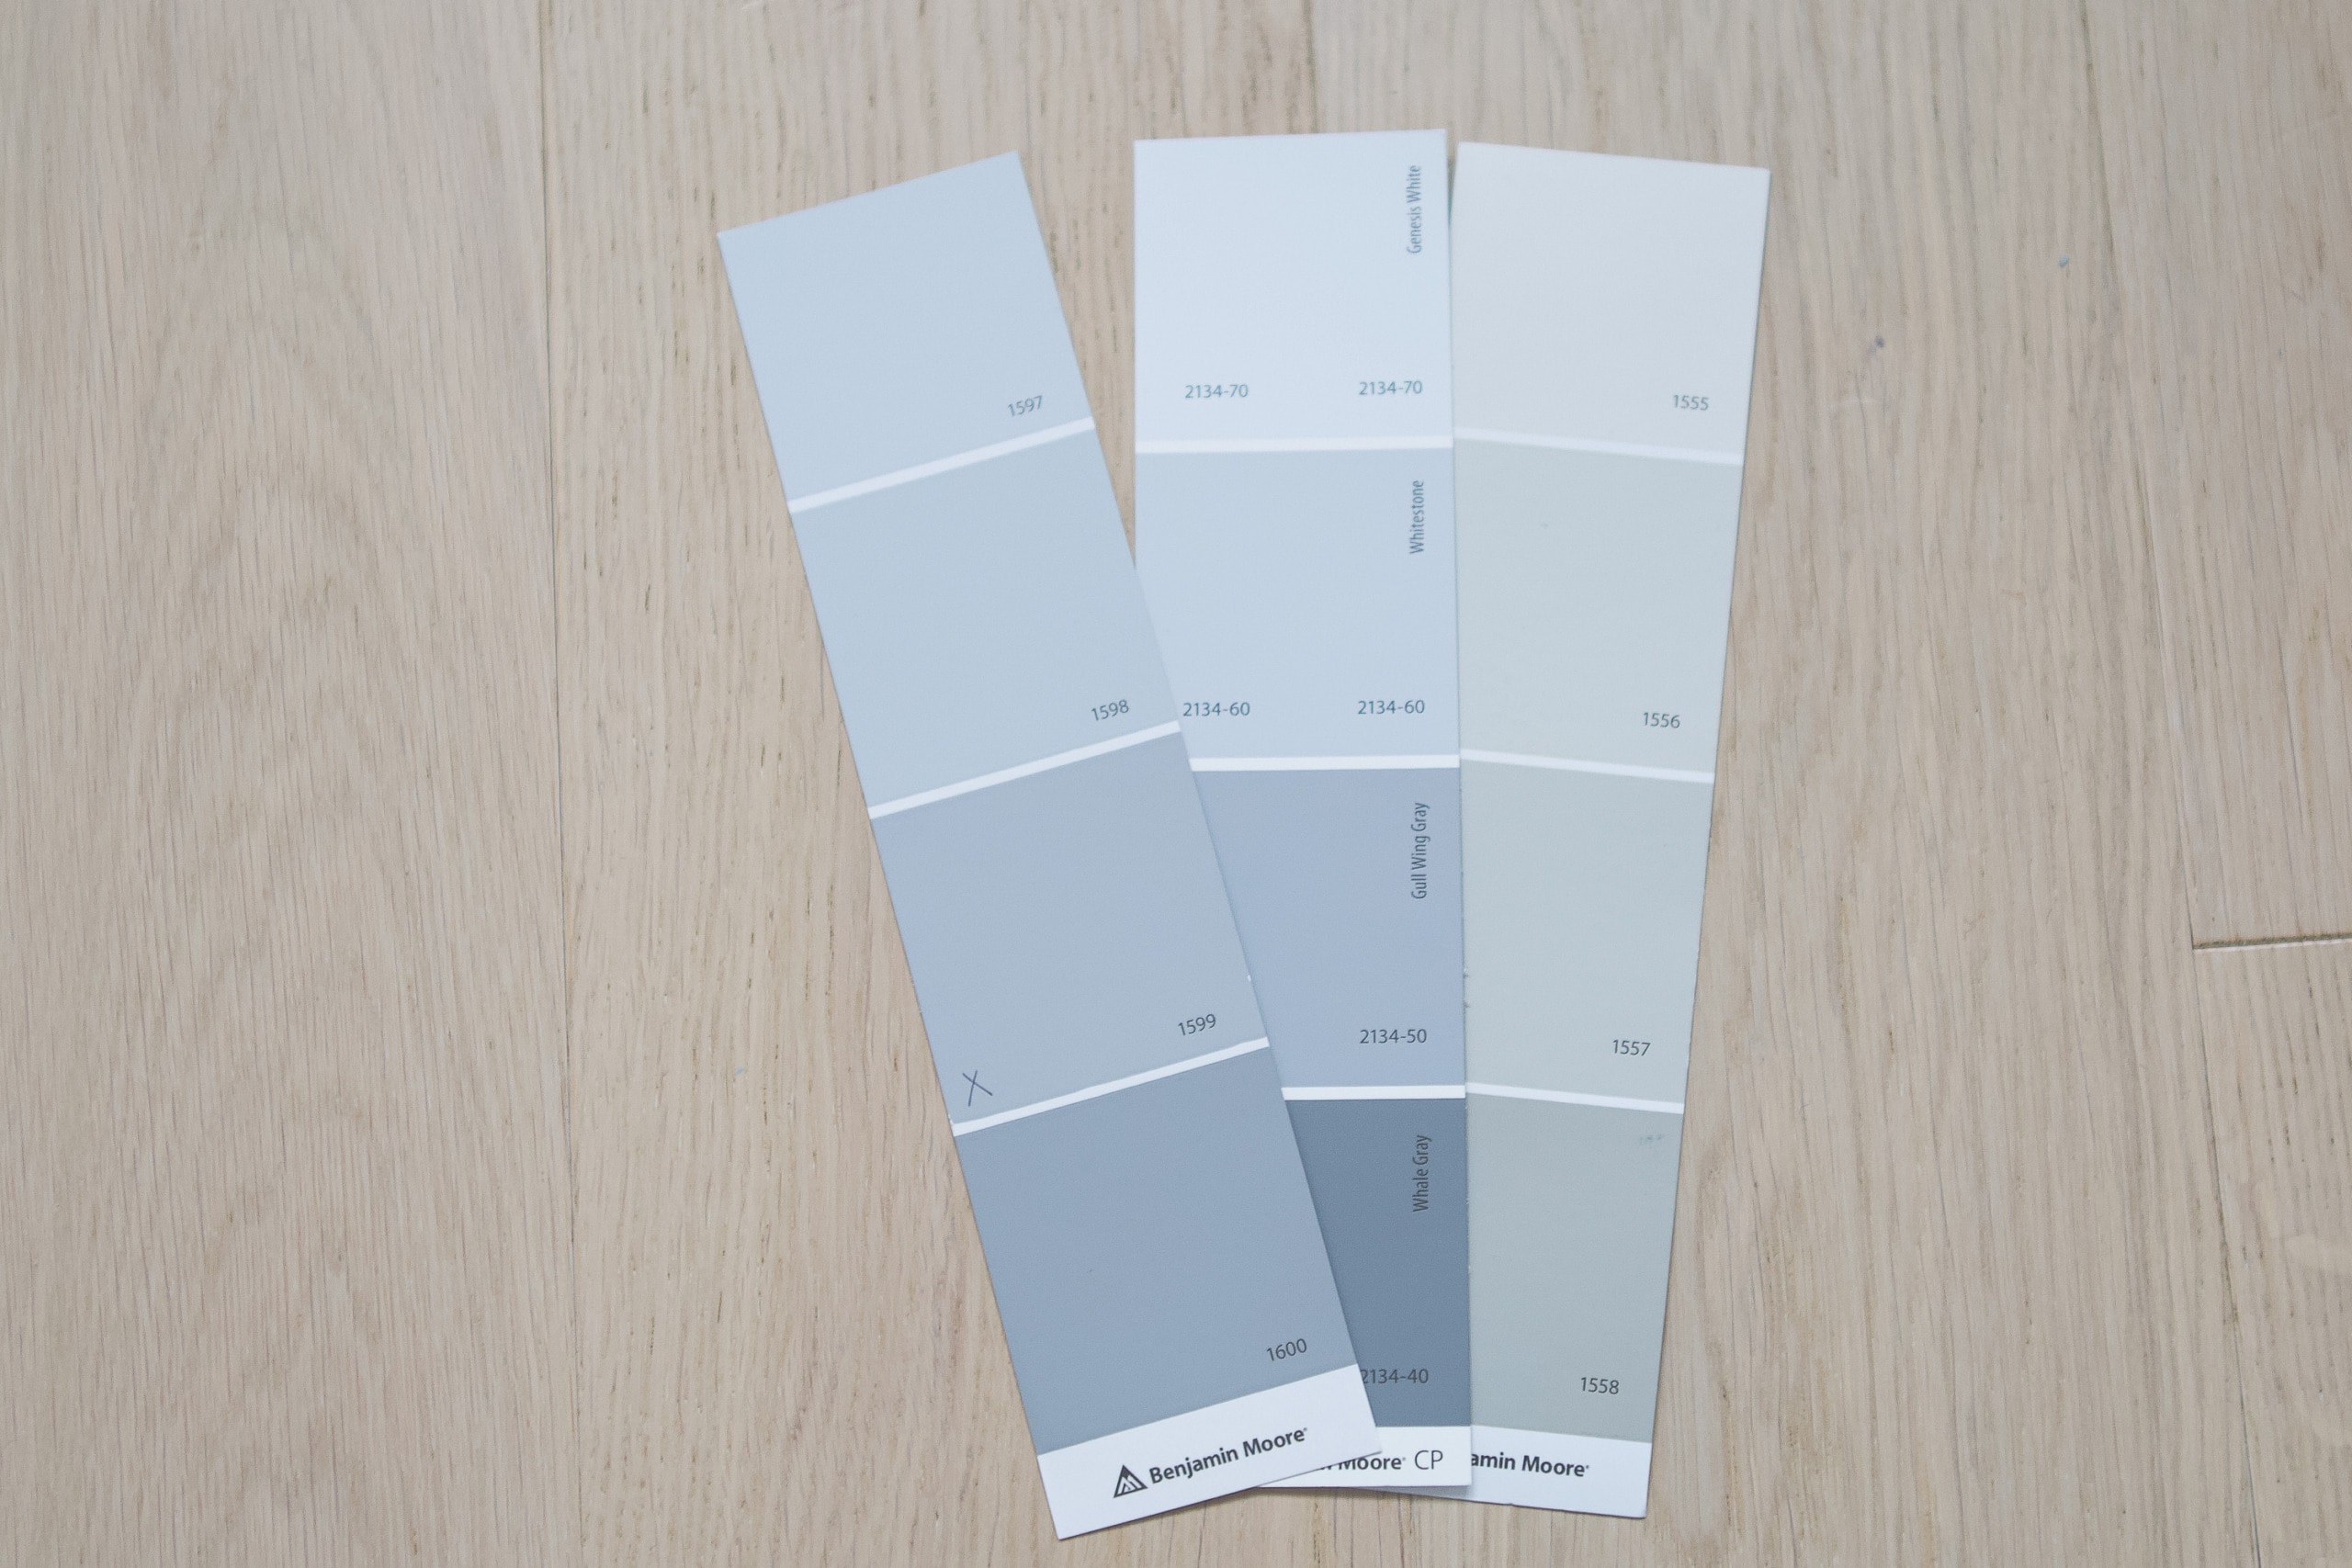
First things first, I needed to choose a new blue gray paint color for the walls and ceiling. We’ve had so much freakin’ snow here in Chicago (it’s been a crazy winter!) and, of course, the day I wanted to get some paint samples we had a big snowstorm. However, I didn’t let that deter me! I put my snow gear on and made the trek to our local Benjamin Moore store. Luckily, it’s only a few blocks away!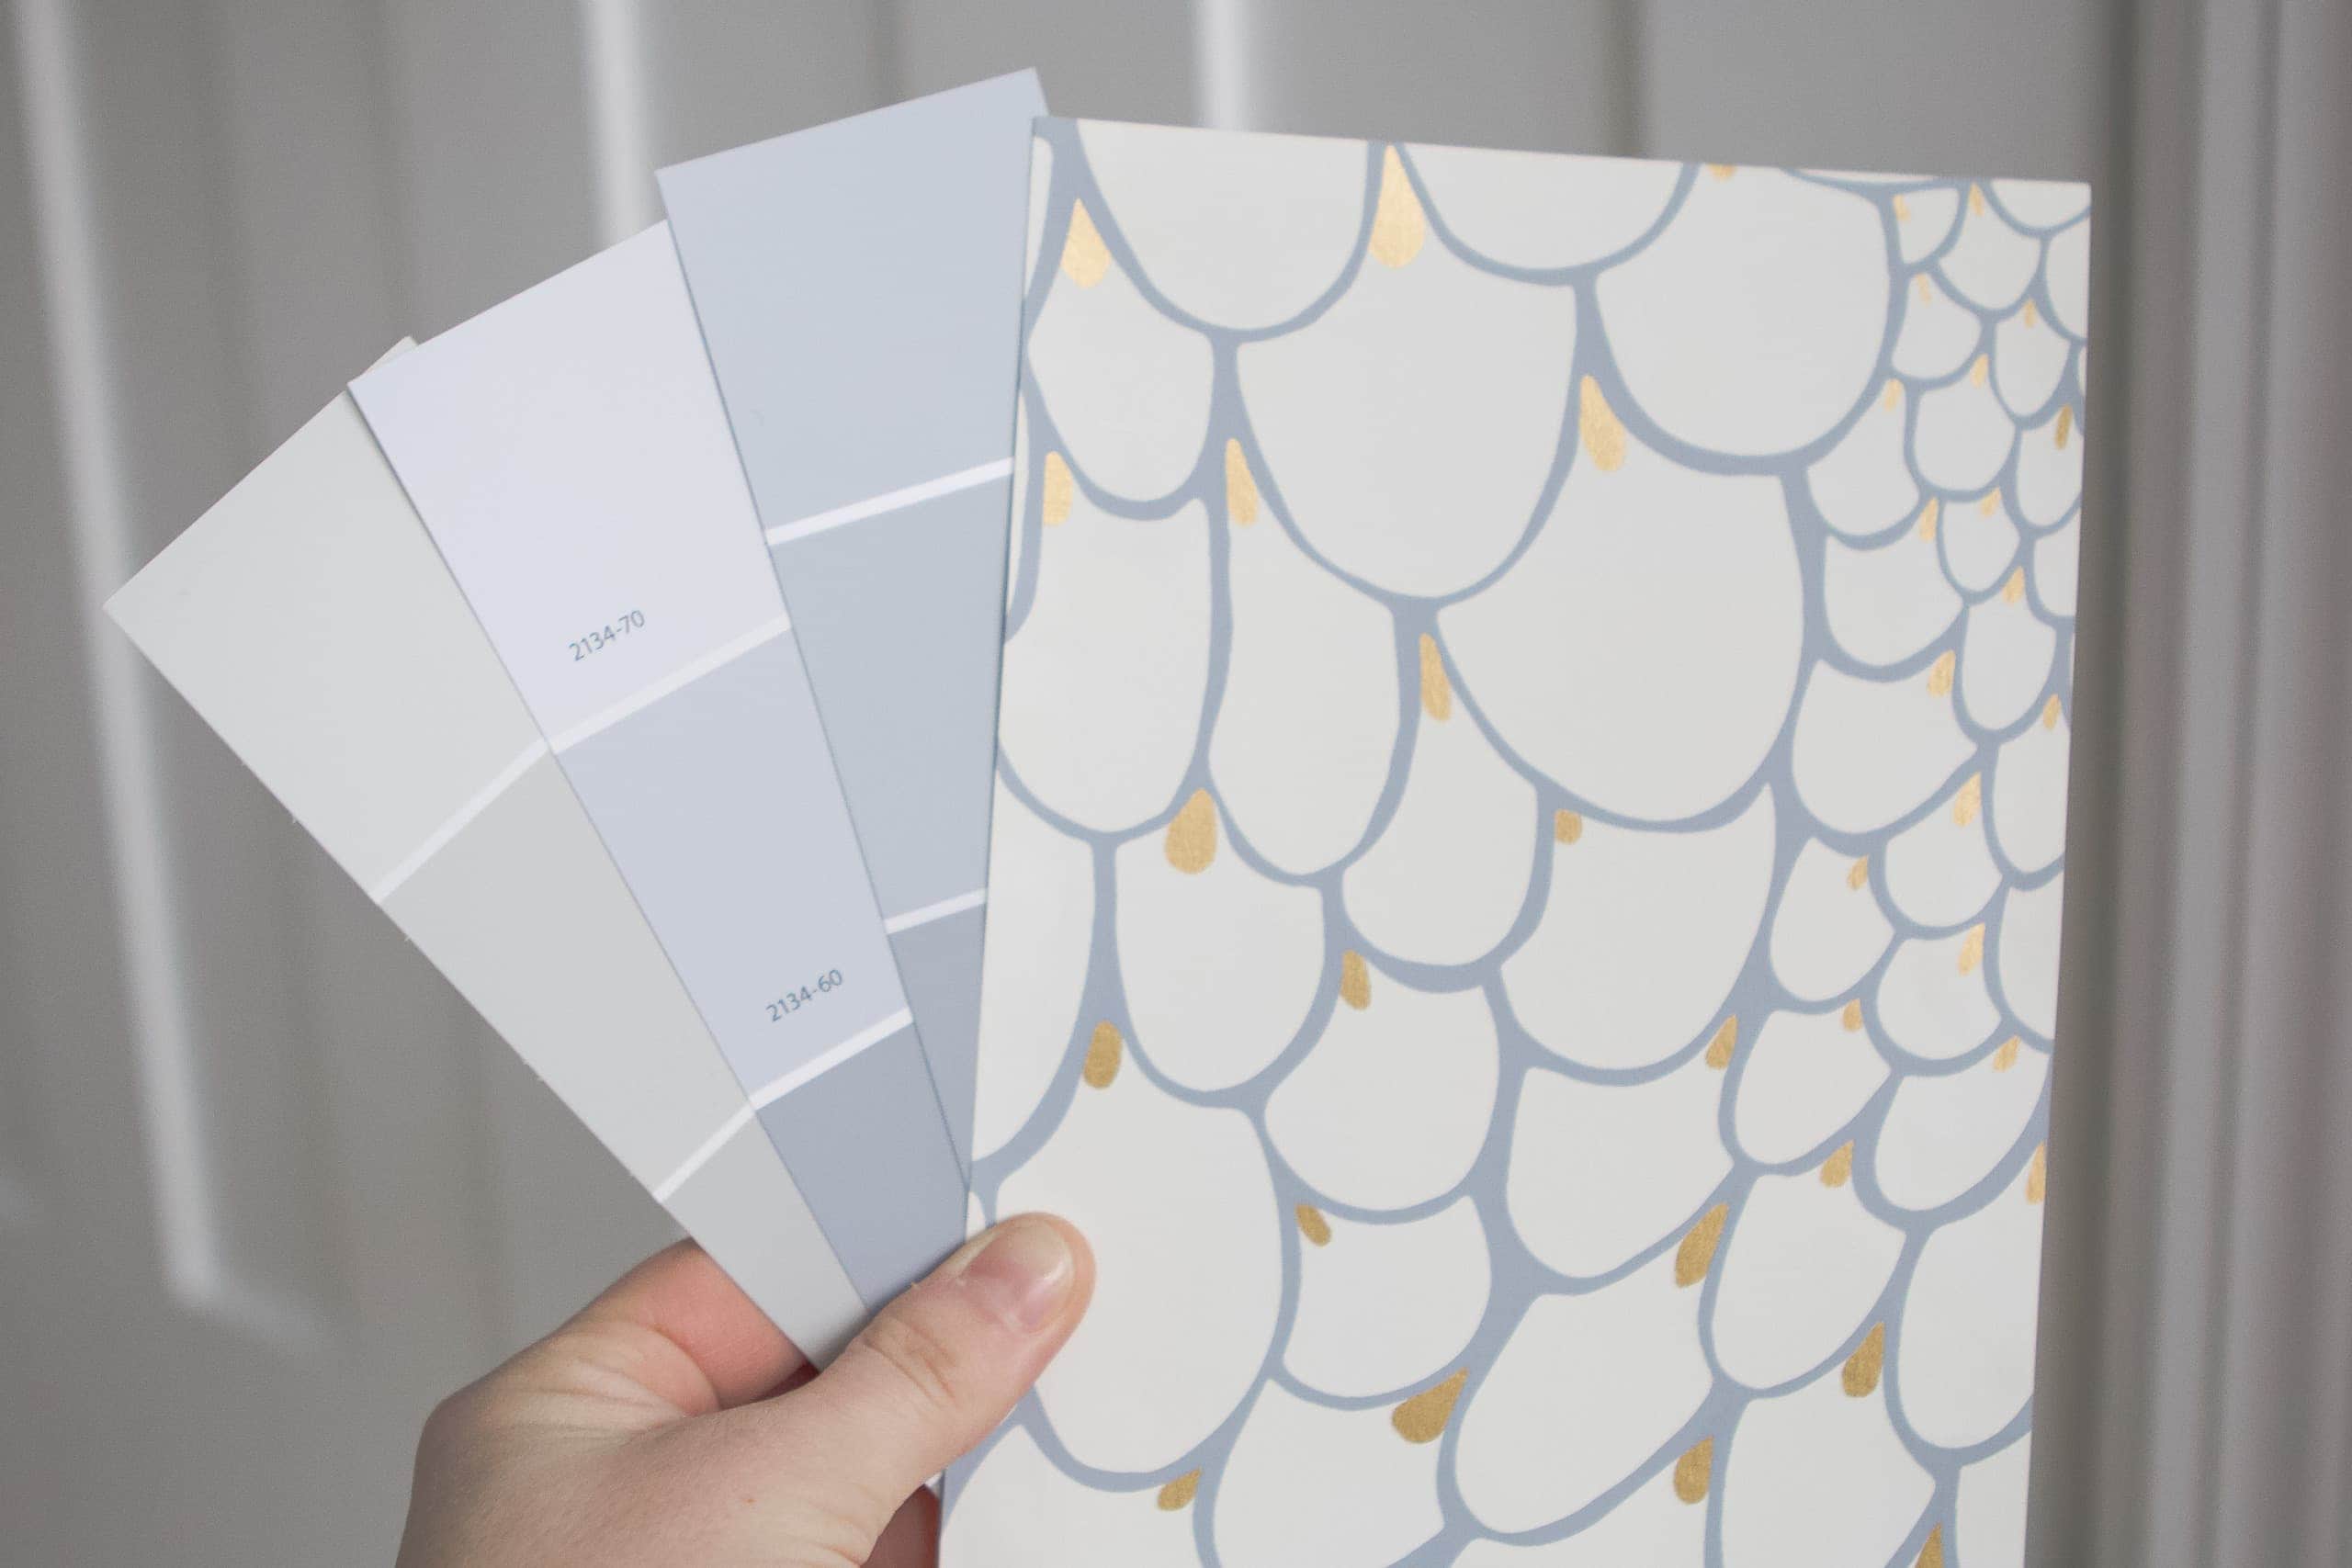
I brought the wallpaper sample with me to find a blue gray paint color that would complement it. Normally, if I’m trying to find a paint color to match a specific cabinet color, swatch, or other design element, I can just have the paint store color-match the sample. They just put it under a scanner, and boom…you’ve got your paint match! But because the blue in this wallpaper is so small, they wouldn’t have been able to scan it to find a perfect match. (Note: I later chatted with the wallpaper designer, Erin, and she told me the blue color is actually Benjamin Moore, “Blue Springs.” Oh well, I had already painted the room by then. But if you want to match it in the future, now you know!)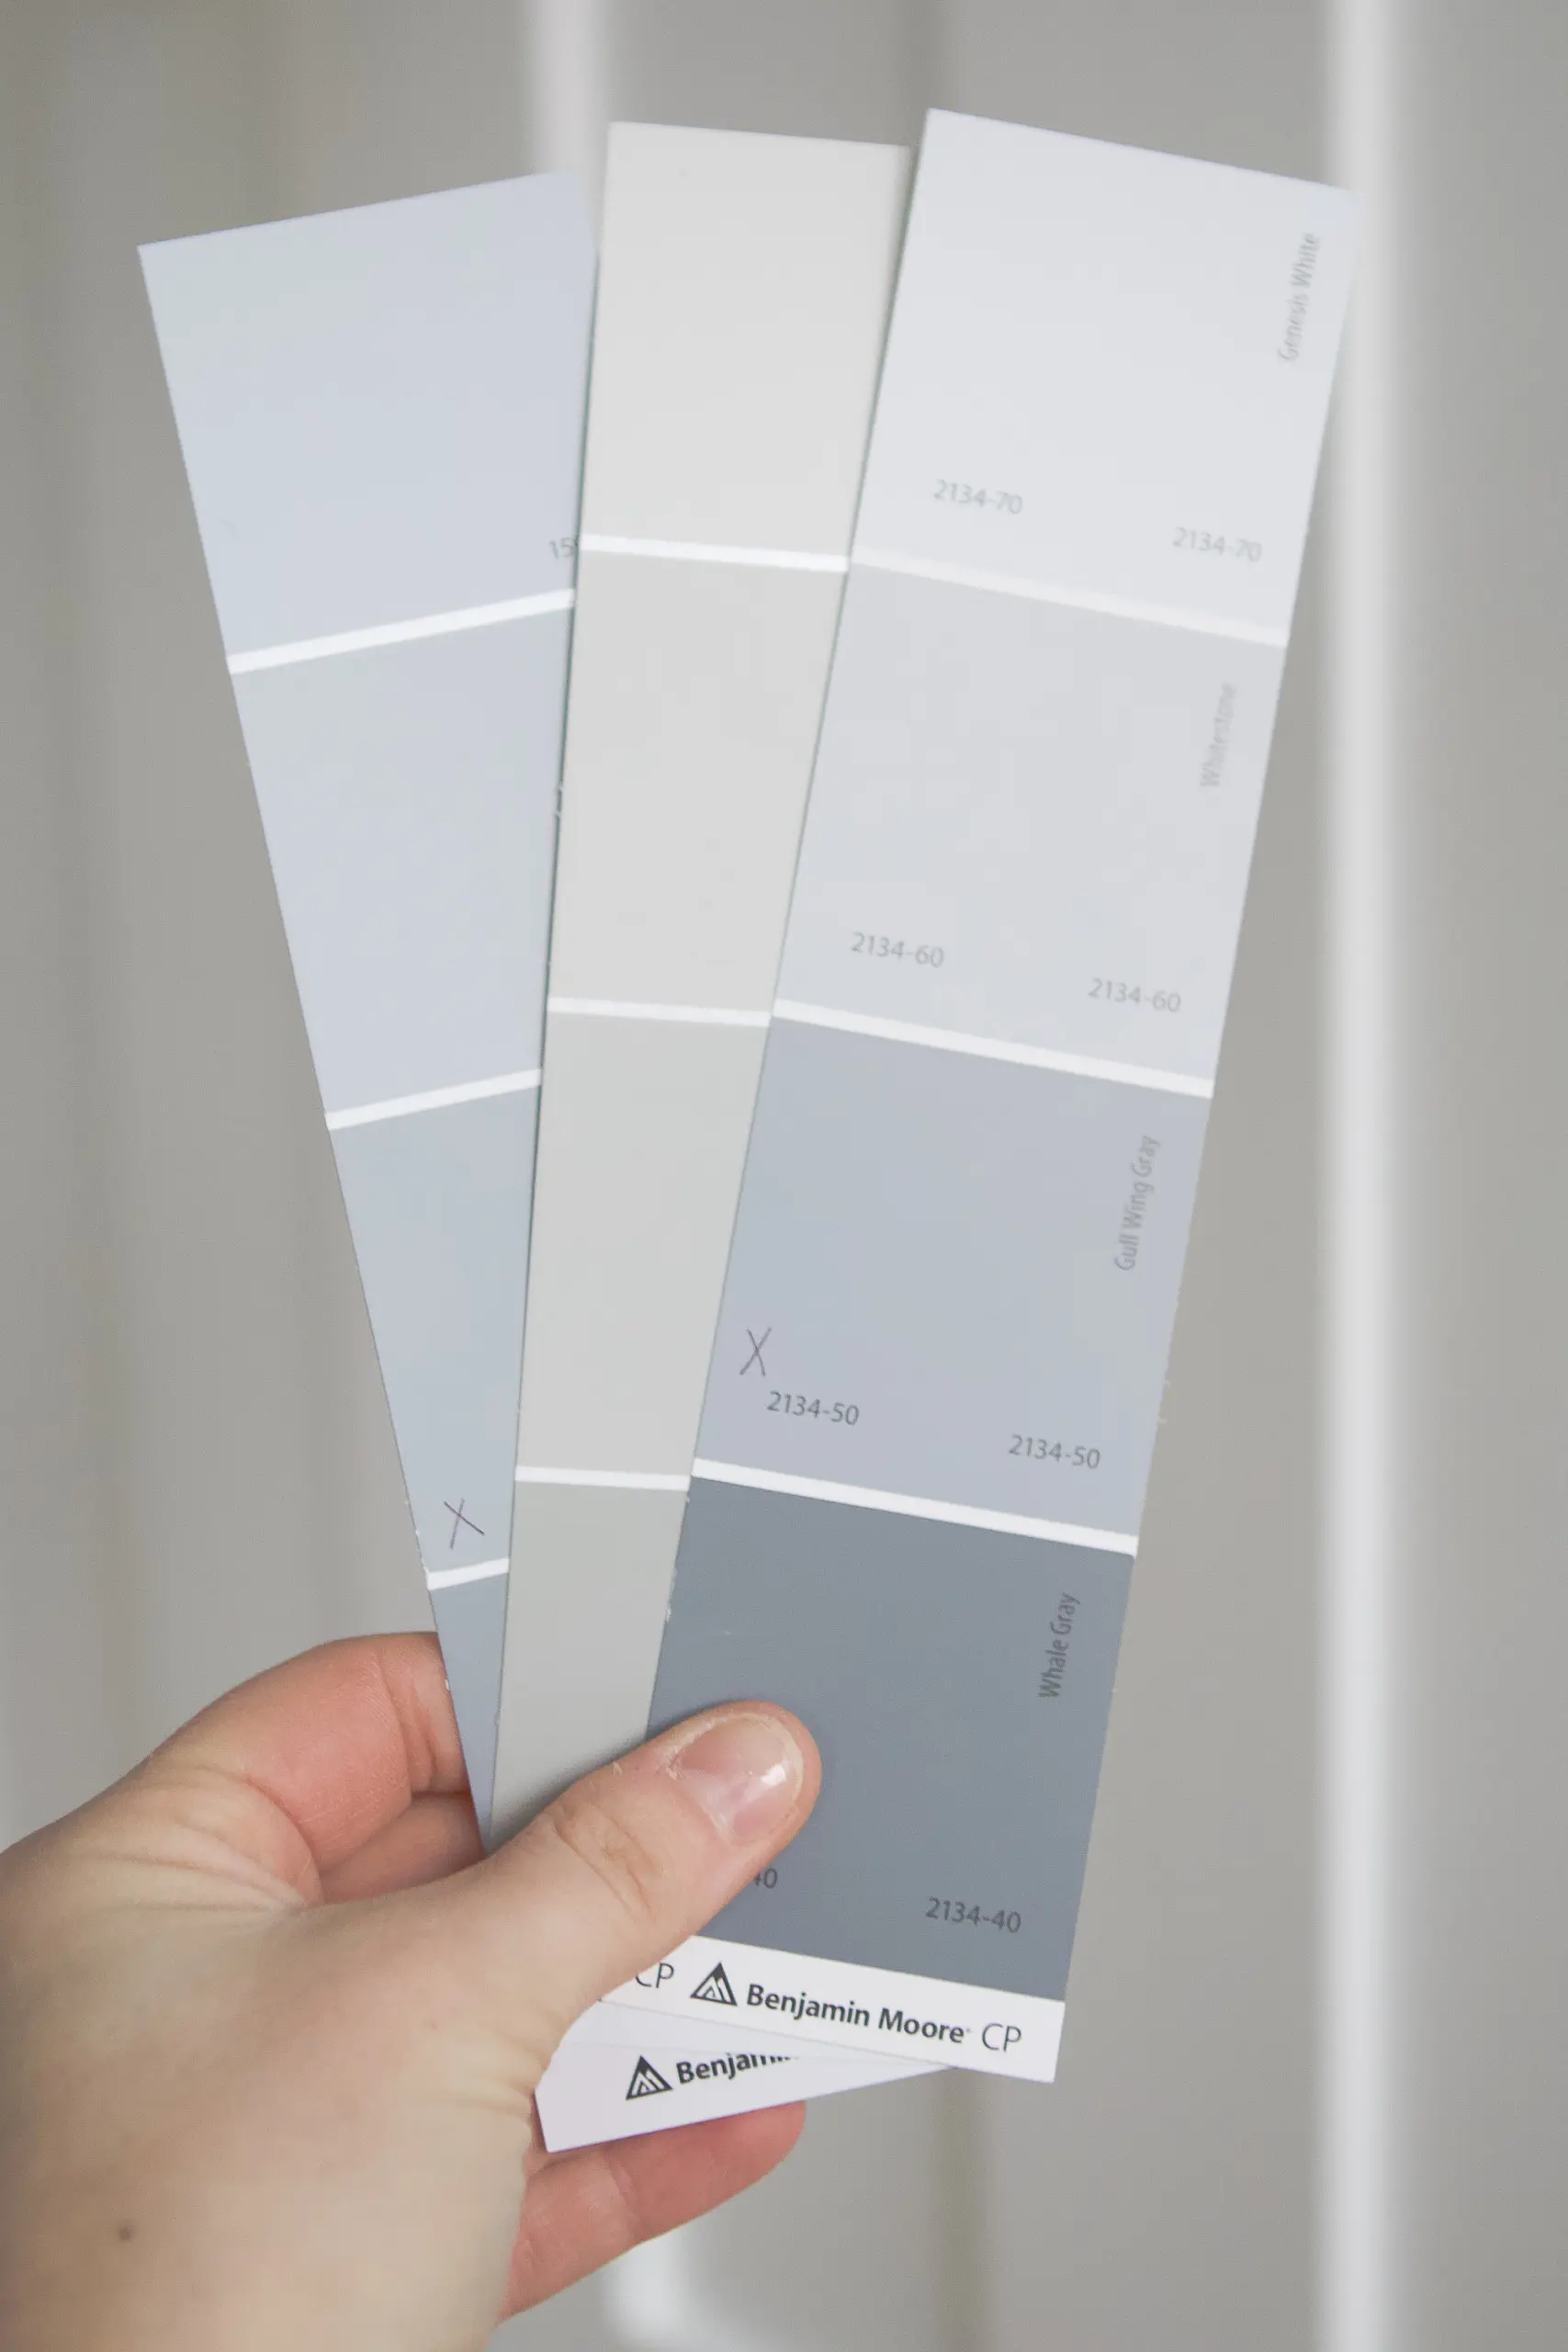
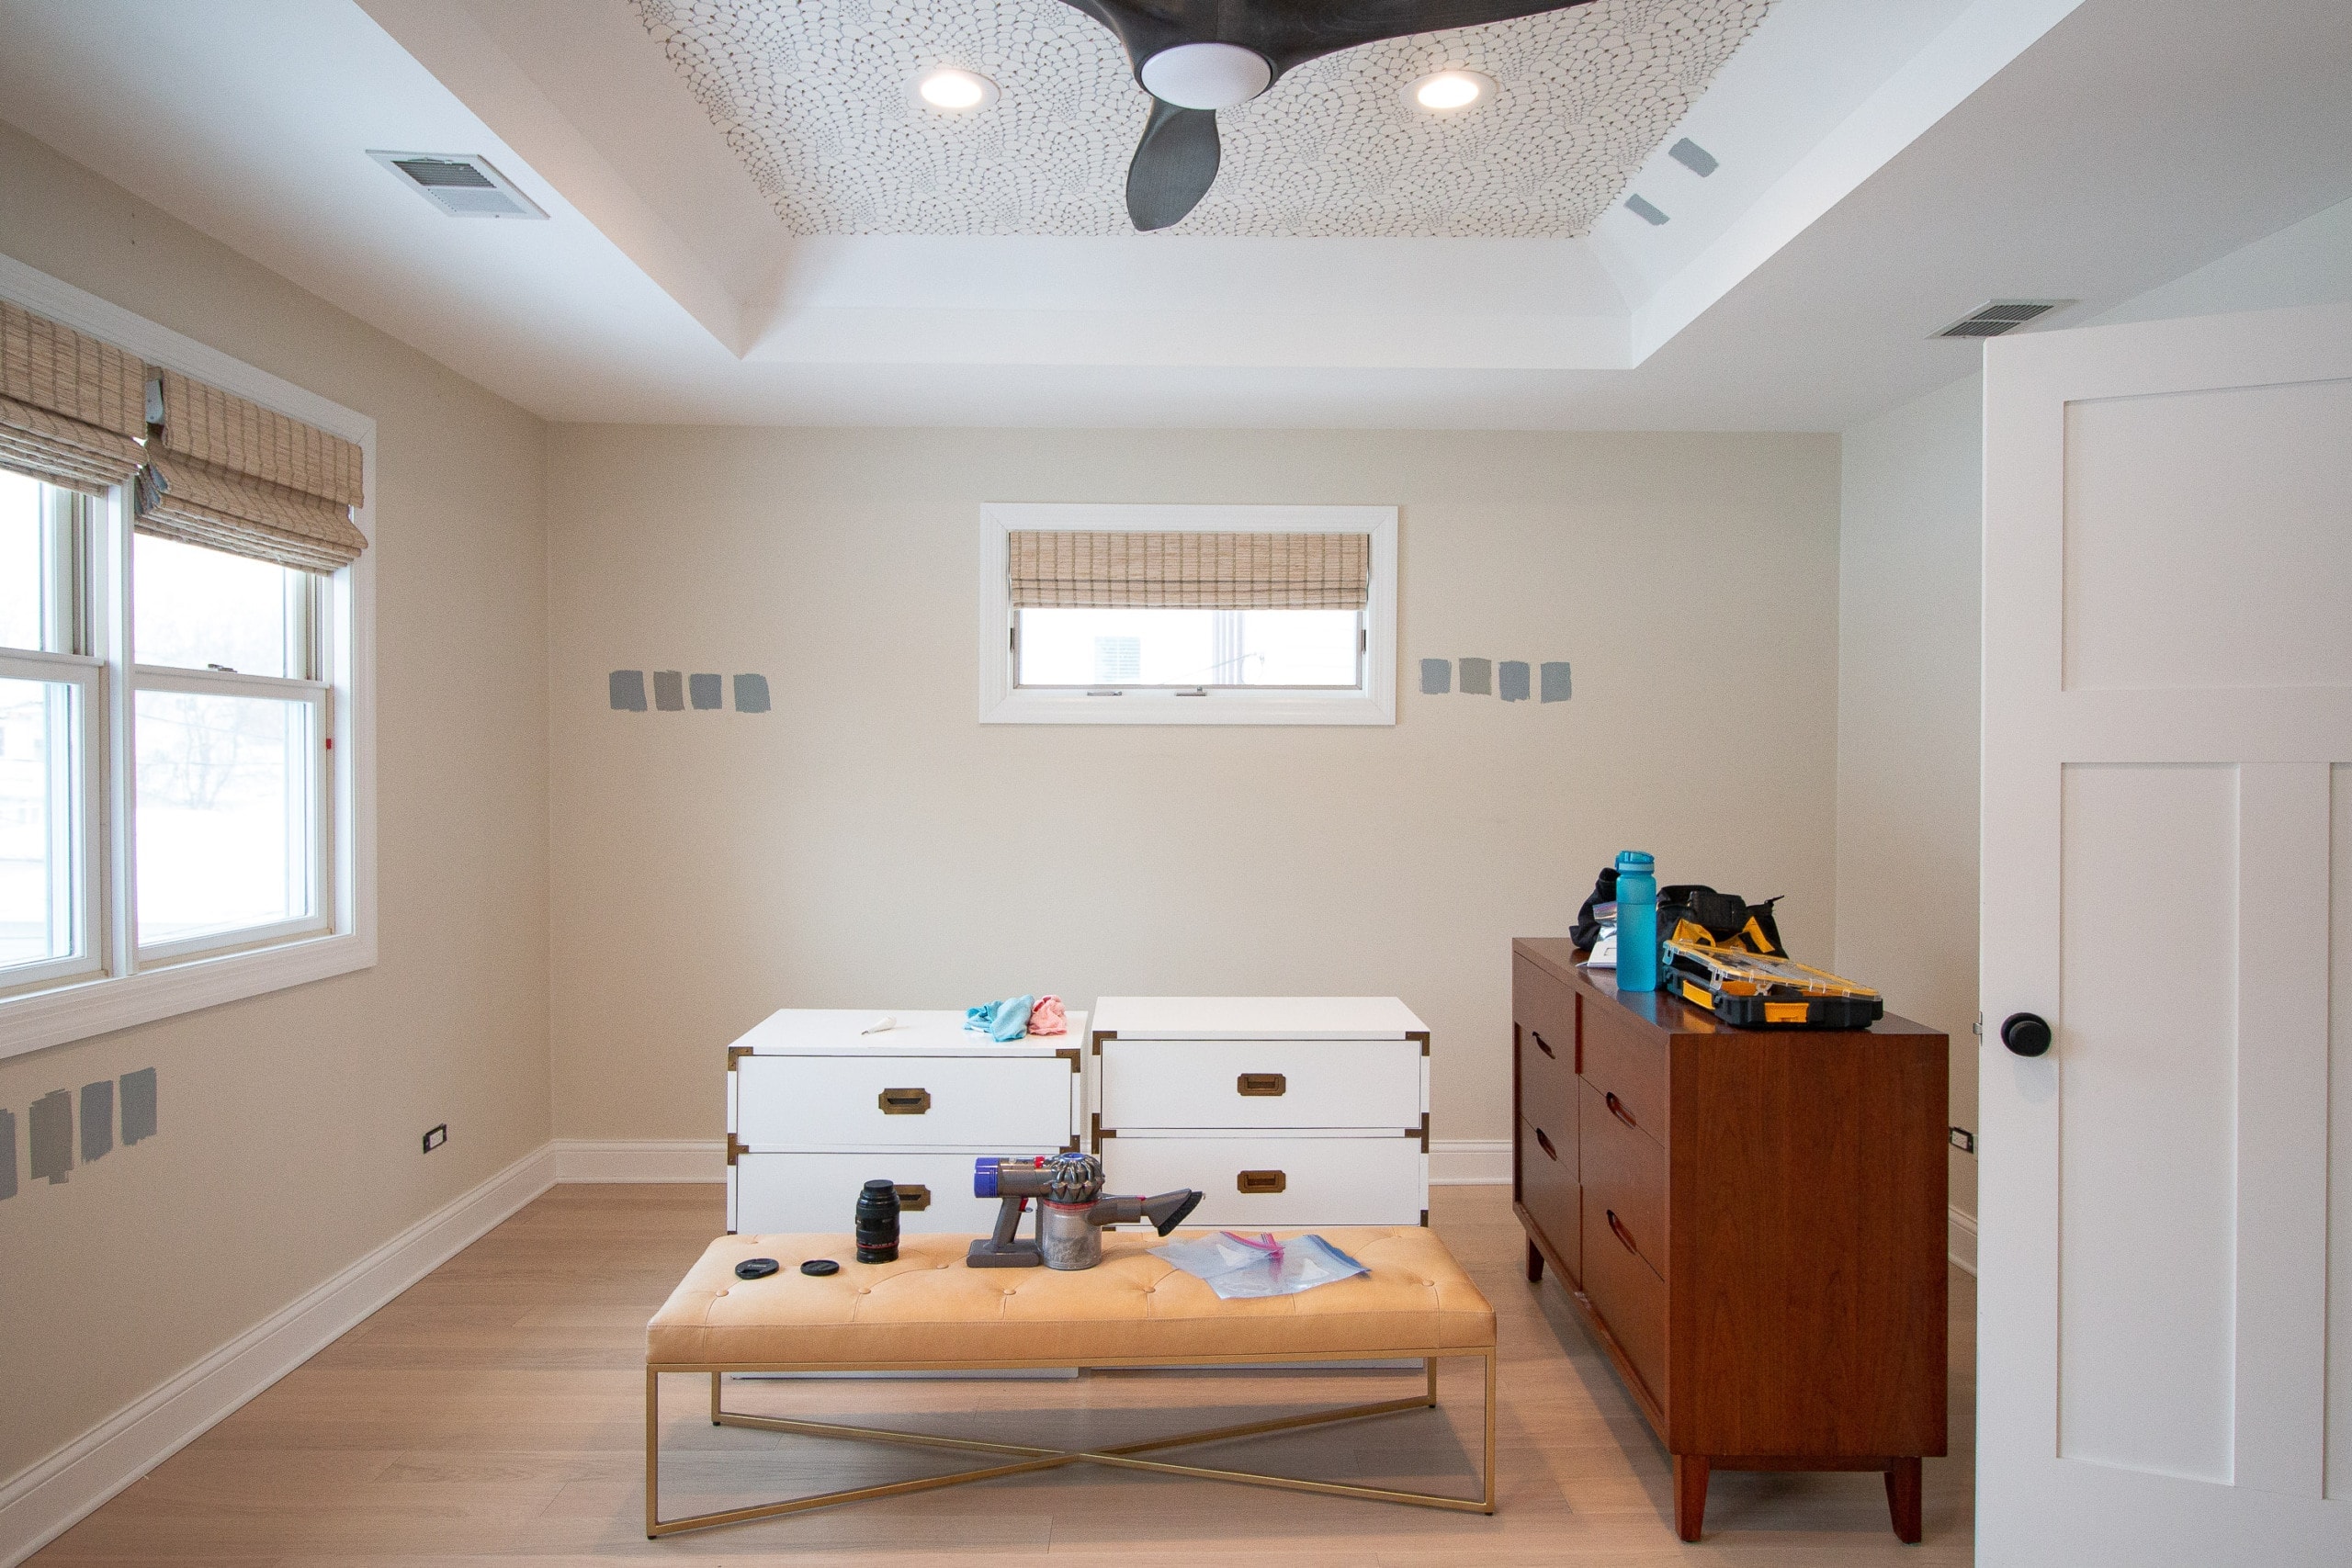
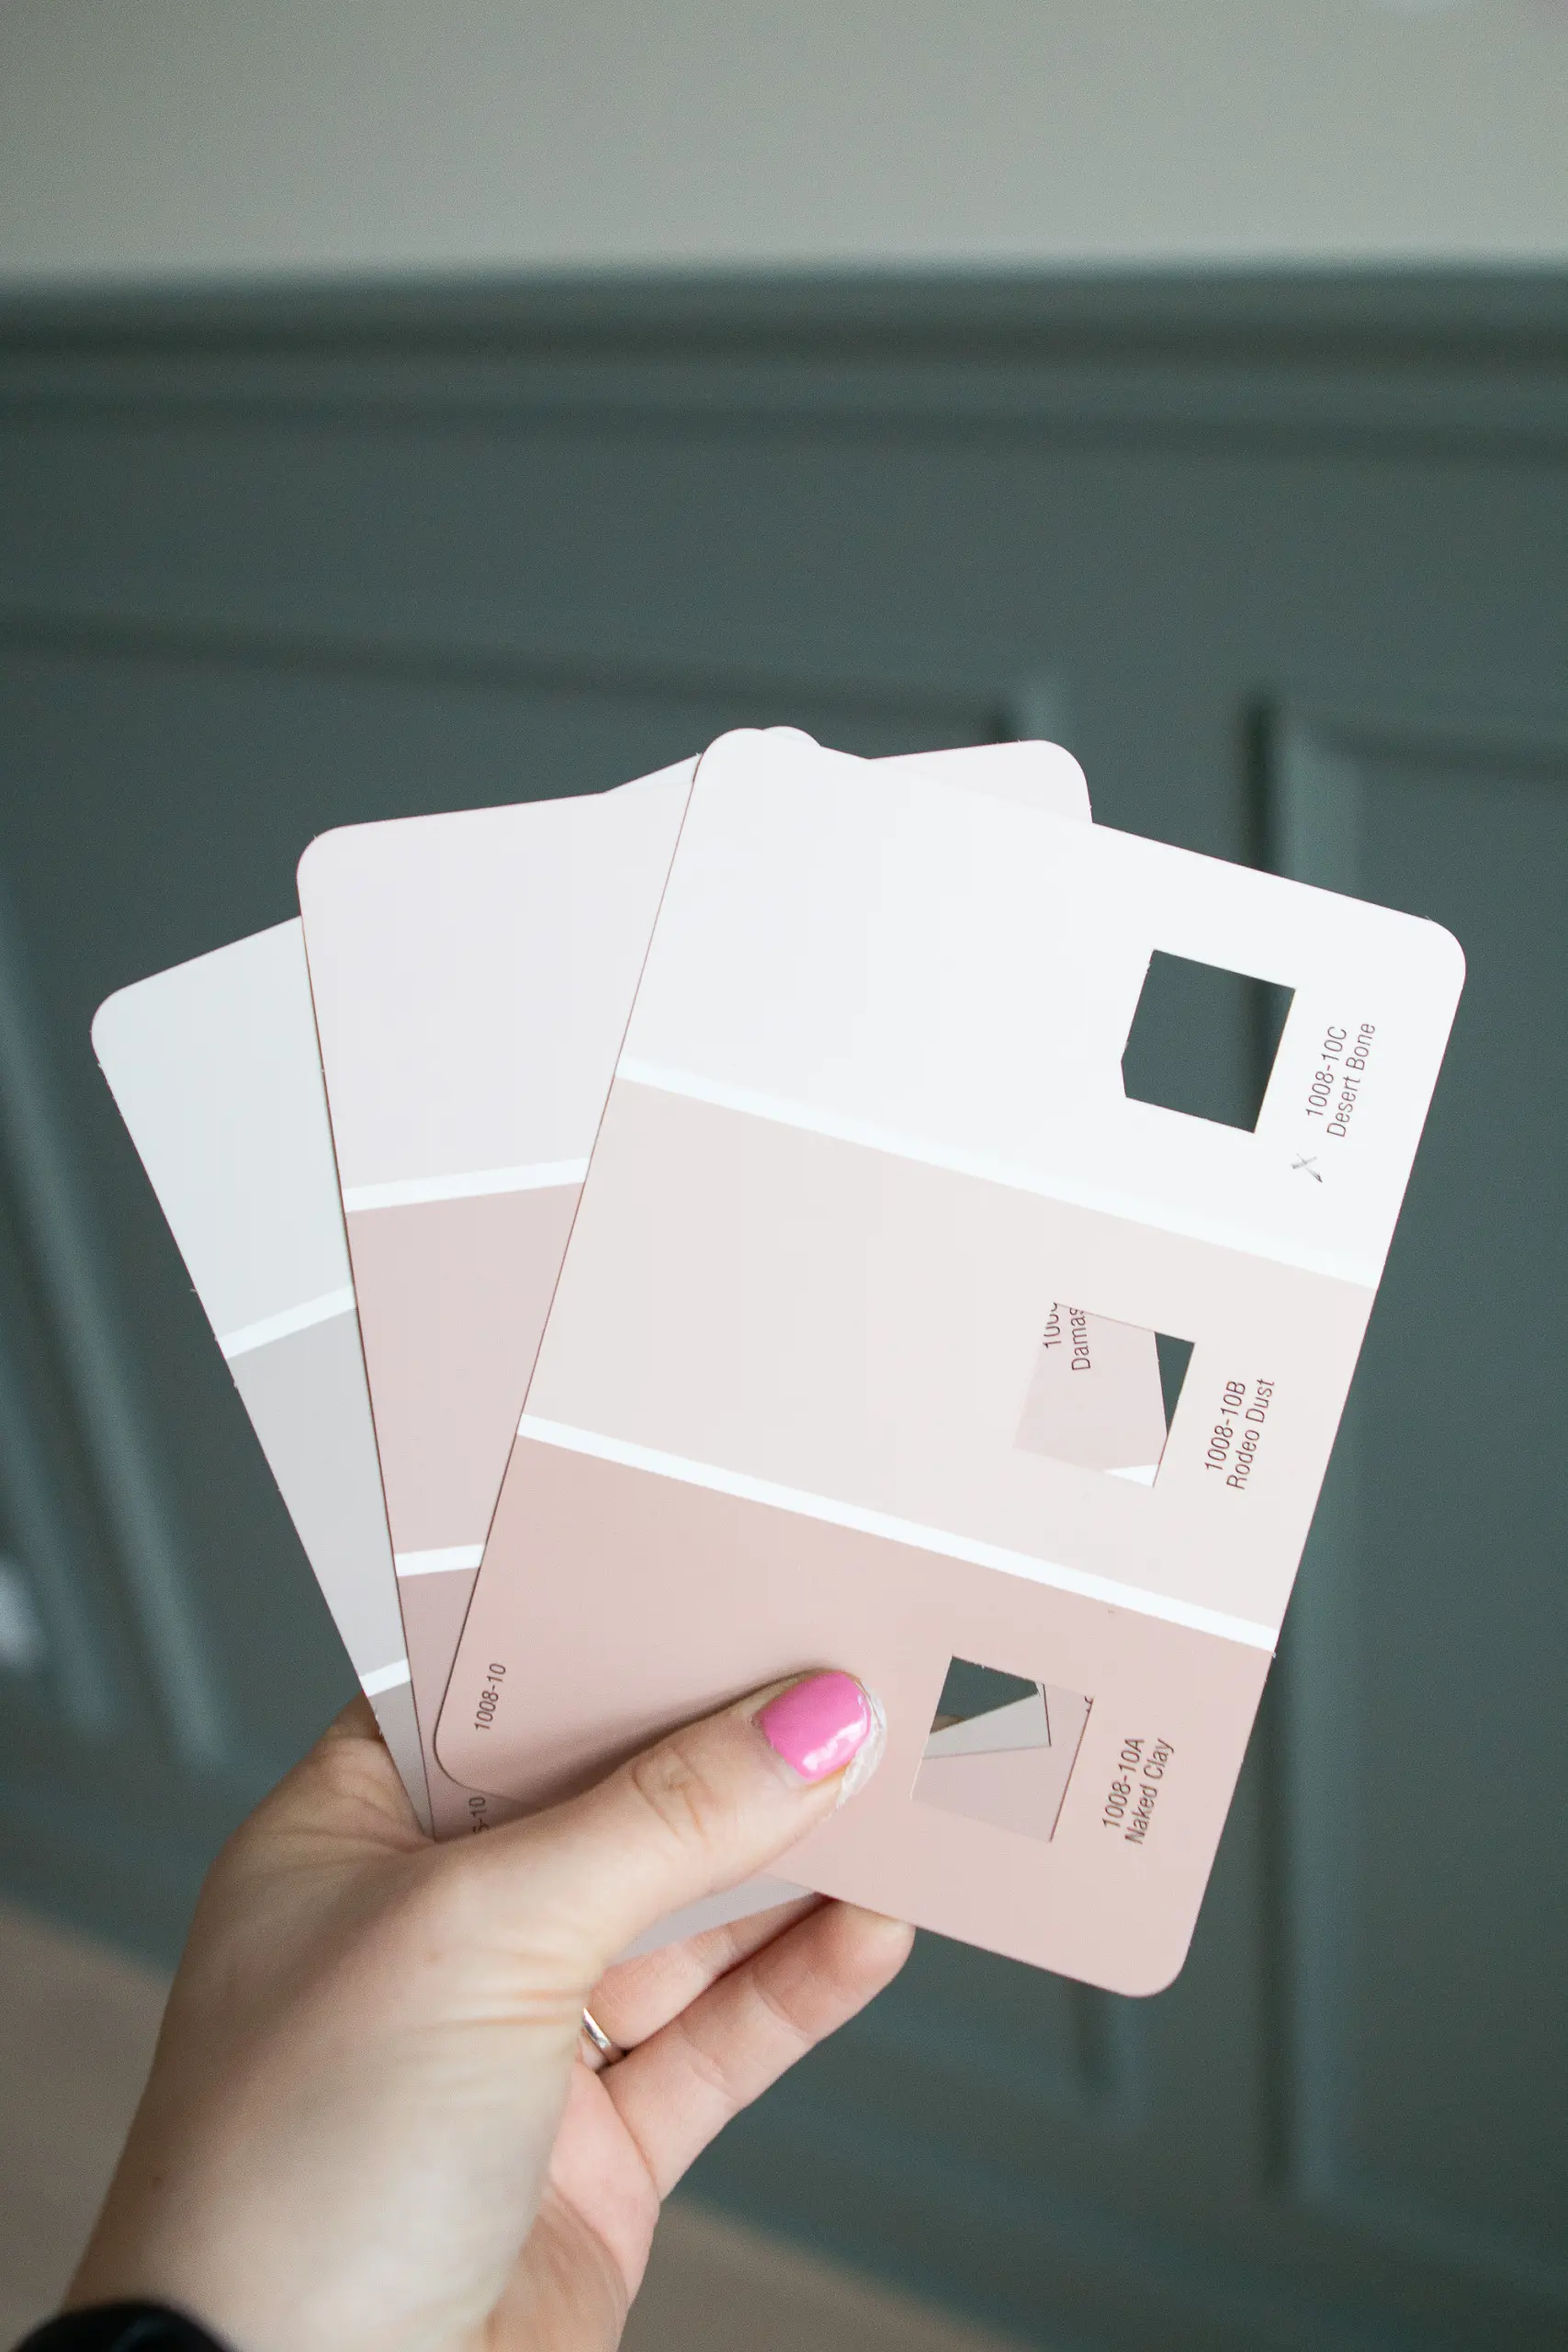
So my gameplan was to look at swatches and find light blue colors with warm undertones. I didn’t want it to read too purple and I didn’t want it to read too cold. Instead, a light blue gray with some warmth to it was my ultimate goal! I looked at swatches and brought four paint samples home with me to try on the walls.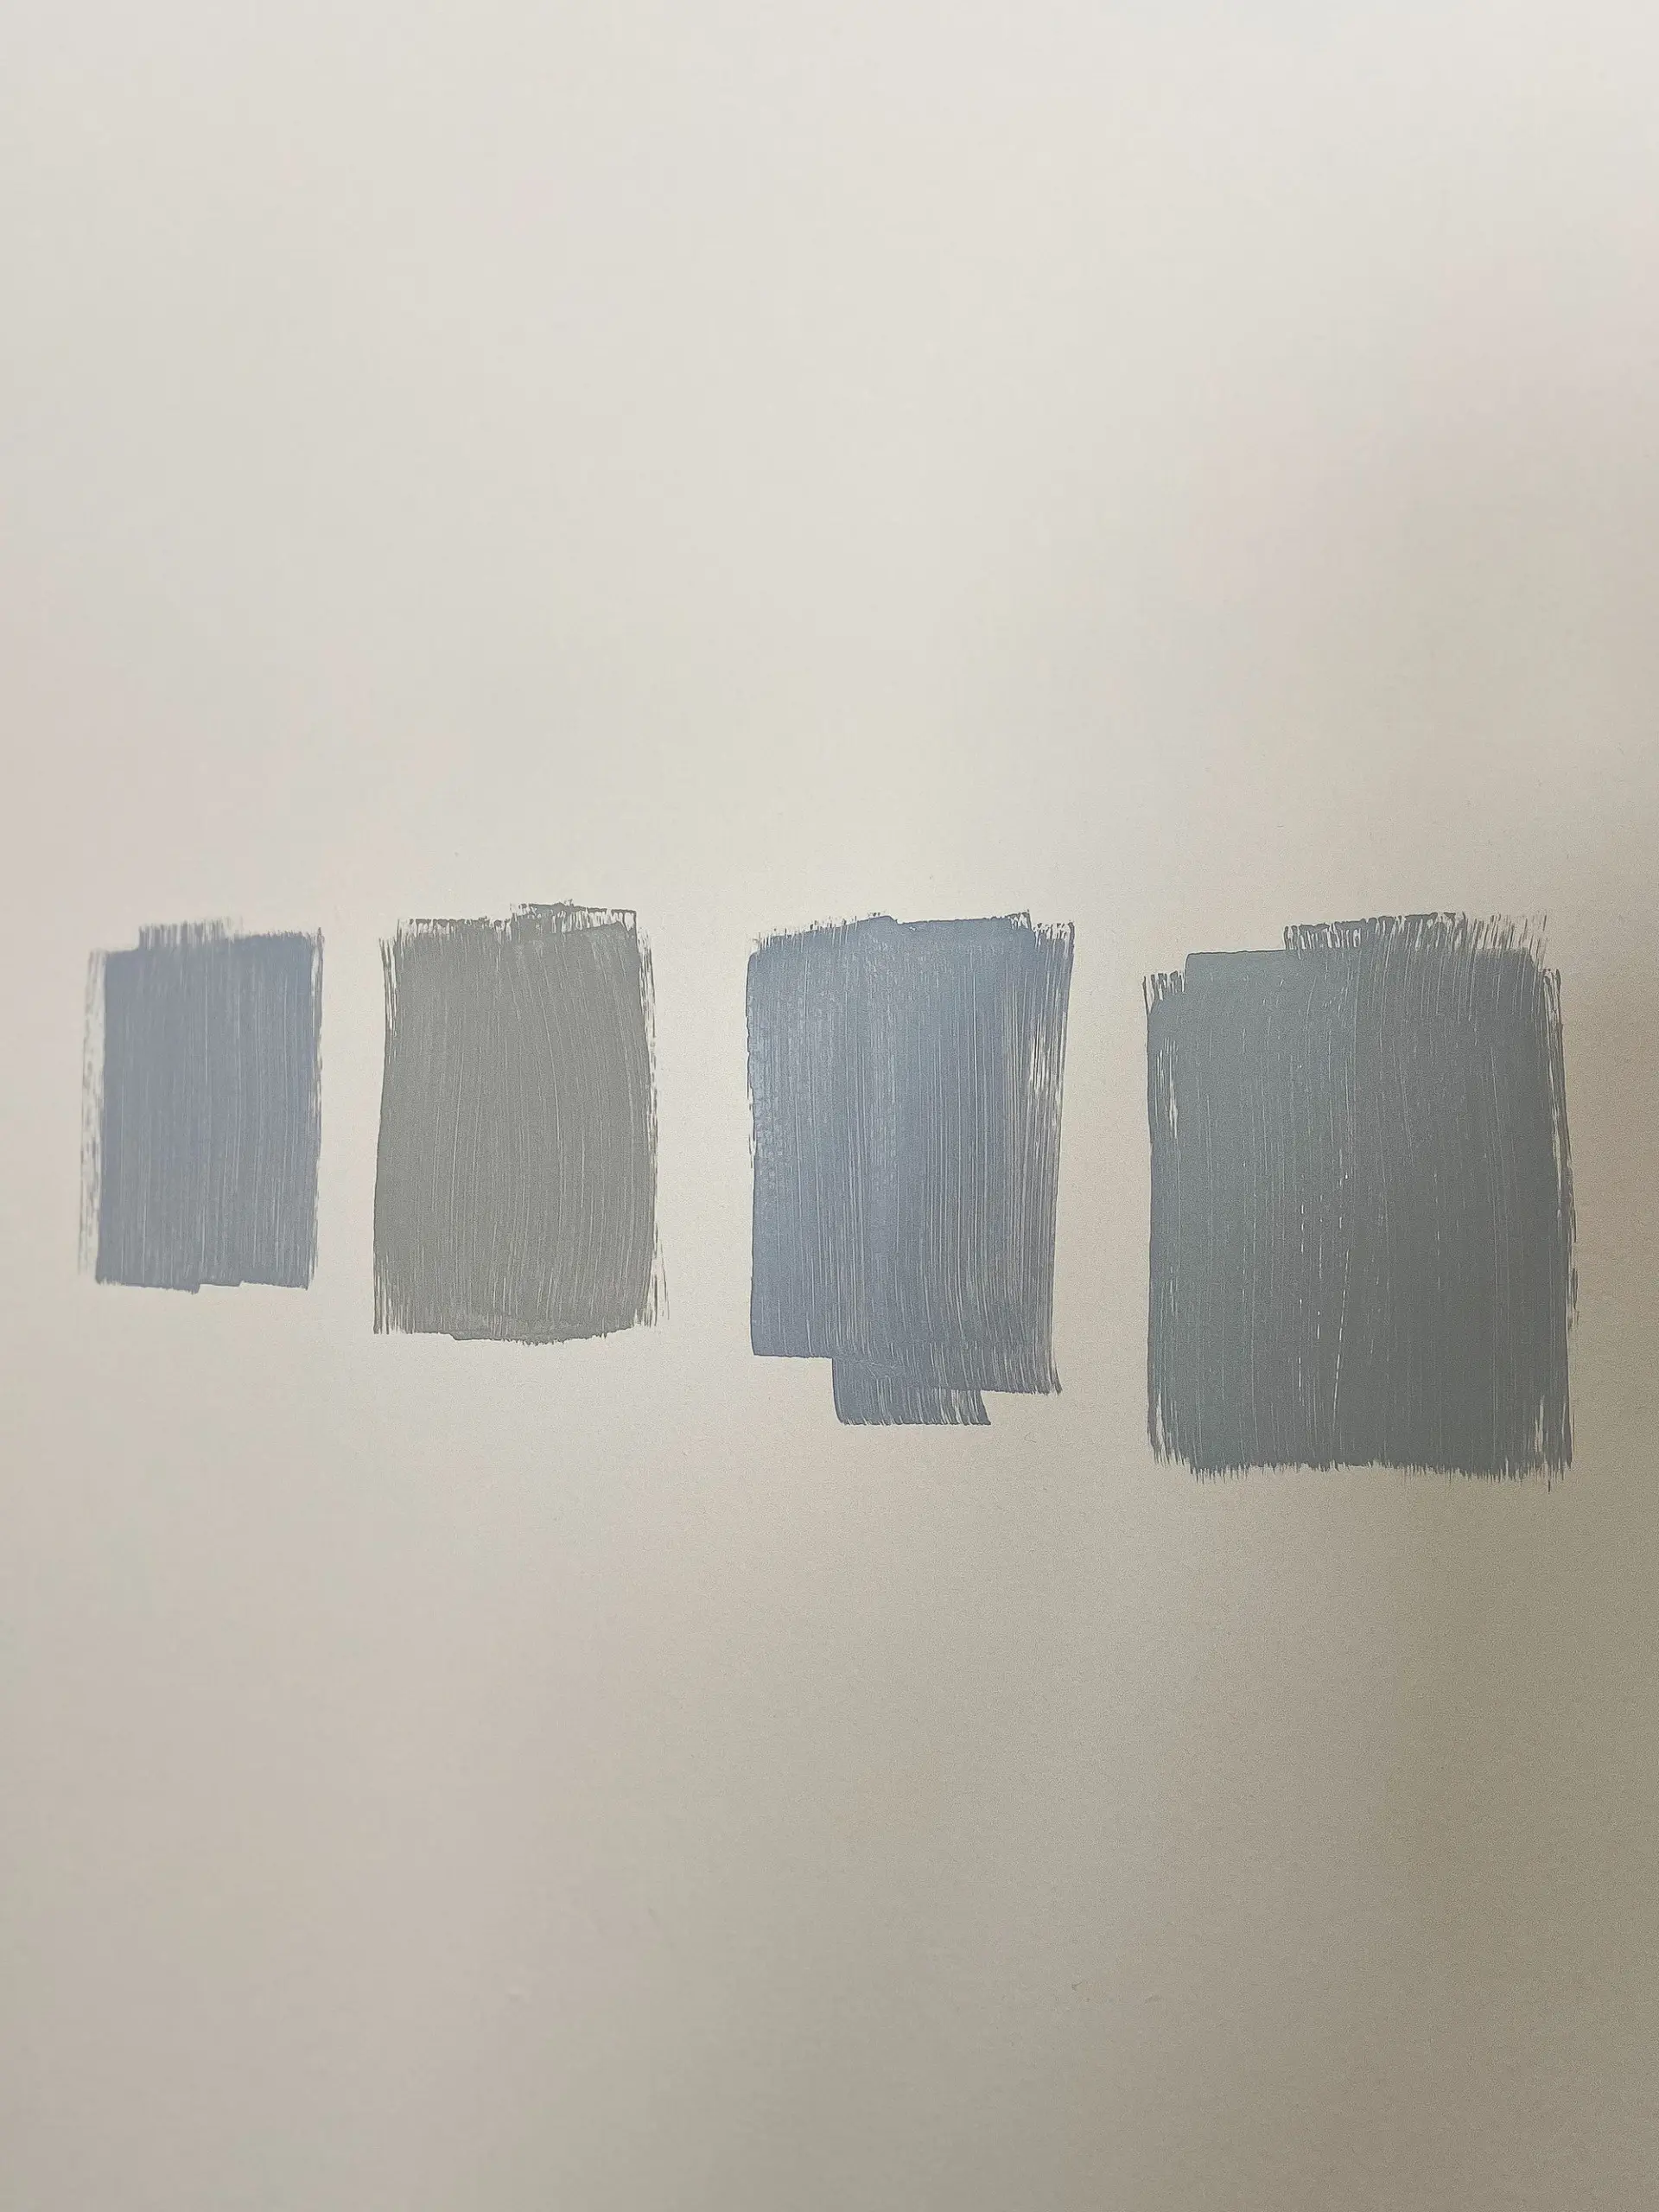
From Left to Right (all Benjamin Moore Colors): Marina Gray, Fieldstone, Gull Wing Gray, Boothbay Gray
I always like to paint my samples directly on the wall and I put them in multiple spots around the room. I know some people paint boards or sample sheets and move them around the room, but I really like seeing the color on the walls. I’ve never had an issue painting over the samples and seeing the original color underneath, so that’s what has worked best for me. It was the same with this project. I didn’t sand or prime over the sample colors with this project. I just painted right over them.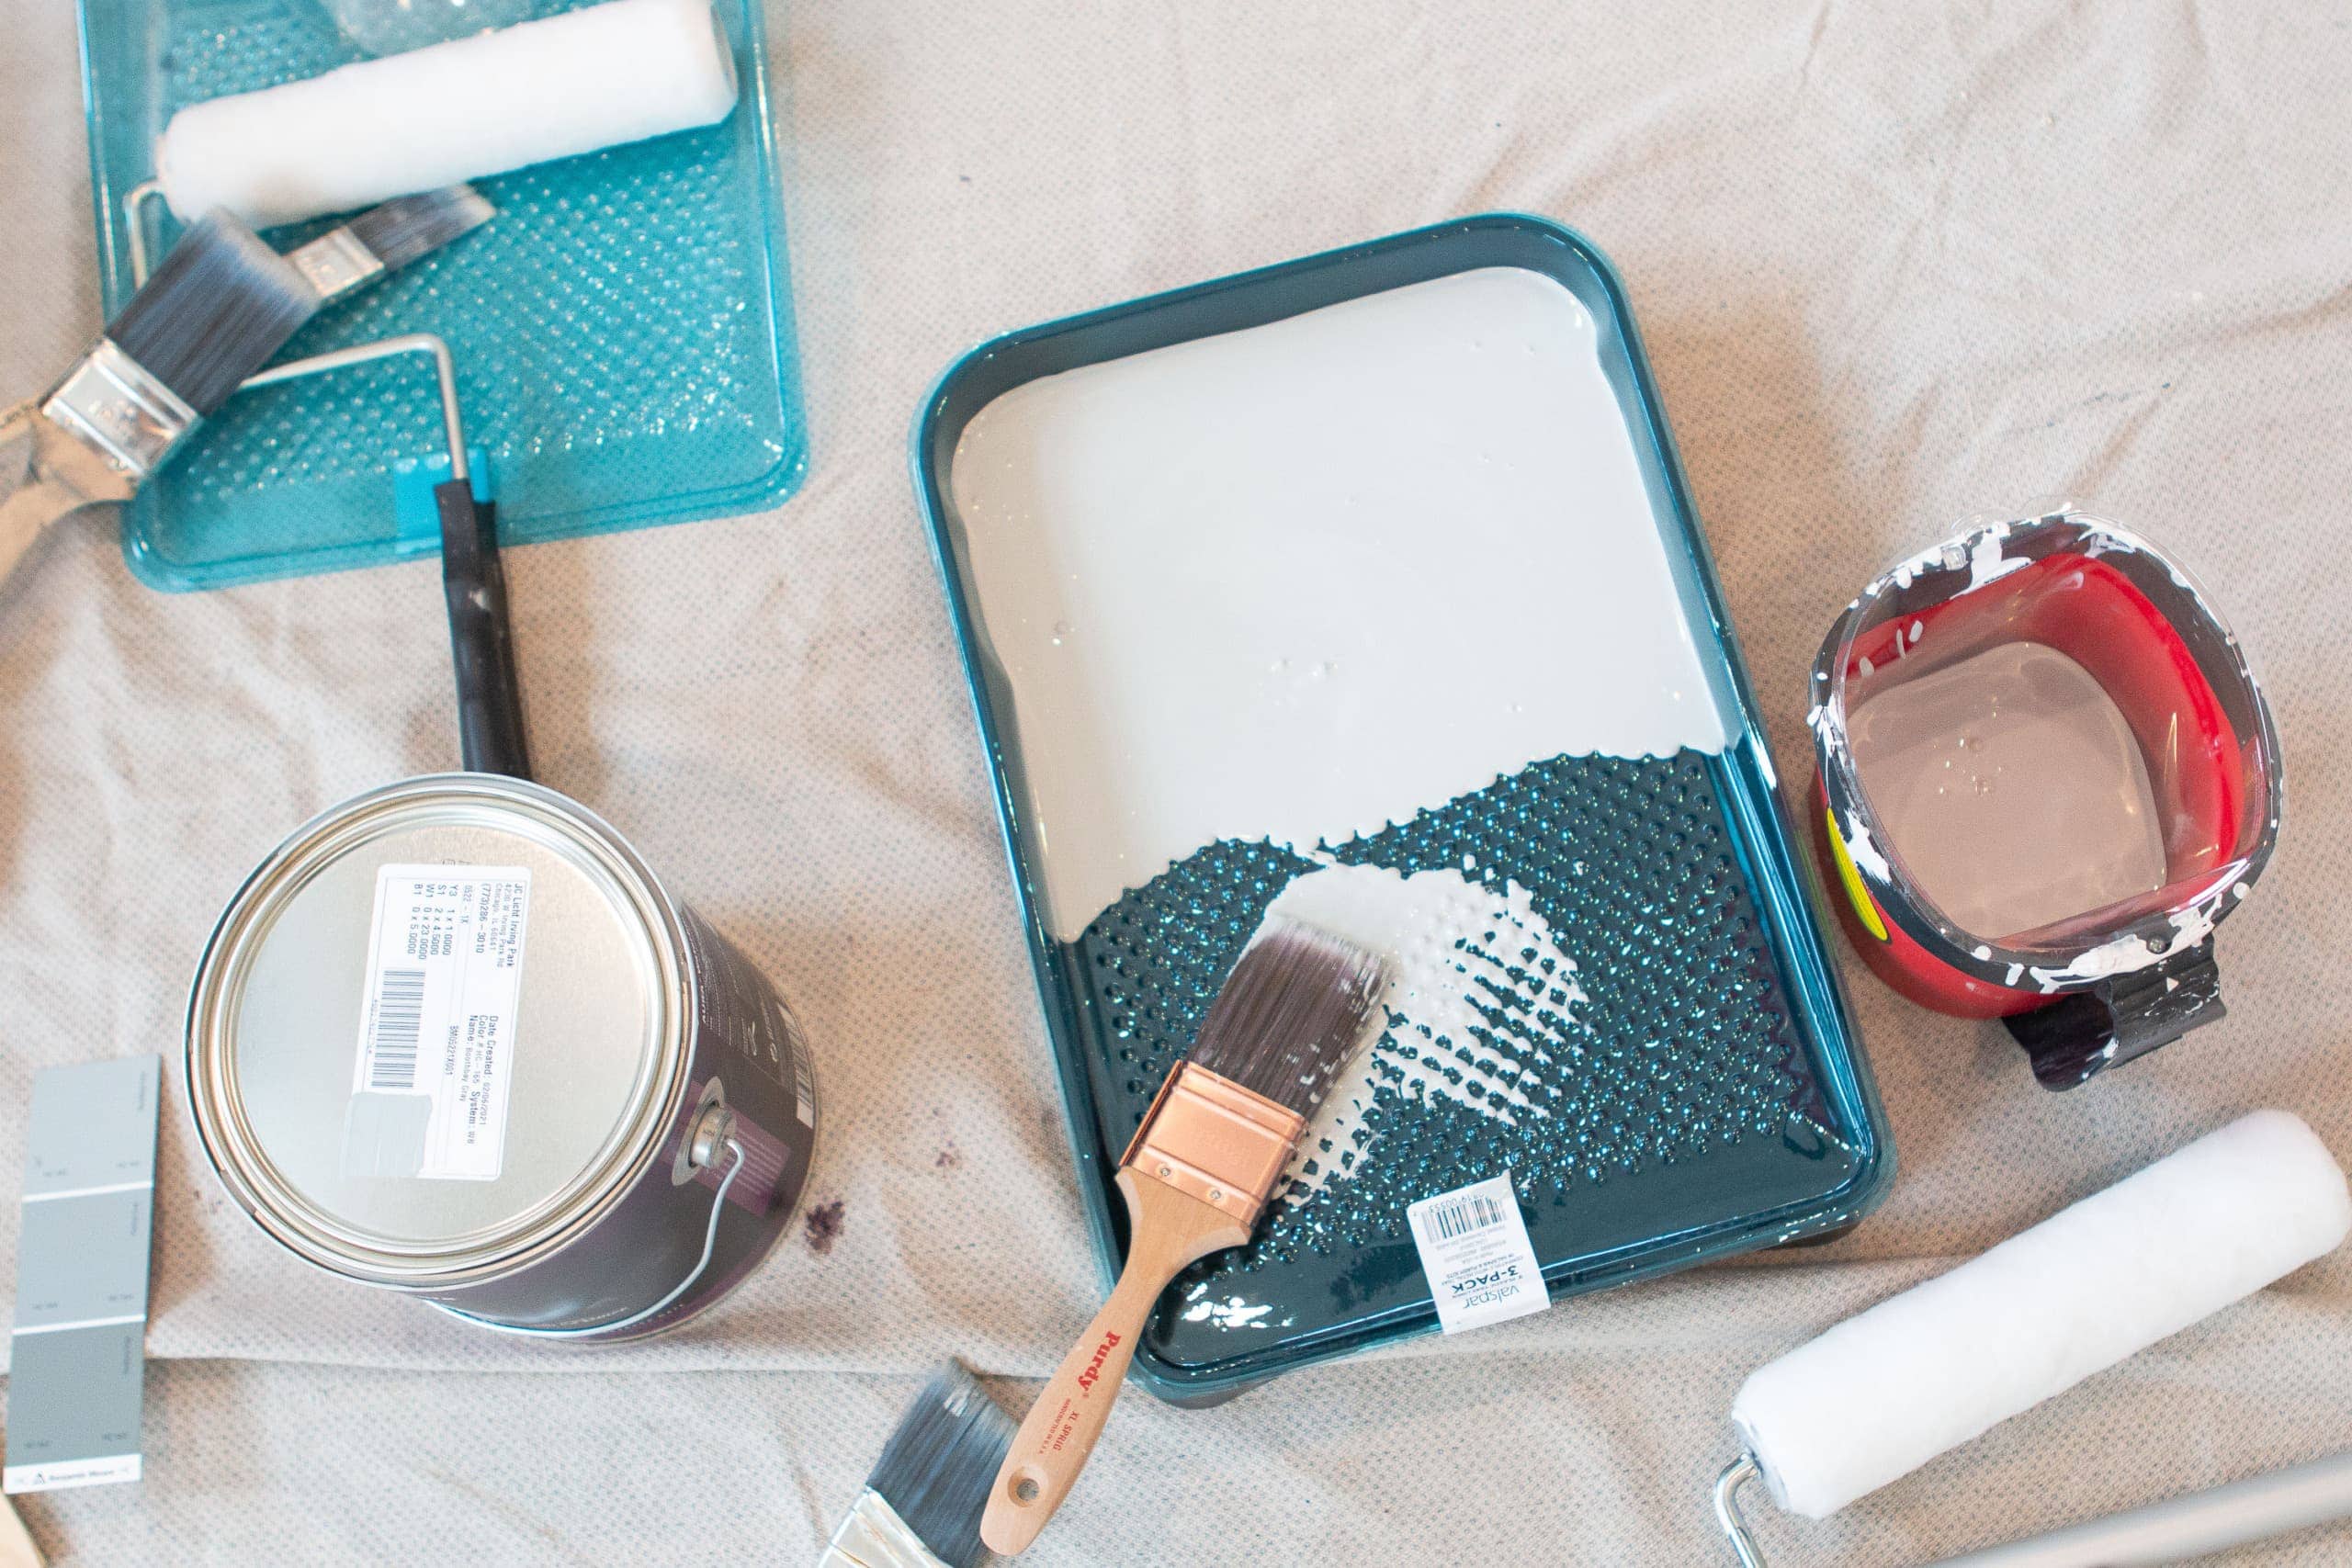
After seeing the samples on the wall, I decided that Benjamin Moore “Boothbay Gray” was the right one for me. Not too purple, not too gray, and with a hint of warmth. Yes, yes, yes!
Choosing Different Sheens
 Remember this recent blog post with common painting mistakes? I chatted about how people often neglect to think about sheens when choosing their paint. Because I knew I would be painting both the ceiling and the walls, I decided to go with two different sheens in the exact same color.
For the ceiling, I went with matte because our ceiling has some imperfections and I knew a shinier sheen would just highlight them even more. For the walls, I went with eggshell because I like some sheen on the walls and it’s pretty durable. (Note: I also went with the nicest paint that BM carries, which is their Aura line. I think brands matter less than the actual paint. Opt for the nicest one you can afford. In the end, I went through a gallon for the walls and a gallon for the ceiling). 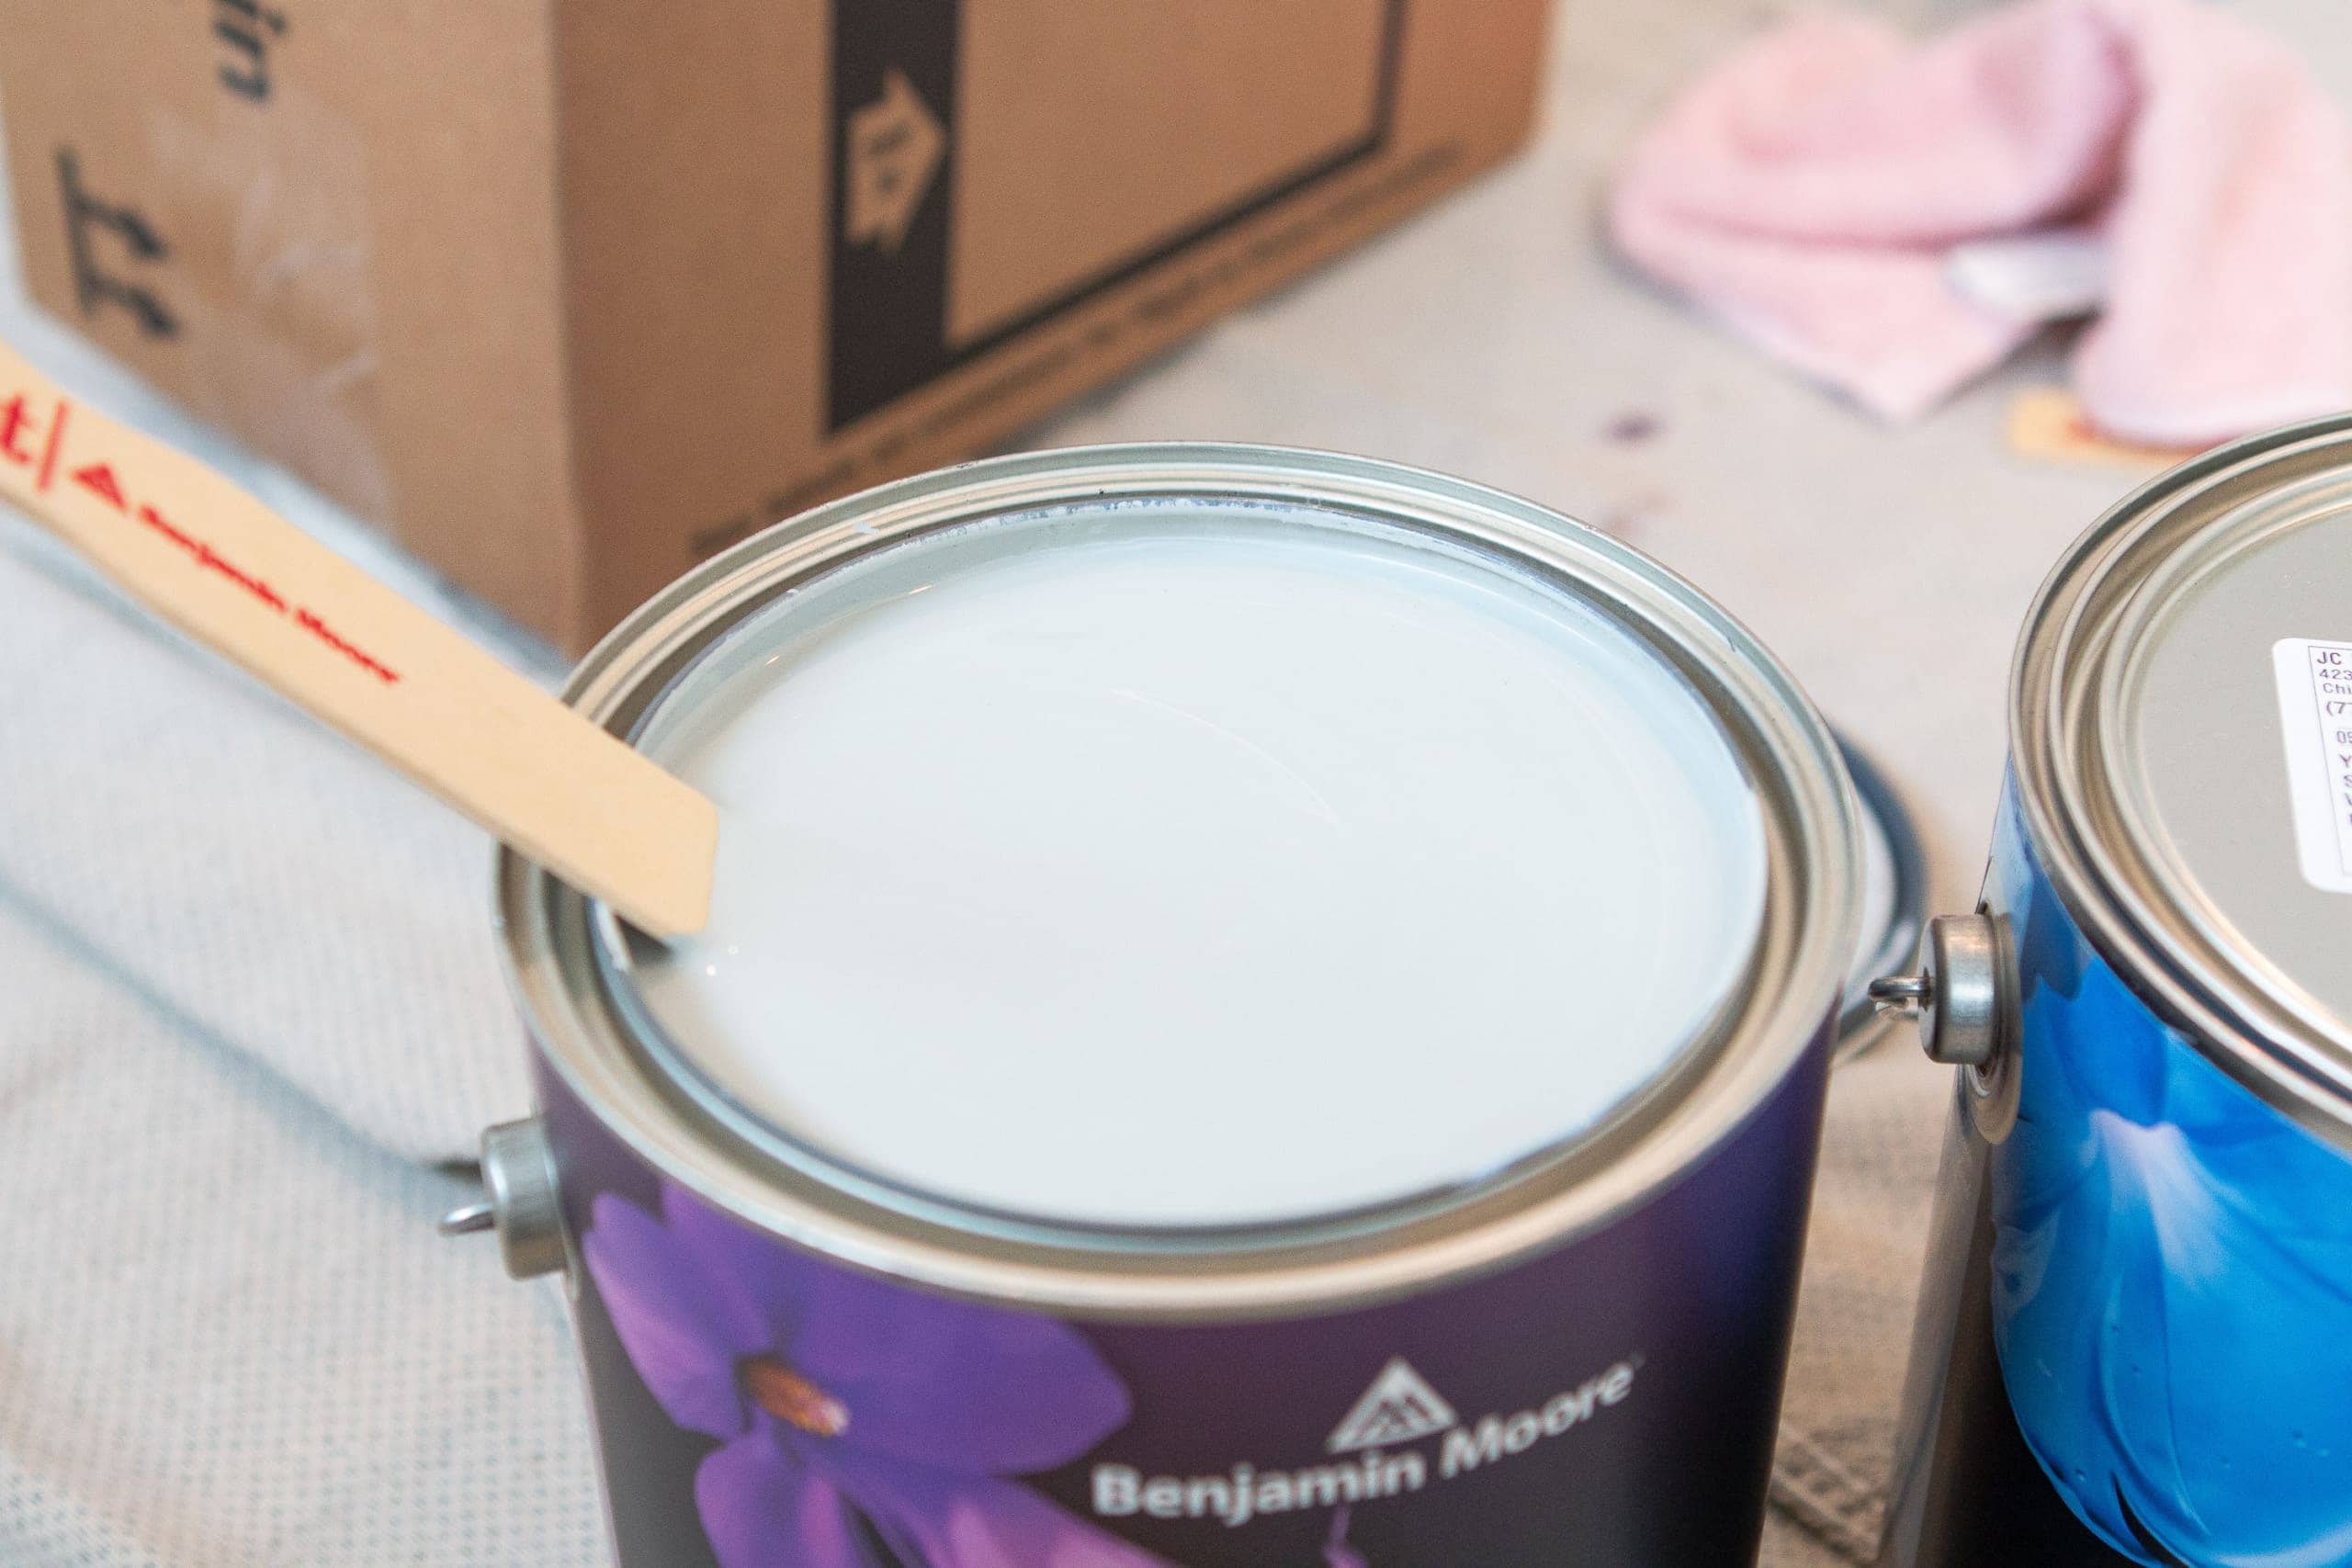
I chatted with the guy at the paint store and asked him the best way to work with two different sheens in the same color. He said he would paint the ceiling first (two coats) and it would be okay if that matte overlapped onto the walls. Then, he told me to cut in the eggshell sheen at the ceiling and paint the walls normally. So that’s exactly what I did.
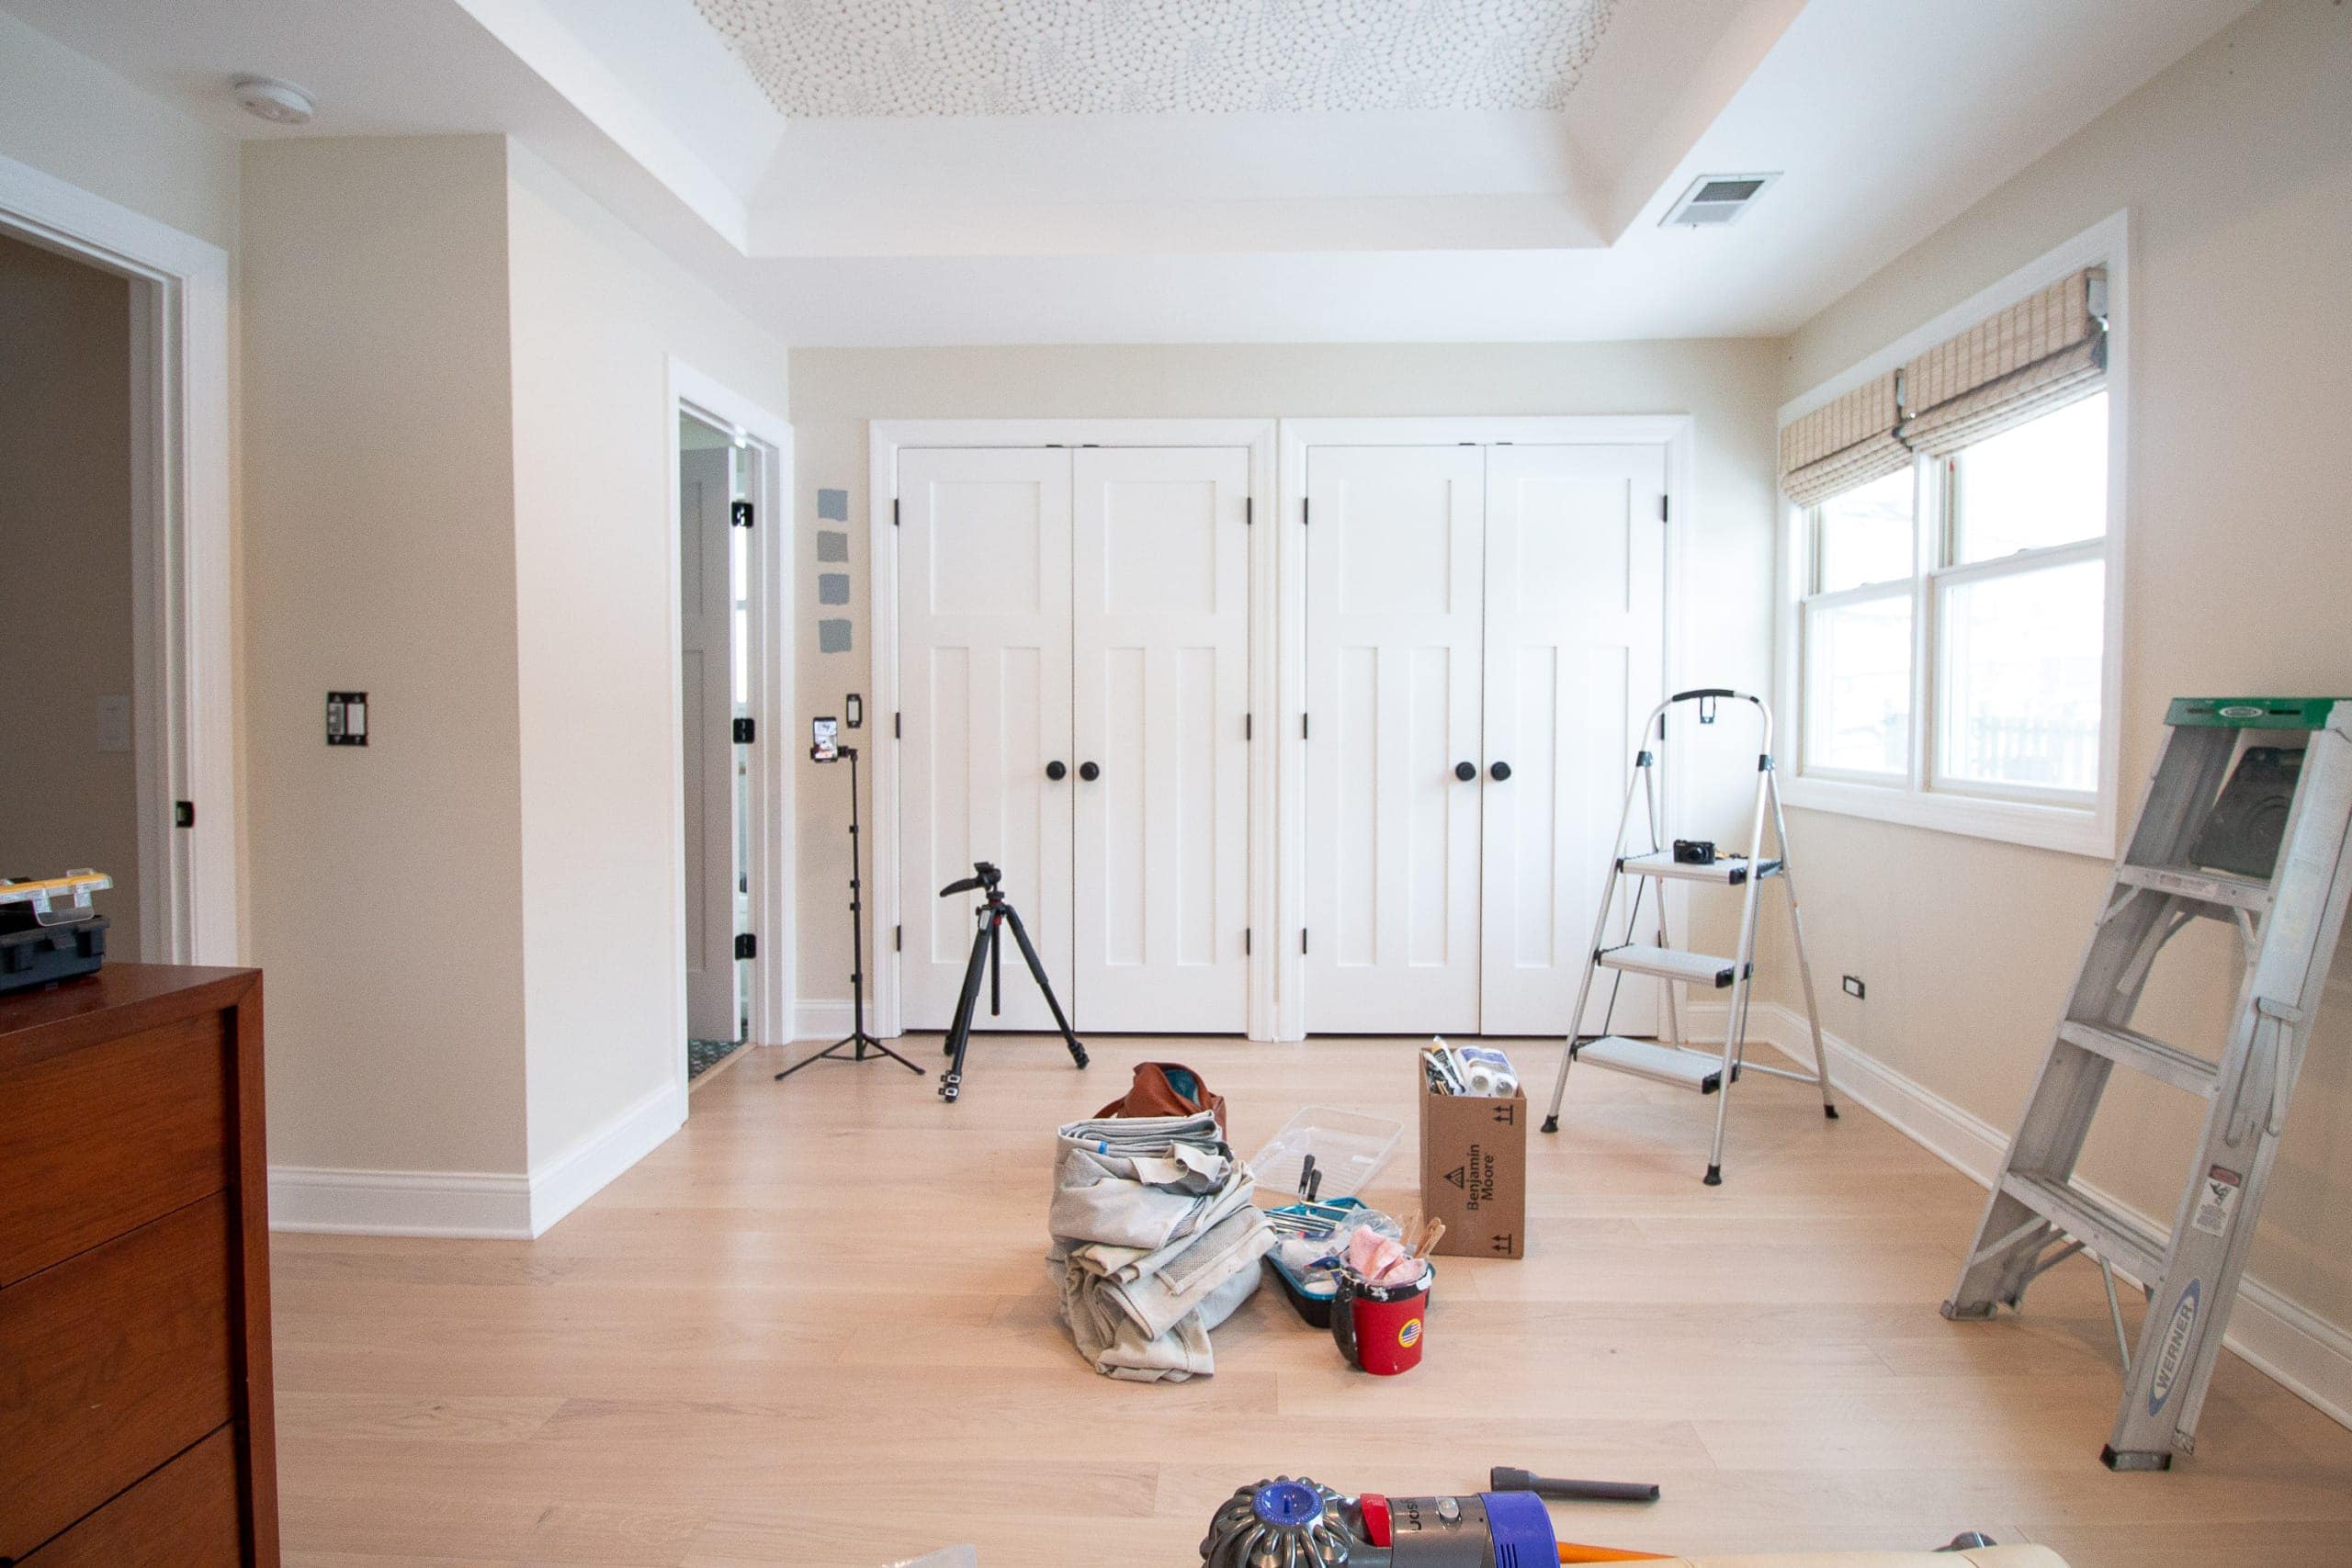
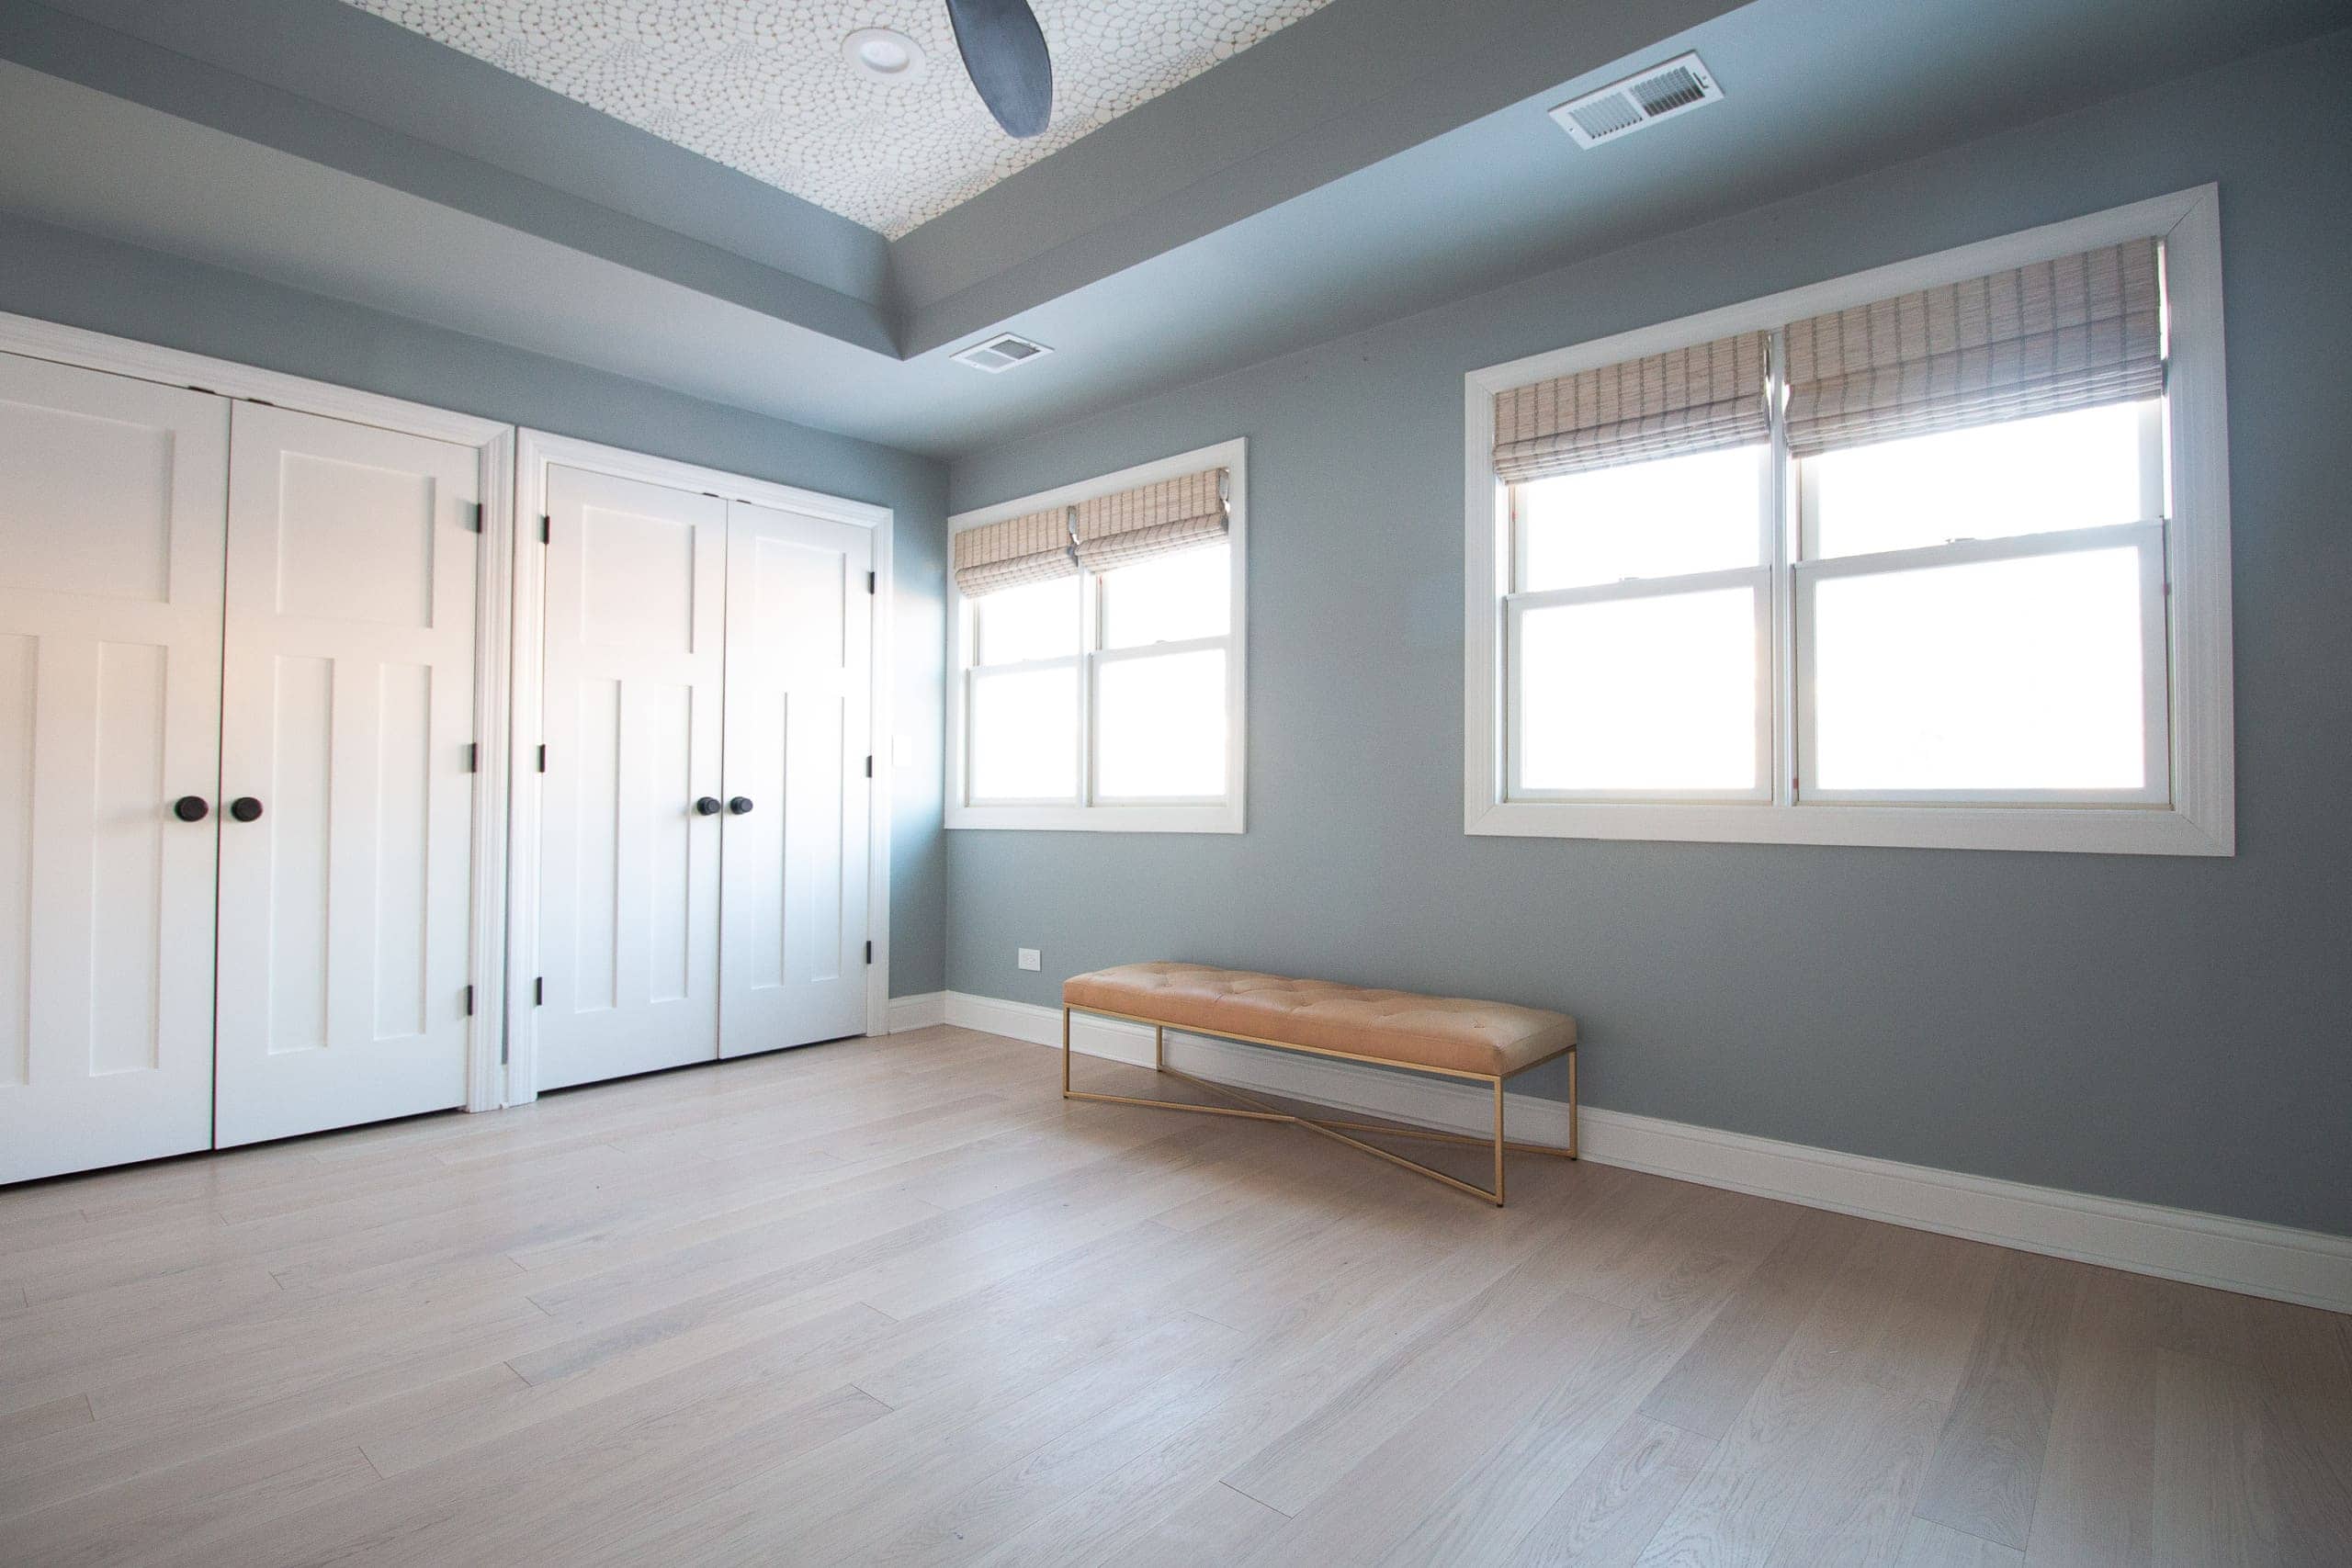
Painting Our Bedroom Boothbay Gray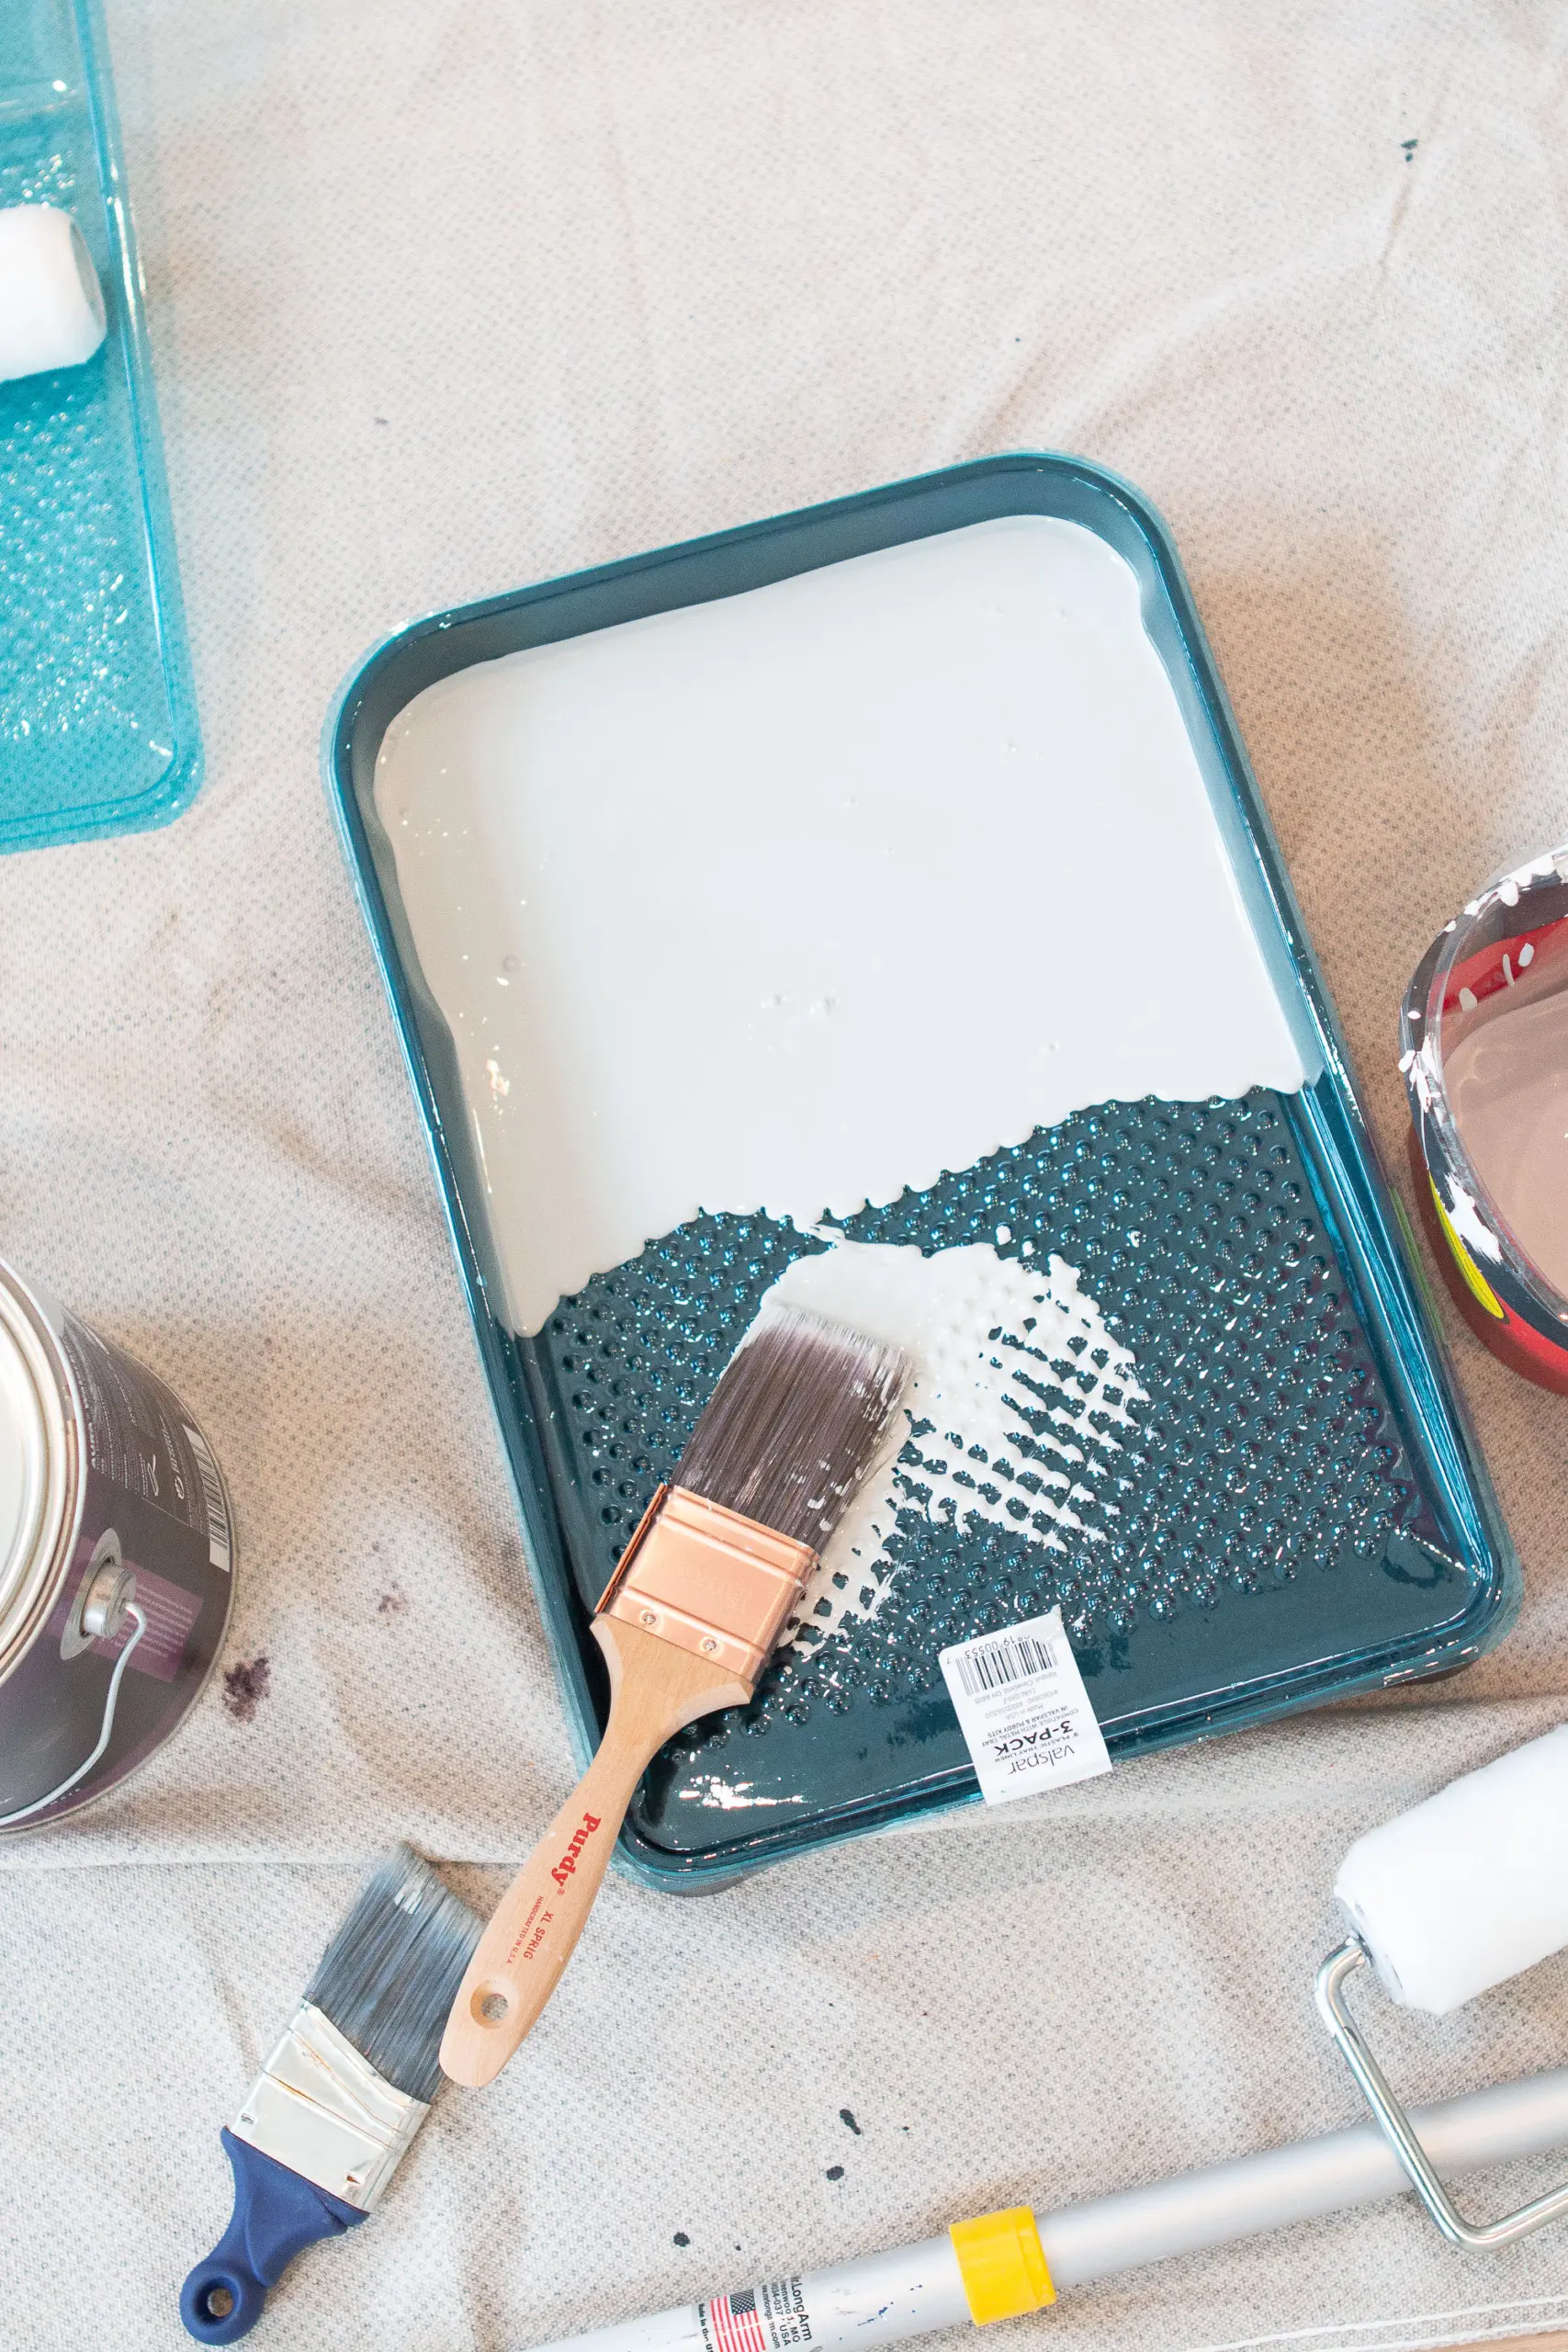
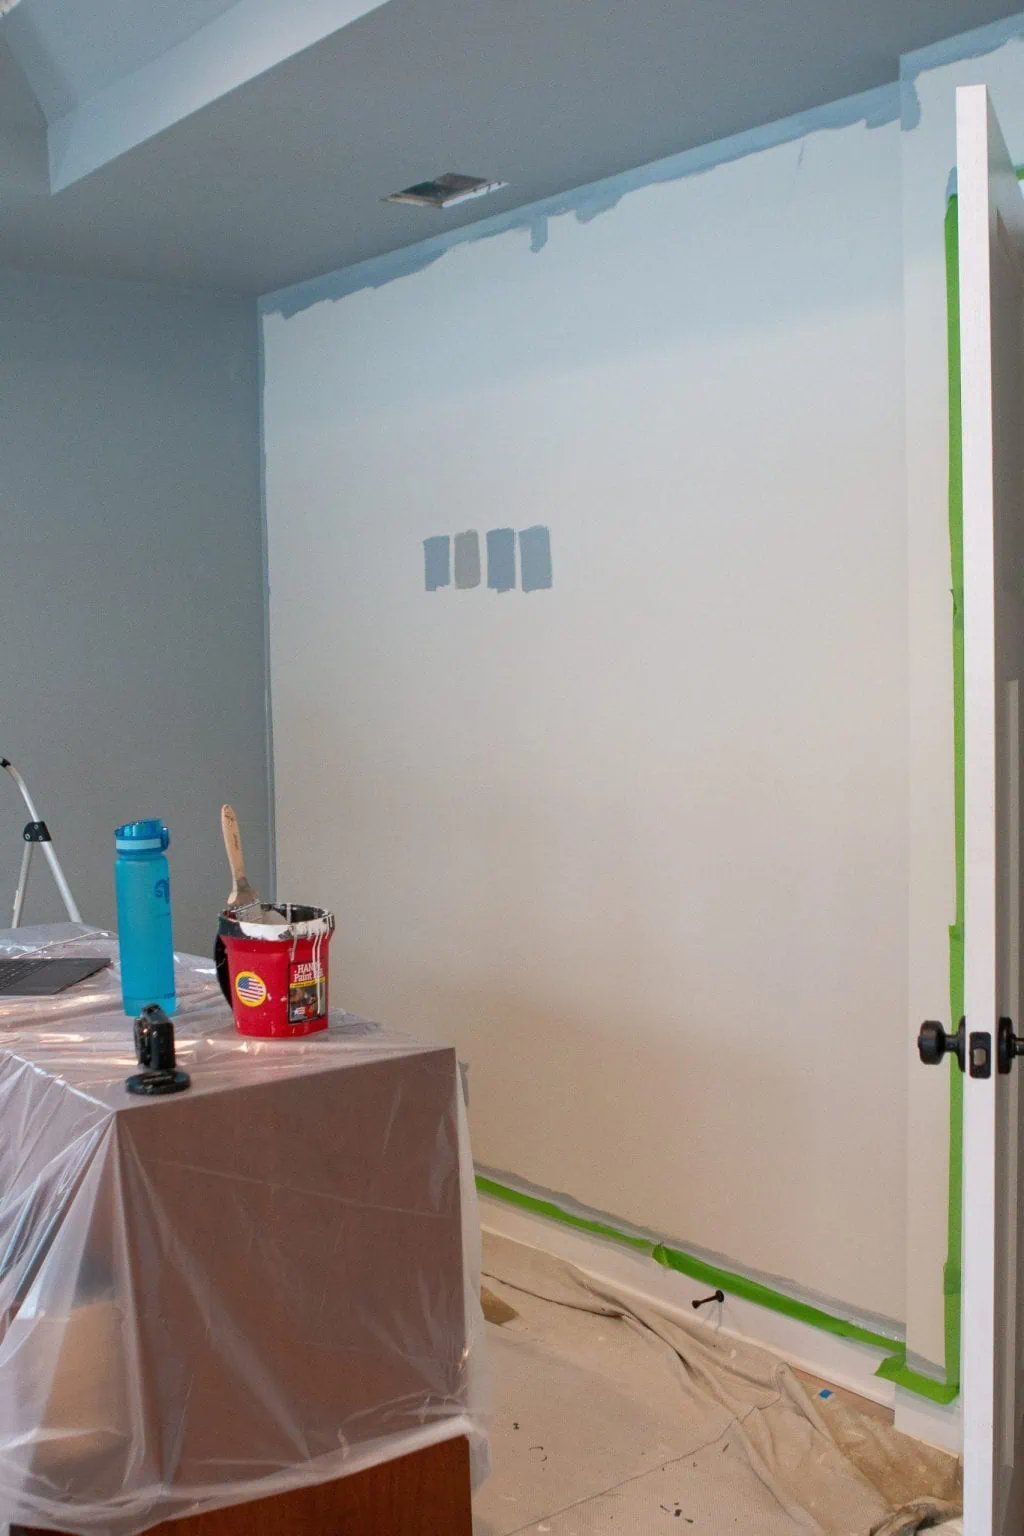
Before I started painting, I prepped the room. Finn and I removed the old mattress and box springs; I took apart the headboard and bed frame; and I cleaned up all of the dust bunnies hiding behind the furniture. 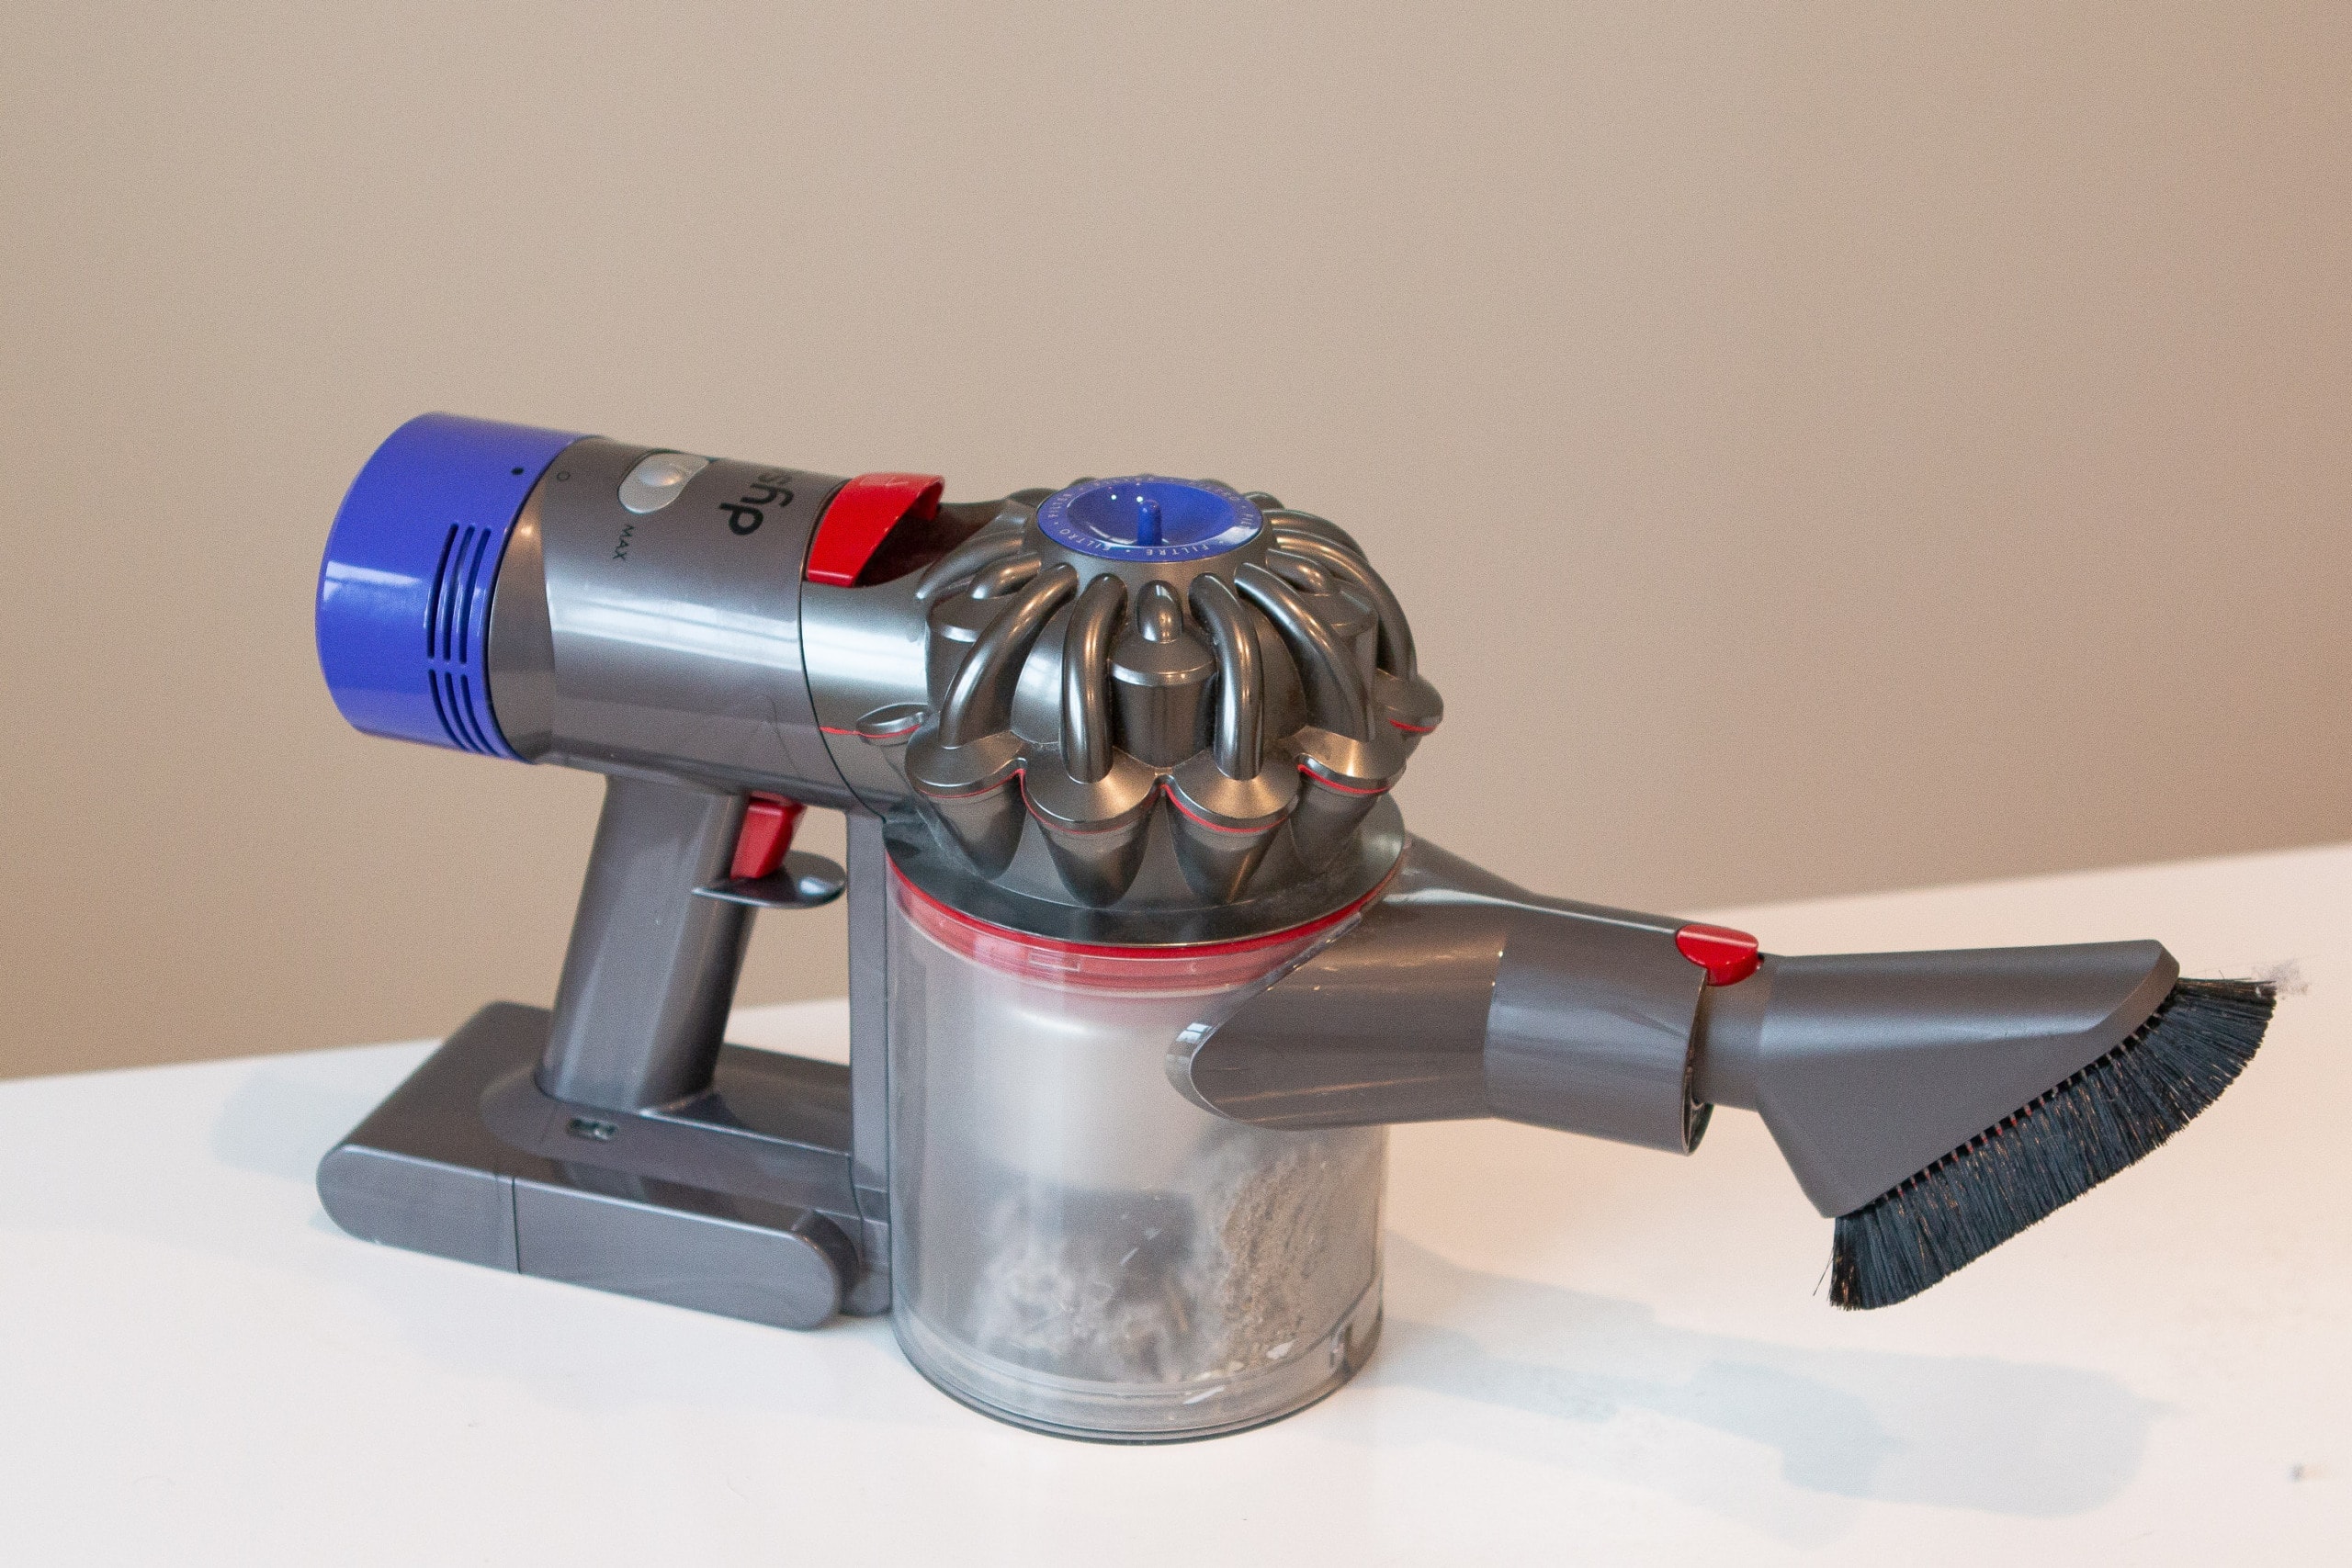
My Dyson vacuum, with a small attachment, was the perfect companion to get rid of all of the dust on the baseboards behind the furniture. It felt good to get the space clean! Once all of the dust was up, I removed the outlets and vents, and used painter’s tape around the windows and doors.
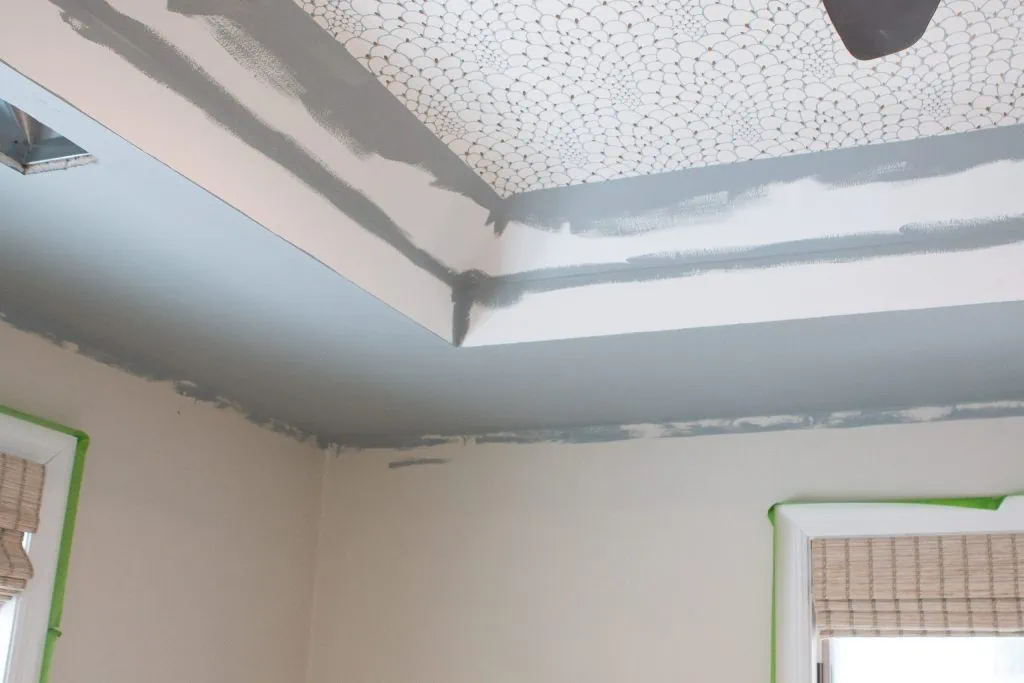
Then, it was finally time to paint. I followed the paint store employee’s directions…painting the ceiling first and working my way down. I was too nervous to tape around the wallpaper, out of fear that I might rip it or screw it up, so I ended up cutting in slowly by the wallpaper. It took a while, but it was worth it. 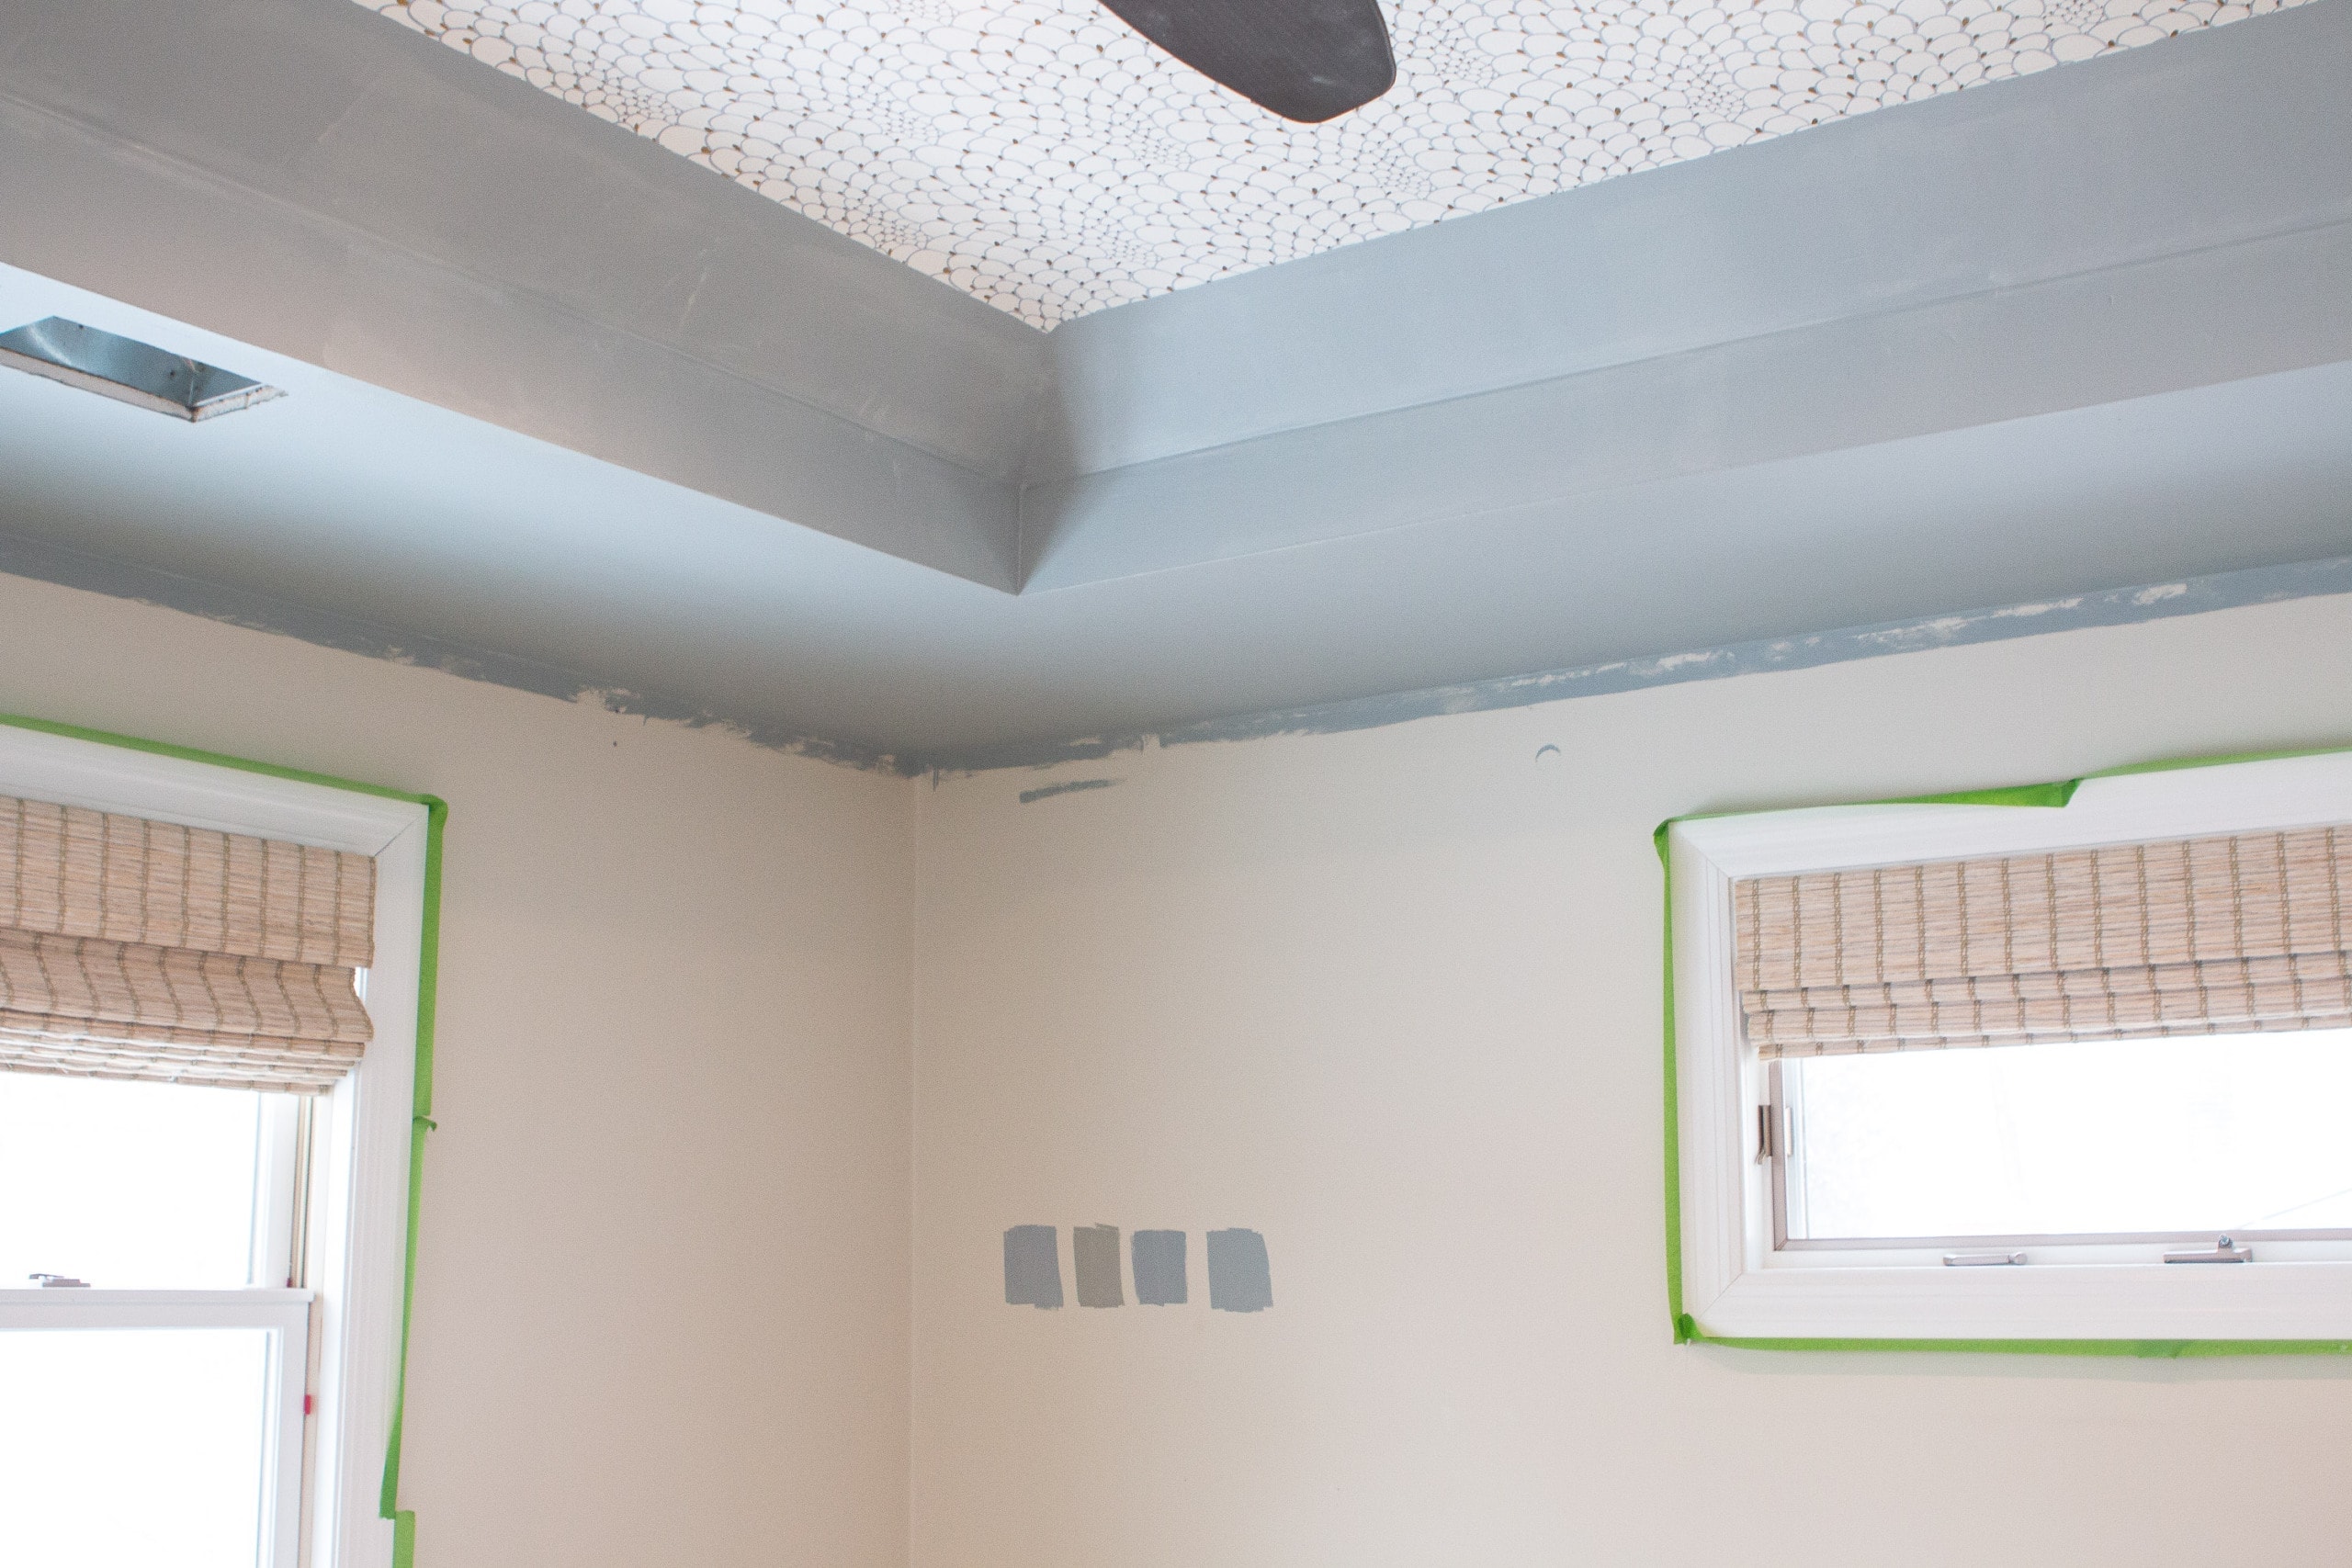
Two coats of paint ended up covering really well and I then moved down onto the walls.
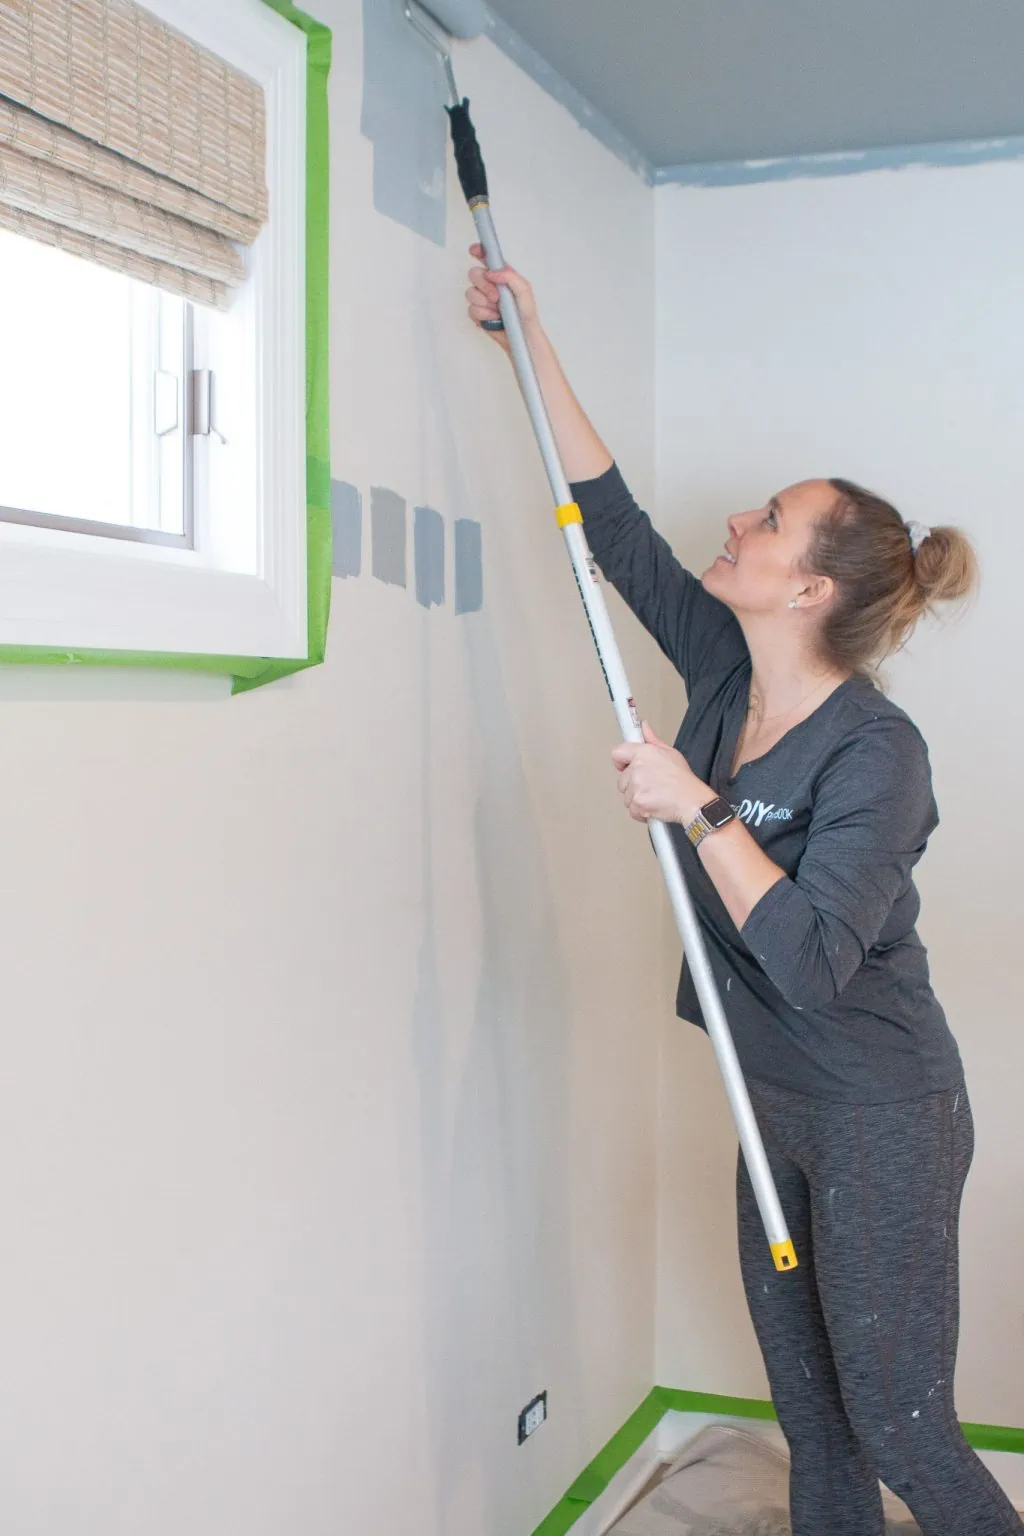
I found that using a roller extender really helped me. I only had to get up on a ladder to cut in around the wallpaper. The rest of the ceiling and high parts of the wall were done with a roller. This saved some time, but this project still took me all day long, by myself. My mom took Rory to her cousin’s house that day and they left at 8 am. When they came back at 5 pm, I was cleaning up. It took that long! I ended up watching the entire season of Firefly Lane on Netflix (Have you seen it? It’s so good) and it was the perfect painting companion.
Our Painted Bedroom – Before & After
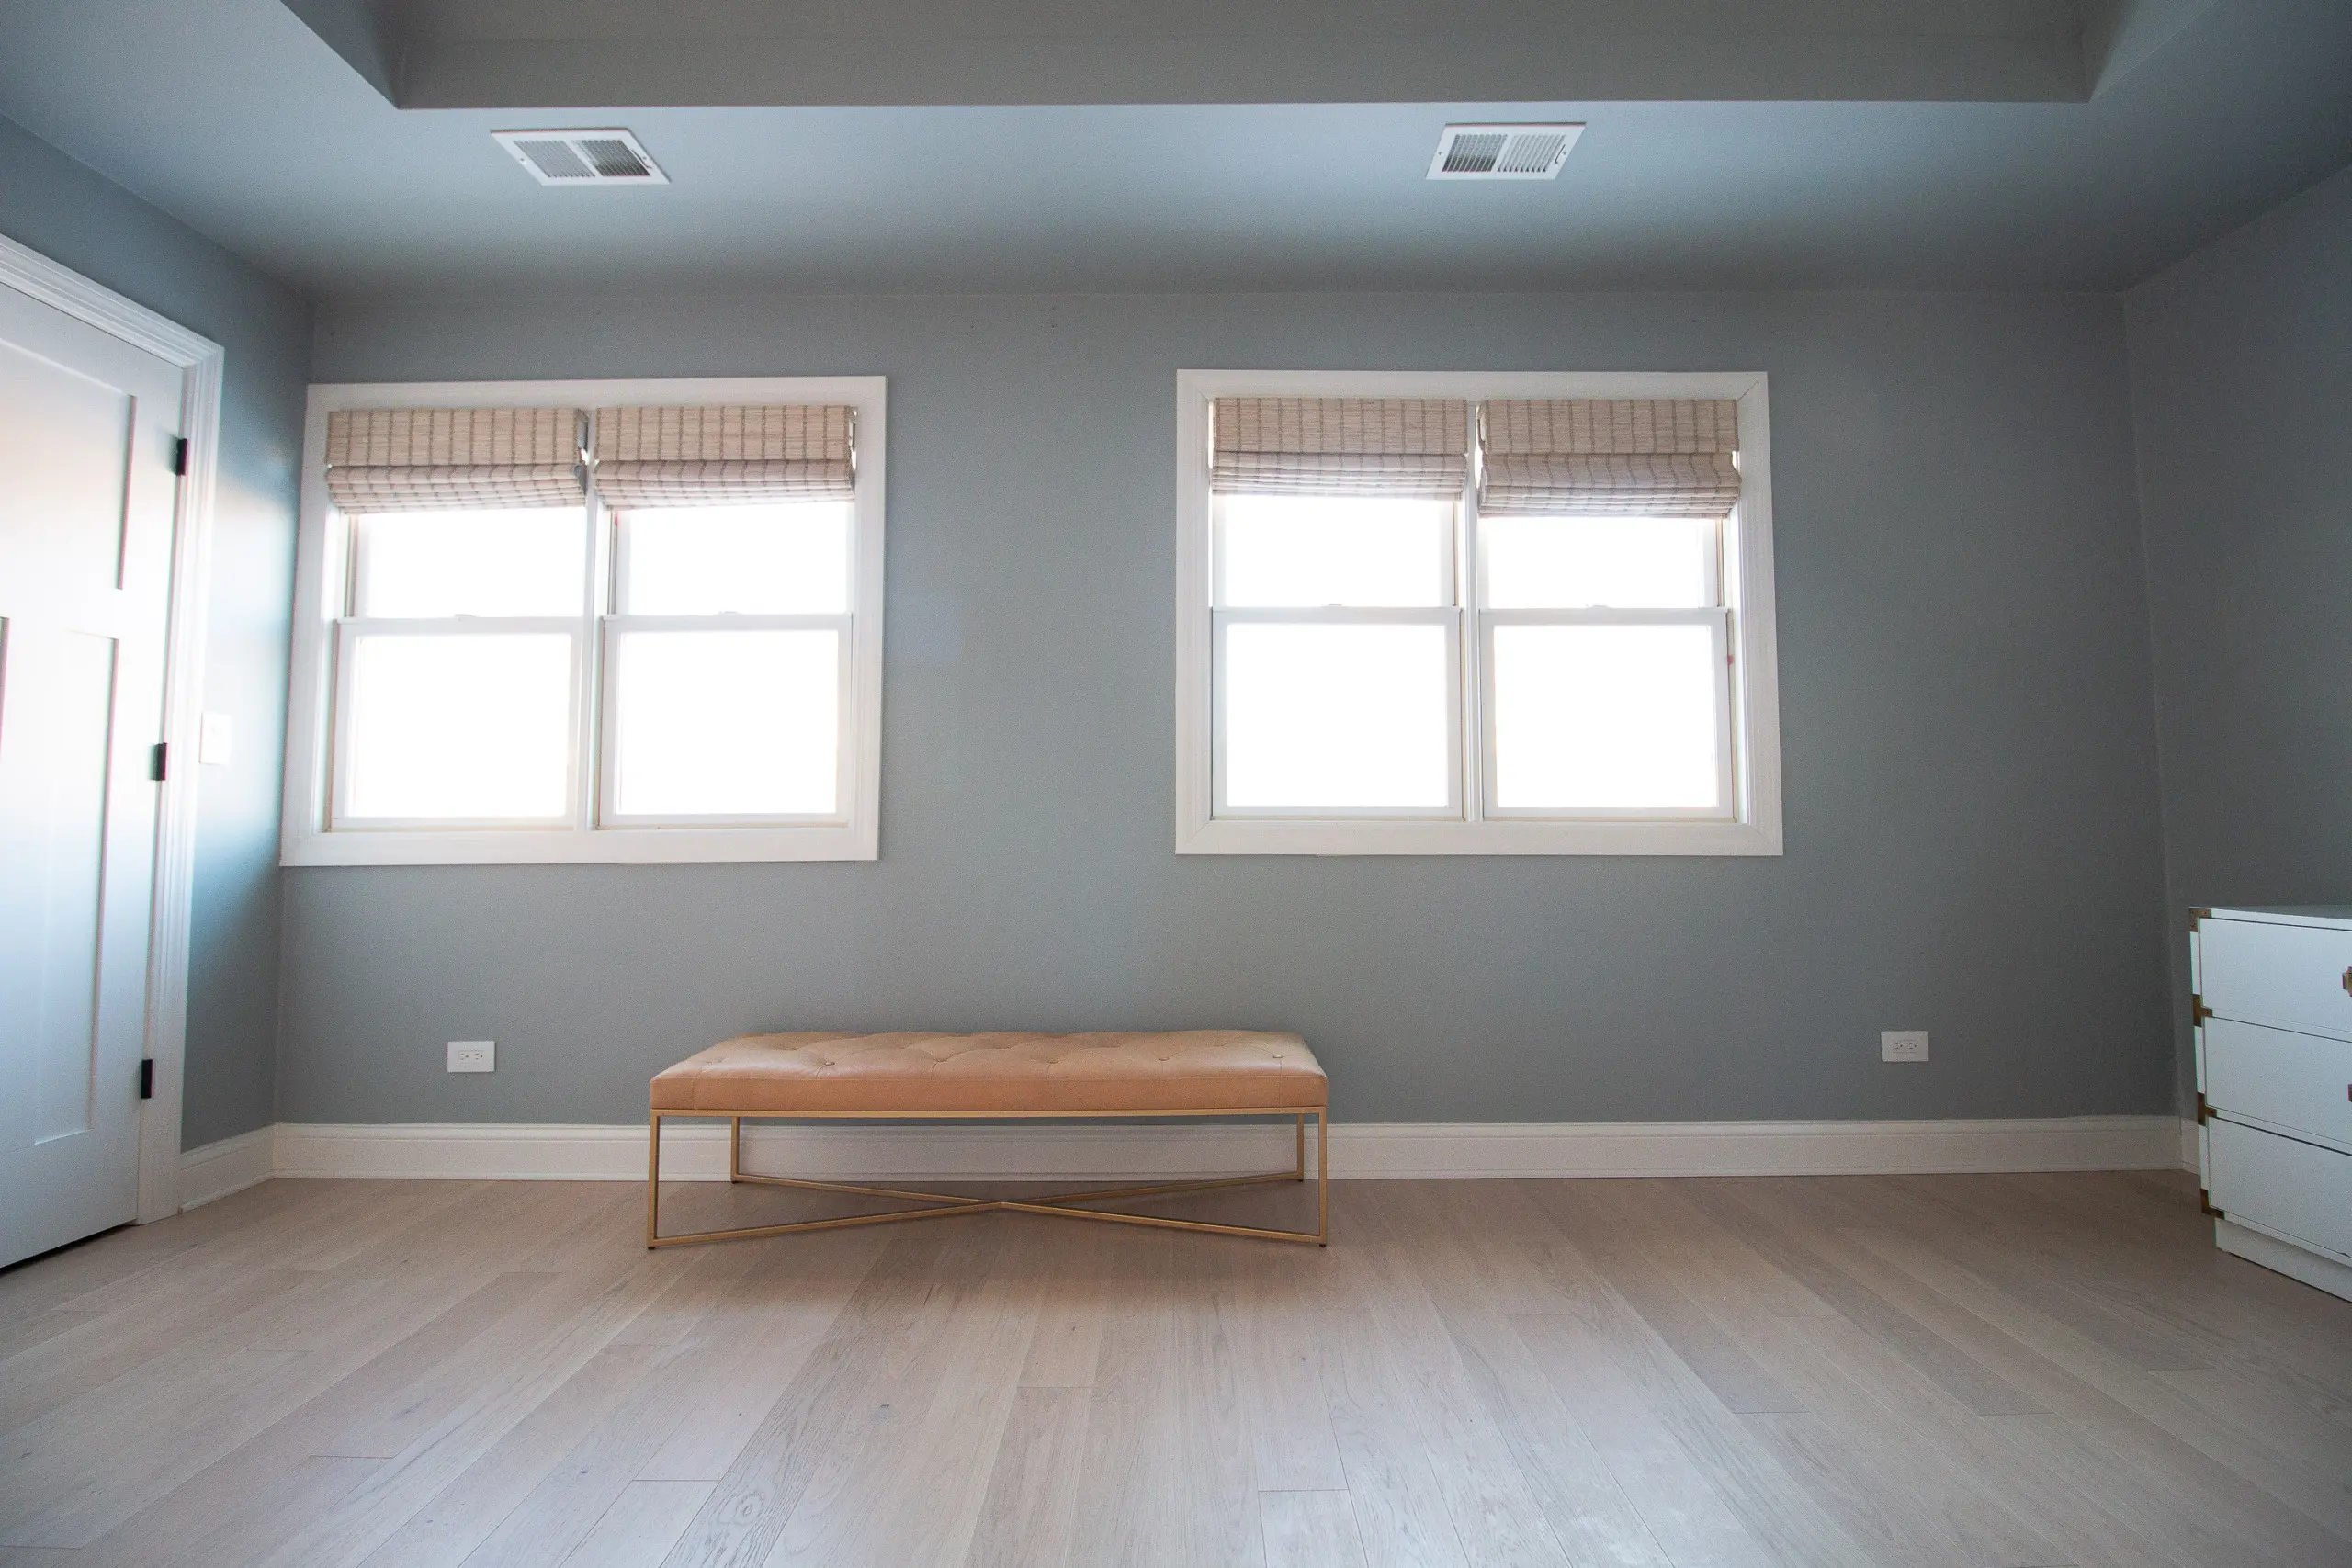
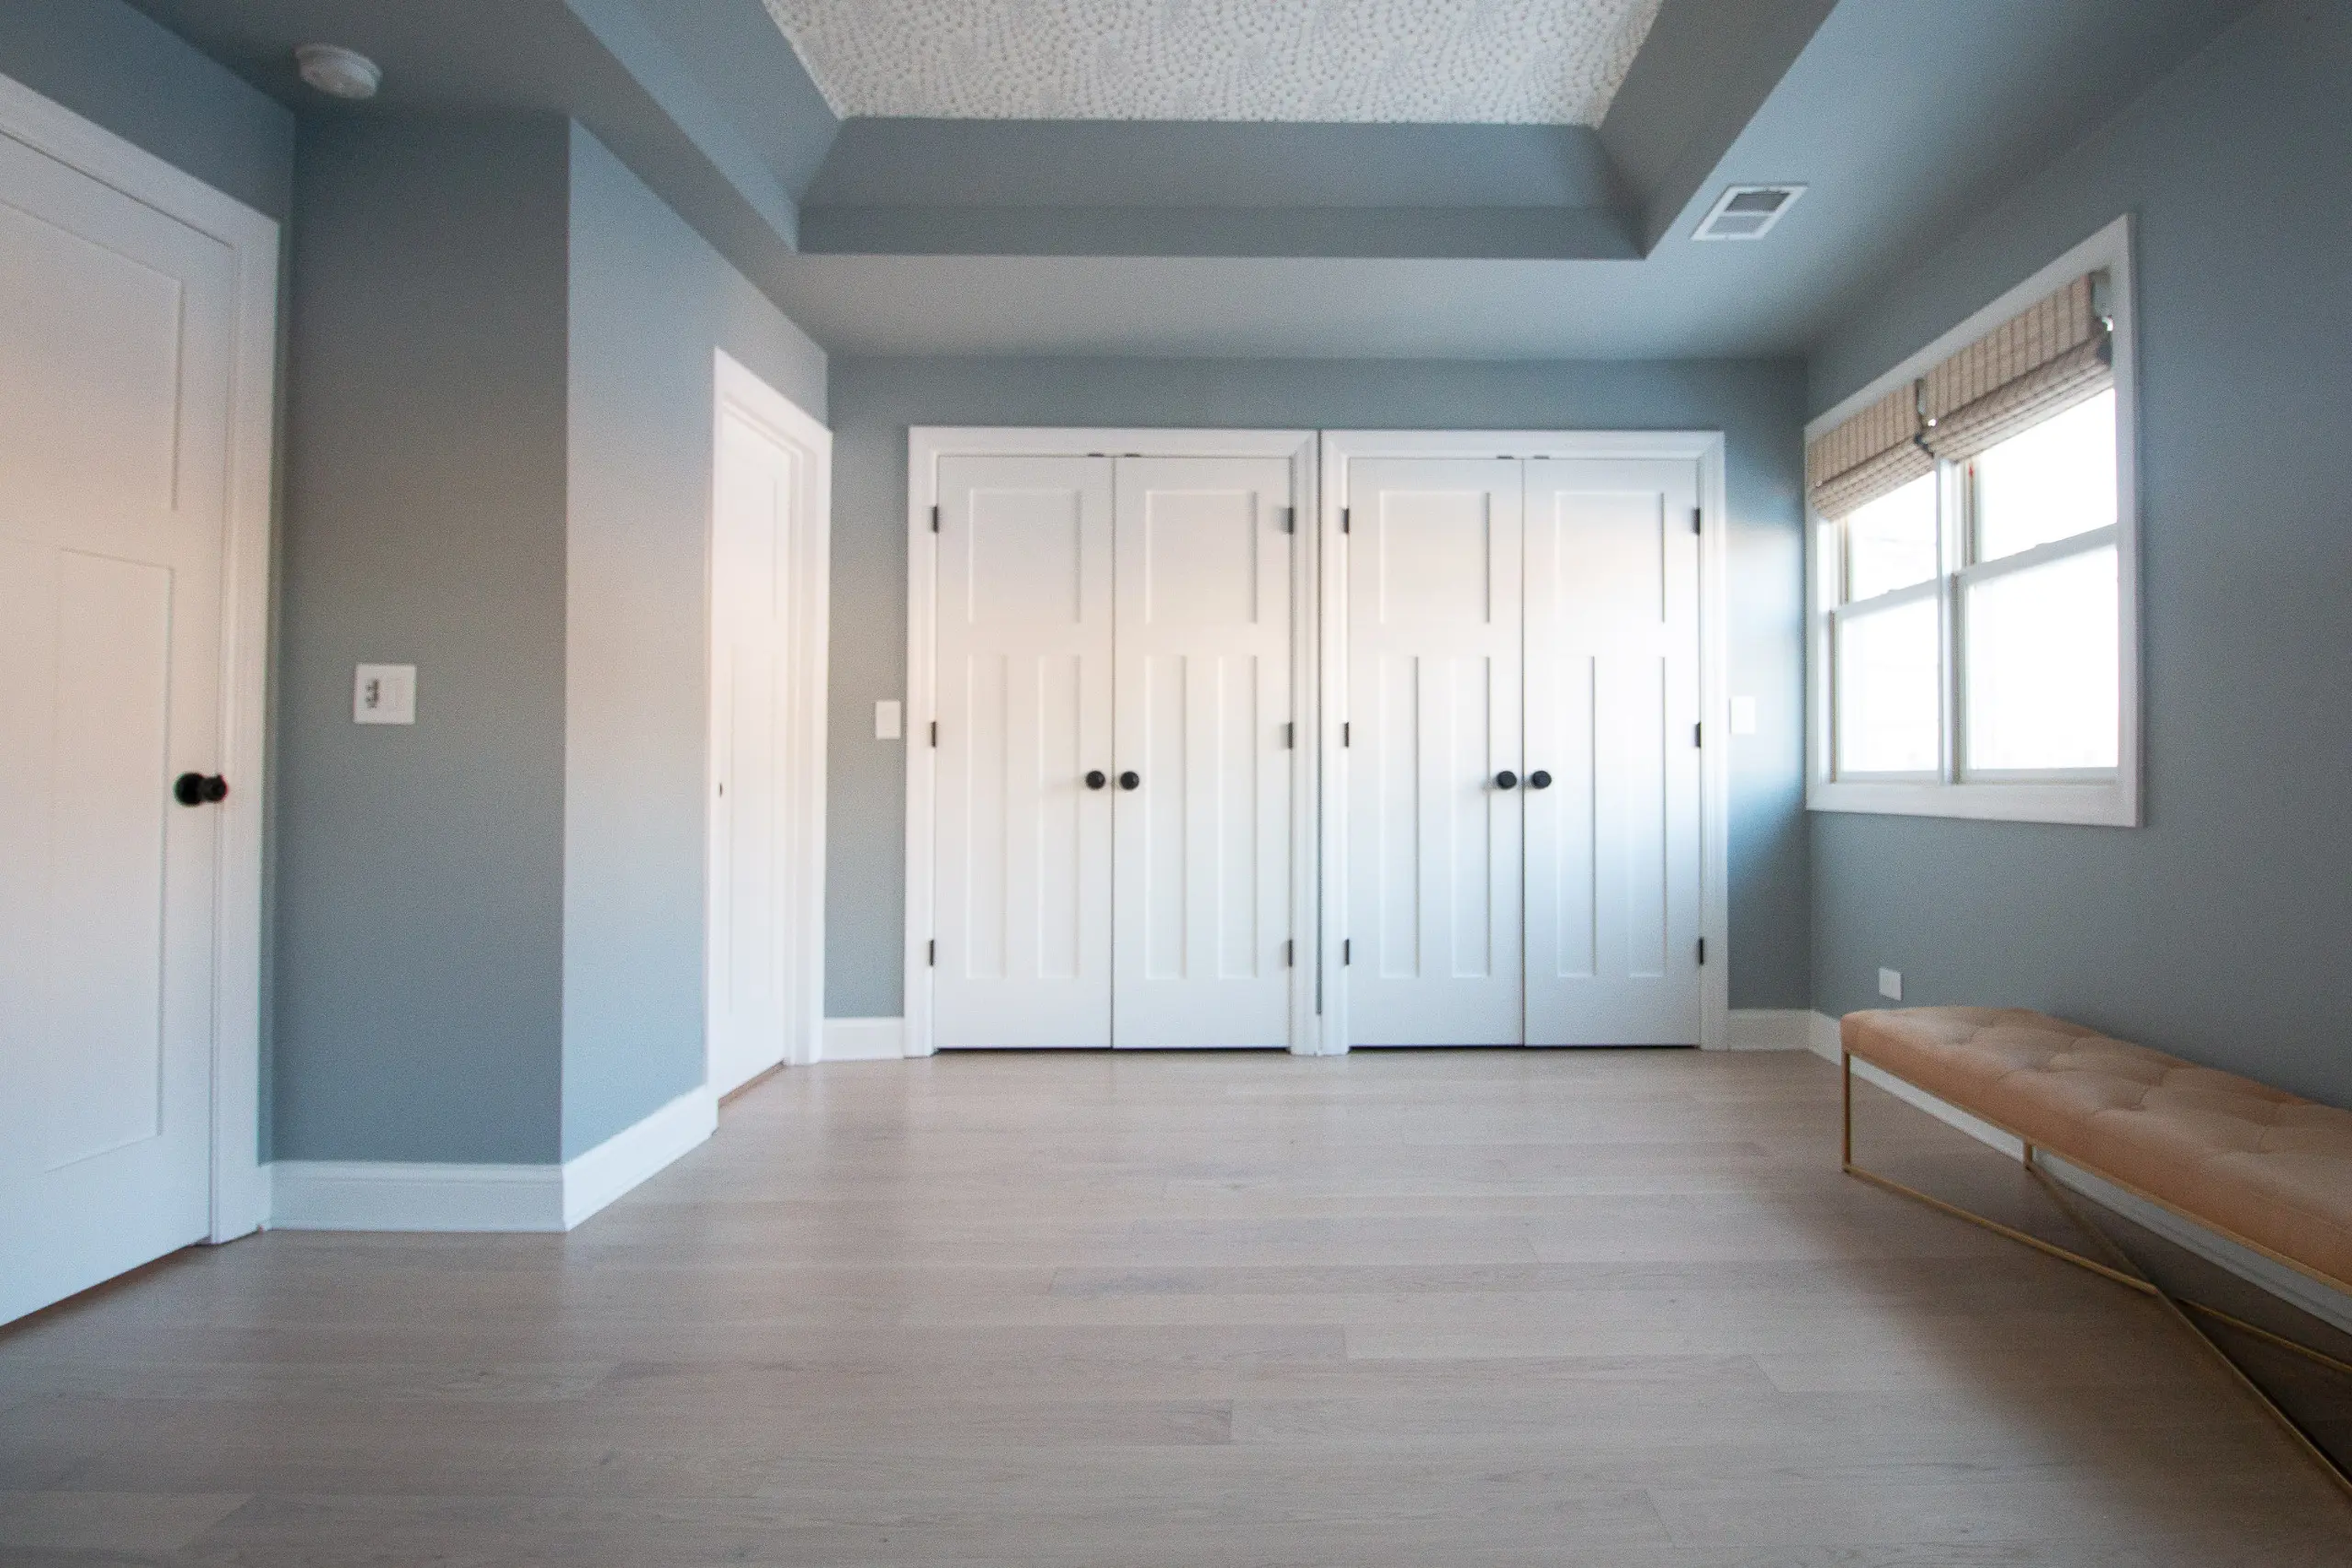
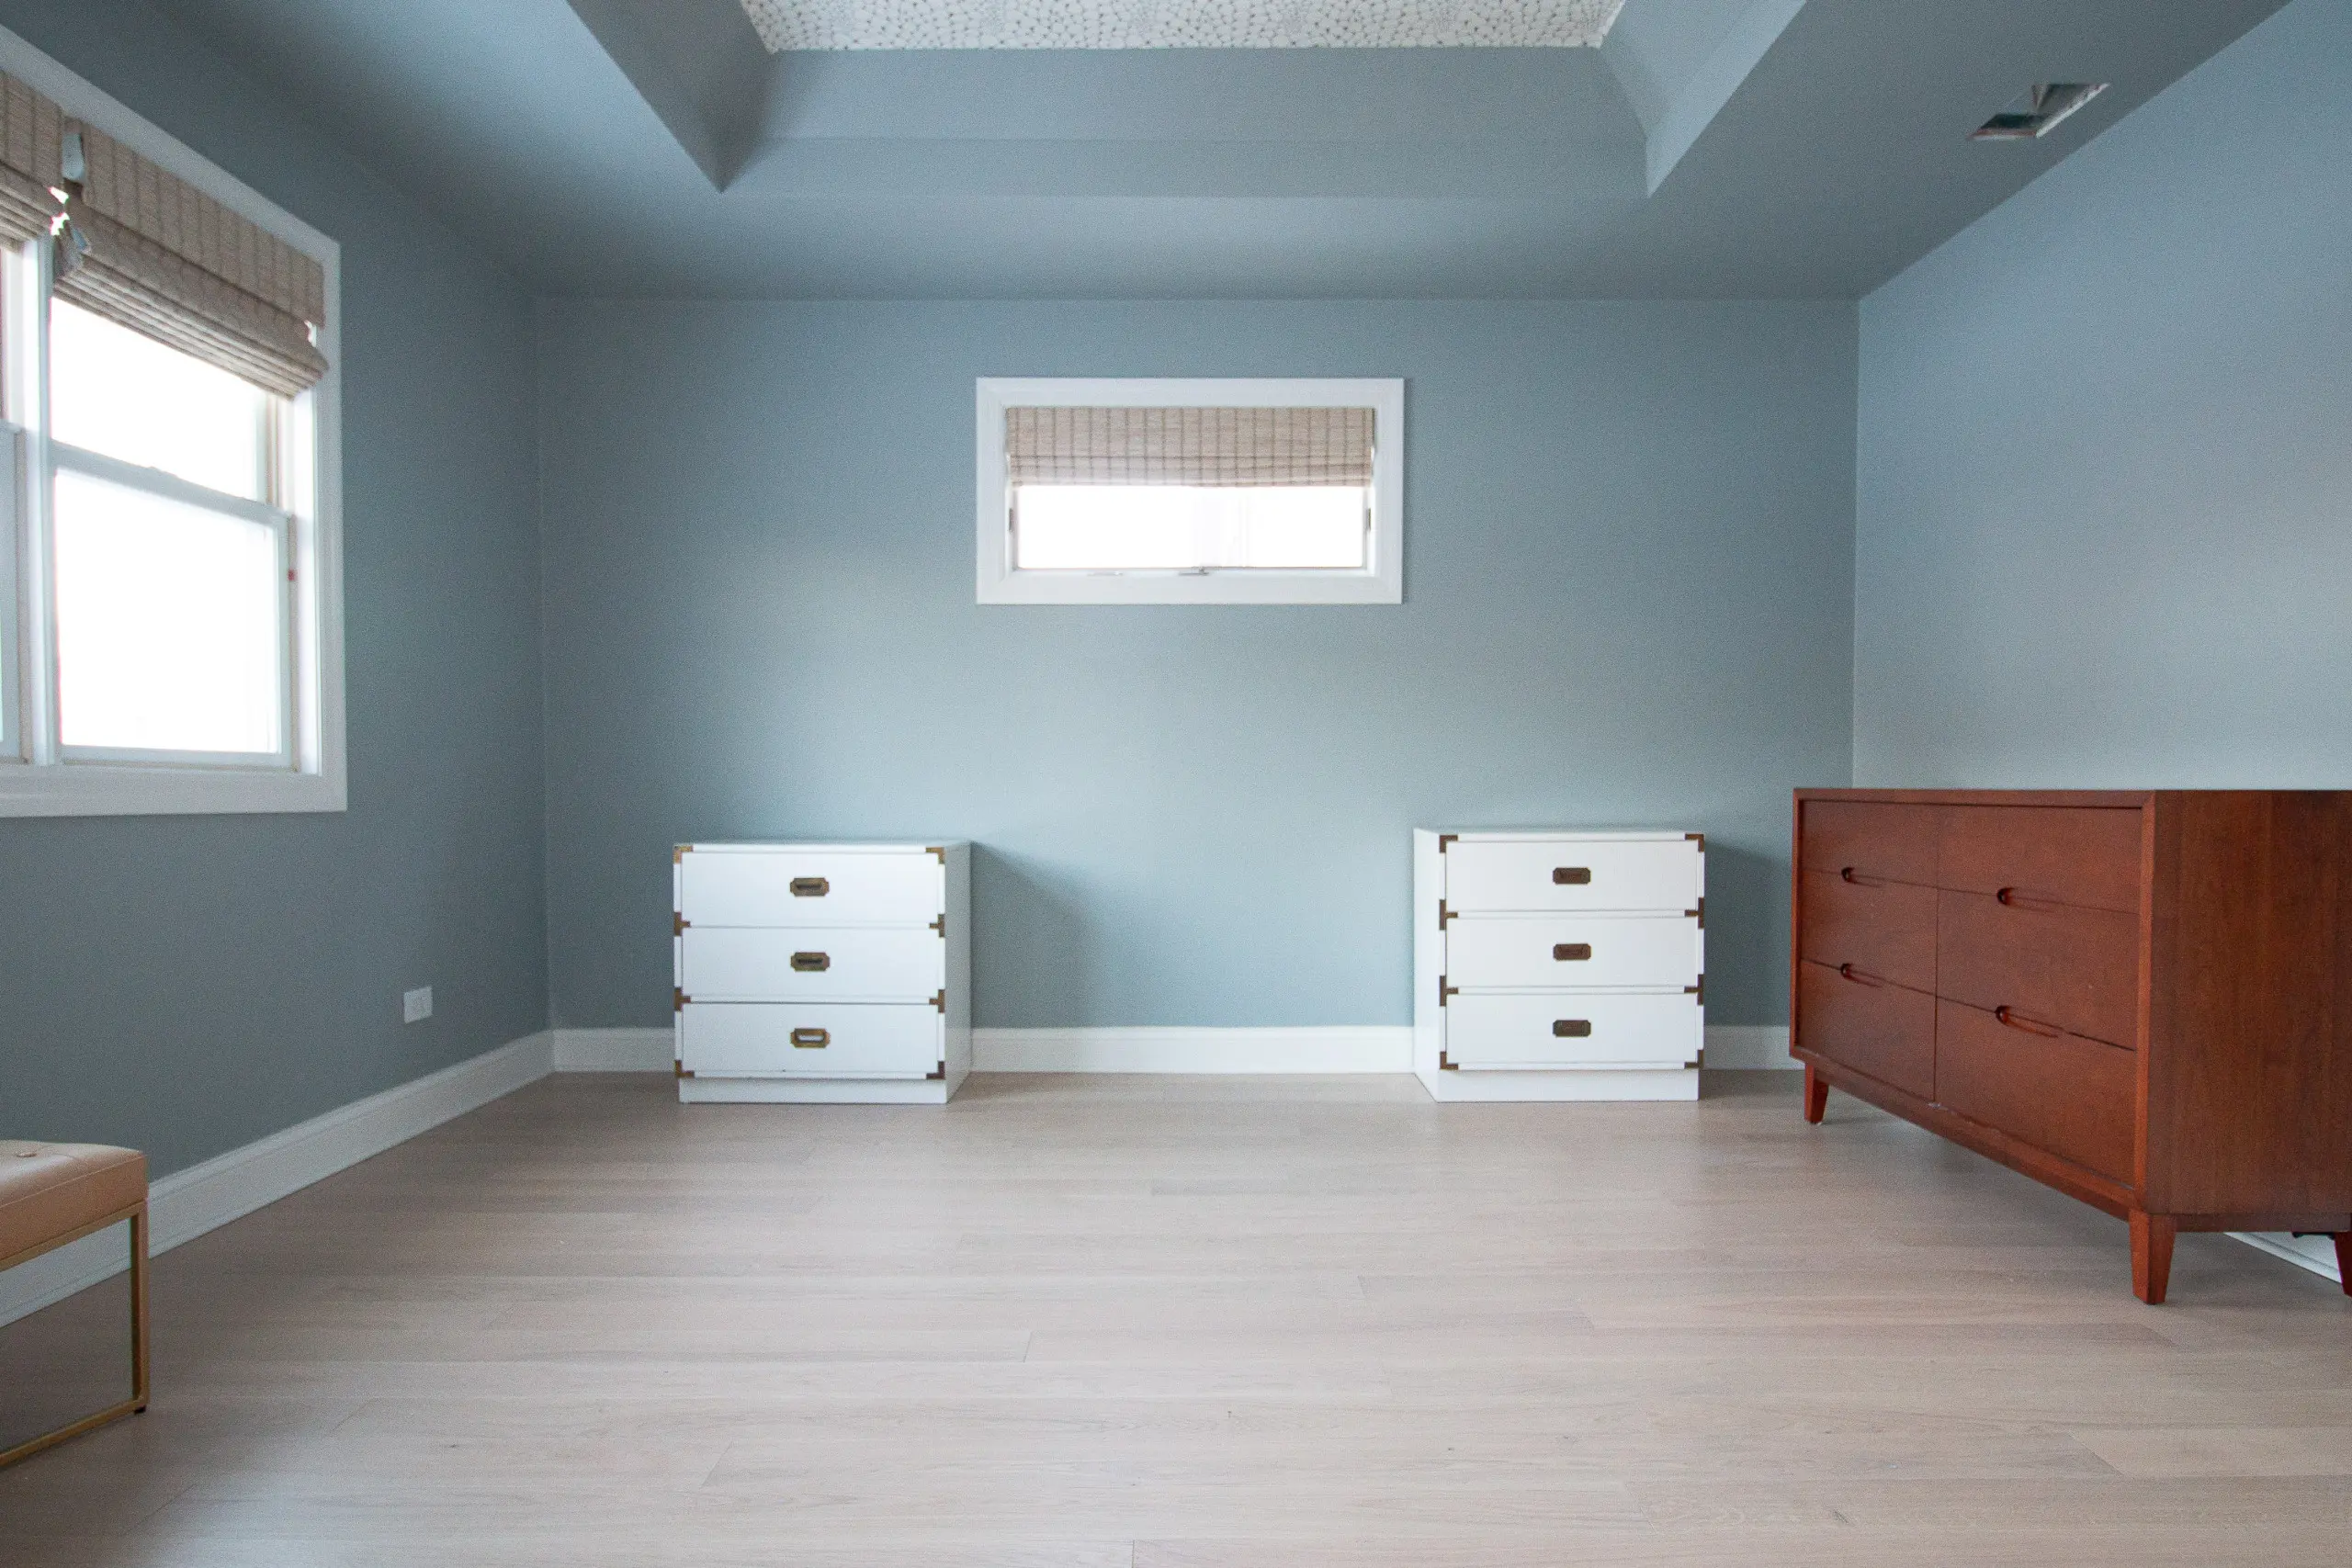
It always boggles my mind how paint can make the exact same room feel so incredibly different!
Loving Boothbay Gray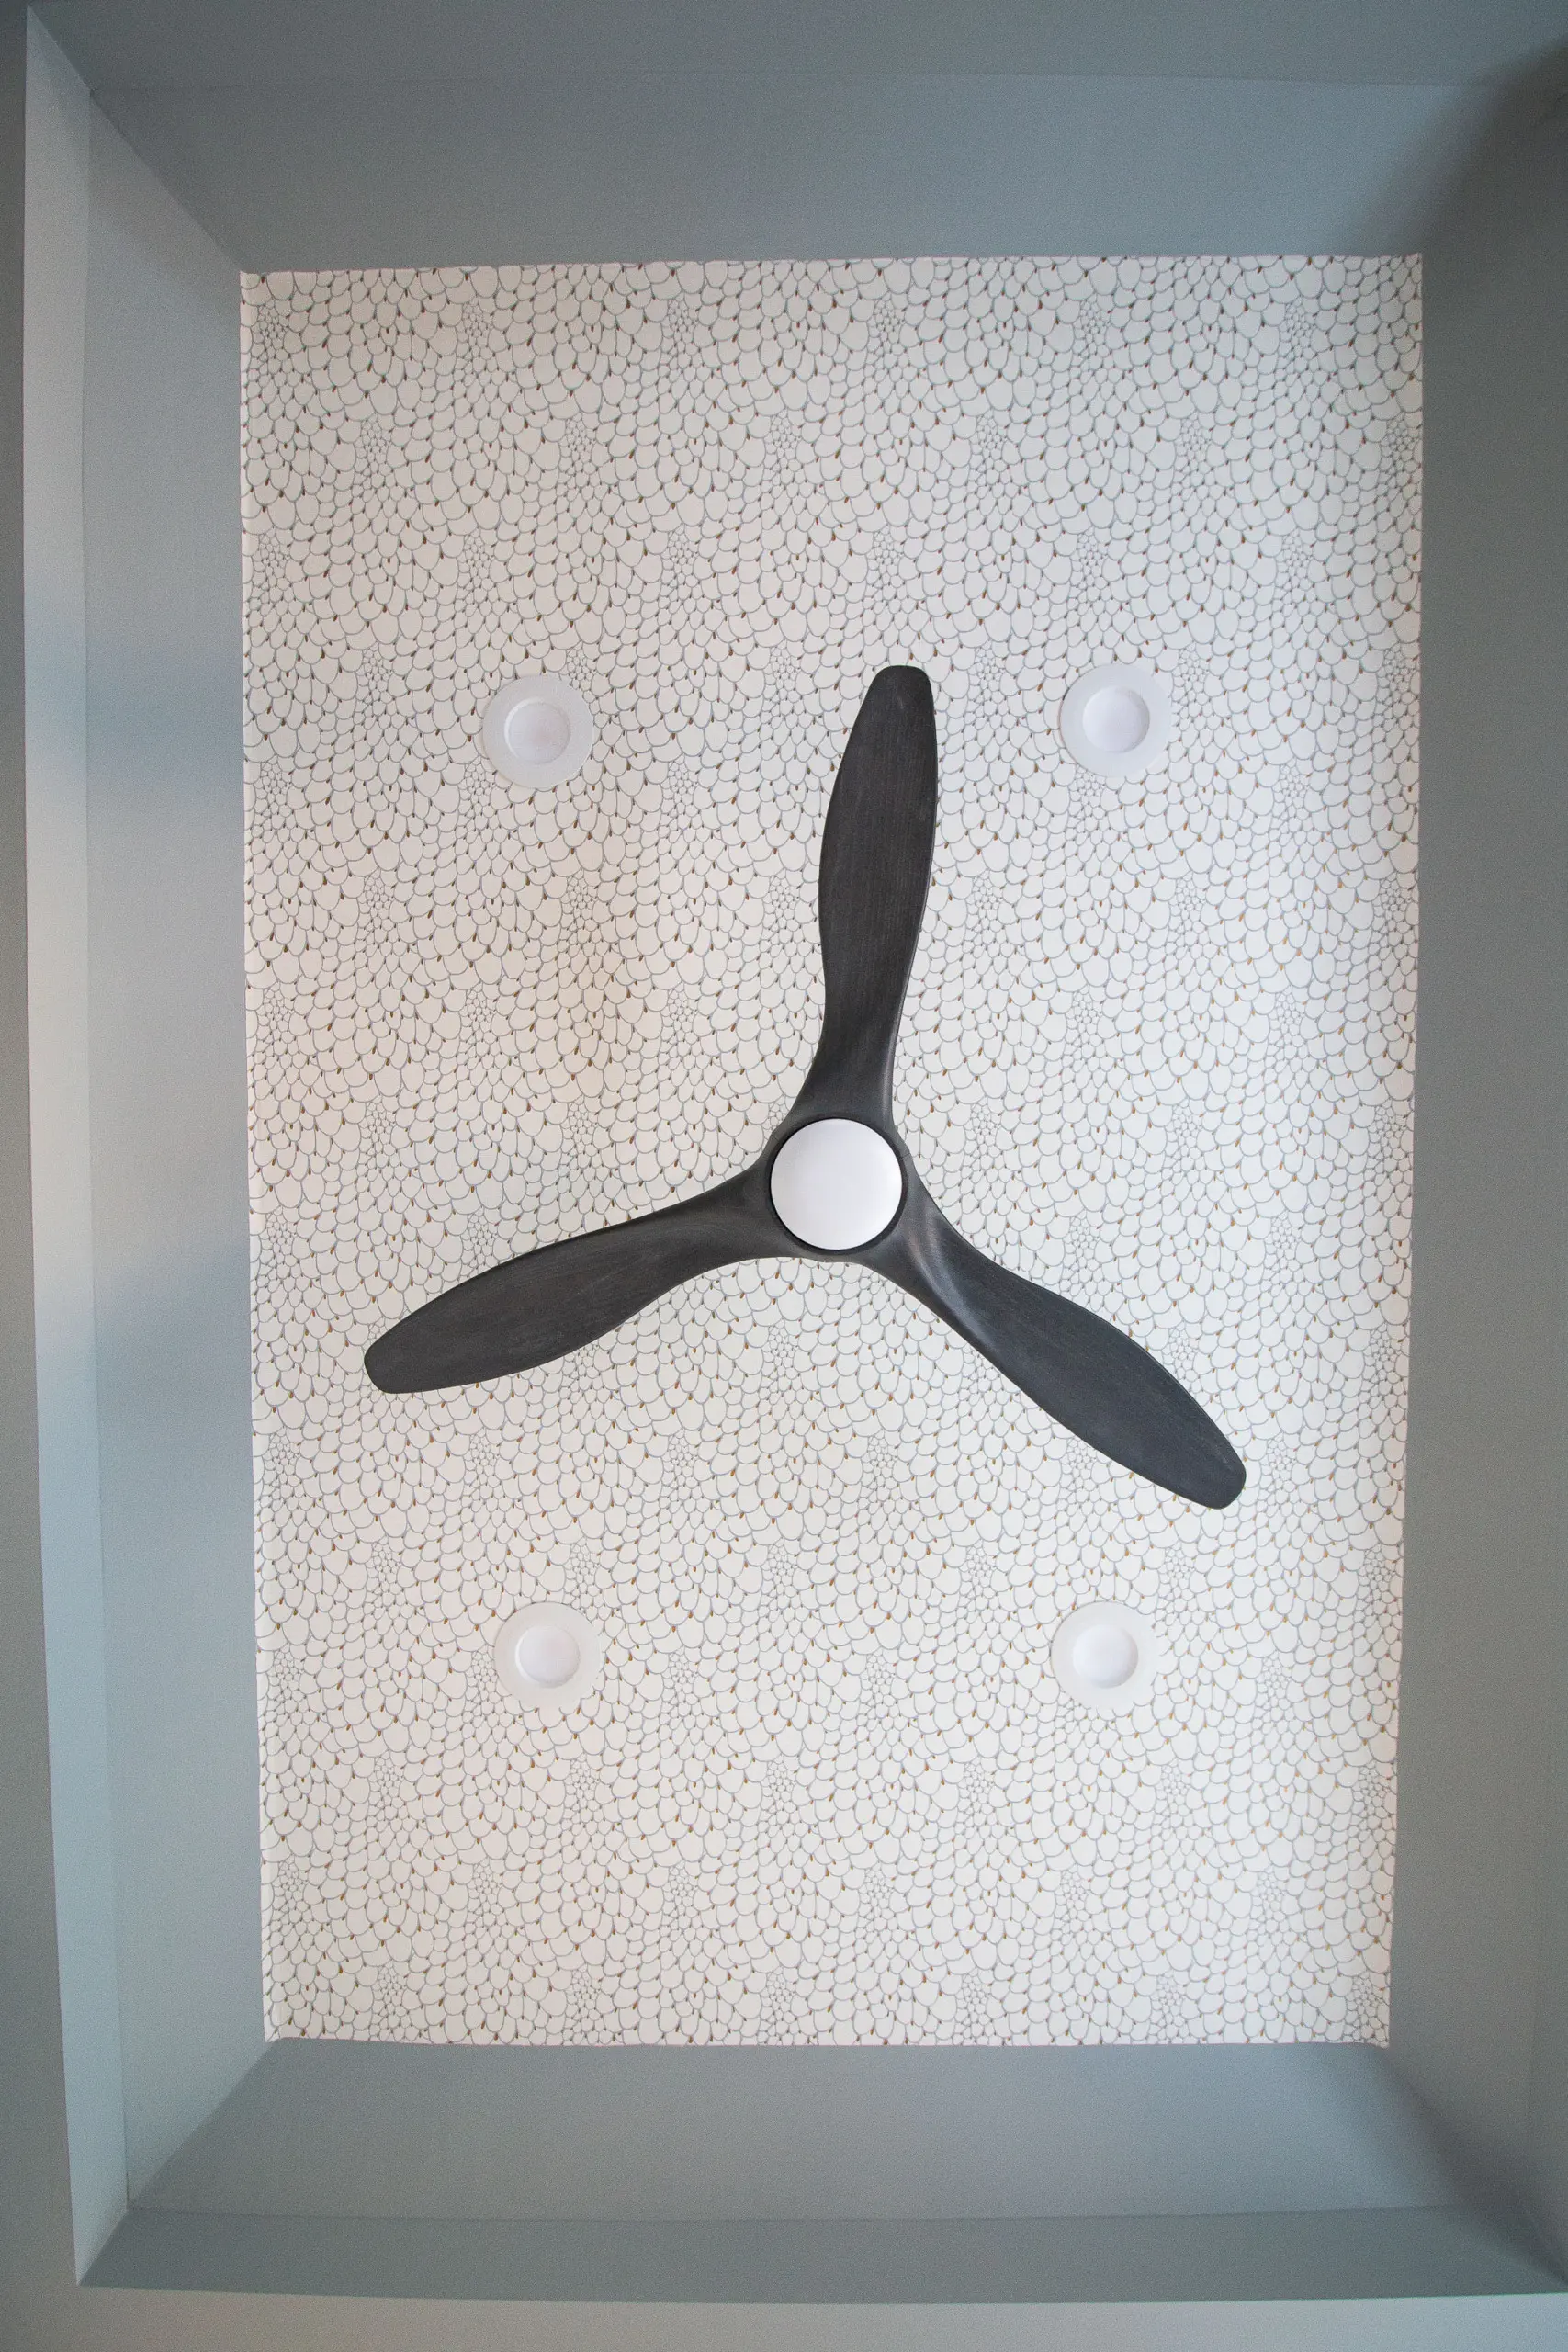
Here is the view on my back staring up at the ceiling as if I’m laying on a bed. Isn’t it so cool?! I’m really happy I took that paint color all the way to the edges of the wallpaper because now it truly is the showpiece of this room. It stands out and adds such a unique element to the design. 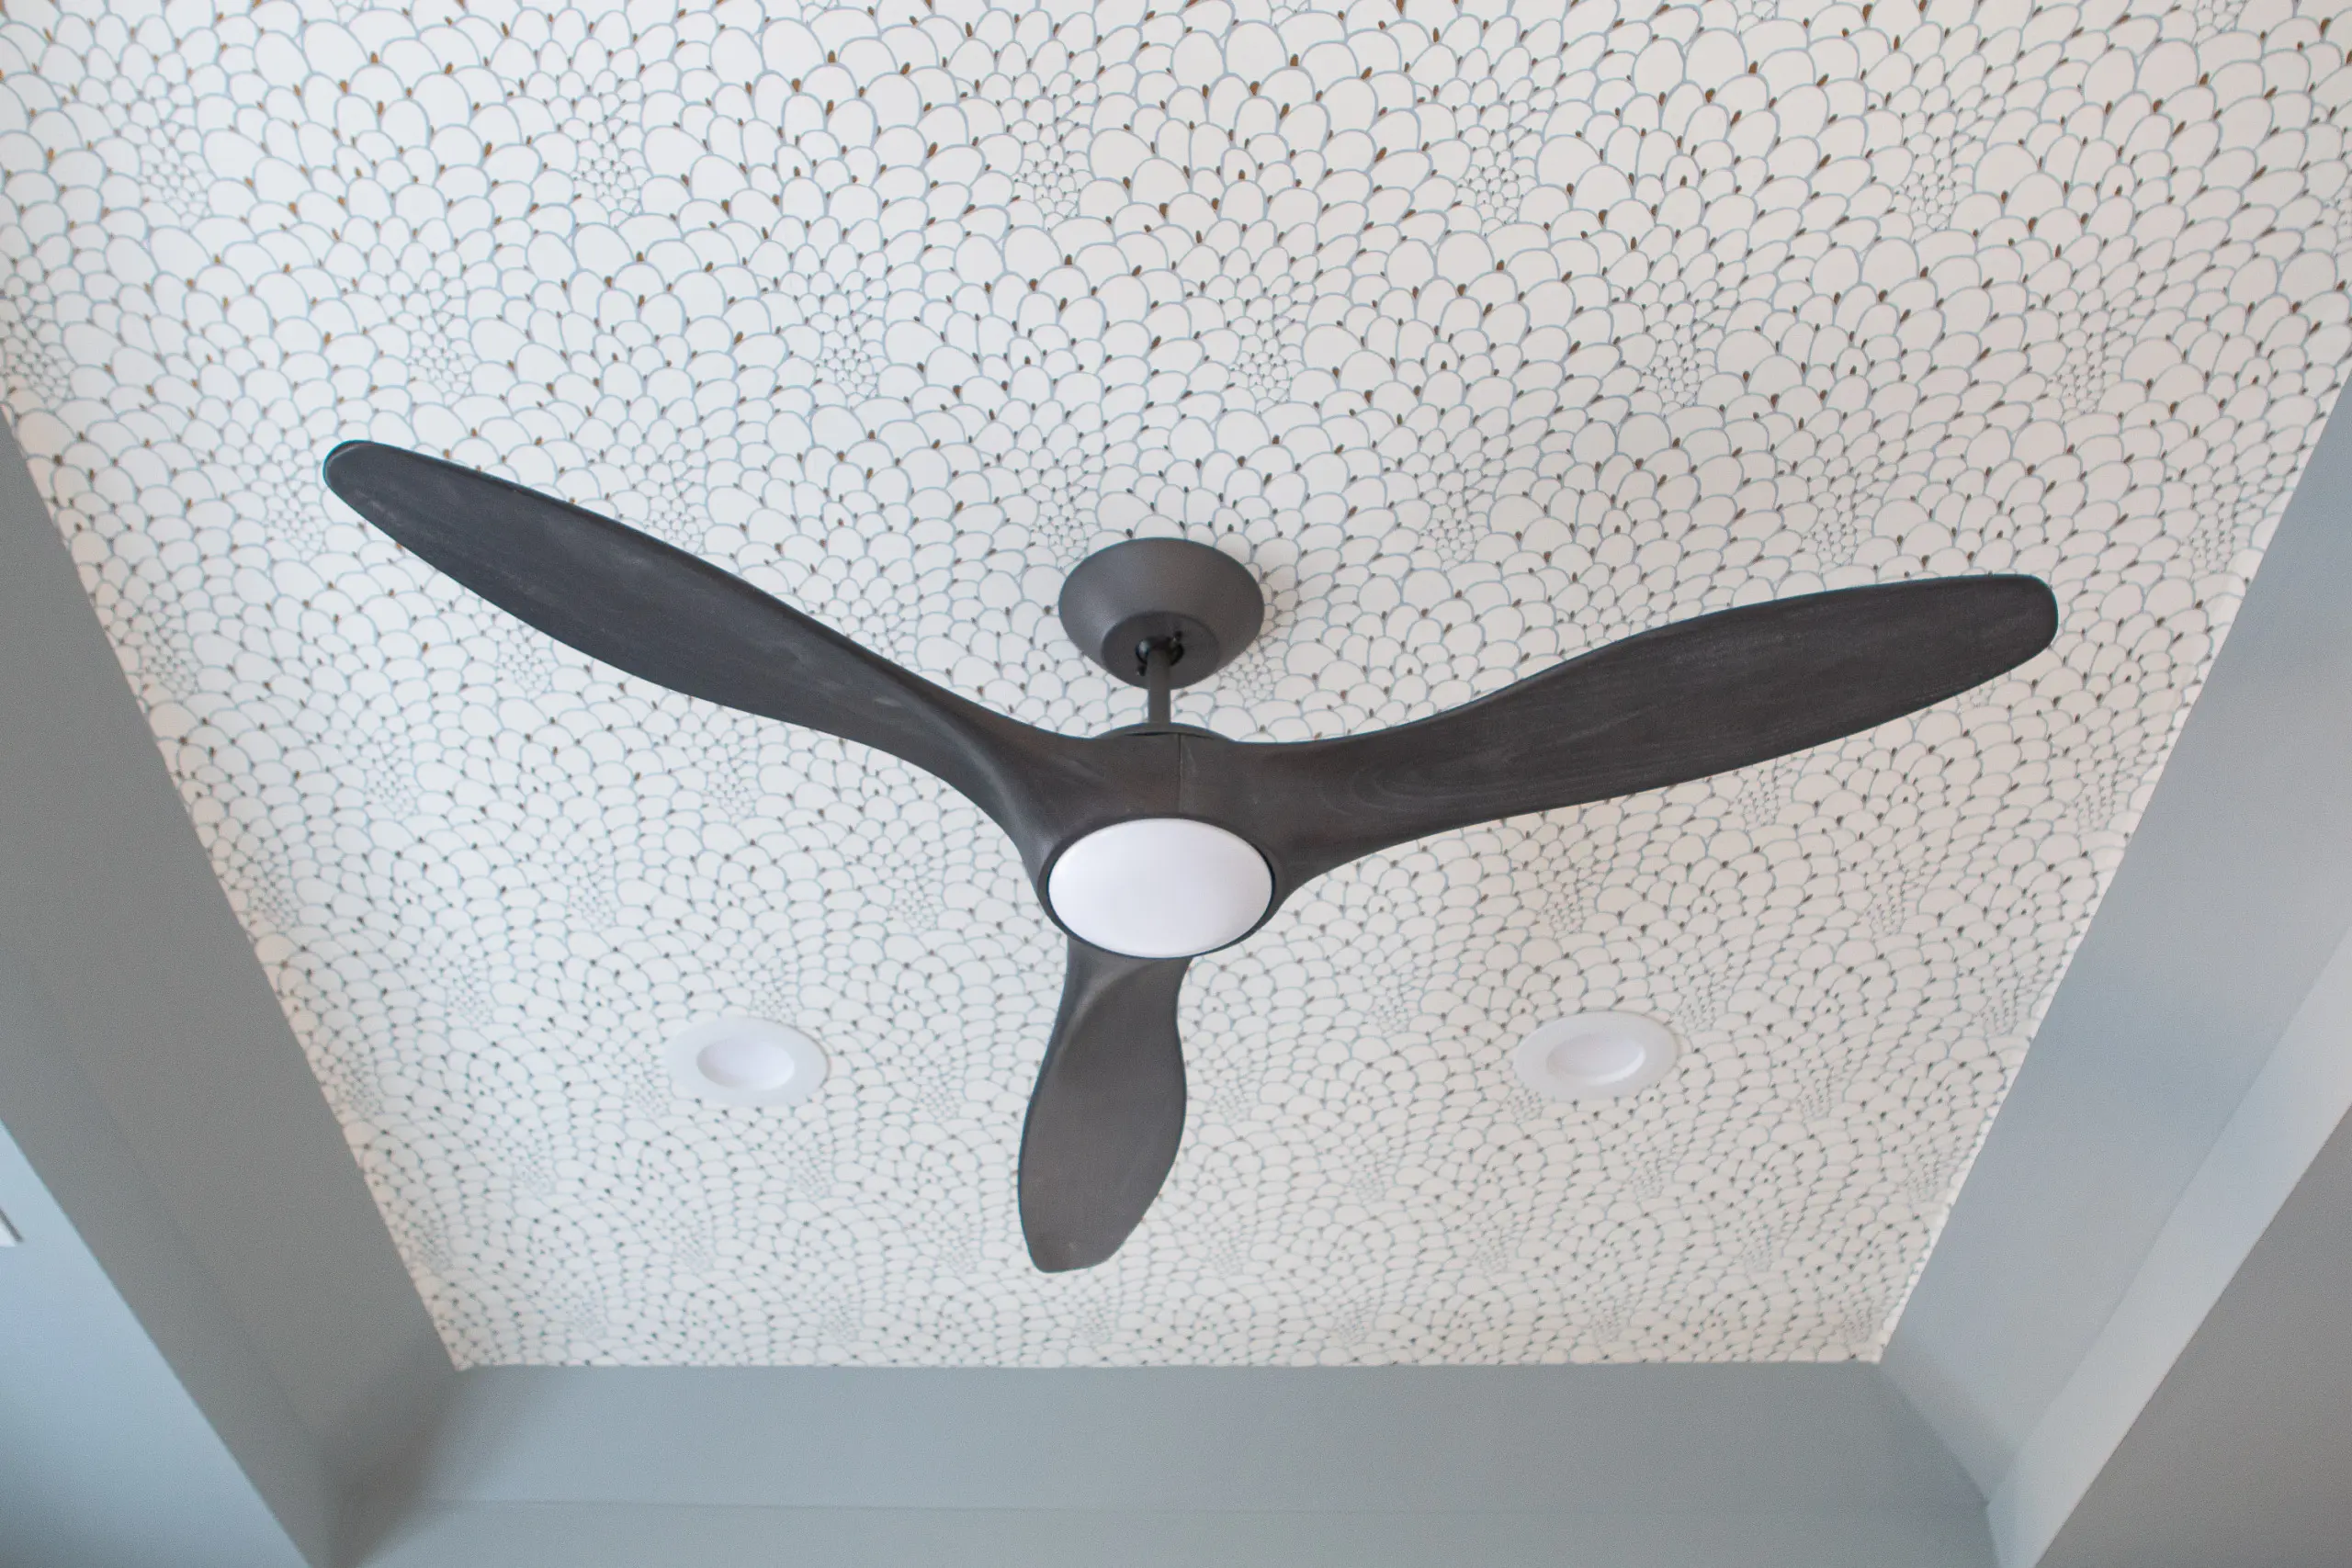
Before, I felt like the black fan was too stark against all of the white and cream. Now, I think it works really well with the new blue gray paint color. It’s a nice contrast to the warm tones in the paint and wallpaper. 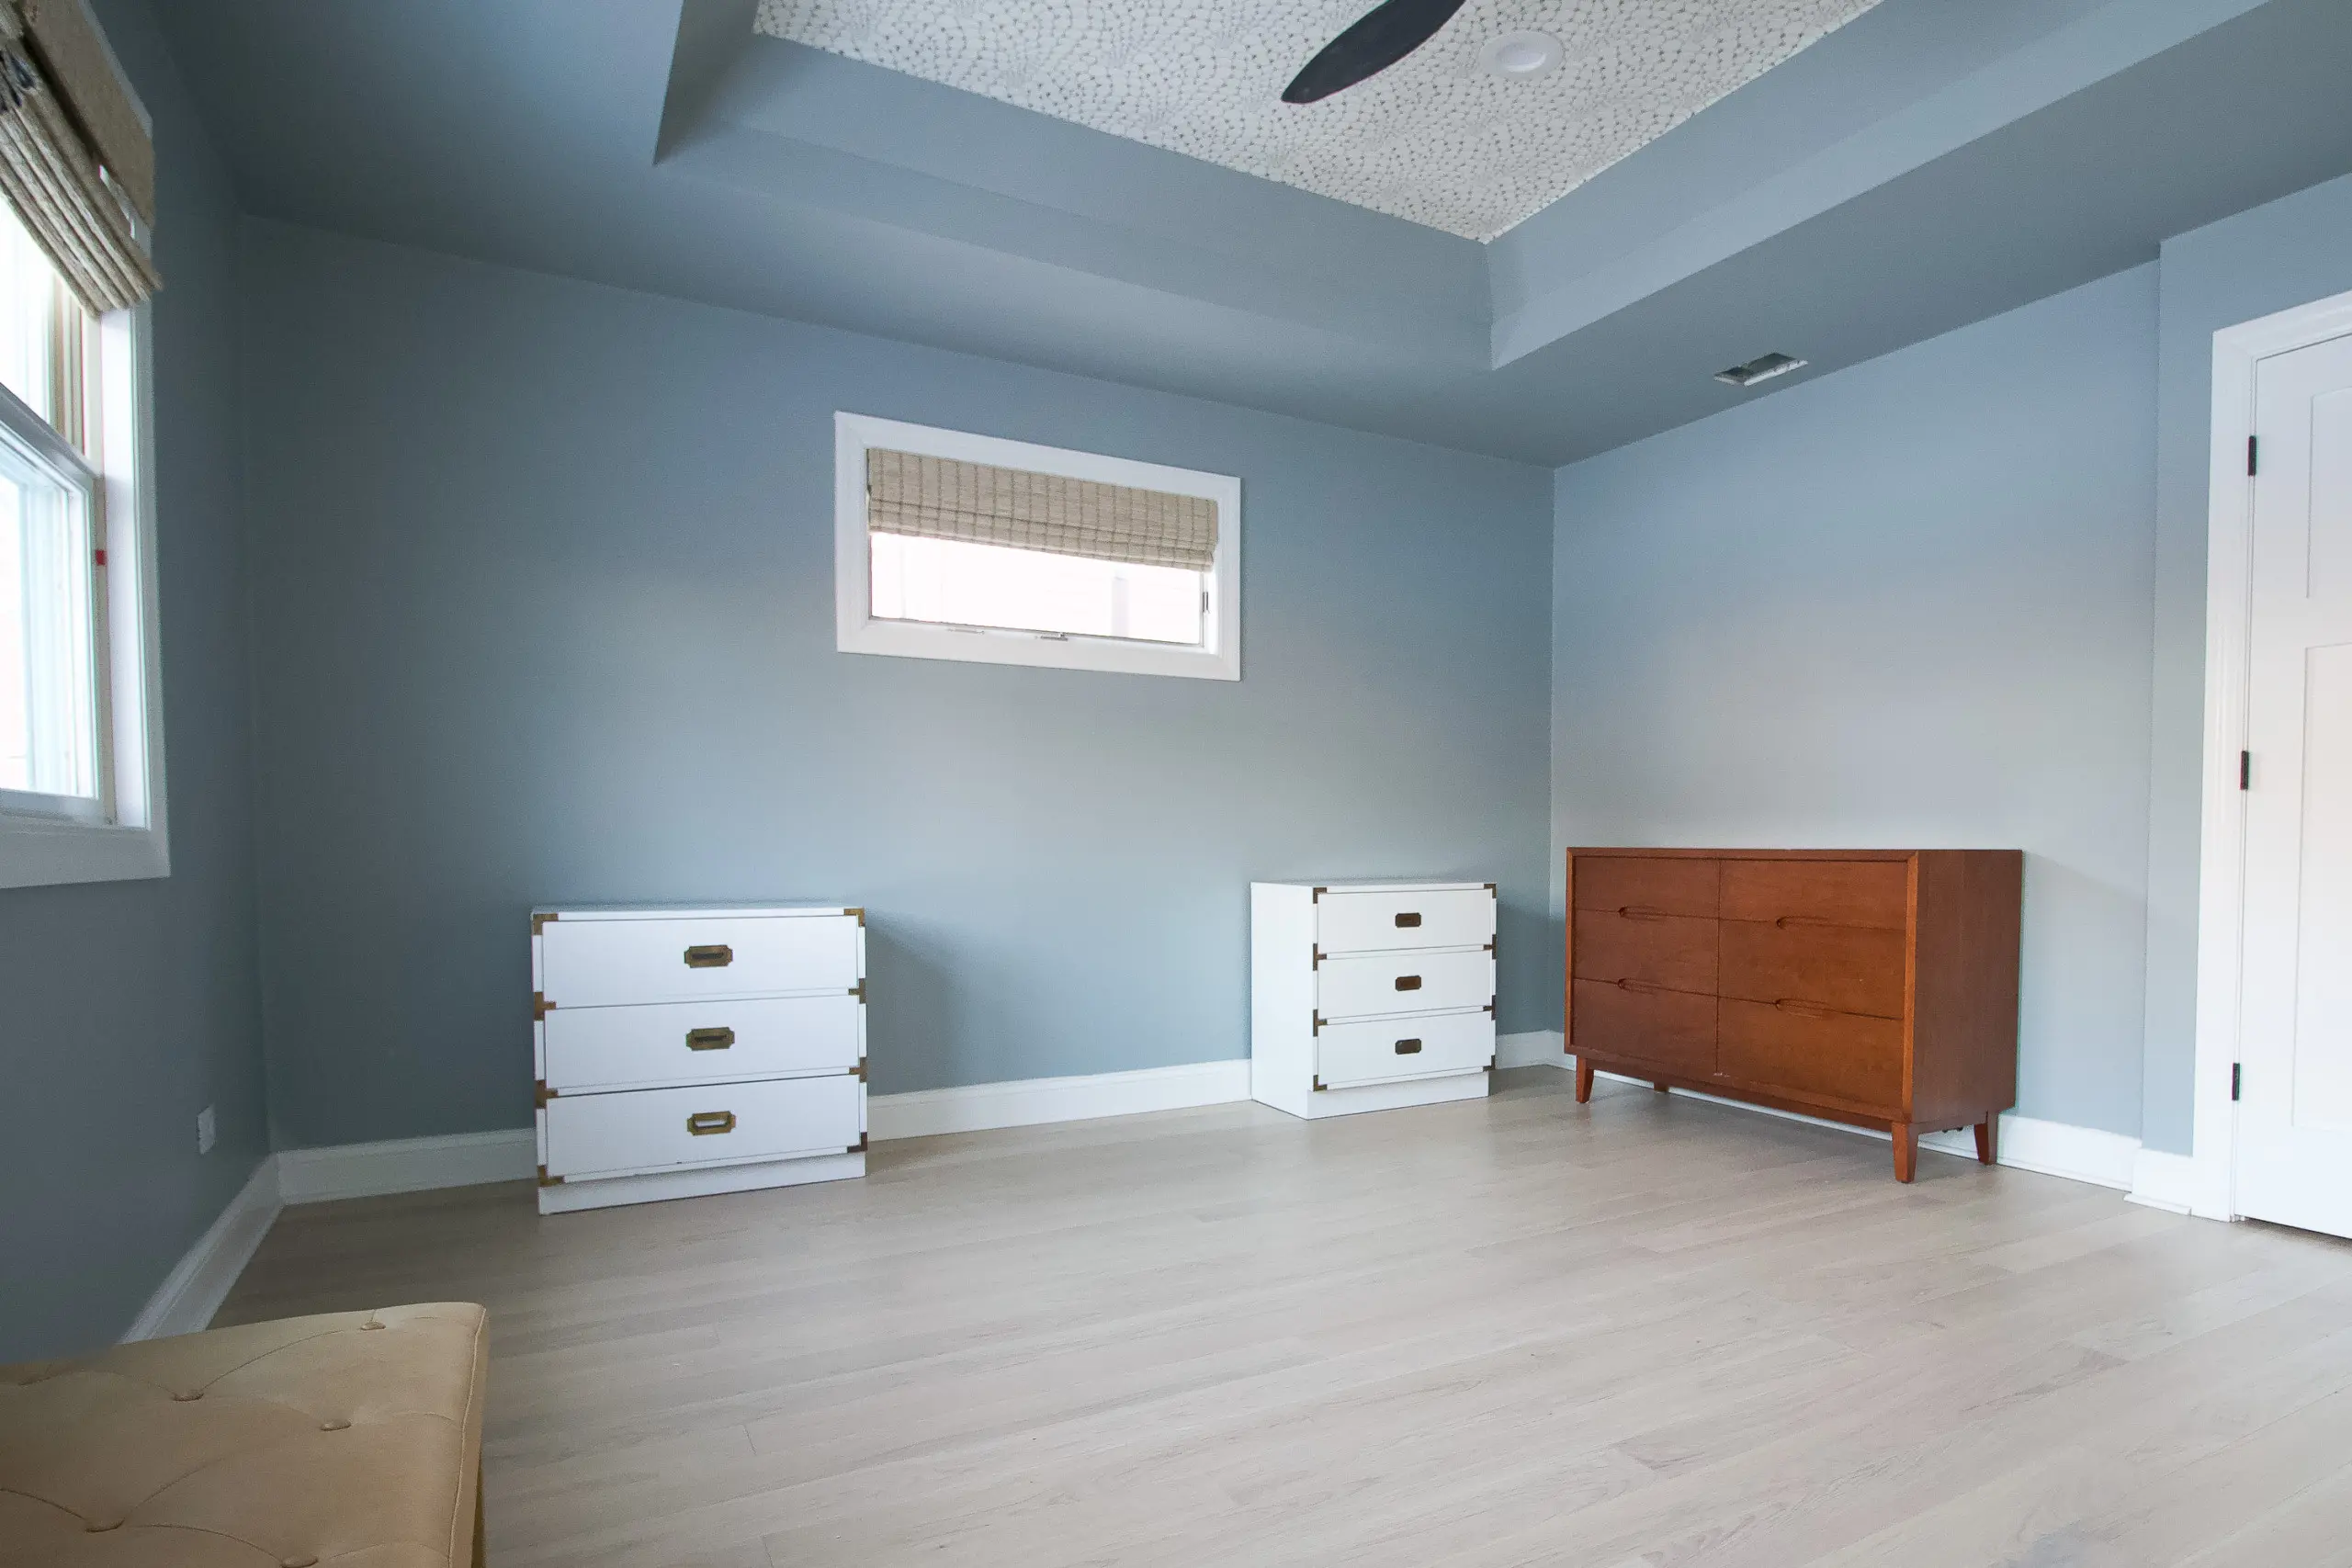
I took these pictures in the morning just after sunrise and I think they reflect the true color you see with this paint. It doesn’t read gray to me at all, instead, it is very blue and maybe reads a tad green sometimes. I’m very happy that I don’t see purple in this tone at all!
The color changes a bit throughout the day, as most do, and I love it no matter the light or time. It’s just such a pretty color.
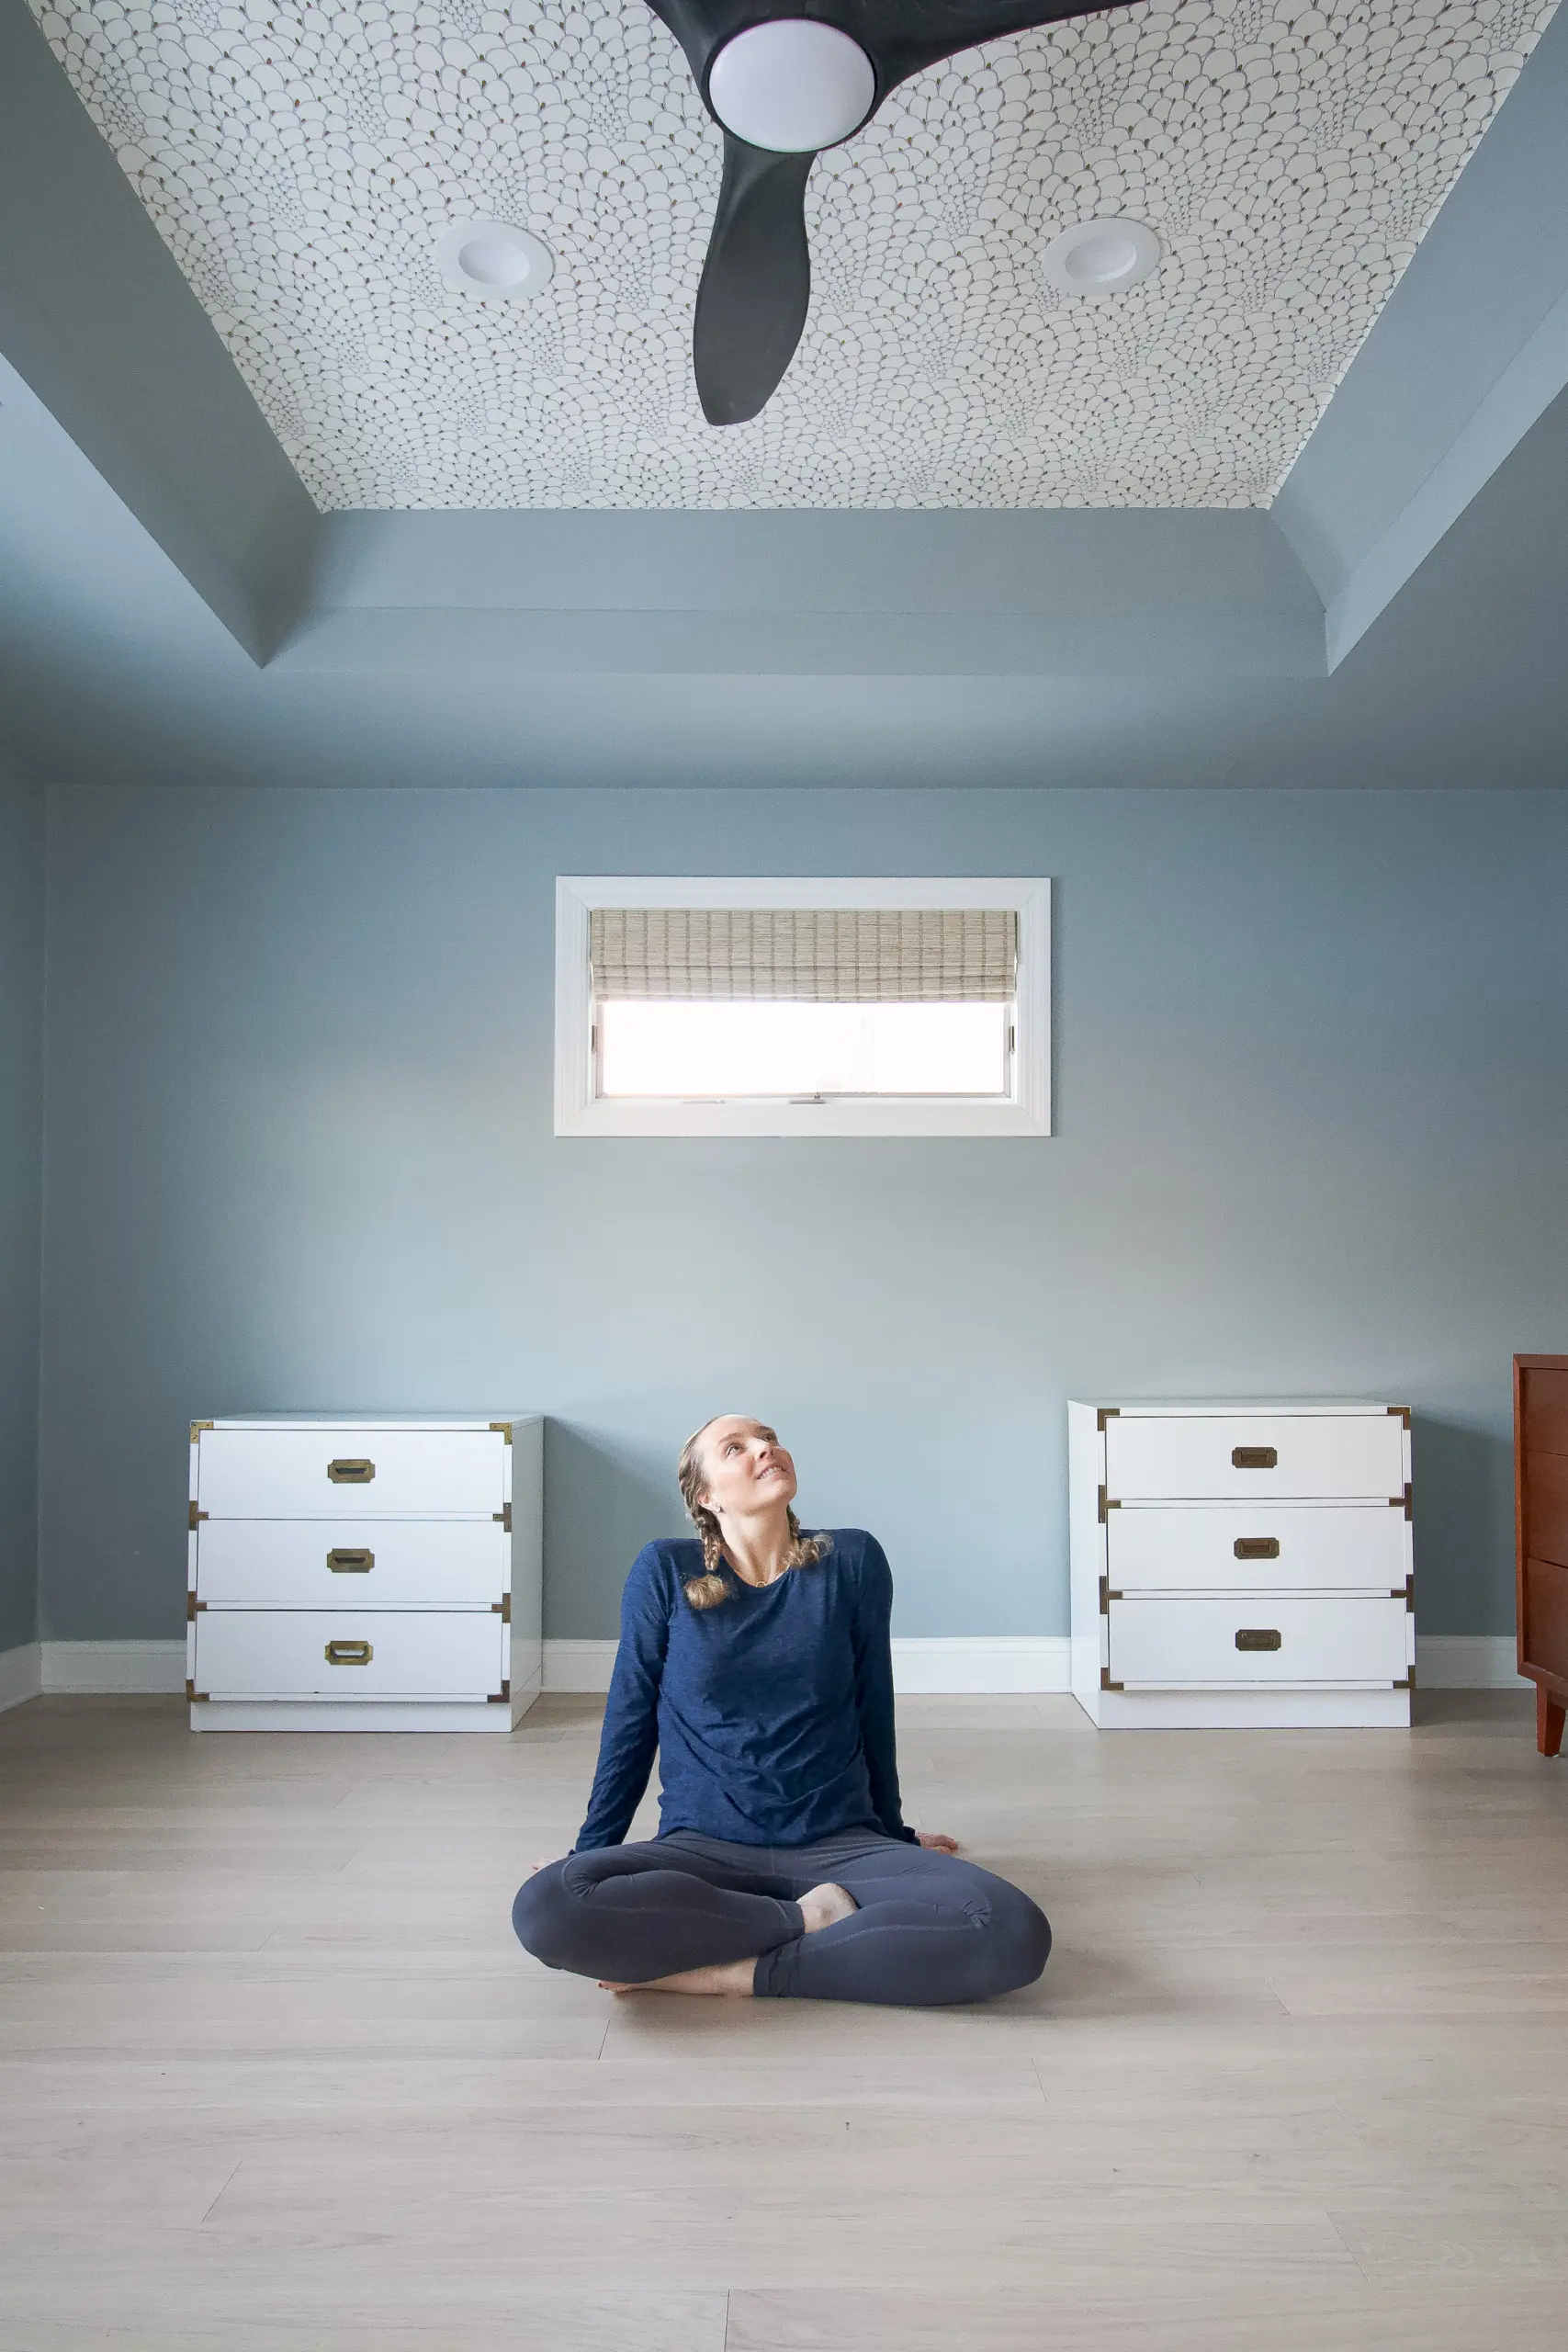
Again, here I am sitting in this bedroom staring up and I’m not mad about it! This view hasn’t gotten old and soon I’ll be laying in our new king-sized bed gazing up at the new view in here. I love it!
What’s Next?

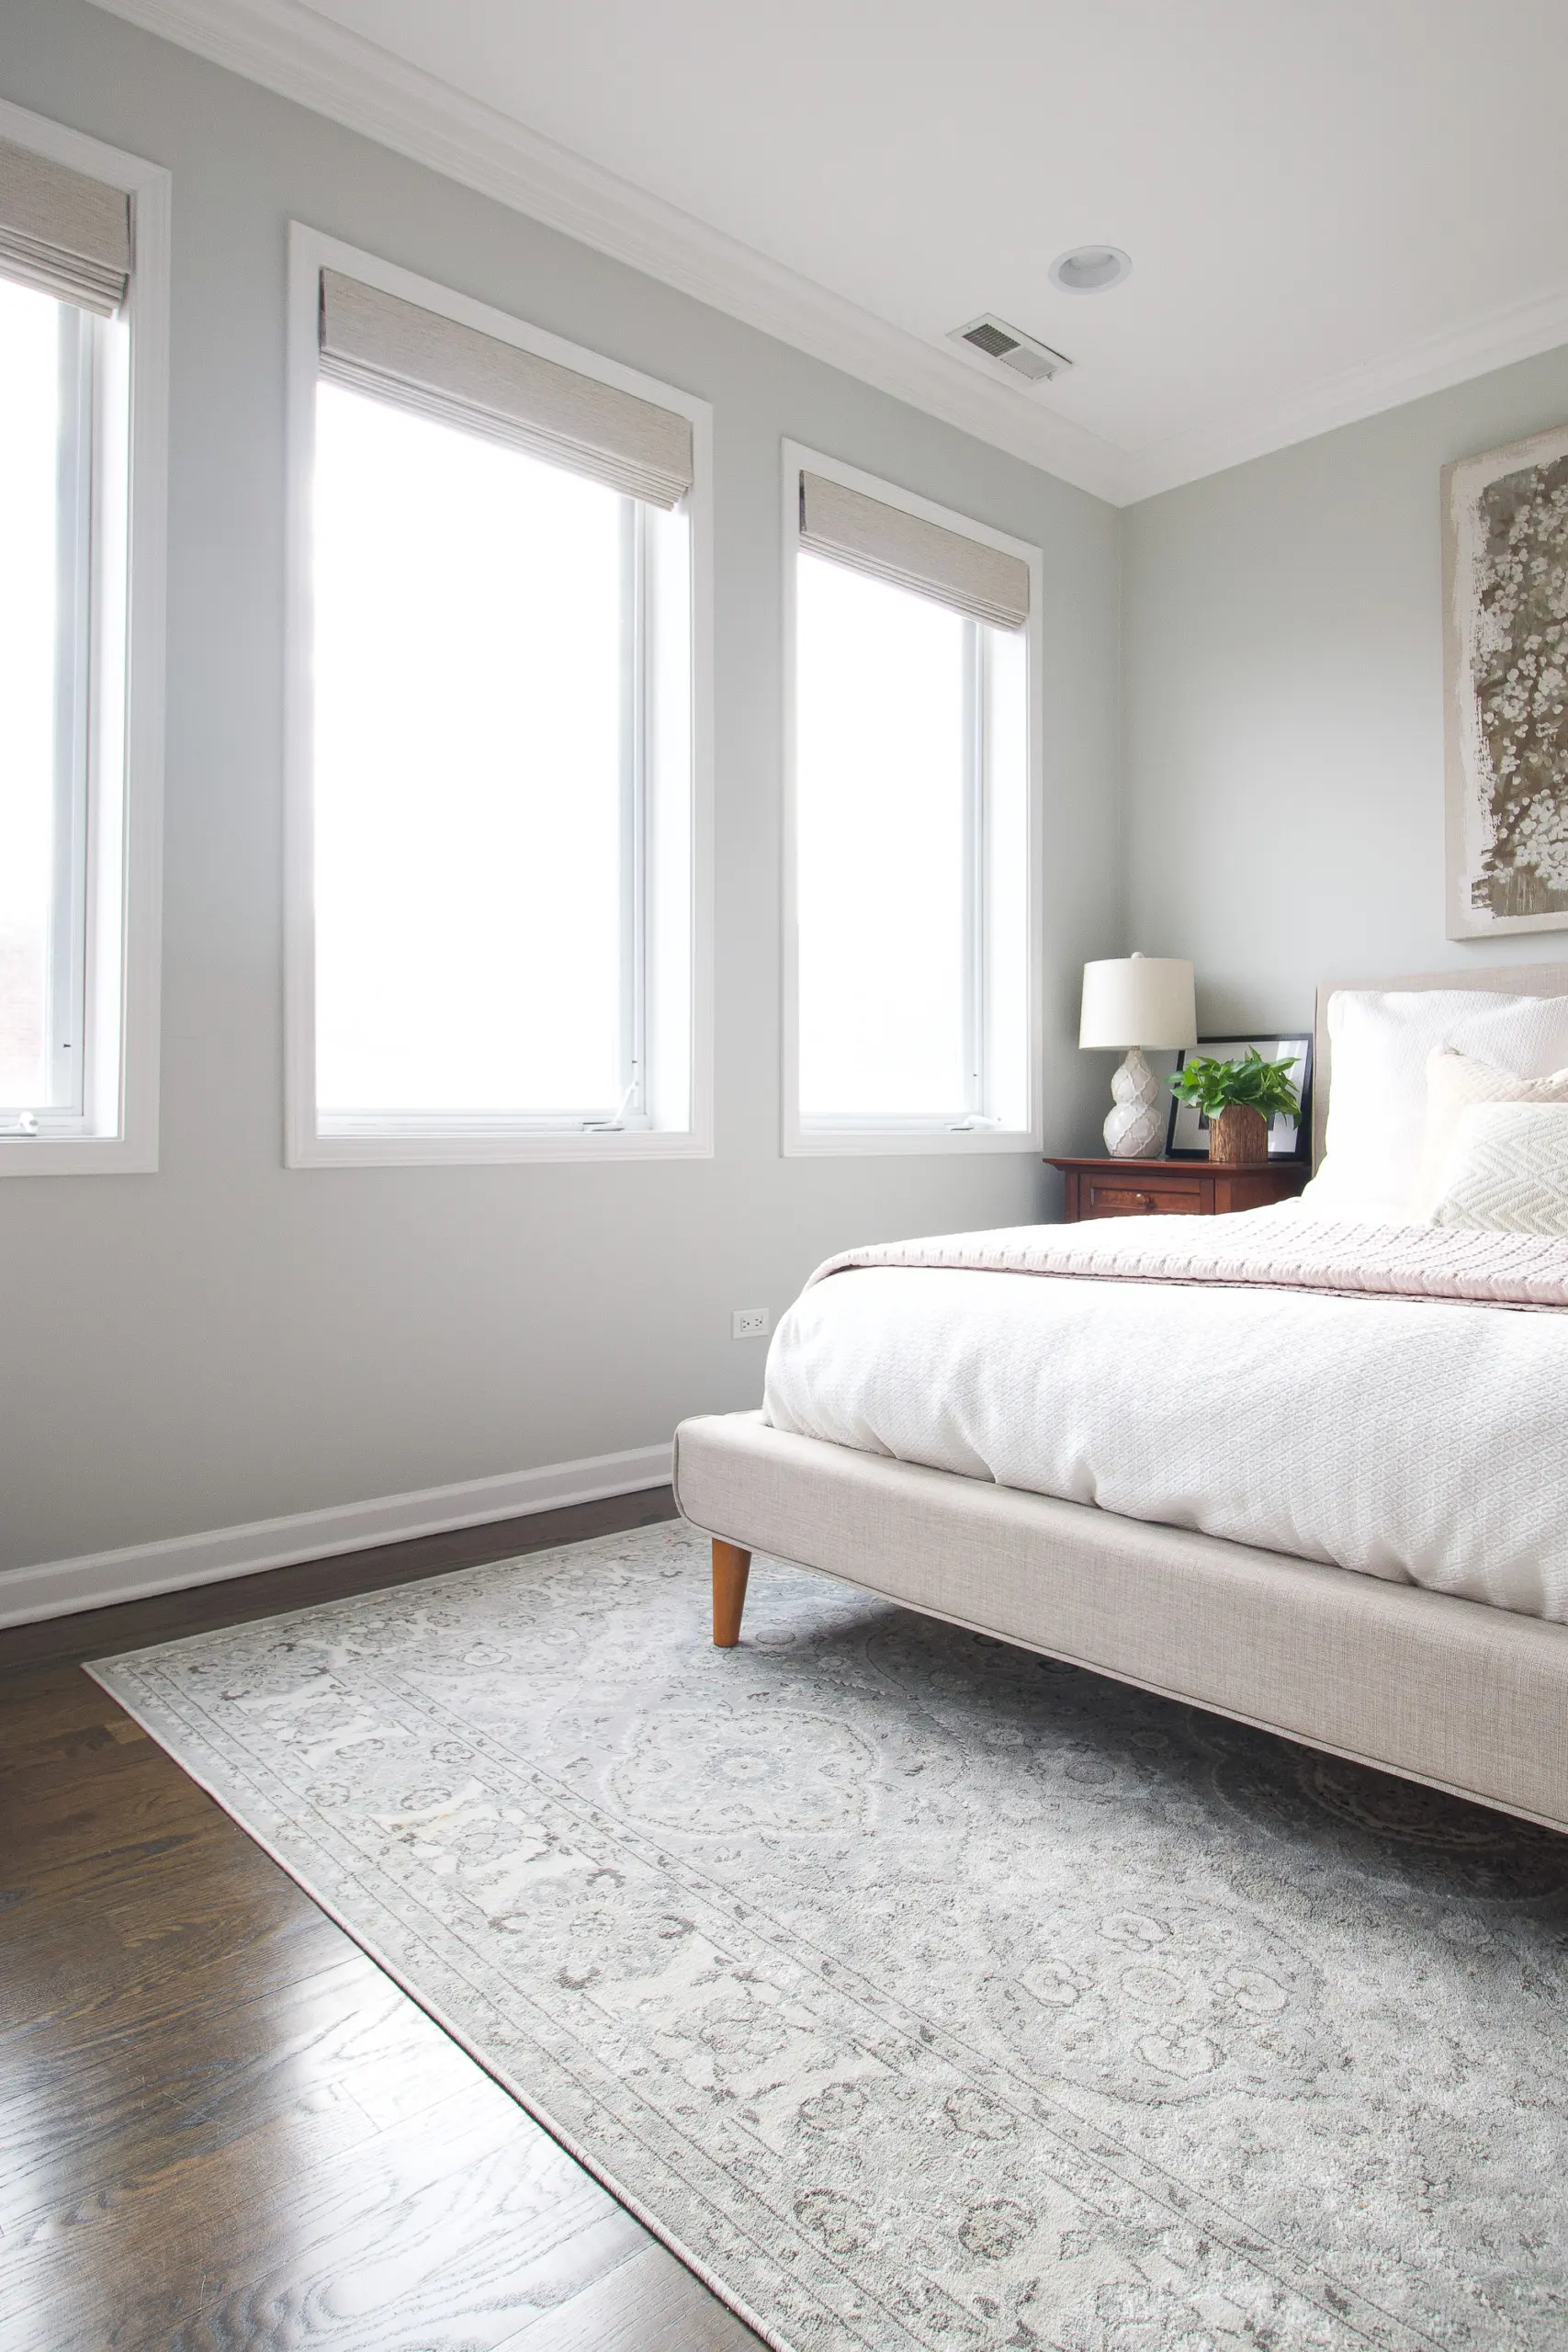
Now, it’s time to start furnishing this space. The rug arrived from Loloi (sneak peek above) and it’s gorgeous. It has a lot of green undertones and I think it complements the blue gray paint color nicely. Next, I’ll share the scoop on the new king-sized mattress we chose and showcase the new furniture in the space. Slowly, but surely, we’re getting there!
Casey
Catch Up on the Main Bedroom Makeover
You may also like…


Hey there!
I’m Casey Finn, the voice behind The DIY Playbook. I’m married to Finn & mom to Rory and Ellis. Together we’re creating our dream home in Chicago, one DIY project at a time.